1701-E Bridge. Testbuild Diary
- Thread starter Master-Bruce
- Start date
You are using an out of date browser. It may not display this or other websites correctly.
You should upgrade or use an alternative browser.
You should upgrade or use an alternative browser.
- Status
- Not open for further replies.
P
paulhbell
Floor.
First photo.
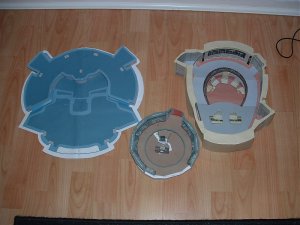
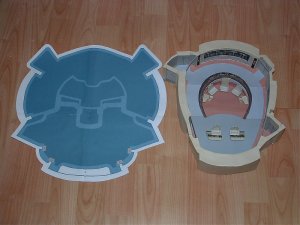
I thought I would do a side by side with the 'D' bridge so watchers can get an idea of size, compaired with the 'D' model.
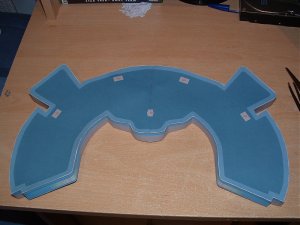
The floor is made up from 4 pieces, easy. I have used 160gsm card for the first floor. On the 'D' I had really bad problems with 'bleed through' with the glue, when I joined the floor parts together, but I seamed to have overcome it this time. I have bought better card though.
Next up is the raised floors. I have other models on the go at the moment, star trek original bridge and finishing sleeping beauty castle with my niece, so I'm busy, but hopefully updated tomorrow night.

Last edited by a moderator:
sdhlaw1701, you're welcome. I love papermodels as do we all here. I just like designing them too. Plus I get a kick out of seeing them built.
Paul, looks great buddy, scale looks about right too eh?
Paul, looks great buddy, scale looks about right too eh?
P
paulhbell
I don't know why, but my photo's should be bigger. I am shooting them at 2meg and they are full screen on my end, but when I post them they come out small.
I have also just noticed all the tab offcuts in one of the photos. I think I should clean up.
I have also just noticed all the tab offcuts in one of the photos. I think I should clean up.
P
paulhbell
Nothing, the resizing thing isn't a bad idea. It used to annoy me when I opened a thread and then a HUGE photo opend up, so that I had to scroll right to see all the photo. And I have a 19'' desktop monitor, think what it's like for the guys with 15'' and 17''.
P
paulhbell
Floor.
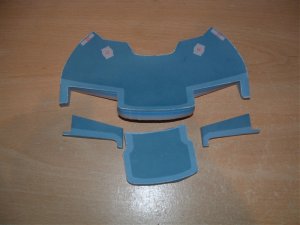
Nearly finished the floor. I have finished the parts for the floor that I am going to do for now. Parts 7,8,9,10, I am going to make up and glue in after the wall have been put in. No reason why, I just wanted a change, so on to the walls.
The photo is of the last floor parts. I am have a bit of trouble with 'flatness'. So before I glue the floor parts together I am going to glue thick card underneath the floor parts. This problem should not have happened, as I have used good quality thick card and a good quality glue. But it also happened on my 'D' build and I did the same thing with the floors. That bridge is really strong and will last a long time, so hopefully it will work on this build.

Last edited by a moderator:
P
paulhbell
Back wall
While building the back wall. I think I've found the problem that skip was talking about on page one of this thread. Look at scaned photo. It's easy to fix, I am just going to print another big floor piece off and cut a strip off that. It may need fixing for the final version, it's not a big deal though.
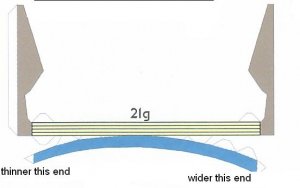
While building the back wall. I think I've found the problem that skip was talking about on page one of this thread. Look at scaned photo. It's easy to fix, I am just going to print another big floor piece off and cut a strip off that. It may need fixing for the final version, it's not a big deal though.

Last edited by a moderator:
That's the part. I can fix that by cutting the left half off, copying and mirroring the right hand half to replace the dud. No biggy at all. As you see in my pics, the rest of the rear wall is fine.
I don't know about you good people here but I just cannot wait to see this one finished... IT is serious eye candy... Makes me want to get started on a Sovy that I have printed out on card.
P
paulhbell
Just a quick update today. Back wall console. It look's flat in the photo, but it fit's the curve of the deck ok.
I now have a flat deck as well. Photo to come.
I am going to work around the walls clockwise, so next up is the turbo lift door.
Over the next couple of days I am going to get into this project more, so more progress should be made and faster.
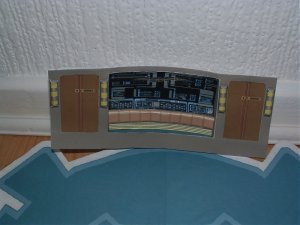
I now have a flat deck as well. Photo to come.
I am going to work around the walls clockwise, so next up is the turbo lift door.
Over the next couple of days I am going to get into this project more, so more progress should be made and faster.

Last edited by a moderator:
P
paulhbell
P
paulhbell
Accident!
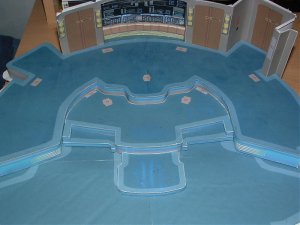
On Saturday, we had a bit on an accident with the glue tub. I was helping my niece with her sleeping beauty castle (pics to come), she got glue all over the blue carpet, see first photo, compare with post number 26 on page 2. It's easy to repair, I'll call the carpet fitters the come and fit another carpet.
She was a bit upset though, as she had already found that part of her castle was damaged and we were trying to fix that.
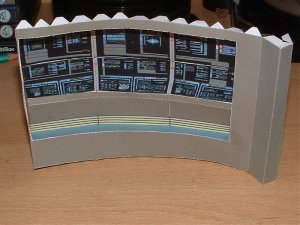
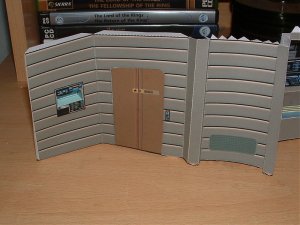
Other pics are of more walls, all is going well and still no problems. All fitting together very good so far.
I have started to glue the walls to the upper floor, but I have not glue the floor parts together until I recarpet the floor.


Last edited by a moderator:
S
Starship Builder
LOL! Yeah, laminate is the future when kids are concerned. 
Looks great buddy. Those little food replicators were my favourite part of the whole model. I don't know why, I just loved 'em.
Great work buddy. I'm happy as a kid in a candy shop seeing new pics of this.

Looks great buddy. Those little food replicators were my favourite part of the whole model. I don't know why, I just loved 'em.
Great work buddy. I'm happy as a kid in a candy shop seeing new pics of this.
- Status
- Not open for further replies.


