Hi Guys,
I've not heard anything back since releasing my 1701-E bridge last week so I figured I'd start a test build myself.
I printed out the parts from the PDF files only to find half way through that if you print this out with "NO SCALE" selected in the print options, that it hacks a portion off the bottom!! Not good. I found that printing this at 95% solves this problem and won't make a huge dent on the final size of the model. Though why this problem exists at all is a mystery to me as it wasn't a problem with the 1701-D bridge.
Remember: PRINT AT 95%
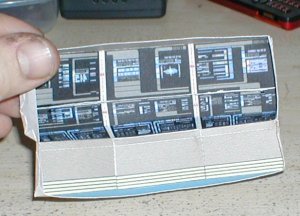
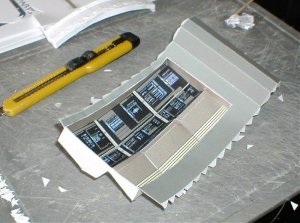
I hadn't finished the instructions for this so I decided to start with one of the wall consoles. Port, I think. The parts are big enough to not pose a problem to me(I have pretty chunky digits), and the tabs are fine too.
The breakdown of the console make building simple enough so far. I think if I'd have done this another way it may have made it slightly easier, but only slightly so I doubt I'll change this.
Here's a pic:

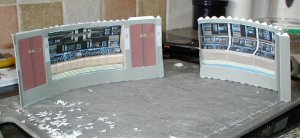
Sorry for the grubby thumb. Oops! I had a roof leak and had to fix it before taking this pic. As you see it went together fine. The sagging of the blue floor will be remedied when this console is glued to the main wall later tonight. I'll upload some pics of that later.
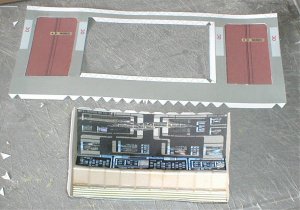
Looking at the floor parts, this model isn't small but not quite huge either. Around 13-14 inches round(diameter). Also some of the finer detail was lost in mine after printing.
 I think this is my fault though as I'd selected "Best Print" in my printer properties so I think that is why. Maybe a normal print would have done the job just fine. Plus, it would have saved me some ink too.
More to come soon. Please feel to comment.
I've not heard anything back since releasing my 1701-E bridge last week so I figured I'd start a test build myself.
I printed out the parts from the PDF files only to find half way through that if you print this out with "NO SCALE" selected in the print options, that it hacks a portion off the bottom!! Not good.
Remember: PRINT AT 95%
I hadn't finished the instructions for this so I decided to start with one of the wall consoles. Port, I think. The parts are big enough to not pose a problem to me(I have pretty chunky digits), and the tabs are fine too.
The breakdown of the console make building simple enough so far. I think if I'd have done this another way it may have made it slightly easier, but only slightly so I doubt I'll change this.
Here's a pic:

Sorry for the grubby thumb. Oops! I had a roof leak and had to fix it before taking this pic. As you see it went together fine. The sagging of the blue floor will be remedied when this console is glued to the main wall later tonight. I'll upload some pics of that later.
Looking at the floor parts, this model isn't small but not quite huge either. Around 13-14 inches round(diameter). Also some of the finer detail was lost in mine after printing.
More to come soon. Please feel to comment.
Last edited by a moderator:


