X-WING (with movable wings & partial interior intention of the technology).
- Thread starter Walter2
- Start date
You are using an out of date browser. It may not display this or other websites correctly.
You should upgrade or use an alternative browser.
You should upgrade or use an alternative browser.

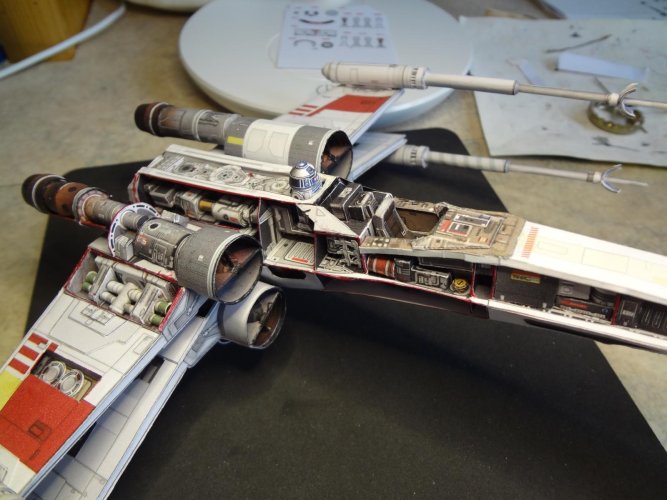
Nice Job!three landing legs - "wedding" - rear outer wall beginning... The landing legs are removable, but I will glue them on at the end, as the model will stand on them (and notfly).
 speechless.
THE DC
Highly Esteemed Member
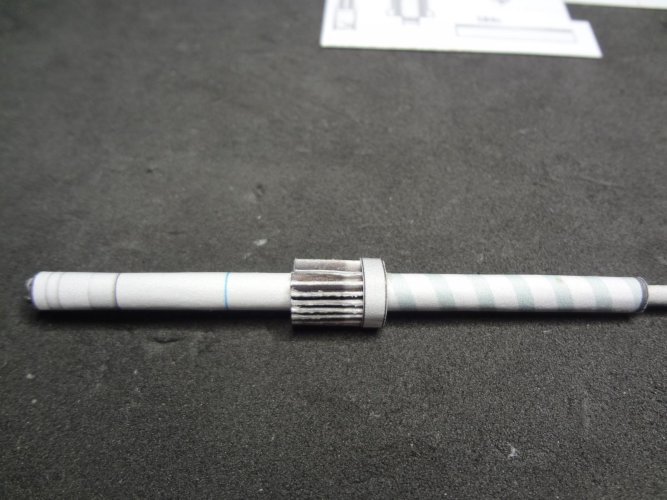
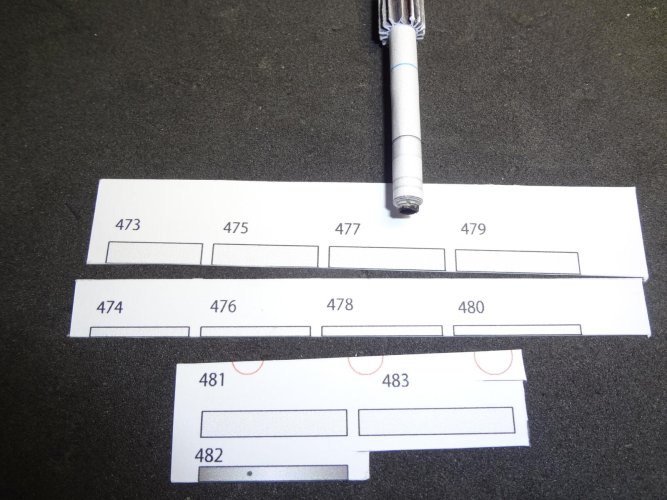
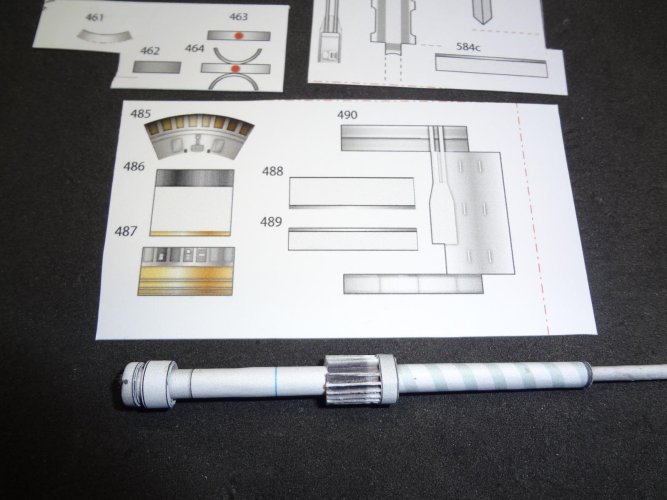
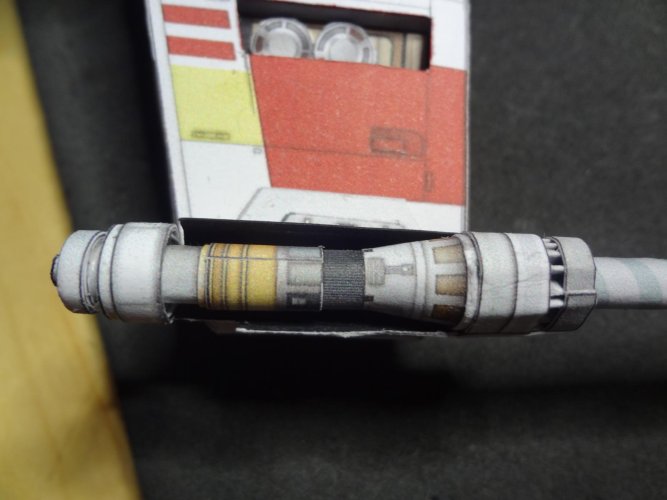
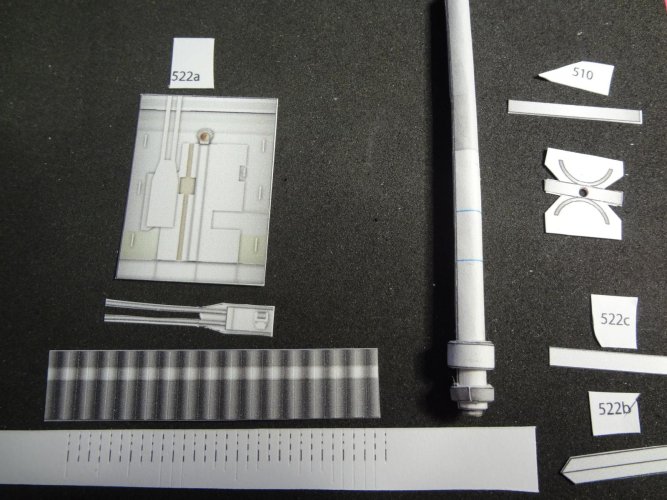
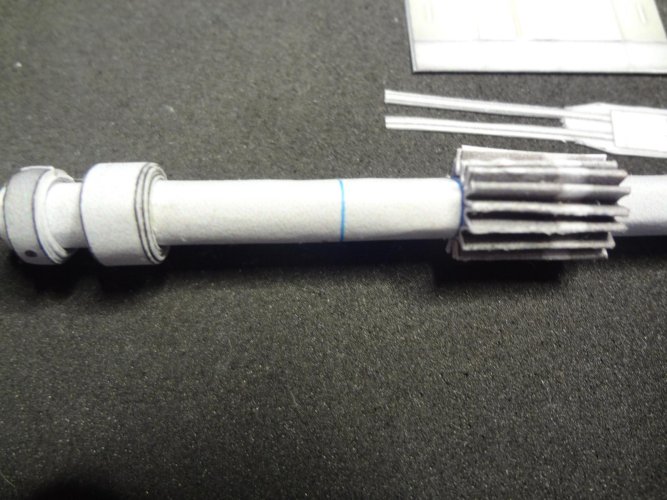
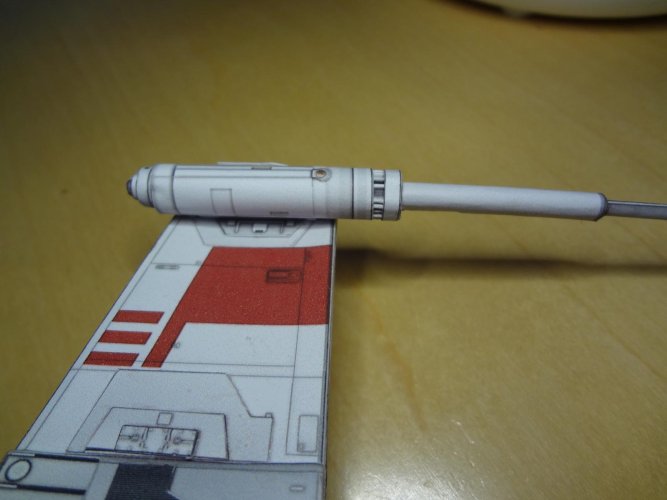
First laser (open) finished - three more to follow. That was a fiddly job...
Attachments
-
 K1600_DSC05073.JPG145.7 KB · Views: 4
 -
 K1600_DSC05074.JPG302.5 KB · Views: 4
 -
 K1600_DSC05075.JPG260.9 KB · Views: 2
 -
 K1600_DSC05082.JPG301.7 KB · Views: 2
 -
 K1600_DSC05084.JPG267 KB · Views: 2
 -
 K1600_DSC05086.JPG179.6 KB · Views: 2
 -
 K1600_DSC05087.JPG384.9 KB · Views: 2
 -
 K1600_DSC05088.JPG226.7 KB · Views: 3
 -
 K1600_DSC05089.JPG100.6 KB · Views: 3
 -
 K1600_DSC05090.JPG279.3 KB · Views: 3
 -
 K1600_DSC05092.JPG213 KB · Views: 4
 -
 K1600_DSC05094.JPG306.7 KB · Views: 4
 -
 K1600_DSC05095.JPG213.3 KB · Views: 4
 -
 K1600_DSC05096.JPG235.4 KB · Views: 4
 -
 K1600_DSC05097.JPG135.6 KB · Views: 4
 -
 K1600_DSC05098.JPG195.3 KB · Views: 4

THE DC
Highly Esteemed Member
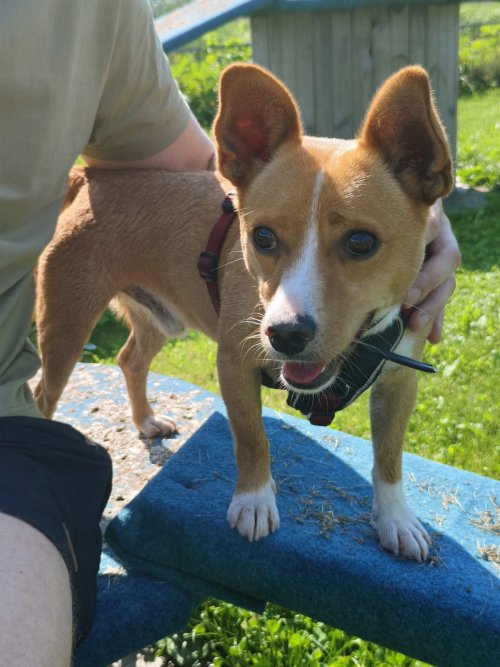
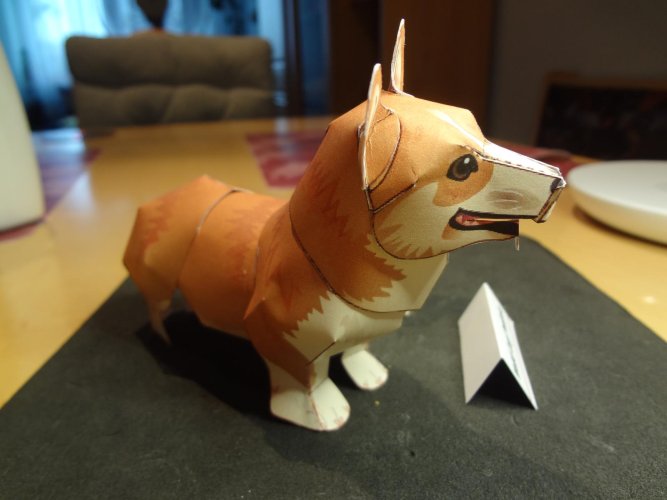
a little something to relax in between (my son's dog, a Corgensi - a cross between a Corgi and a Basengi)...
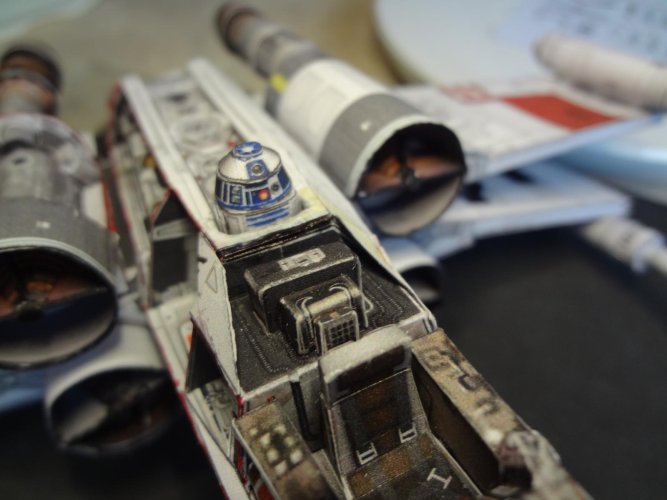
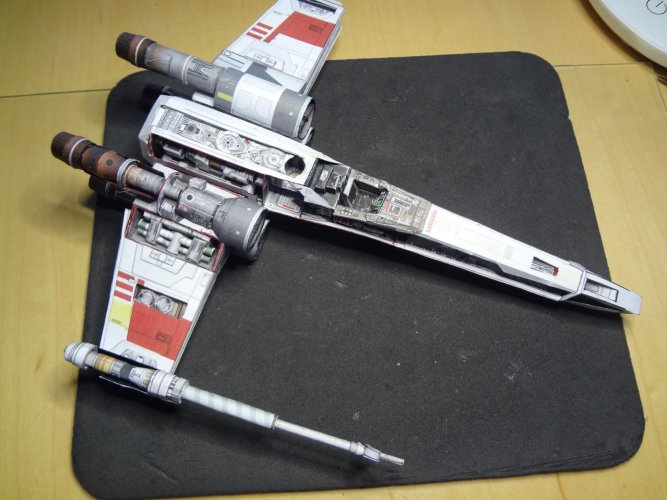
Let's continue with the X-Wing.
Let's continue with the X-Wing.
Attachments
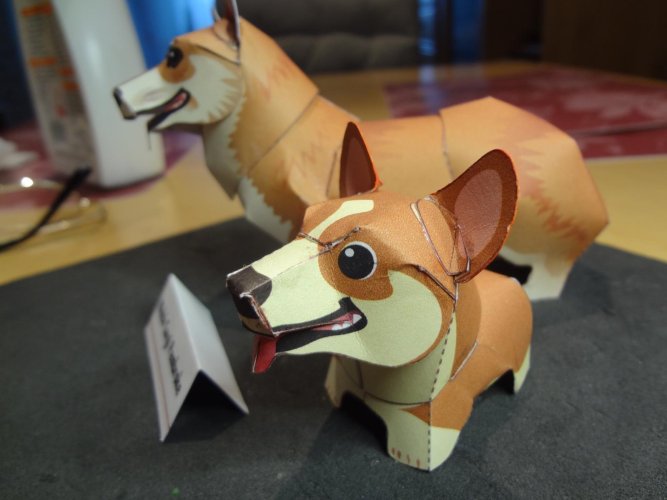
These models are looking great.a little something to relax in between (my son's dog, a Corgensi - a cross between a Corgi and a Basengi)...
Let's continue with the X-Wing.
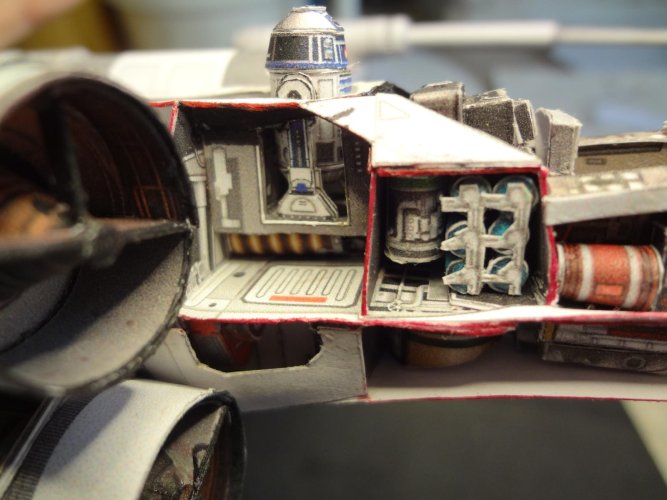
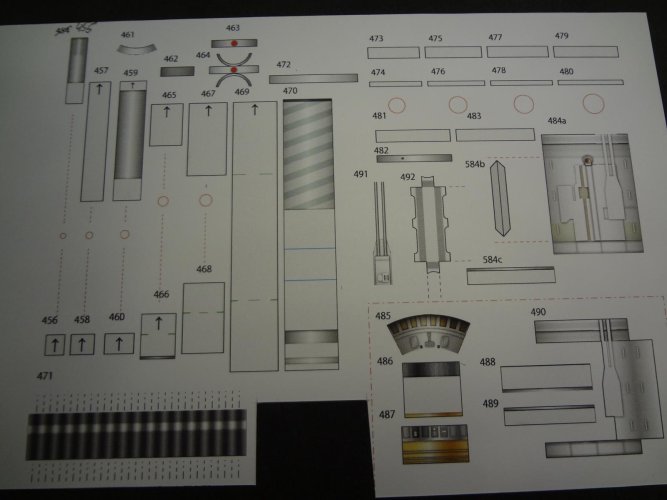
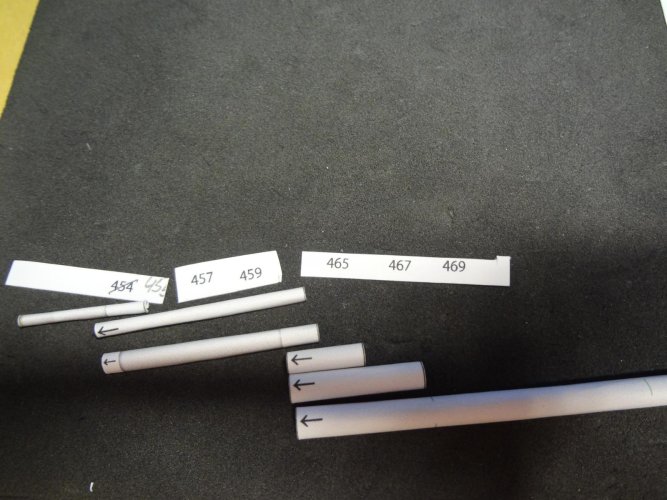
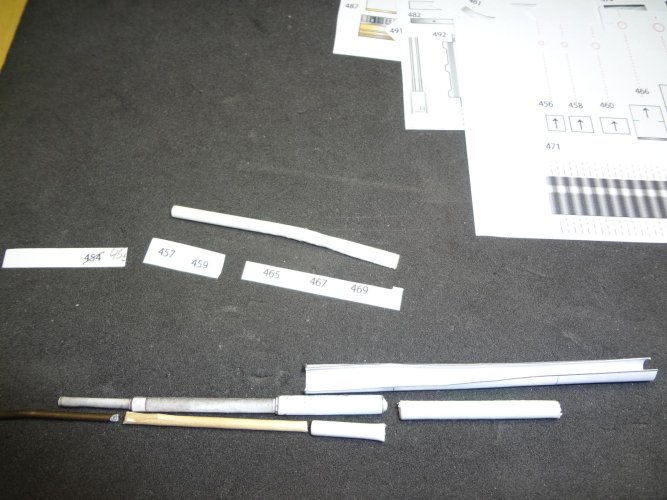
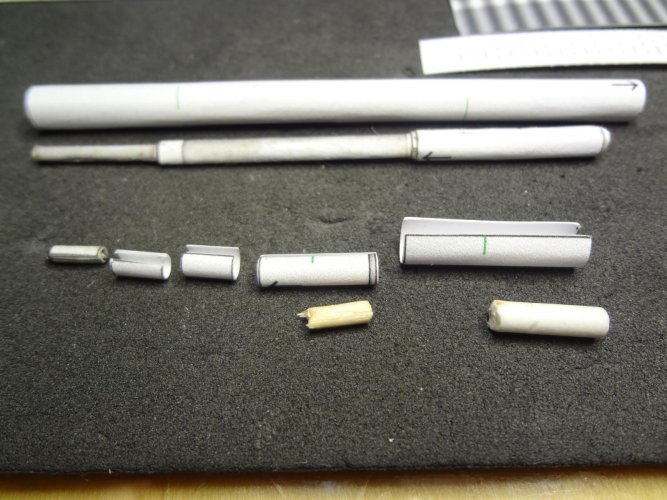
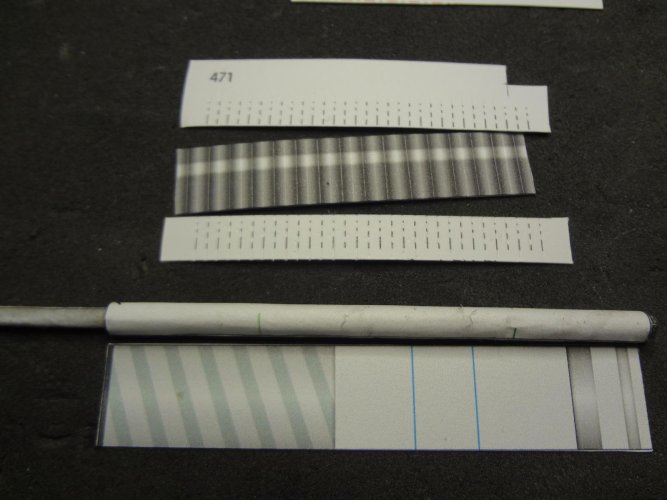
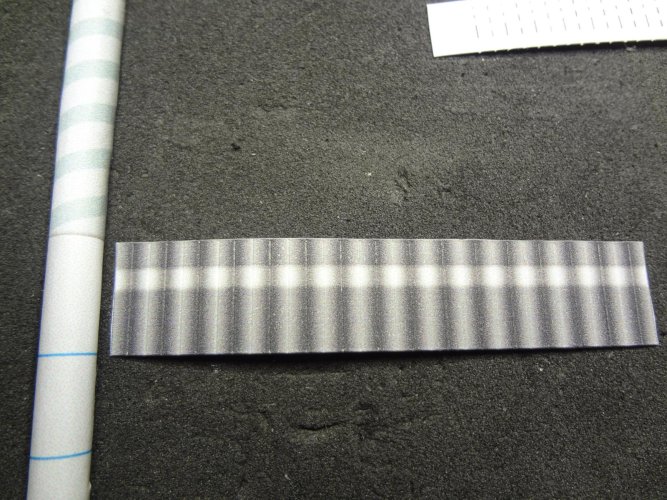
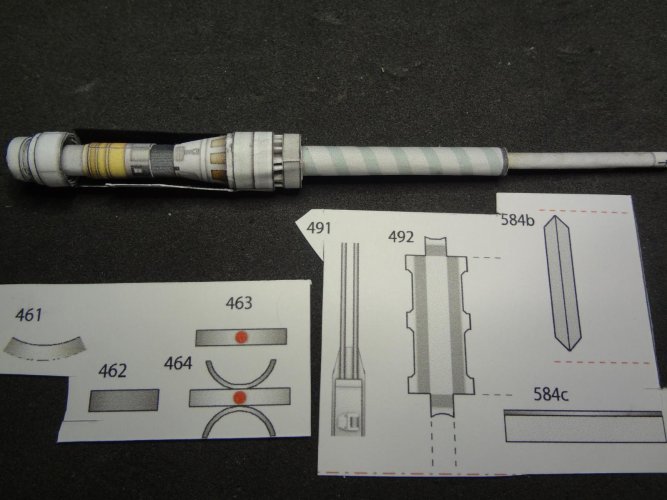
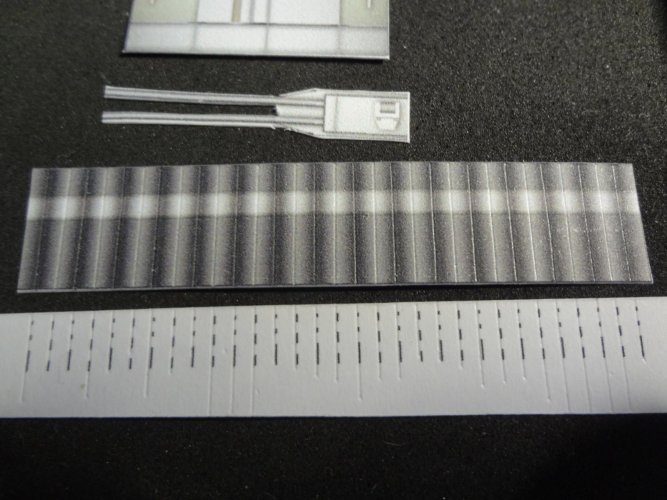
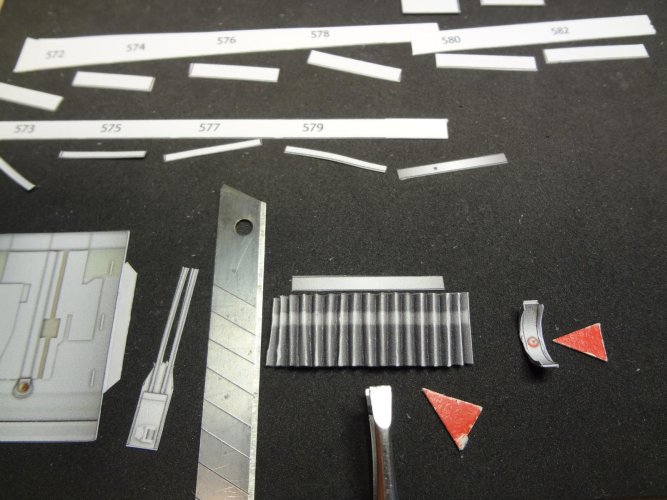
Laser top left. Now the two lower ones... Important tip: always attach an inner stiffener corresponding to the size of each part, otherwise it will look like spaghetti.
Attachments
-
 K1600_DSC05106.JPG147.6 KB · Views: 2
 -
 K1600_DSC05107.JPG146.7 KB · Views: 2
 -
 K1600_DSC05108.JPG298.8 KB · Views: 2
 -
 K1600_DSC05109.JPG226.8 KB · Views: 2
 -
 K1600_DSC05110.JPG239.5 KB · Views: 2
 -
 K1600_DSC05111.JPG131.9 KB · Views: 2
 -
 K1600_DSC05112.JPG131.3 KB · Views: 2
 -
 K1600_DSC05113.JPG151.7 KB · Views: 2
 -
 K1600_DSC05114.JPG184.9 KB · Views: 2
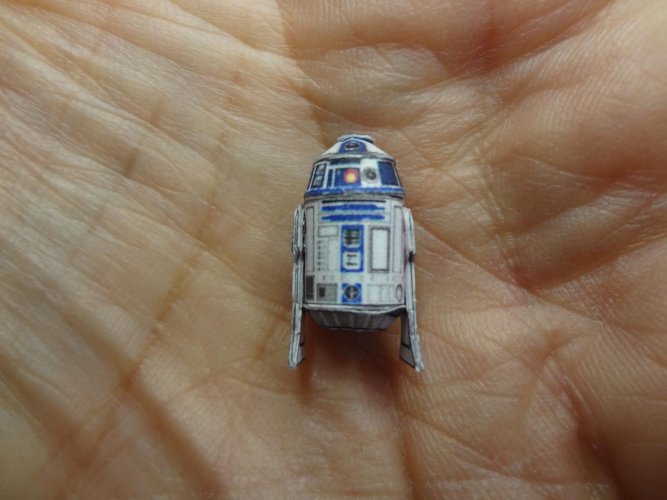
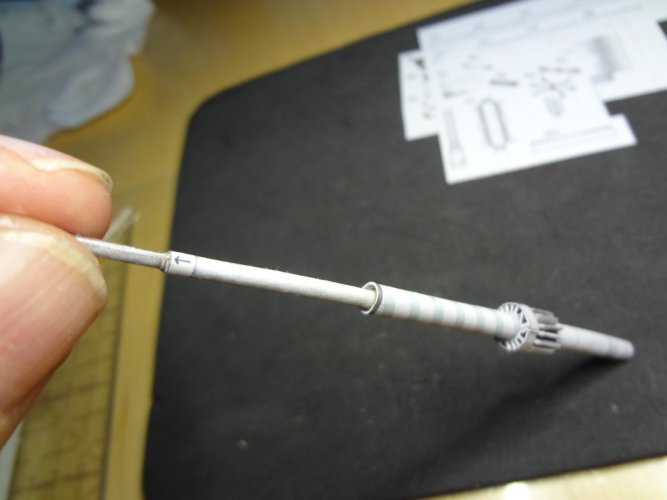
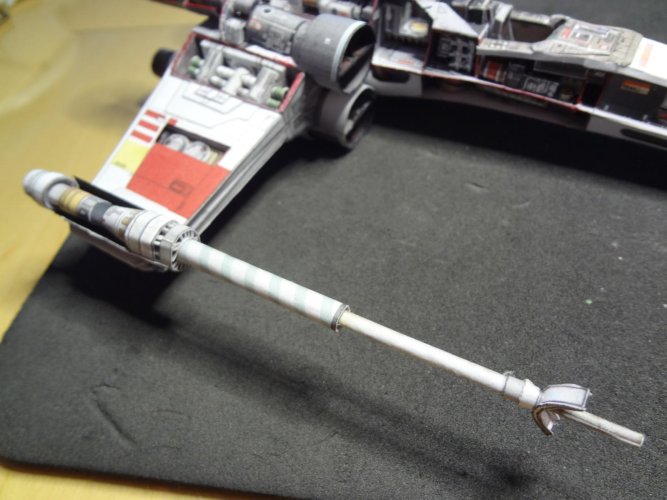
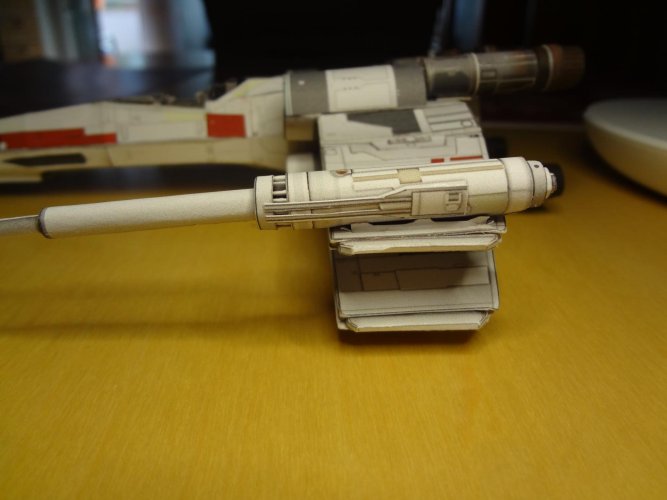
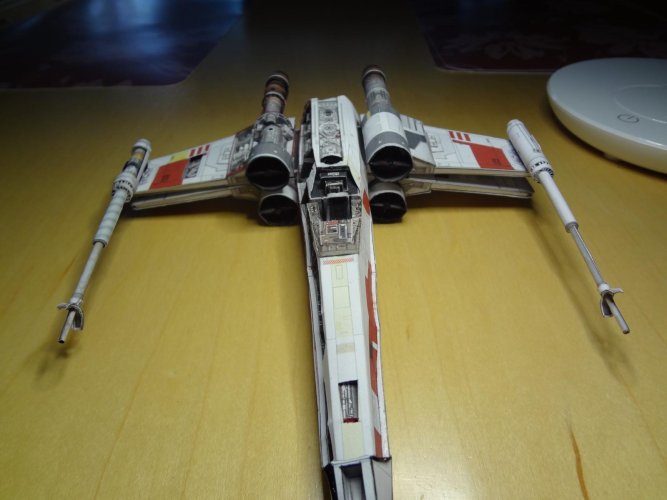
the four lasers are ready. The parts marked in red are difficult to make, although it doesn't look like it. Next course - R2D2. There's a red one and a blue one, I'll do both...
Attachments
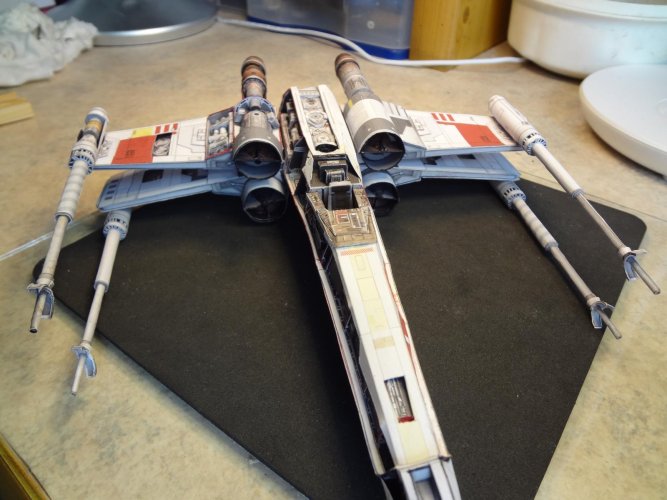
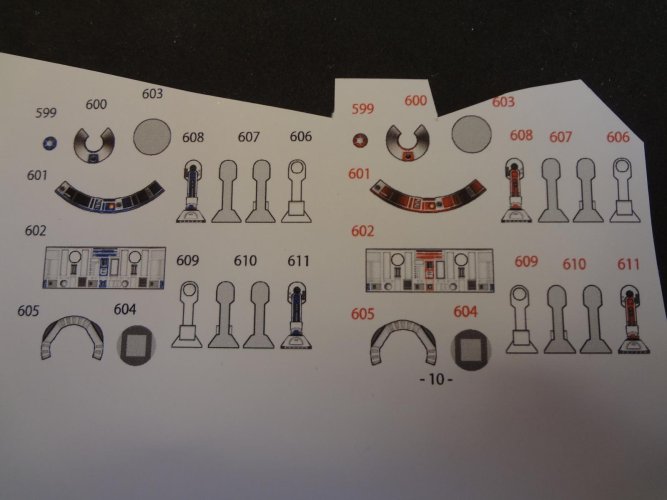
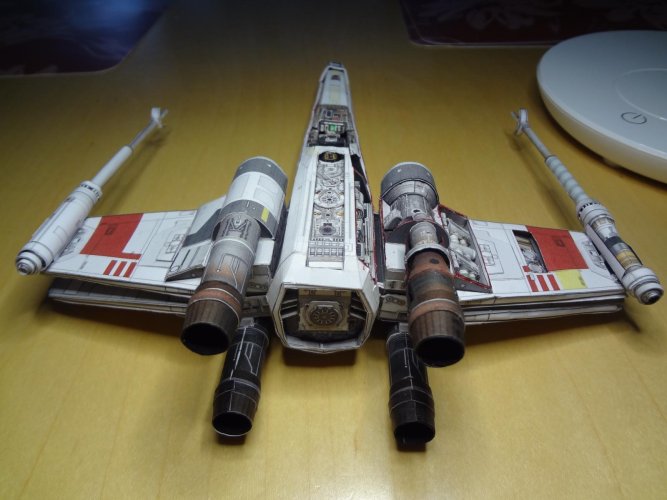
R2D2 is ready... Finally, the cockpit cover and a few finishing touches with a fineliner, perhaps later with the airbrush. I still have to come up with the corresponding base.