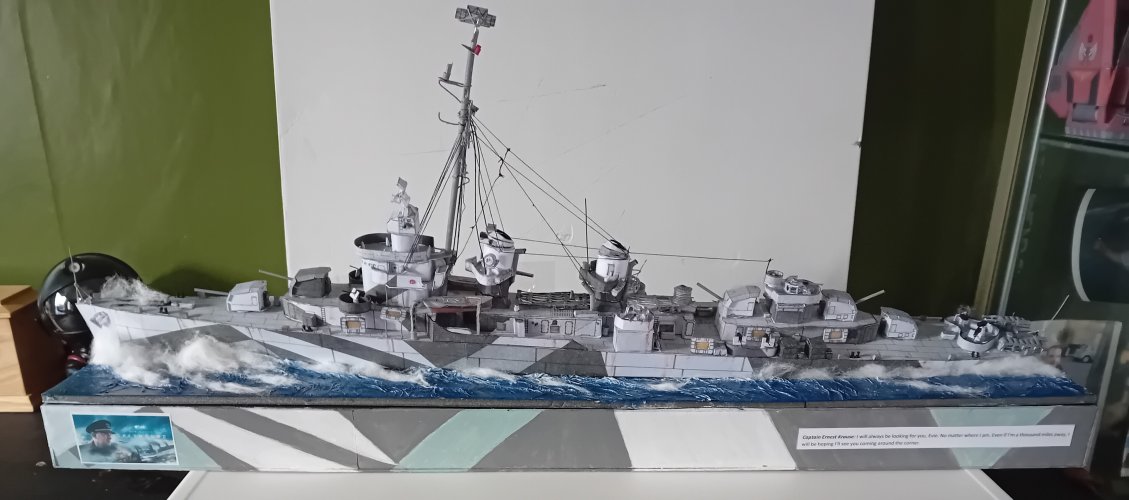
Greyhound

Since you are doing a build thread, when you're done building it You can post the link in your last post you. It That is only allowed on commercial models that have a complete build thread, a one time commercial link post. Just wished to make the policy clear. Your build thread would be a service to anyone who may wish to build the model. :)
 
Since you are doing a build thread, when you're done building it You can post the link in your last post you. It That is only allowed on commercial models that have a complete build thread, a one time commercial link post. Just wished to make the policy clear. Your build thread would be a service to anyone who may wish to build the model. :)
much appreciated, hopefully others will be able to enjoy the kit too :toast:
 
  • Love
Reactions: micahrogers
so quick update - ive done the bulk of the rigging to as much detail as i can, having had to restart it from scratch as the thread just would not sit right. The second torpedo launcher is mounted and so im on the final stretch..... rear AA guns, anchors/chain, ships boats & radar and that should be pretty much it - I will be attempting the railings but my printer has just crapped out on me so ill be printing the jig in the week upon delivery of a new one. Almost......almost.........:animated:
lol pics to follow
 
some pics of the latest progress: I used a white background (roughly lol) to show the rigging better, and did a few pics along the length of the ship to show it all so far. Still got bits to do as per previous post, will be mounting the ships boats in place later - i scratch made the two lift posts for each boat as the instructions suggested something flimsier so i used greyboard and mounted these onto a base cut from a card lollipop stick (for the rotating bracket) The torpedo tubes are in place - i may see if i can scratch build the torpedo loader that sits behind it on the lower deck (used to lift the torpedos up to the launcher) these were v e r y flimsy (as you can probably tell) but came out ok. When sorting out the rigging i had to be a bit creative with fixing it in place as there are no mounting points on the model - so i tied 8 lengths of thread to a cut down tooth pick before fixing it in place at the lower rear bridge/mast, then tied these off in their spots at the top of the mast. Rigging also runs from here (the base/toothpick) up where it splits between two cable/threads that run down to the rear stack, along to the front stack, and back up to the outer top mast (one each side) then we have one length that goes from the top centre mast, down toward the rear stack that splits to either side - this also had to be attached to a trimmed down toothpick and fixed in place. (i apologise if my explanations are a bit confusing lol)
The last bits of rigging run forward from the top outer mast down to either side of the bridge - again no mounting points are included so checking reference pics i noted these cables run to a bracket on each side of the bridge (real thing) so again i represented these with a toothpick fixed through the bridge at the appropriate place to allow me to tie the threads in place. After this all the added bits were painted and tidied up - again for any purists i apologise but first time and all lol :hammerhead: 
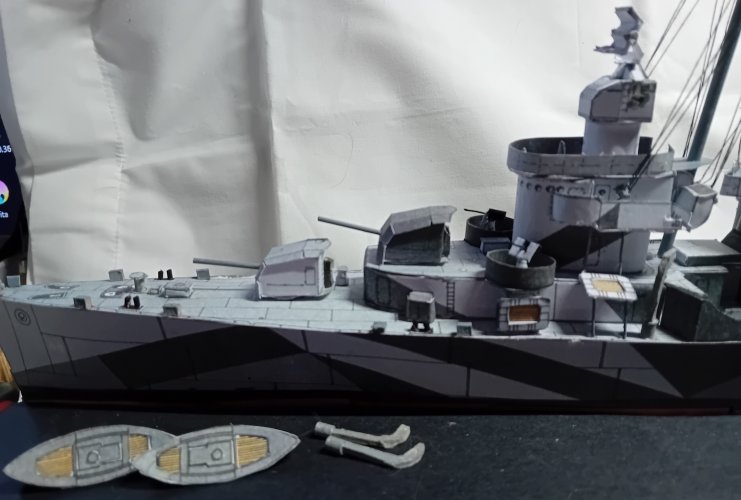
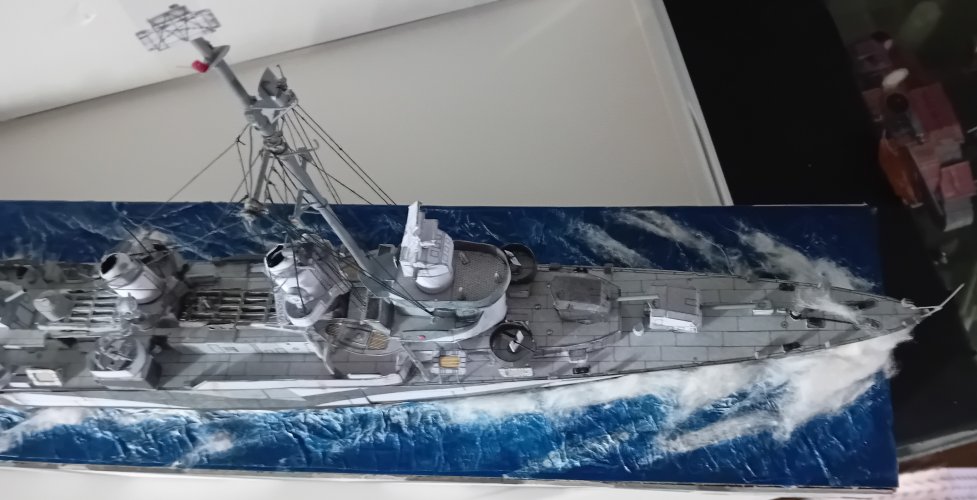
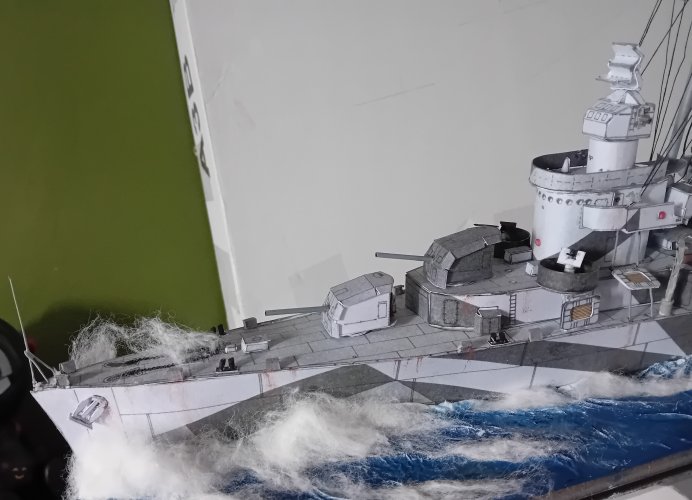
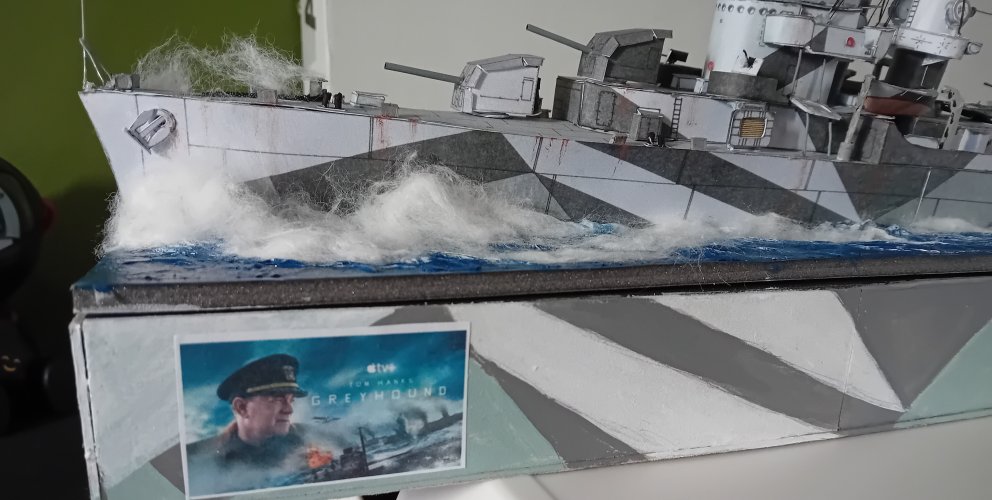
so heres the pics for now, next onto the two rear AA guns, boats, radar, ladders etc but very close to the finish now (just the display base to do then)
 

Attachments

  • 20240906_164135.jpg
    20240906_164135.jpg
    1.9 MB · Views: 5
  • 20240906_164144.jpg
    20240906_164144.jpg
    1.4 MB · Views: 4
  • 20240906_164152.jpg
    20240906_164152.jpg
    609.5 KB · Views: 4
  • 20240906_164159.jpg
    20240906_164159.jpg
    1 MB · Views: 4
  • 20240906_164205.jpg
    20240906_164205.jpg
    1,022.5 KB · Views: 4
  • 20240906_164211.jpg
    20240906_164211.jpg
    1,022 KB · Views: 4
  • 20240906_164216.jpg
    20240906_164216.jpg
    1.1 MB · Views: 5
  • 20240906_164226.jpg
    20240906_164226.jpg
    1,003.3 KB · Views: 5
Wow this looks very good.
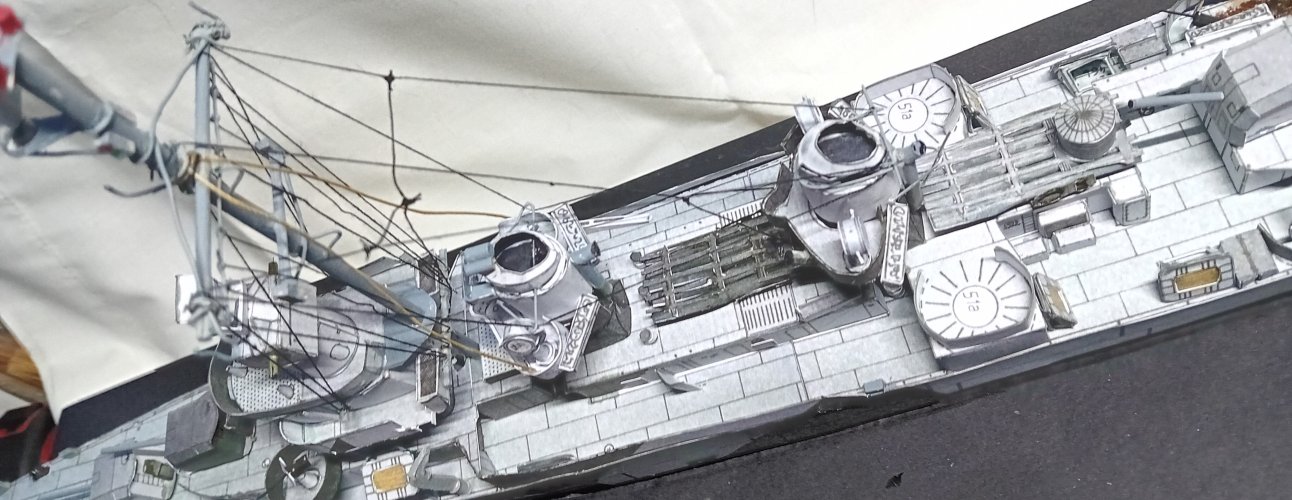
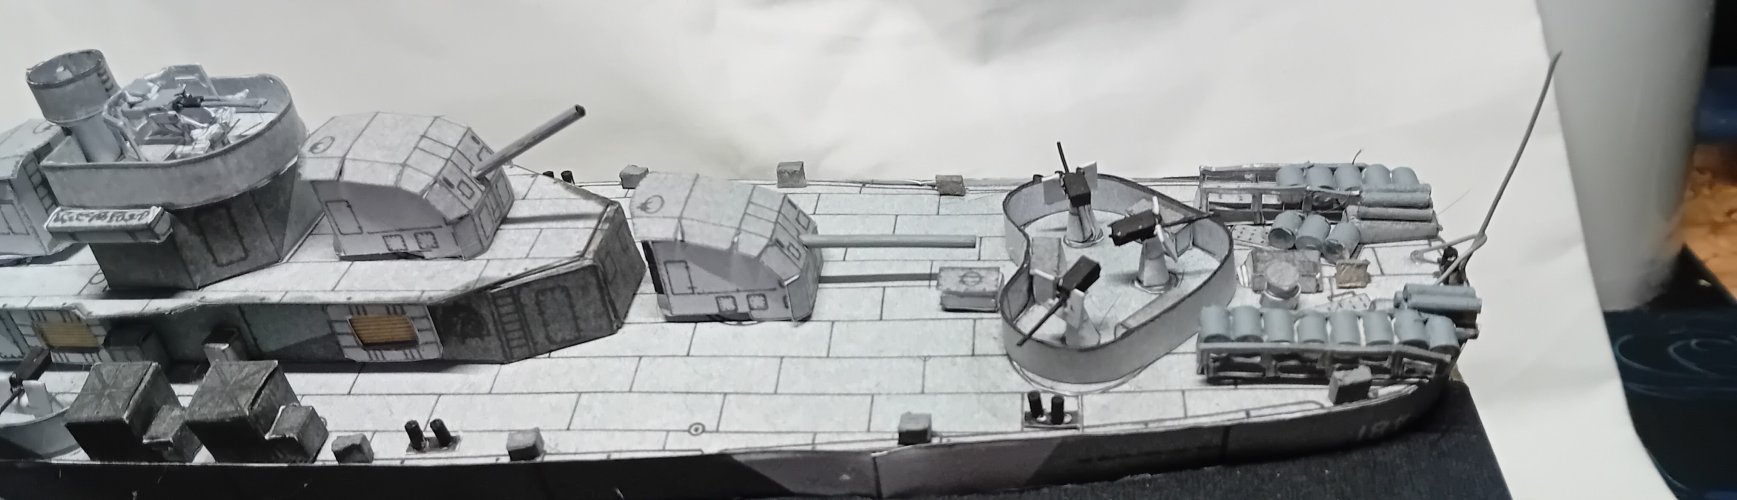
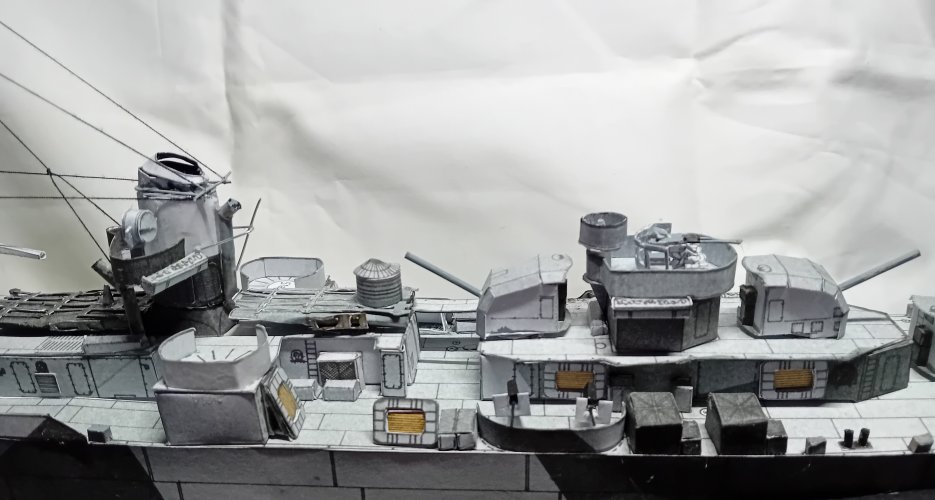
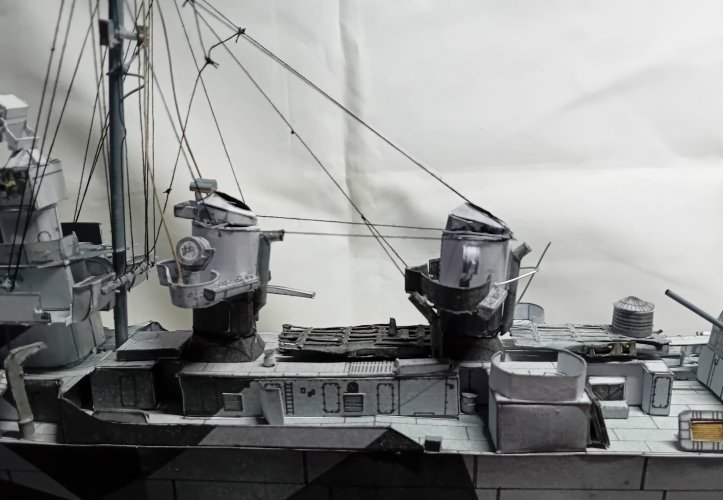
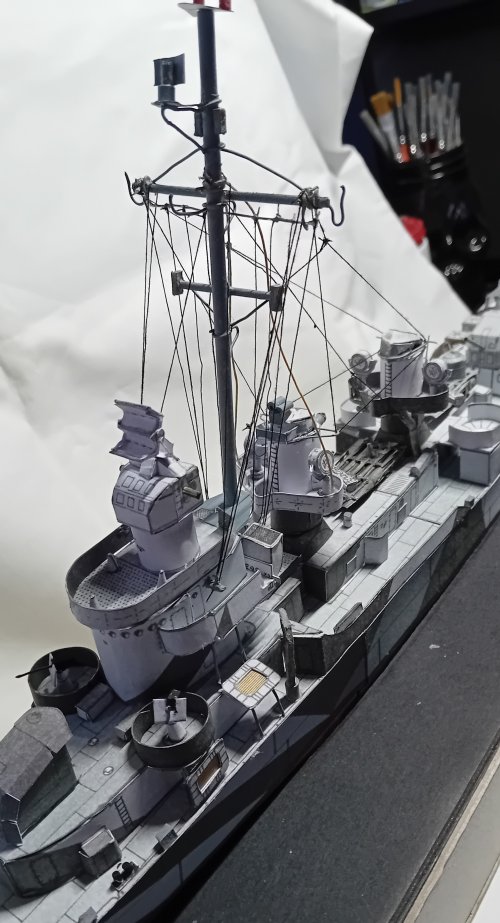
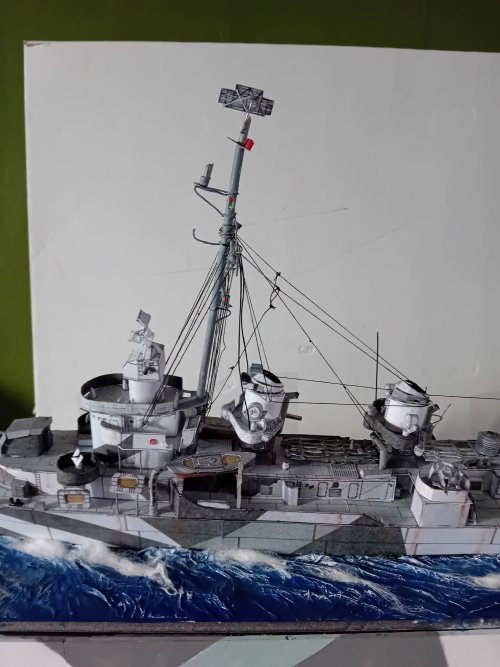
ill have some more pics soon, the boats are mounted in place (sadly no room for further rigging on these) radar built and mounted atop the mast and a final piece of rigging added (from rear stack to rear AA gun mount) Looking at some reference pics i noted there was also a large antenna mounted at the front of the rear stack so that has also been added. 2 rear AA guns to go, and finishing touches......:eek::wink:
 
So after a brief pause due to (you guessed it) health issues, ive managed to finish the Greyhound build as much as i can for now. This kit was involved, midway accurate and generally great to do. This was my first foray into (modern) card ship kits, and i look forward to doing another down the line. I made use of reference material to nudge the details in the right direction and tried my best to add detail where i could. Where painting was done i used Vallejo acrylics, fixing was done with PVA and superglue. Rigging was done with thread - the last detail to do is the railings which are also thread, using a jig template - the thread is supposed to be secured with PVA but my last attempt was less than successful so i will try again. During the build i had an idea for the display to show the ship at sea, underway, having been in action. The ship was mounted on a foamboard base that had the hulls shape cut out from the centre so it could sit roughly at the water line. When the build was almost done i set it in place with superglue and after adding some detail on the hull (rust streaks etc) i did the water effects - a simple method using watered down PVA and layered tissue paper (built up to add effects) painted with acrylics then varnished and then for 'froth' i simply used cotton. Overall a big learning curve but if someone wants to try one give it a go (if i can anyone can lol) there are numerous card kits from many many brands out there and with a bit of time and research your build will come out great.
So........the pics - enjoy! :toast:
 

Attachments

  • 20240915_164220.jpg
    20240915_164220.jpg
    951 KB · Views: 5
  • 20240915_164216.jpg
    20240915_164216.jpg
    1.3 MB · Views: 4
  • 20240915_164211.jpg
    20240915_164211.jpg
    1.1 MB · Views: 4
  • 20240915_164159.jpg
    20240915_164159.jpg
    1.5 MB · Views: 4
  • 20240915_164156.jpg
    20240915_164156.jpg
    1.6 MB · Views: 4
  • 20240915_164152.jpg
    20240915_164152.jpg
    1.1 MB · Views: 4
  • 20240915_164136.jpg
    20240915_164136.jpg
    1.6 MB · Views: 4
  • 20240915_164131.jpg
    20240915_164131.jpg
    1.2 MB · Views: 4
  • 20240915_164114.jpg
    20240915_164114.jpg
    838 KB · Views: 4
  • 20240915_164106.jpg
    20240915_164106.jpg
    1.1 MB · Views: 4
  • 20240915_164102.jpg
    20240915_164102.jpg
    1.3 MB · Views: 5
  • 20240915_164058.jpg
    20240915_164058.jpg
    1.2 MB · Views: 5
  • 20240915_164052.jpg
    20240915_164052.jpg
    1.3 MB · Views: 5
  • 20240915_164047.jpg
    20240915_164047.jpg
    975.7 KB · Views: 5
  • 20240915_164040.jpg
    20240915_164040.jpg
    831 KB · Views: 5
  • 20240915_164035.jpg
    20240915_164035.jpg
    1 MB · Views: 6
Cotton wool froth looks the part, all round top job I'd say... if you can get the railings on then that will really pull this ship together.

Nice job, I would be happy with that
 
  • Love
Reactions: seraphim
Cotton wool froth looks the part, all round top job I'd say... if you can get the railings on then that will really pull this ship together.

Nice job, I would be happy with that
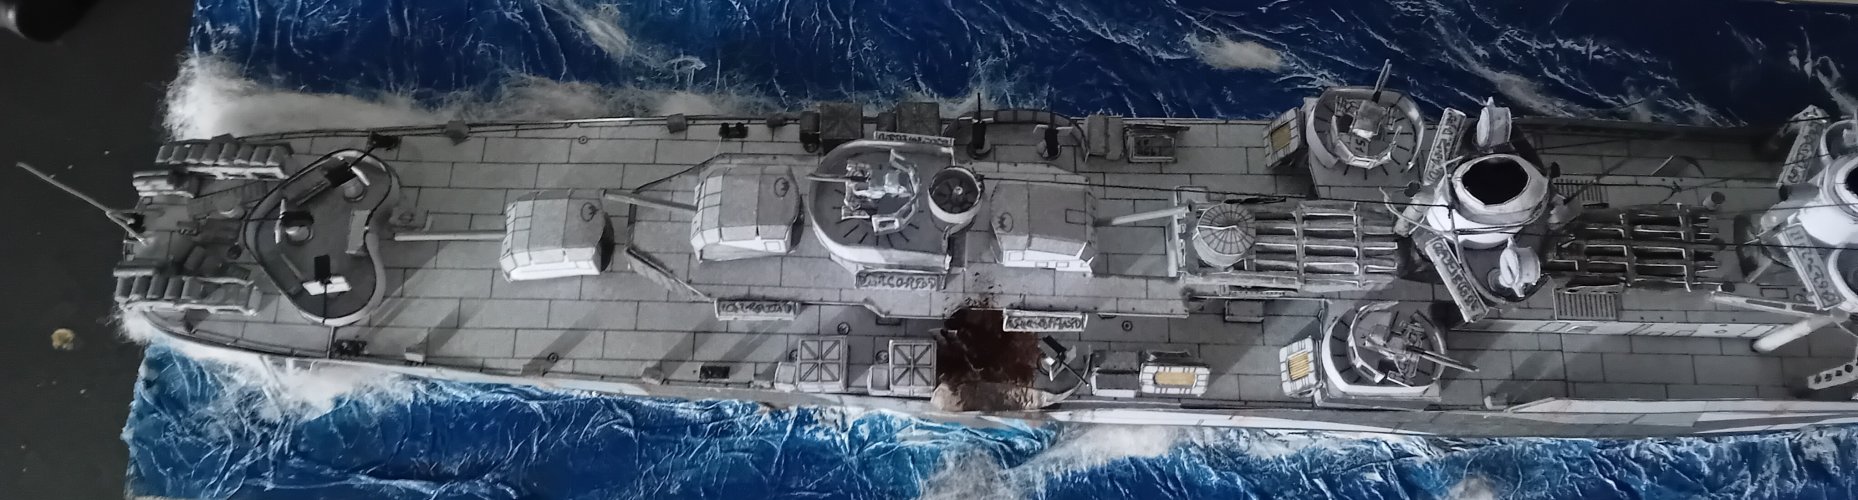
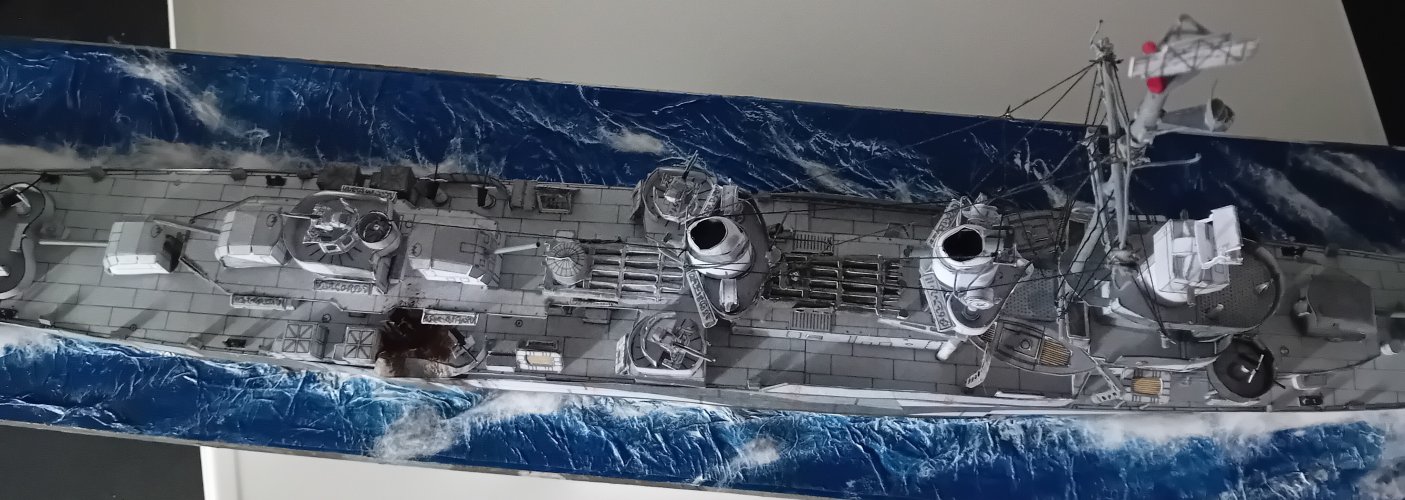
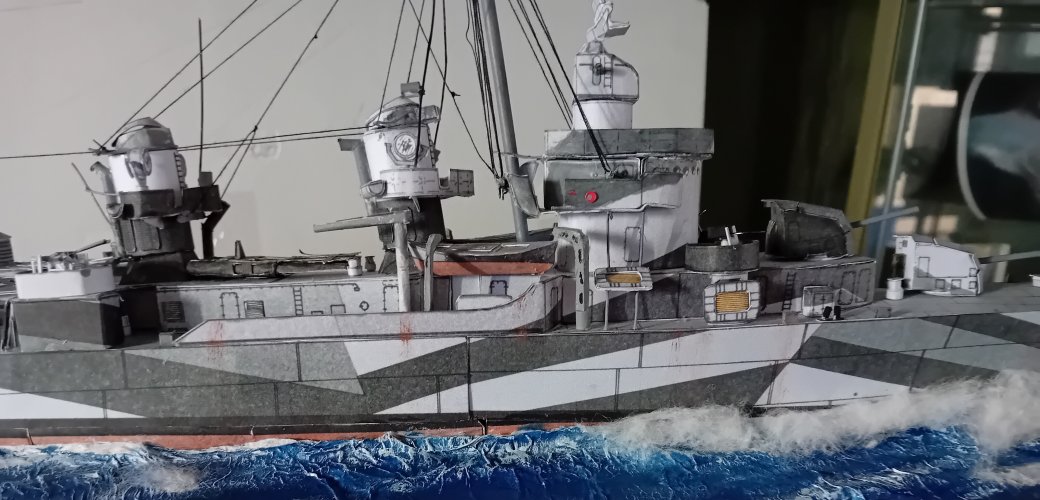
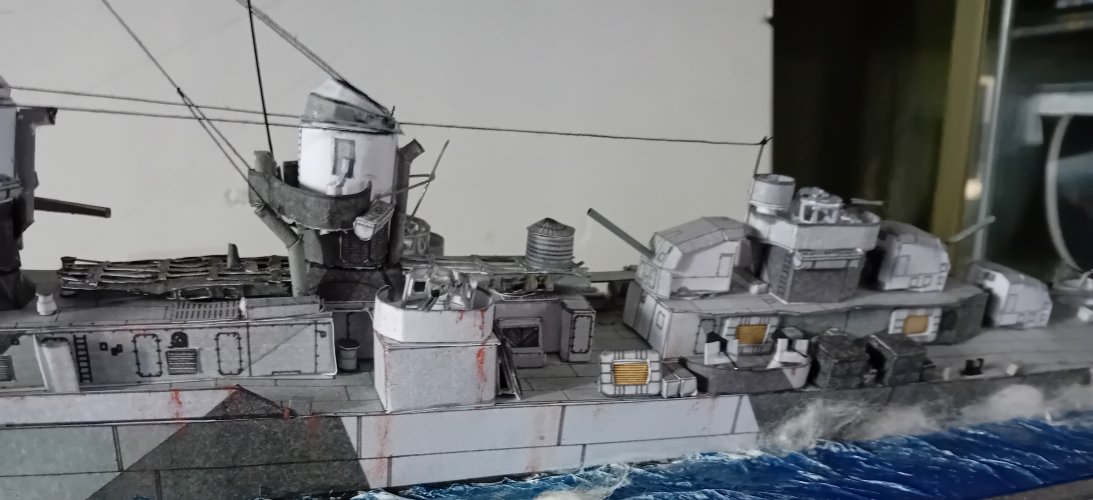
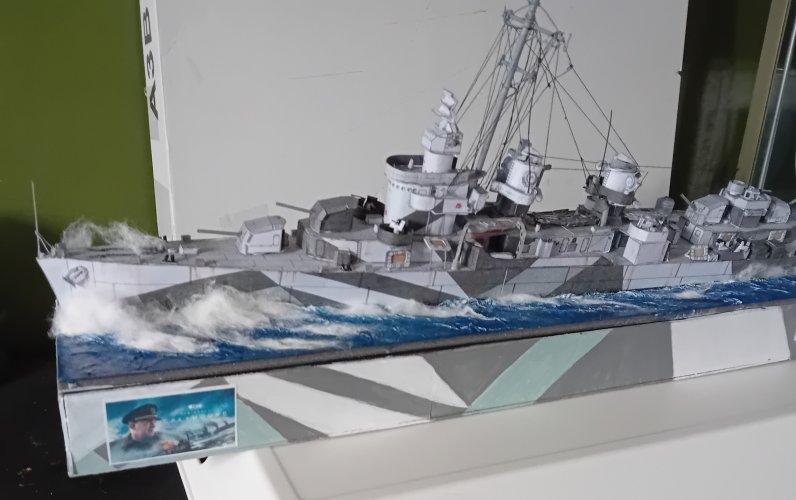
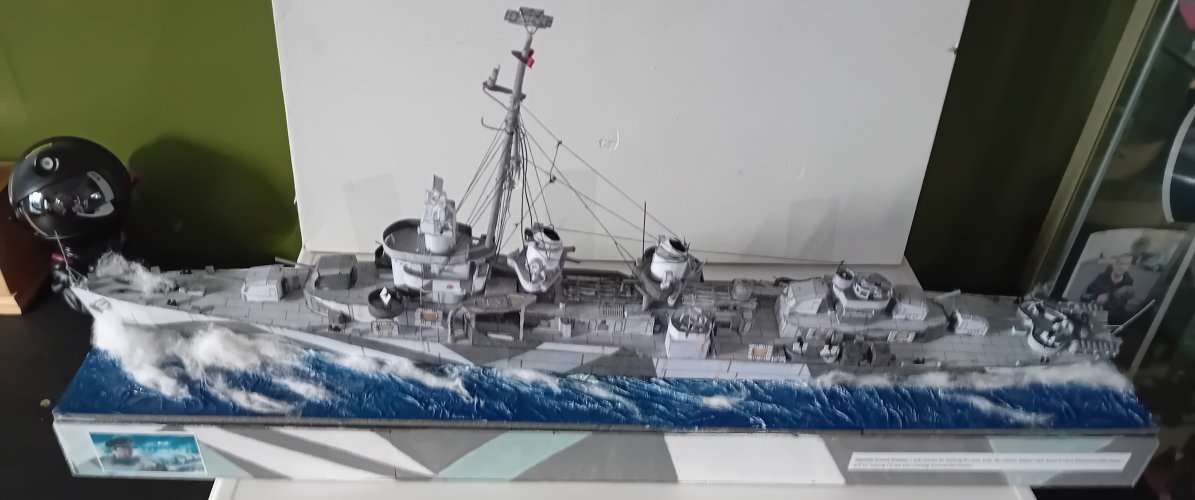
it came out better than i thought, the railings are wip but take practice :laughrolling: