X-WING (with movable wings & partial interior intention of the technology).
- Thread starter Walter2
- Start date
You are using an out of date browser. It may not display this or other websites correctly.
You should upgrade or use an alternative browser.
You should upgrade or use an alternative browser.
")
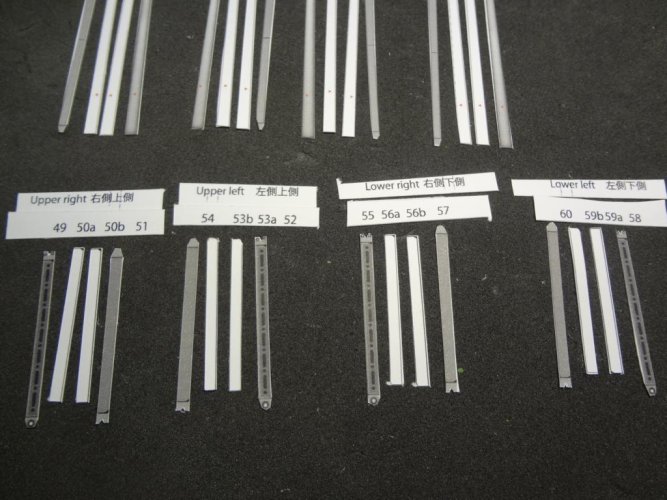
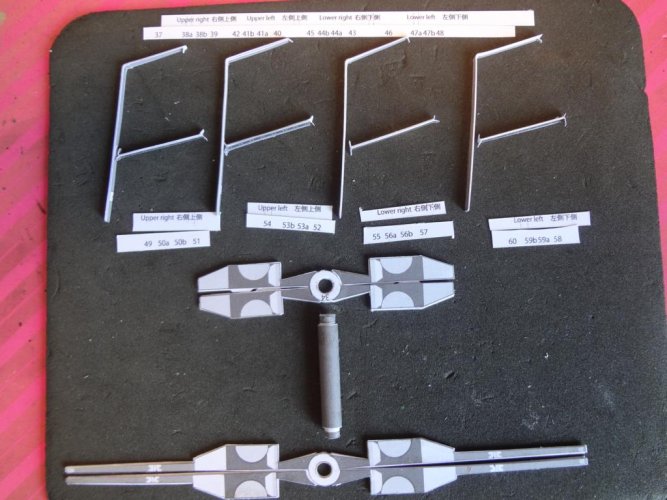
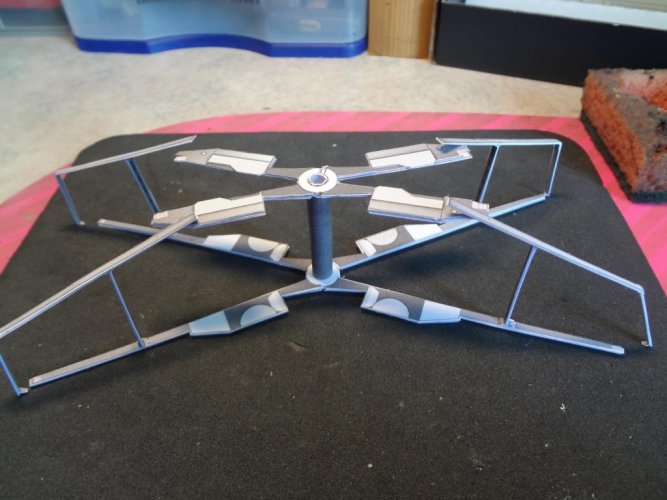
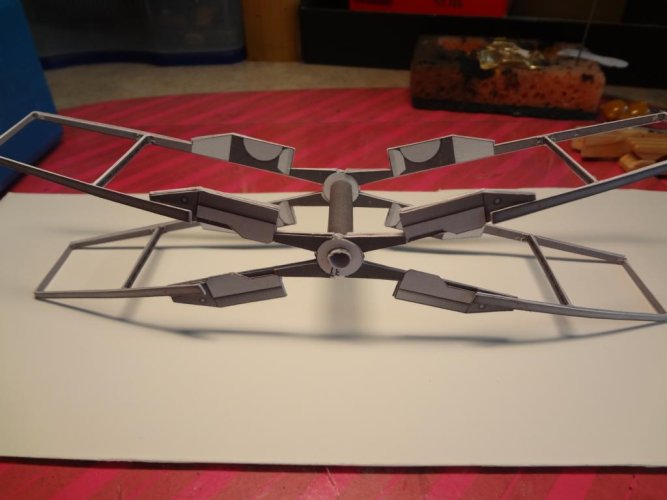
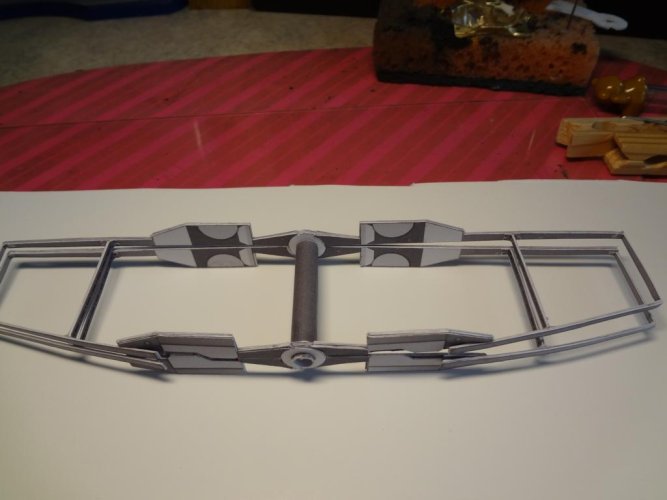
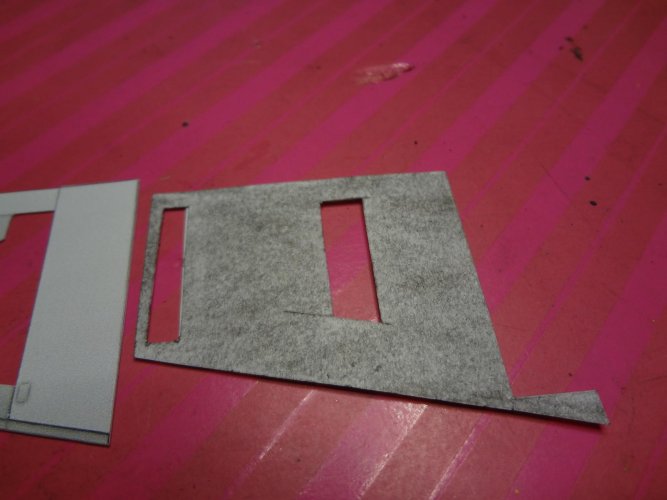
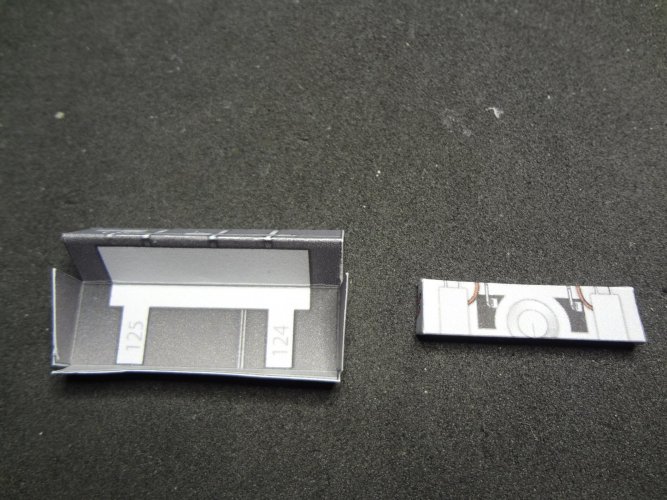
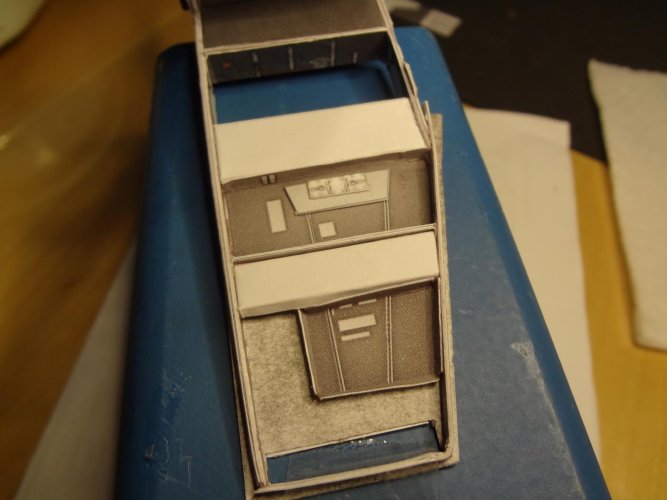
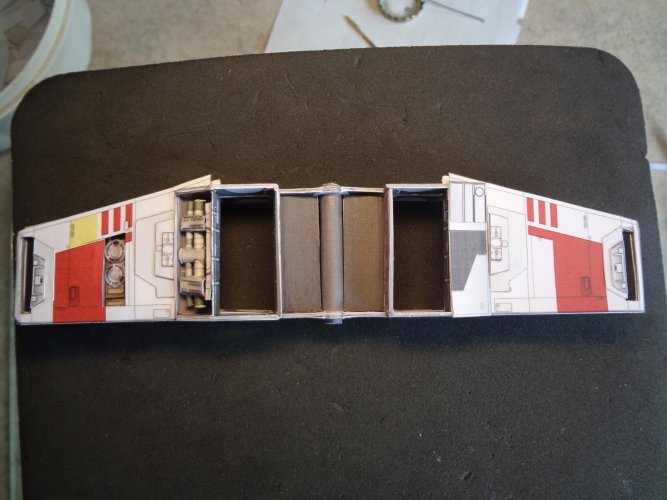
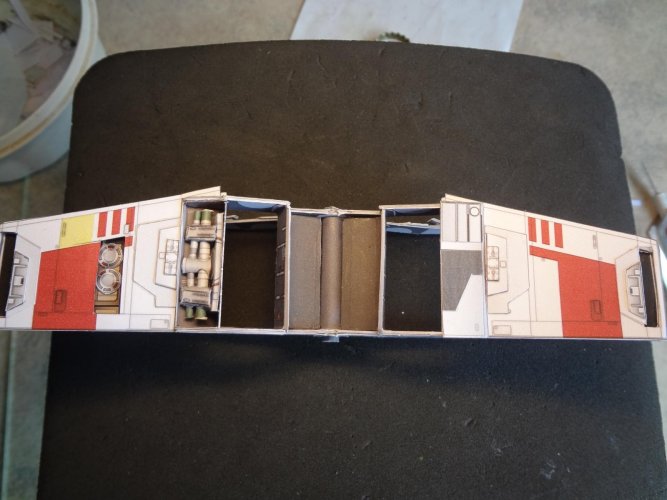
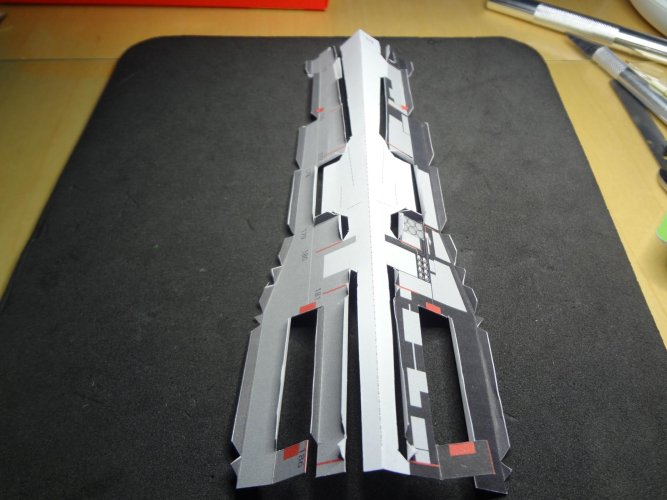
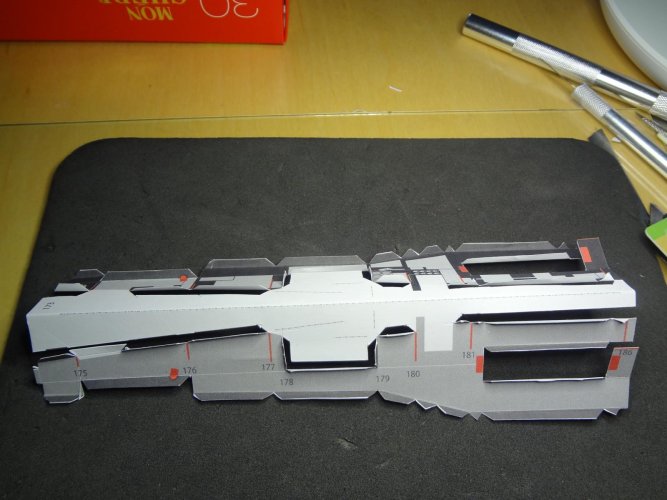
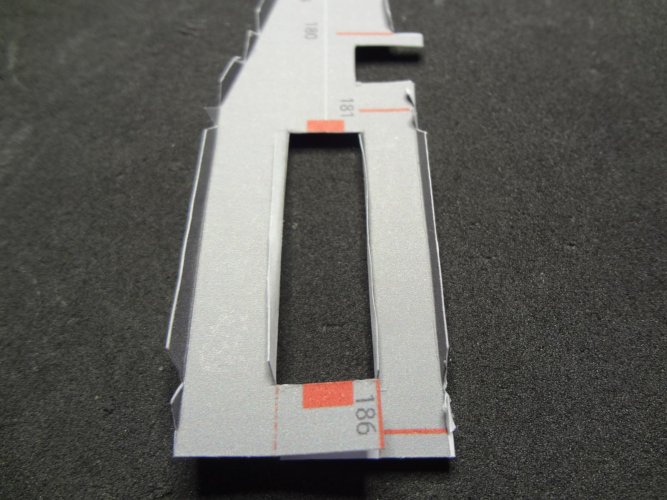
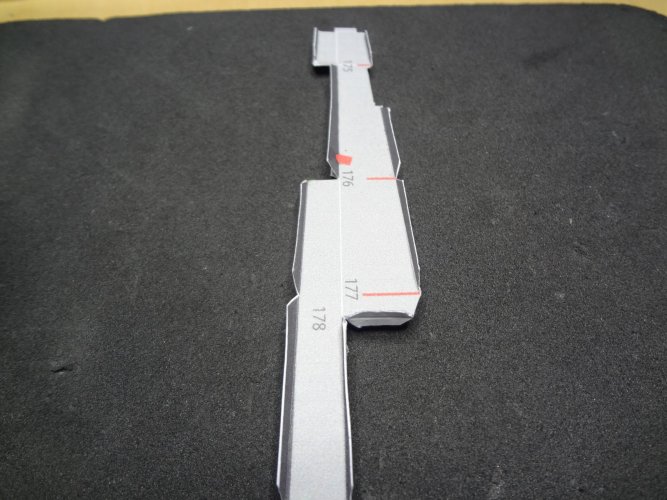
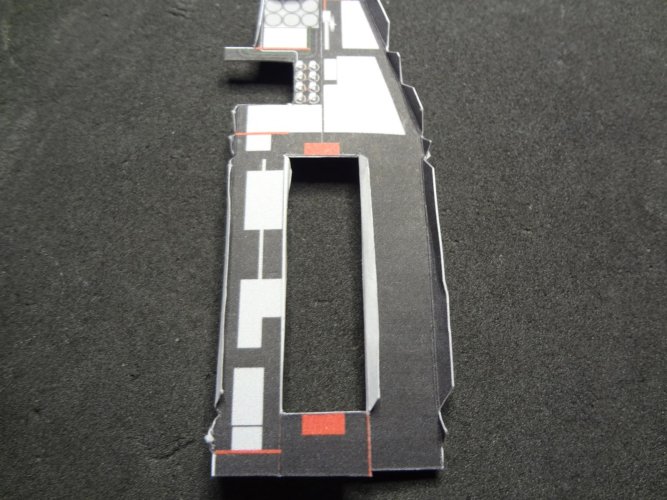
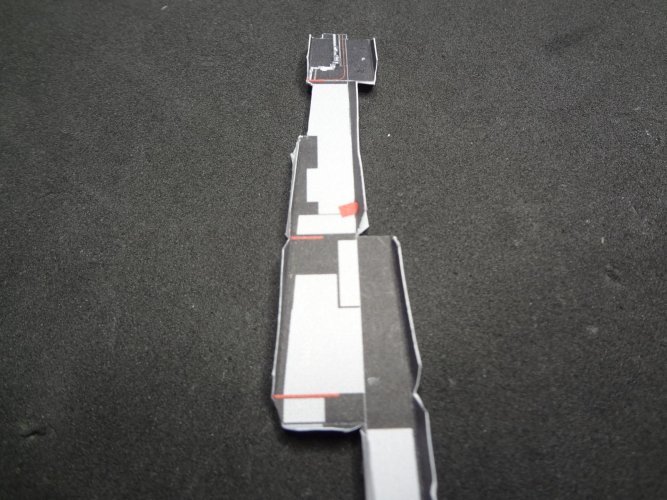
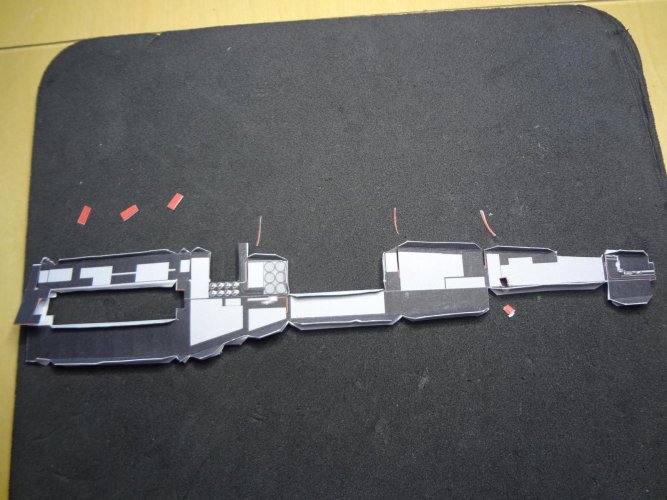
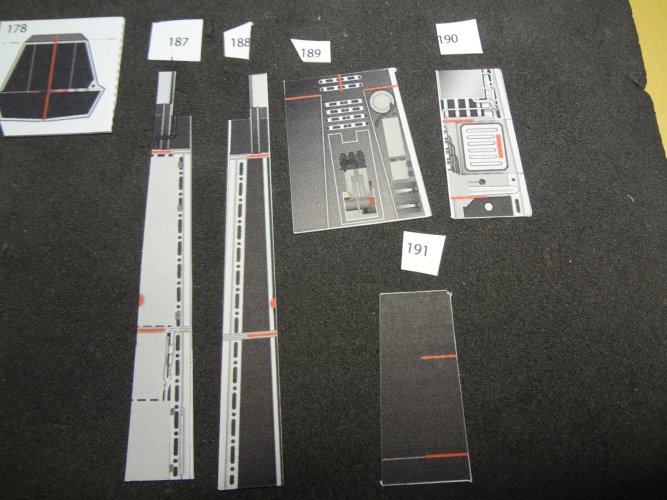
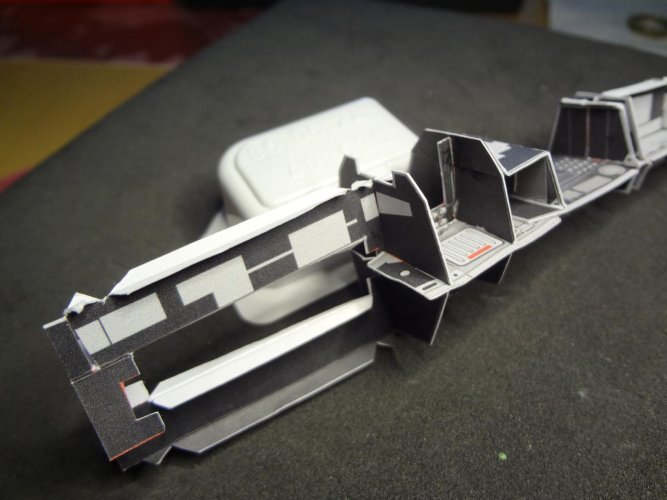
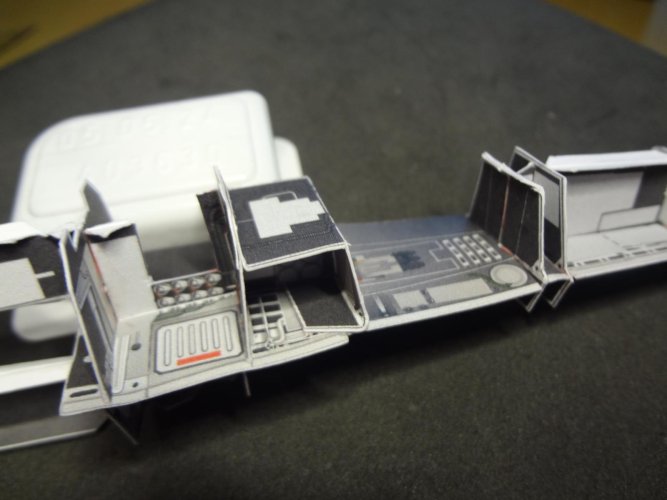
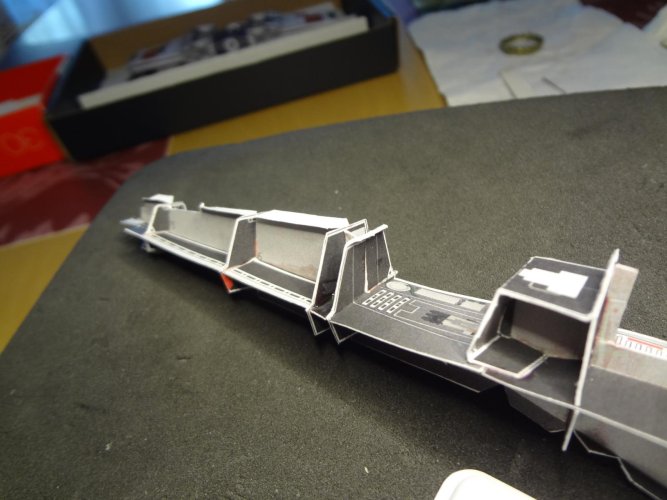
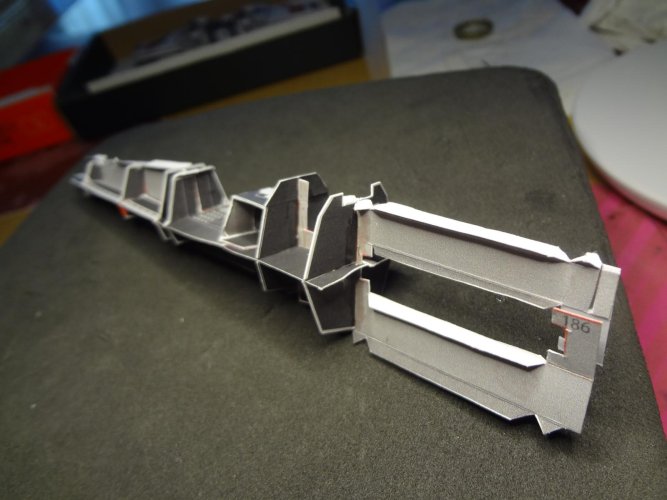
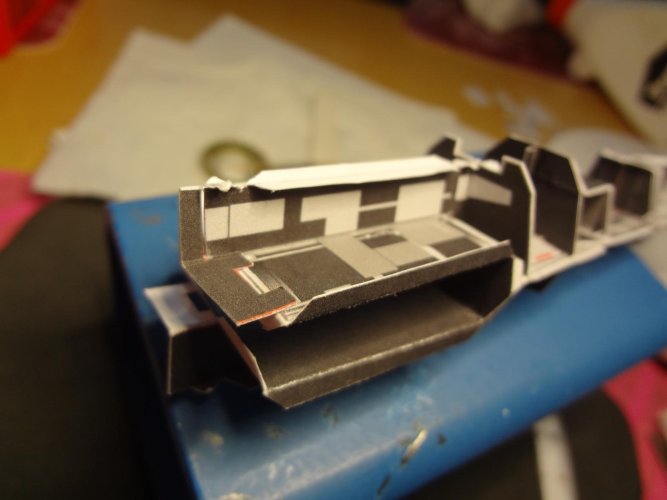
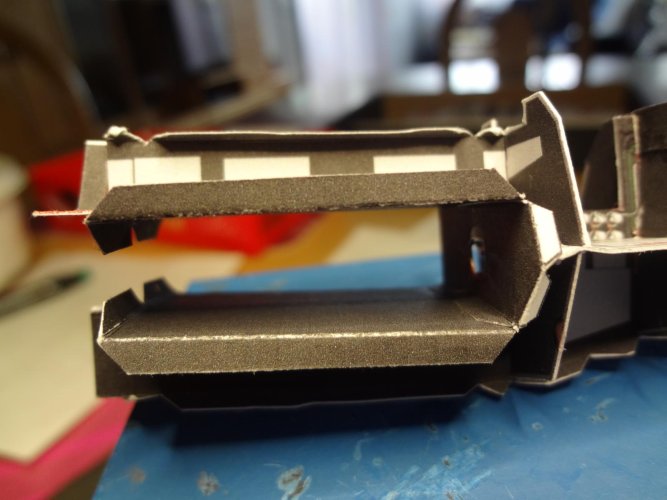
The base chassis is finished. After a long back and forth "what-how-where" I managed it. The only problem was that two changes were made to the "production plan" (for better stiffening), but these were only shown later (see pictures with the black parts and the frame).
Attachments
-
 K1024_DSC04779.JPG136.6 KB · Views: 5
 -
 K1024_DSC04780.JPG124.1 KB · Views: 4
 -
 K1024_DSC04781.JPG101.6 KB · Views: 4
 -
 K1024_DSC04782.JPG102.4 KB · Views: 5
 -
 K1024_DSC04785.JPG115.4 KB · Views: 5
 -
 K1024_DSC04786.JPG101.1 KB · Views: 5
 -
 K1024_DSC04787.JPG100.8 KB · Views: 5
 -
 K1024_DSC04788.JPG82.4 KB · Views: 5
 -
 K1024_DSC04789.JPG80.1 KB · Views: 5
 -
 K1024_DSC04790.JPG72.4 KB · Views: 5
 -
 K1024_DSC04791.JPG74.6 KB · Views: 4
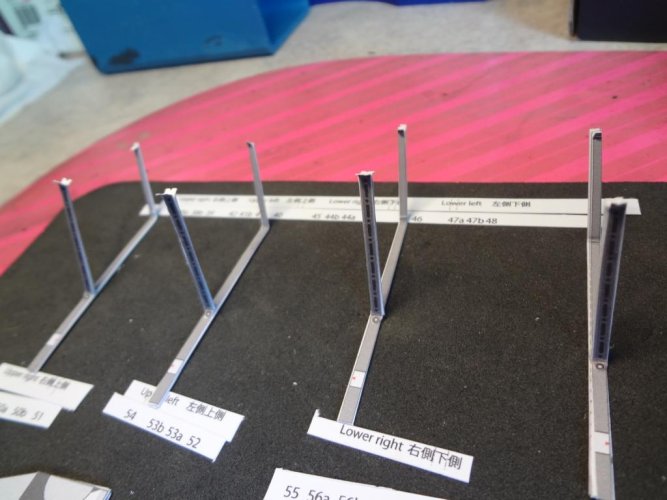
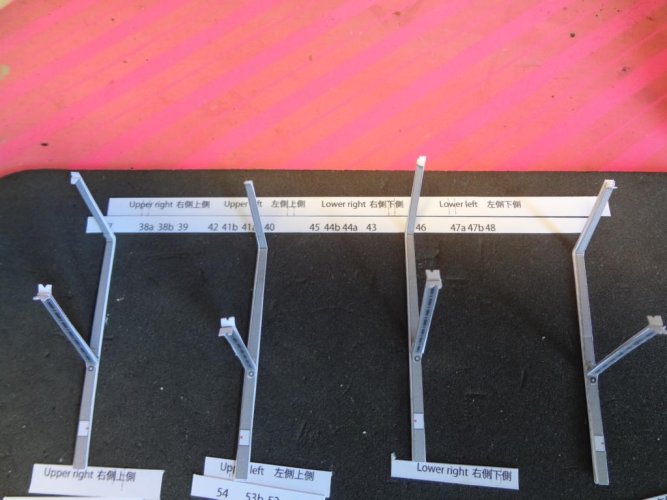
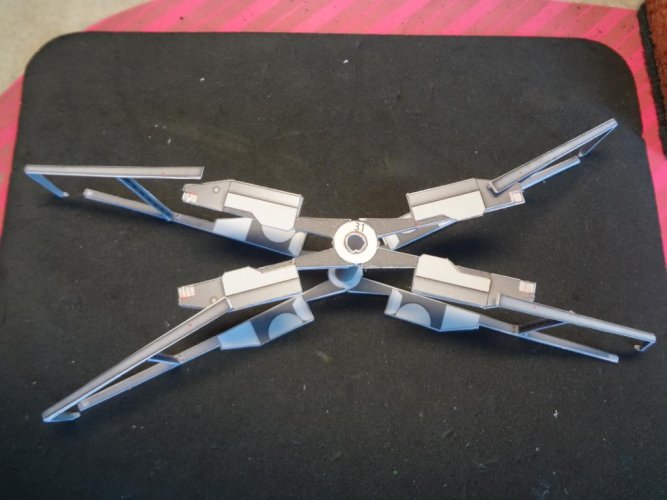
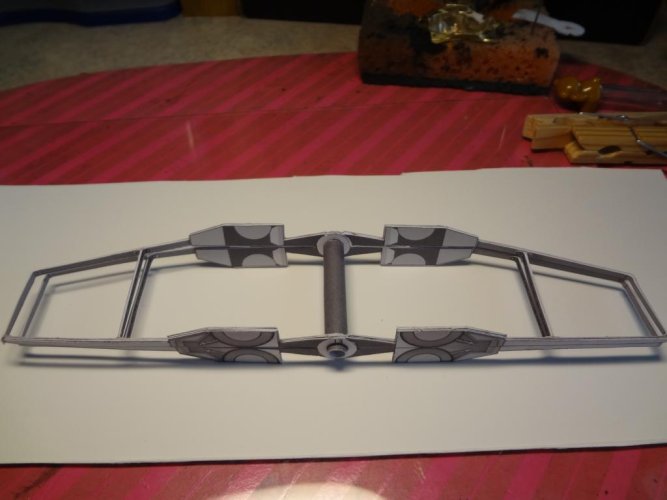
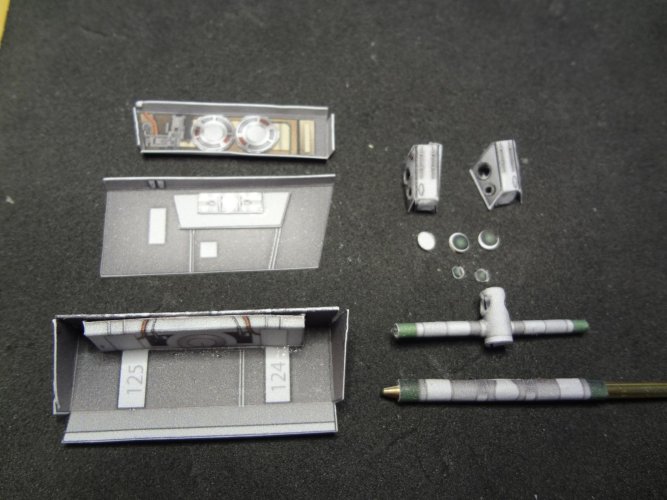
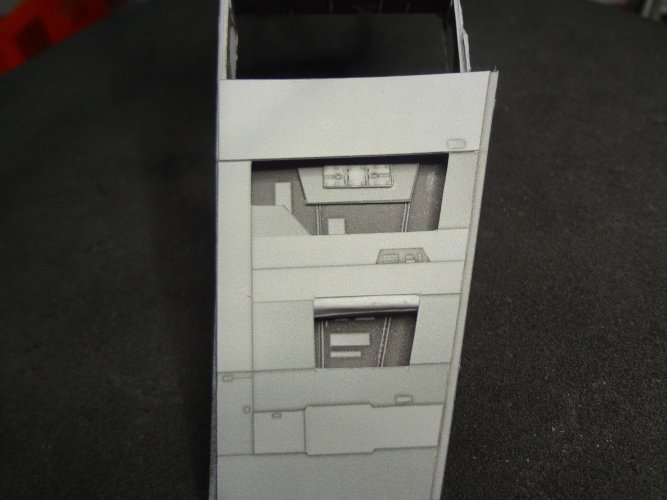
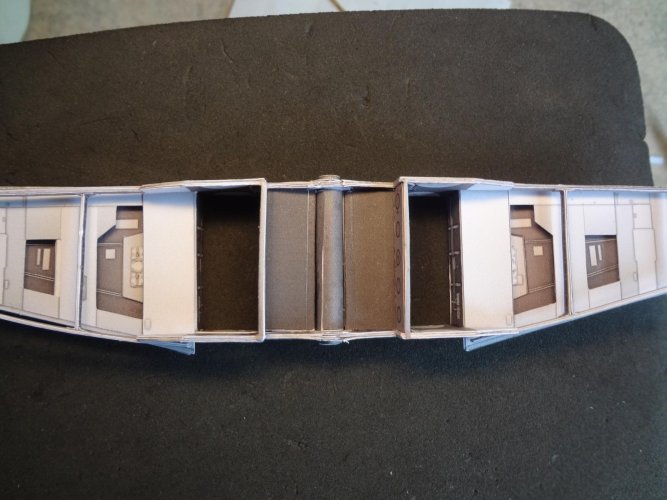
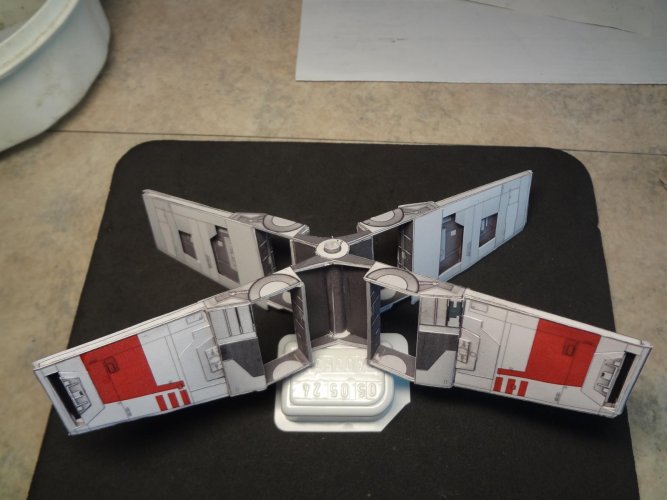
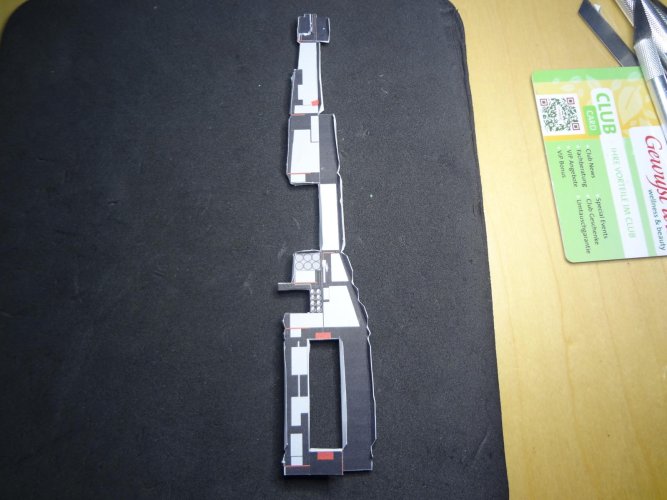
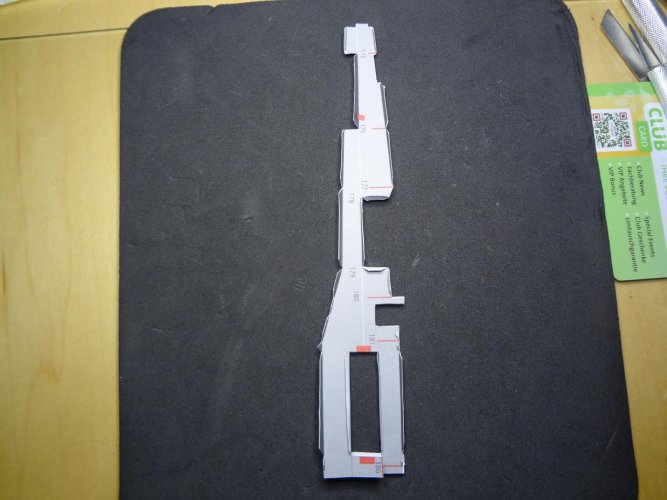
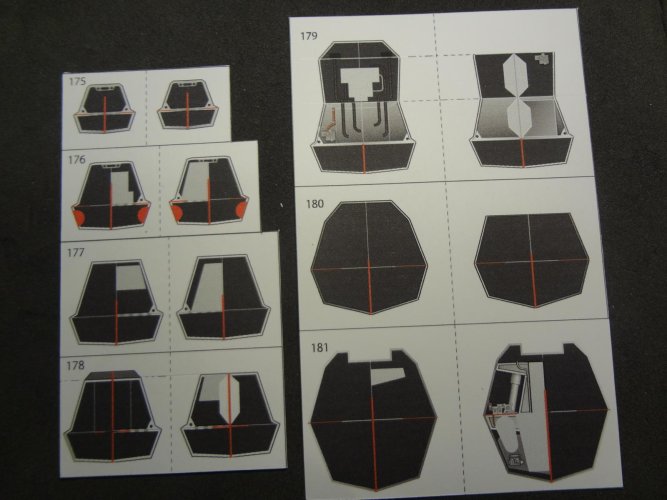
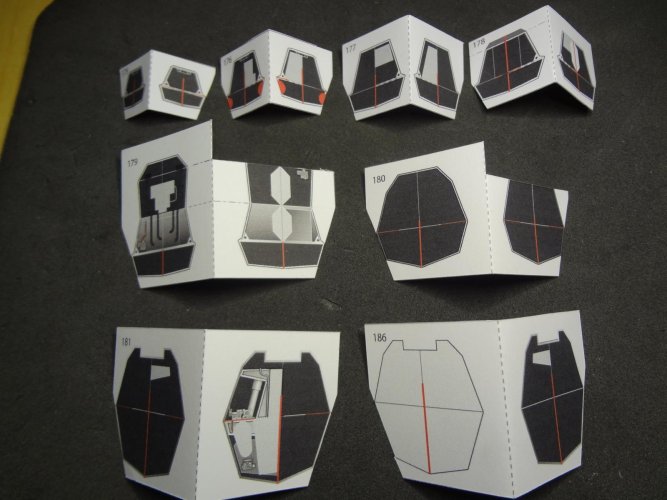
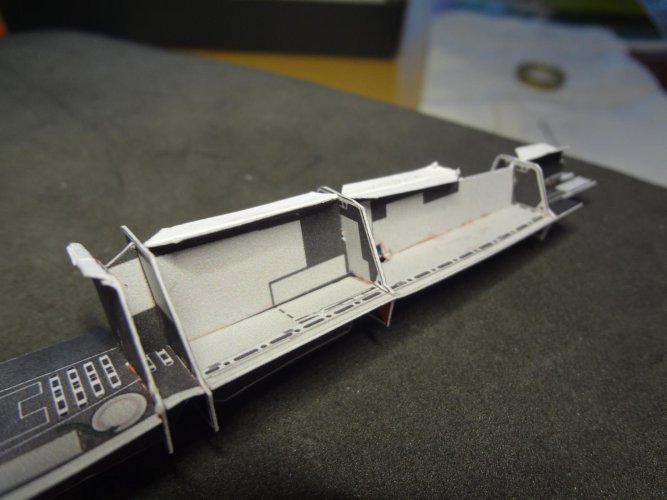
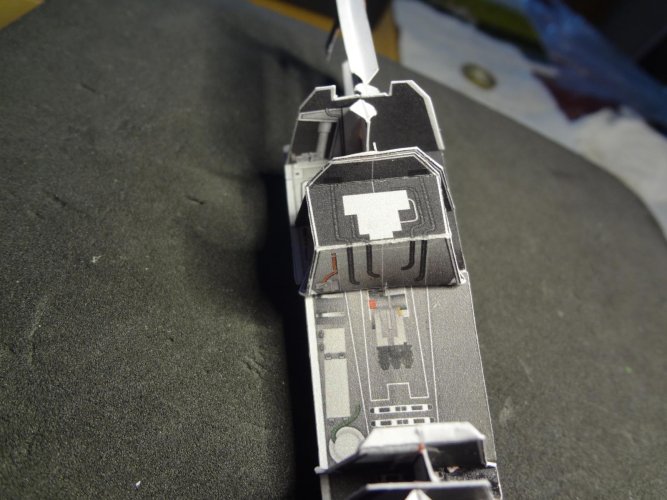
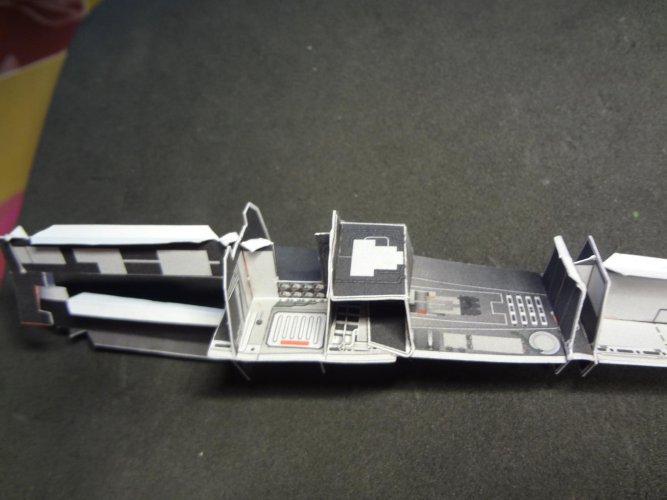
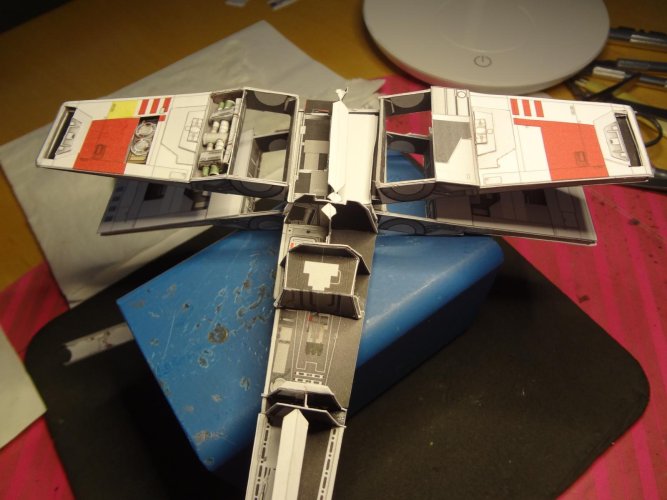
Internal reinforcement finally finished.
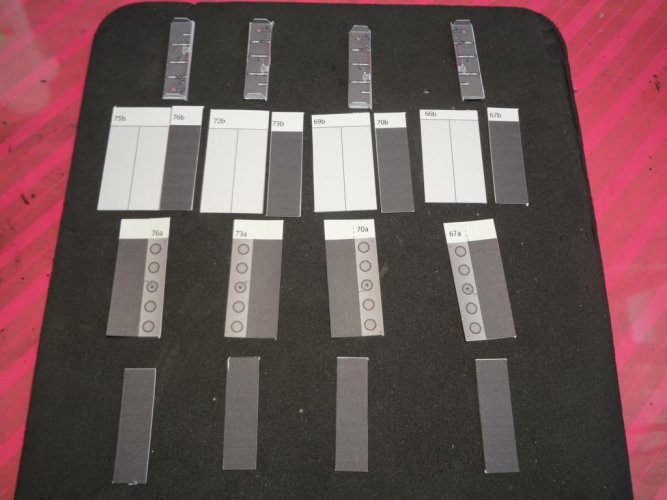
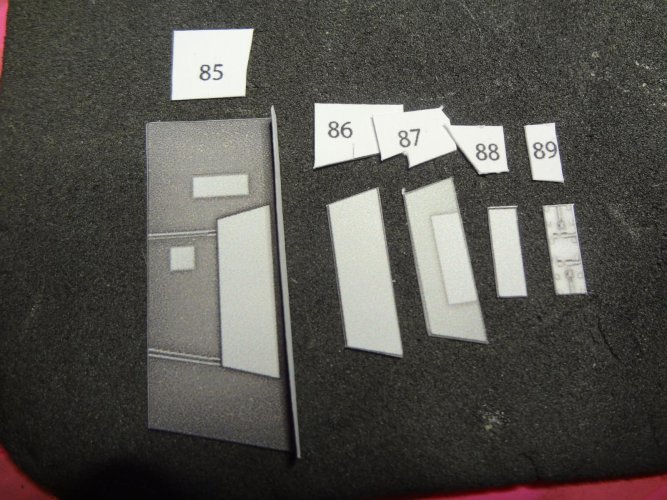
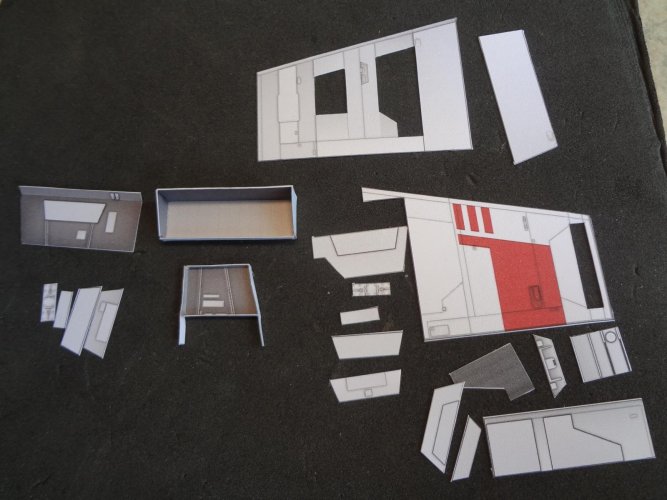
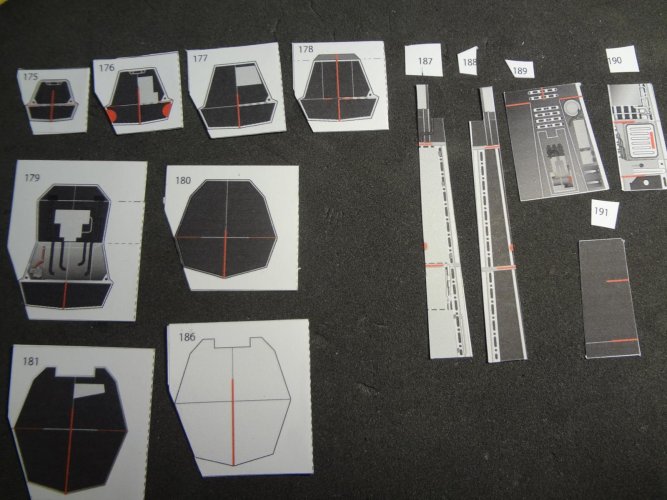
The next step is to assemble the upper right wing with the inner parts.
The next step is to assemble the upper right wing with the inner parts.
Attachments
-
 K1024_DSC04793.JPG134.9 KB · Views: 2
 -
 K1024_DSC04794.JPG86.9 KB · Views: 2
 -
 K1024_DSC04795.JPG81.3 KB · Views: 2
 -
 K1024_DSC04796.JPG81.5 KB · Views: 1
 -
 K1024_DSC04797.JPG84.3 KB · Views: 2
 -
 K1024_DSC04798.JPG88.6 KB · Views: 2
 -
 K1024_DSC04799.JPG96.7 KB · Views: 2
 -
 K1024_DSC04800.JPG83.4 KB · Views: 1

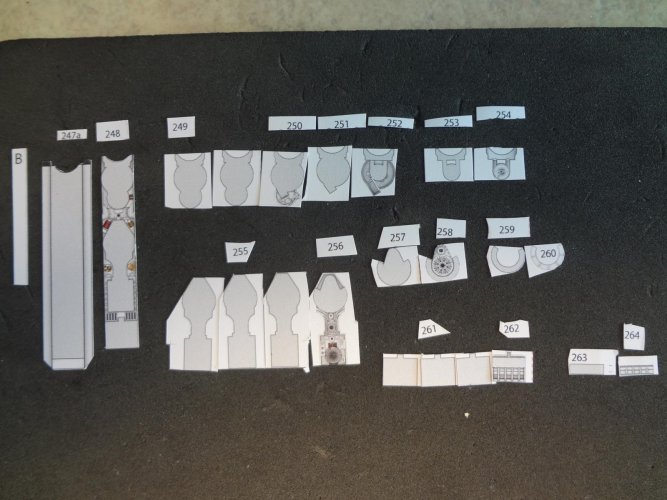
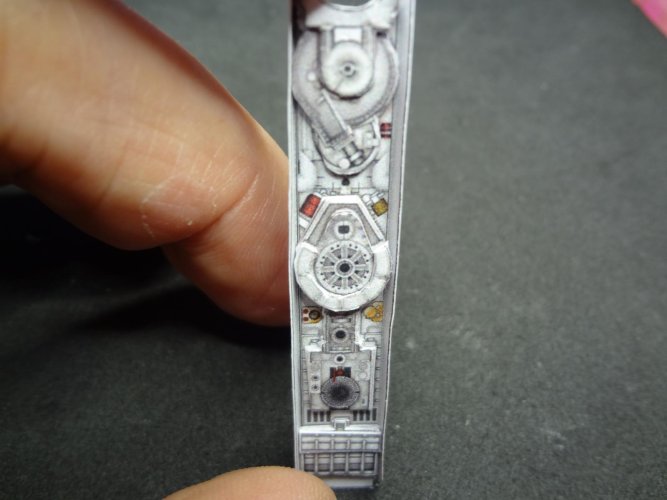
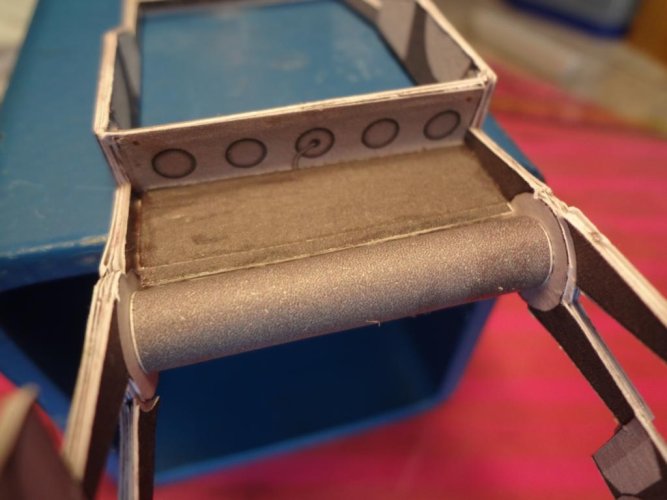
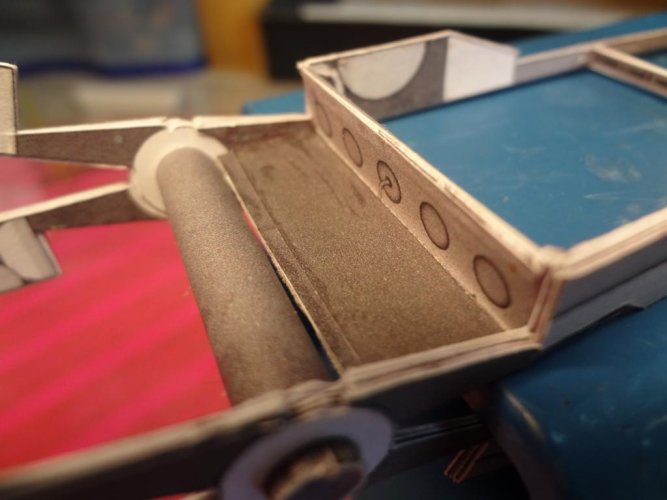
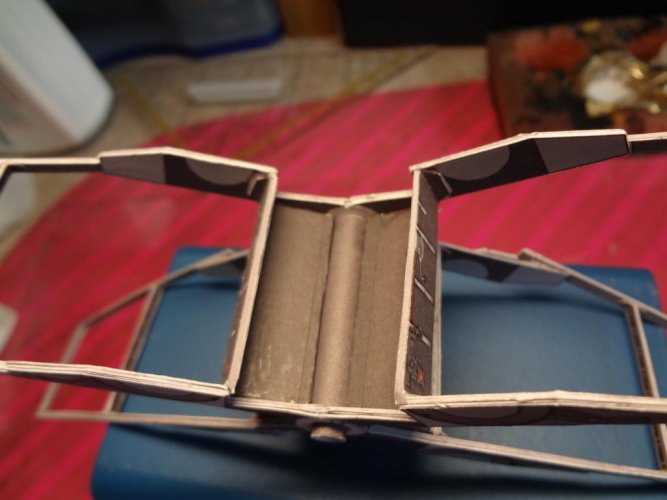
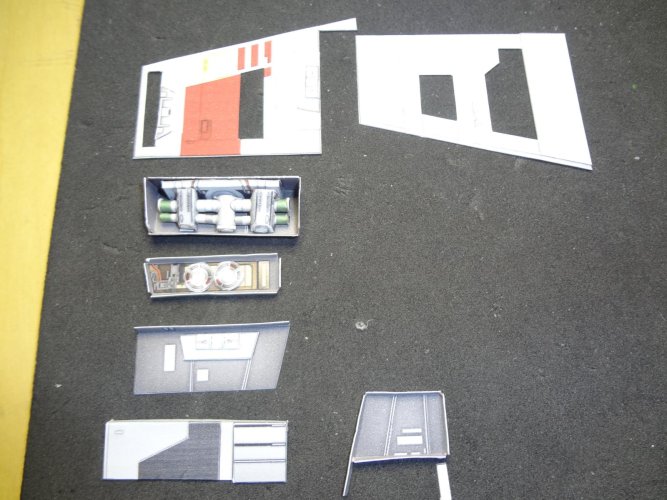
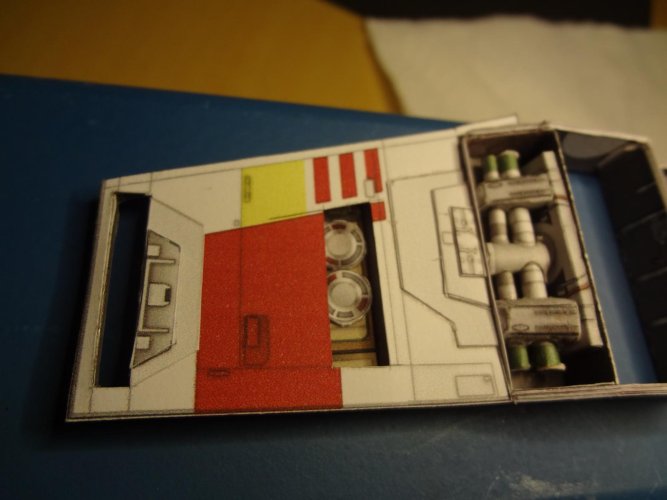
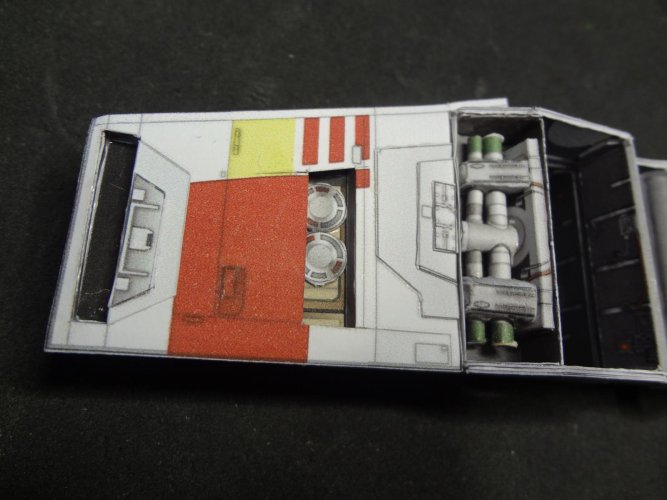
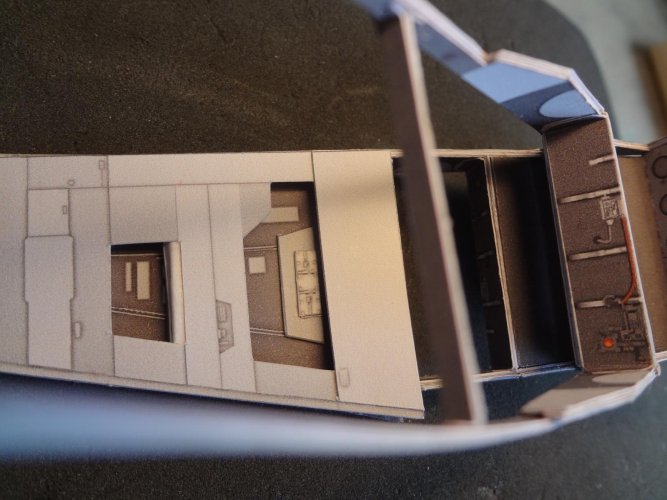
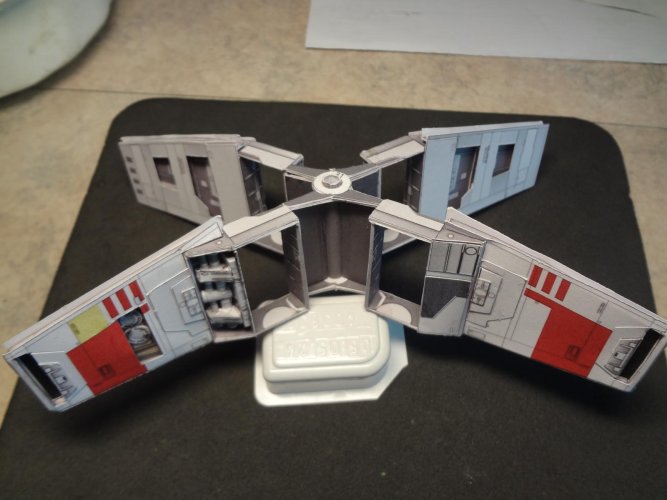
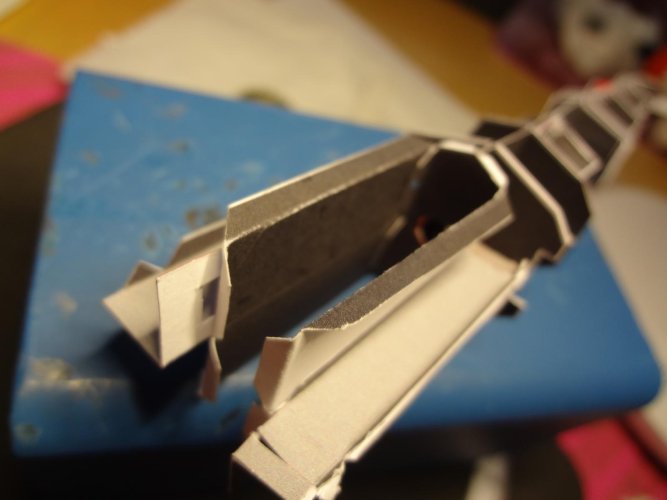
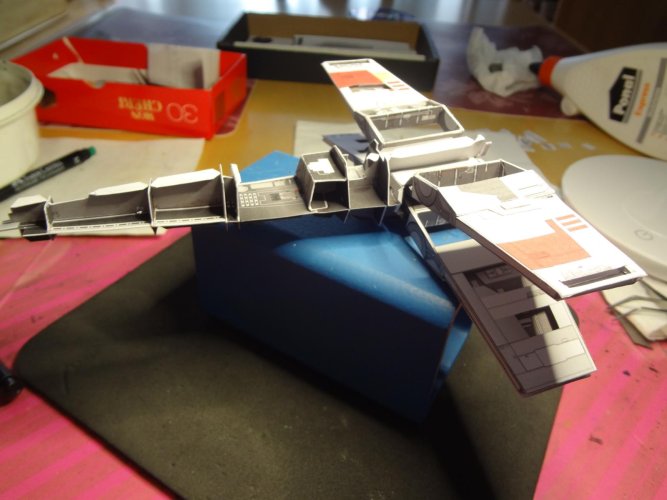
Upper right wing finished with open technology.
Attachments
-
 K1600_DSC04808.JPG234.3 KB · Views: 4
 -
 K1600_DSC04809.JPG301.6 KB · Views: 3
 -
 K1600_DSC04810.JPG284.4 KB · Views: 3
 -
 K1600_DSC04811.JPG138.5 KB · Views: 3
 -
 K1600_DSC04812.JPG144.9 KB · Views: 3
 -
 K1600_DSC04813.JPG133.4 KB · Views: 3
 -
 K1600_DSC04814.JPG148.4 KB · Views: 3
 -
 K1600_DSC04815.JPG320.7 KB · Views: 3
 -
 K1600_DSC04816.JPG207.1 KB · Views: 3
 -
 K1600_DSC04817.JPG354.4 KB · Views: 3
 -
 K1600_DSC04818.JPG294.5 KB · Views: 3
 -
 K1600_DSC04819.JPG309.2 KB · Views: 2
 -
 K1600_DSC04820.JPG222.9 KB · Views: 2
 -
 K1600_DSC04821.JPG290.4 KB · Views: 3
 -
 K1600_DSC04822.JPG388.4 KB · Views: 5
 -
 K1600_DSC04823.JPG138.5 KB · Views: 5
 -
 K1600_DSC04824.JPG154.5 KB · Views: 5
 -
 K1600_DSC04827.JPG181.6 KB · Views: 4
 -
 K1600_DSC04829.JPG182.4 KB · Views: 5
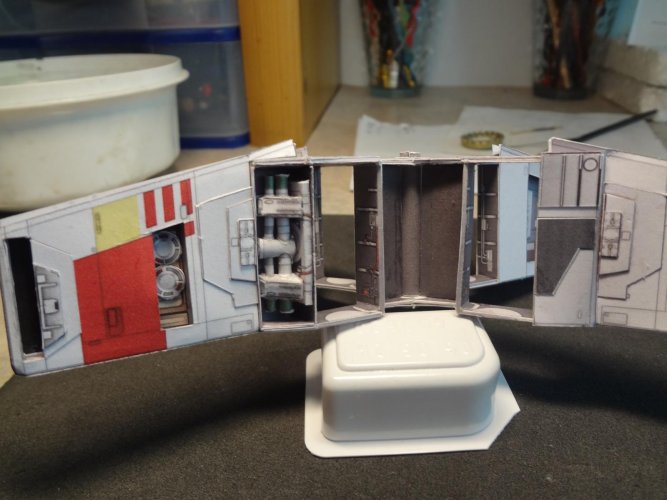
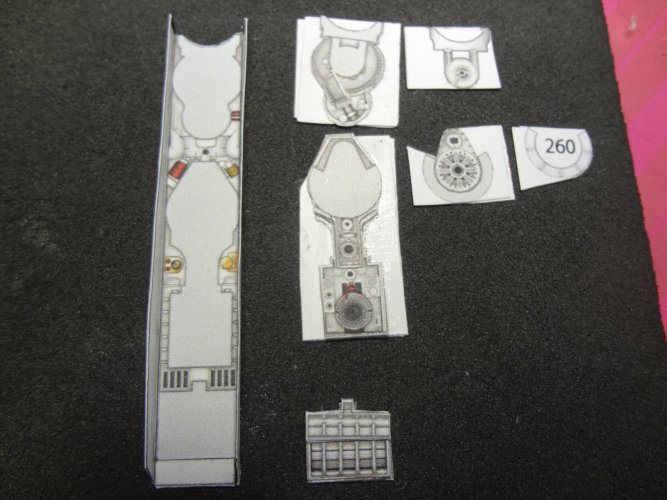
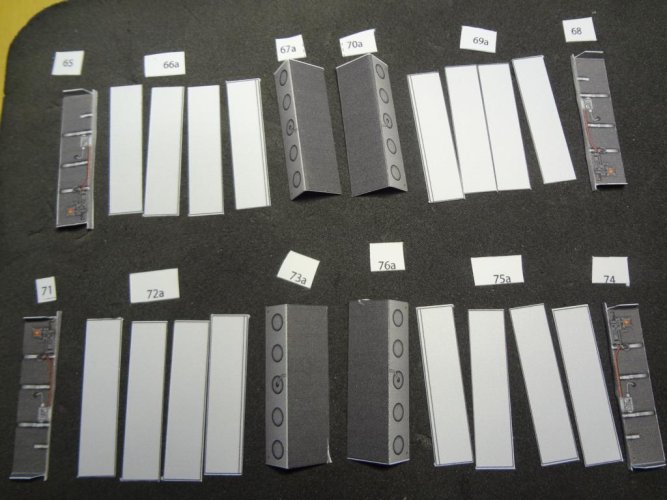
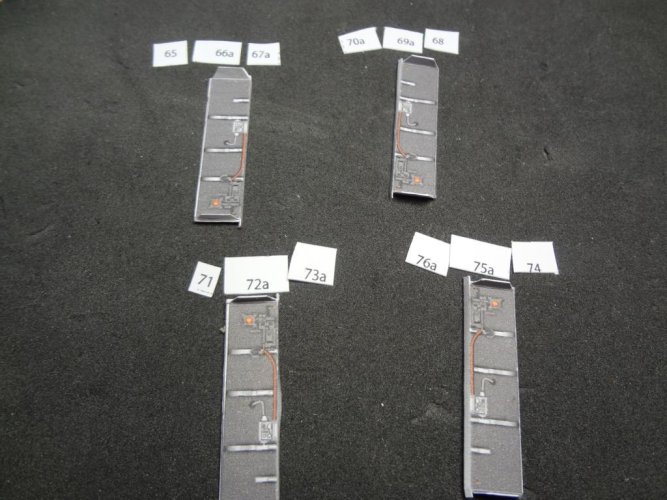
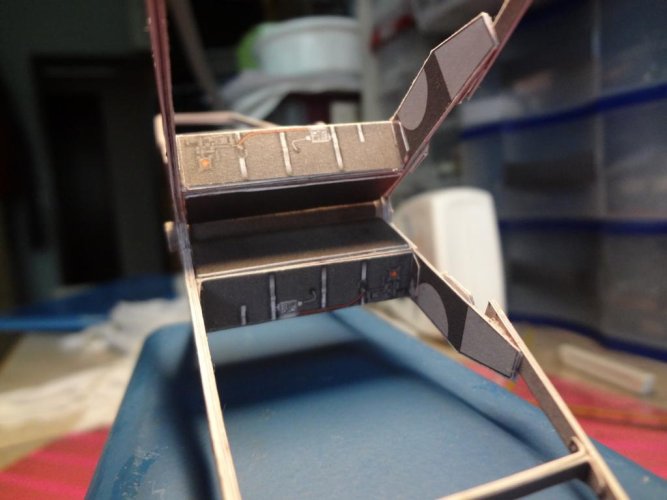
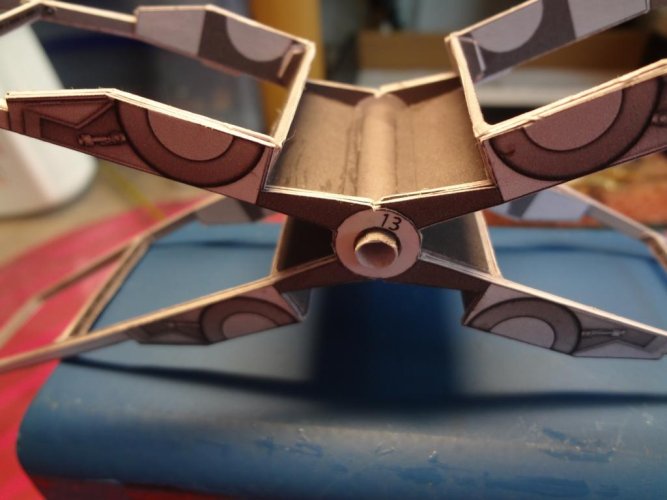
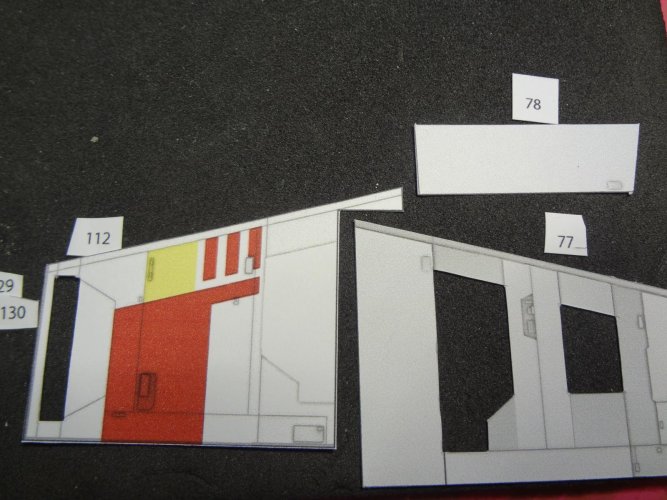
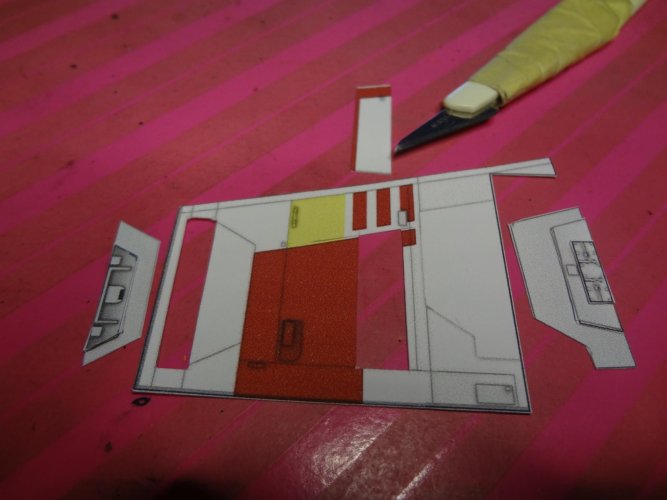
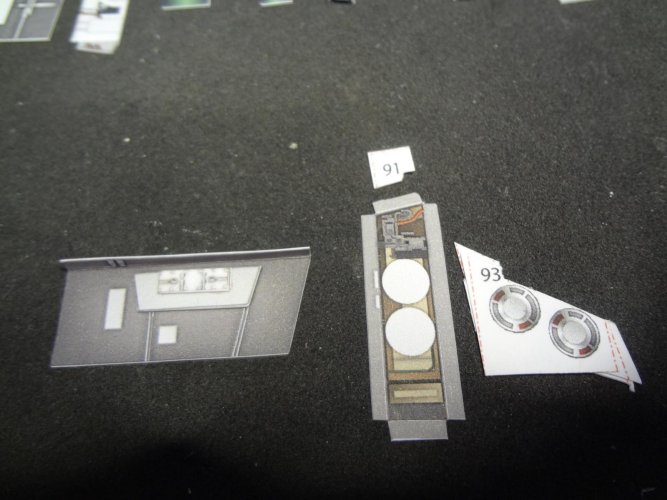
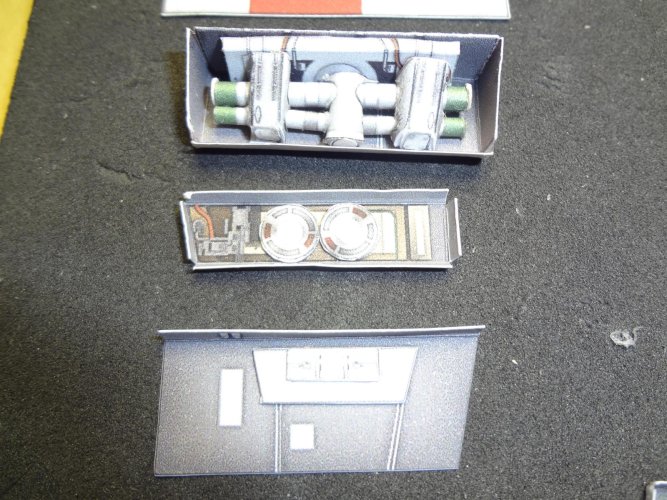
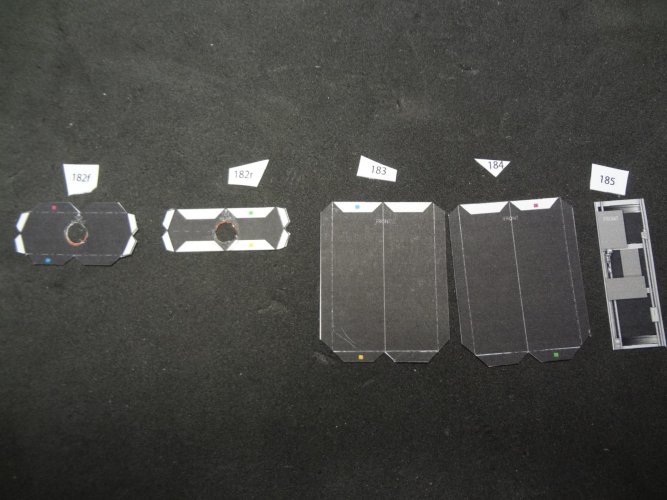
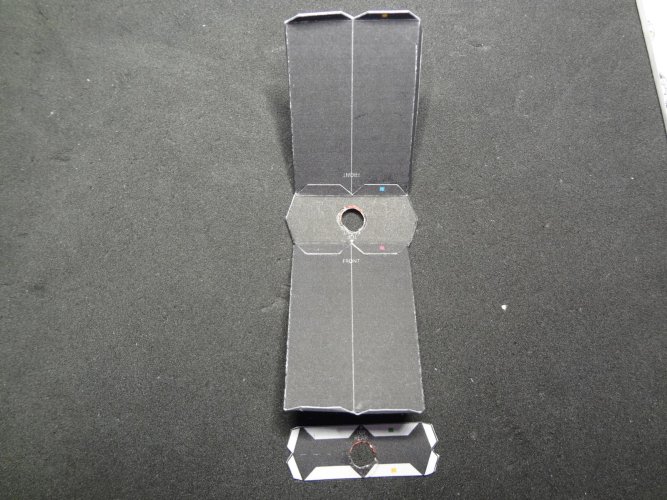
One more tip - only roll the two small rolls with the green strips (motor on the open wing), do NOT glue them, then slide them into the other three parts and only then glue the whole thing together, otherwise there will be problems with the small holes. Unfortunately I discovered the trick too late, everything was already glued in.
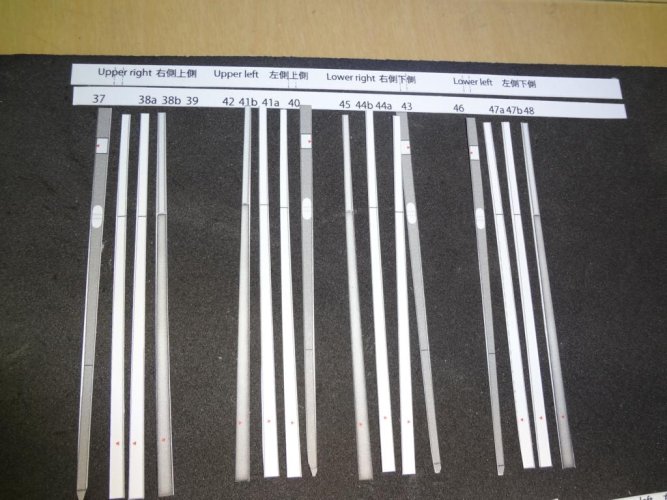
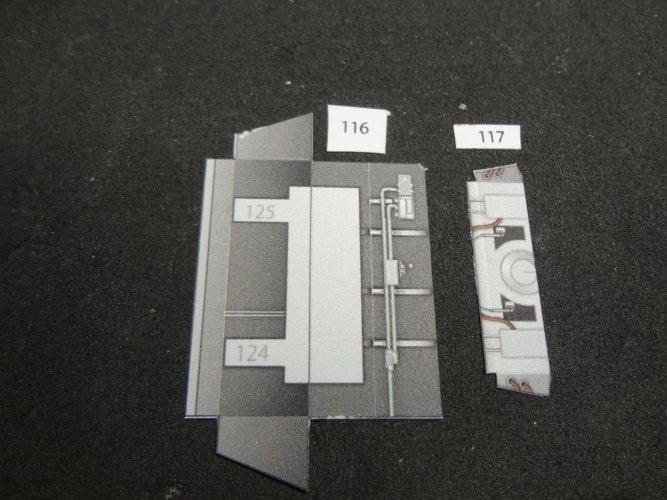
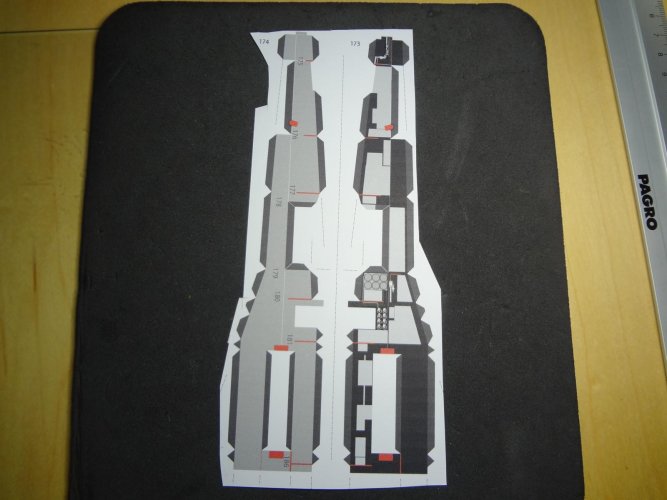
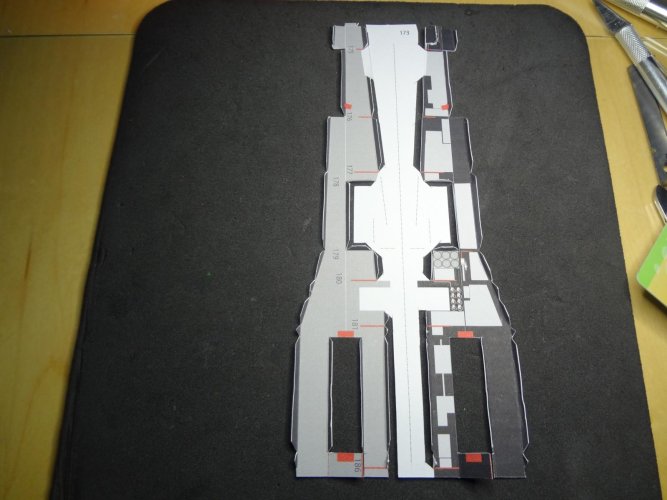
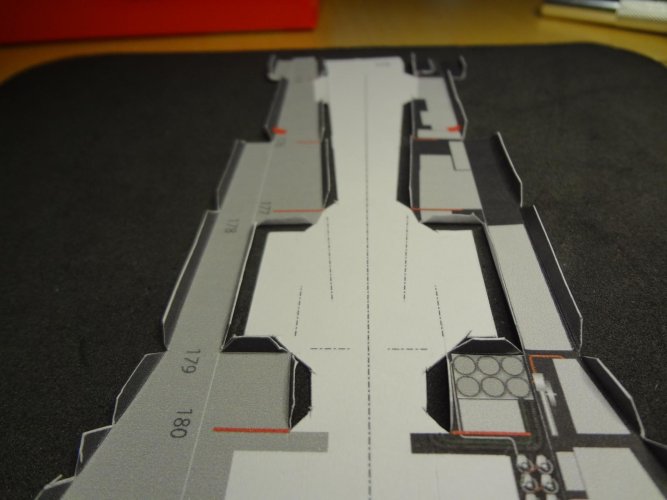
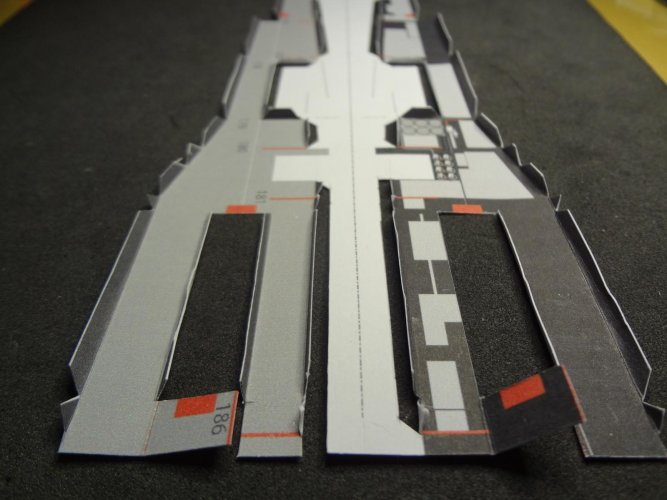
Part 1 of the main body - the best method for gluing accurately:
Part 1 of the main body - the best method for gluing accurately:
Attachments
-
 K1600_DSC04839.JPG181.1 KB · Views: 2
 -
 K1600_DSC04840.JPG201.5 KB · Views: 1
 -
 K1600_DSC04841.JPG150.2 KB · Views: 1
 -
 K1600_DSC04842.JPG188.4 KB · Views: 1
 -
 K1600_DSC04843.JPG215.6 KB · Views: 1
 -
 K1600_DSC04844.JPG226.1 KB · Views: 2
 -
 K1600_DSC04845.JPG220.1 KB · Views: 1
 -
 K1600_DSC04846.JPG226.3 KB · Views: 1
 -
 K1600_DSC04847.JPG245.4 KB · Views: 1
 -
 K1600_DSC04848.JPG276.5 KB · Views: 1
 -
 K1600_DSC04849.JPG270.5 KB · Views: 1
 -
 K1600_DSC04850.JPG295.8 KB · Views: 1
 -
 K1600_DSC04853.JPG294.3 KB · Views: 1
 -
 K1600_DSC04854.JPG186 KB · Views: 1

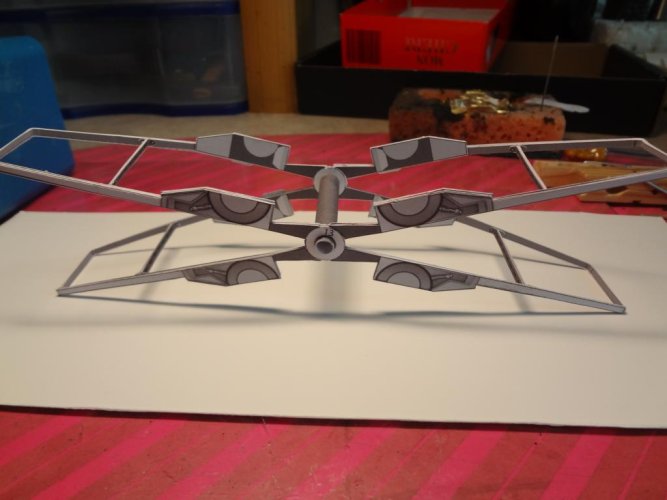
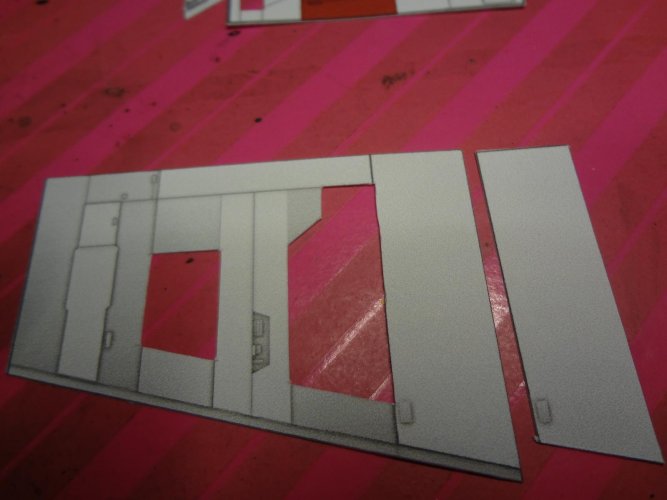
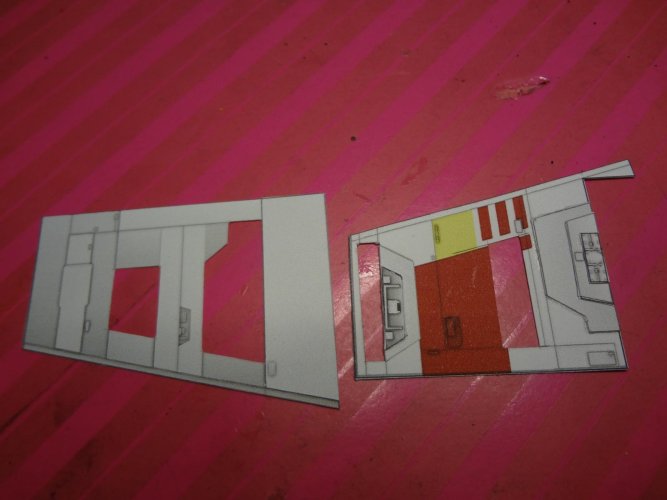
Part 3 - Frames and wing mounting frame.
It was a little fiddly. The black frame is inserted and glued from behind, work carefully and pay attention to the center.
Test-fit the wing.
It was a little fiddly. The black frame is inserted and glued from behind, work carefully and pay attention to the center.
Test-fit the wing.
Attachments
-
 K1600_DSC04859.JPG304.2 KB · Views: 1
 -
 K1600_DSC04860.JPG171.9 KB · Views: 1
 -
 K1600_DSC04861.JPG135.9 KB · Views: 1
 -
 K1600_DSC04862.JPG172 KB · Views: 1
 -
 K1600_DSC04863.JPG188.4 KB · Views: 1
 -
 K1600_DSC04864.JPG176.1 KB · Views: 1
 -
 K1600_DSC04865.JPG231.6 KB · Views: 1
 -
 K1600_DSC04866.JPG155.8 KB · Views: 1
 -
 K1600_DSC04870.JPG251.5 KB · Views: 1
 -
 K1600_DSC04871.JPG401 KB · Views: 1
 -
 K1600_DSC04873.JPG112 KB · Views: 1
 -
 K1600_DSC04874.JPG121.2 KB · Views: 1
 -
 K1600_DSC04875.JPG158.9 KB · Views: 1
 -
 K1600_DSC04876.JPG180.5 KB · Views: 1
 -
 K1600_DSC04877.JPG157.5 KB · Views: 1