Star Wars 74-Z Speeder Bike (The Mandalorian)

Chuffy70

Well-Known Member
Jun 5, 2022
842
1,708
75
Norwich UK
"Jedi" was my first encounter with Star Wars. I was too young for the others. I was three weeks old when ANH premiered. My "addiction" began when my mom bought me my first action figures, a Jawa and a Sandpeople, back then in November 1982. This caught my attention and since I was into everything space themed I wanted to know more. When my aunt provided me with the first articles on the movies I was hooked. When "E.T." was announced I wanted to watch it at all cost. However, this was the first time I was watching a scifi flick at the theatre (before that I was used to "The Rescuers", "Cinderella" etc. ). The theatre was dark and the sound was very loud. When "E.T." was running from Peter Coyote, screaming like hell, I did the same and left the building as fast as possible. That one scene was just too much for a six year old brain to handle and put an end to watching "Jedi" at the theatres before it even premiered at my home town.

However, I quickly found a suitable alternative which helped me overcome my troubled youth: "Battlestar Galactica" (and "Buck Rogers"). In summer 1983 the first German television broadcast a series of scifi movies in conjunction with the launch of "Jedi". Among them were classics like "The Black Hole" and "Logan's Run". They showed "Buck Rogers" on a Friday evening, the making of "Jedi" on a Monday afternoon and "Mission Galactica: The Cylon Attack" on a Saturday night (the second movie version of the series, cobbled together from "The Living Legend" and "Fire in Space"). I was completely blown away by the VFX, the Cylons and Dirk Benedict. I resembled him quite a bit which made him the ideal role model, and when I learned that BSG was a WEEKLY SERIES I had to watch every episode when they were shown on Dutch TV. So I became a Galactican. :)
Fantastic sci-fi recollections there, I'm not sure I'll watch ET the same again, thinking of a six year old running for the hills...

Saturday evening held the slot for Buck Rodgers here in the UK, but do not really remember when Battlestar Galactica the original series aired, although I do seem to remember mid-week evening showing of Galactica 1980.

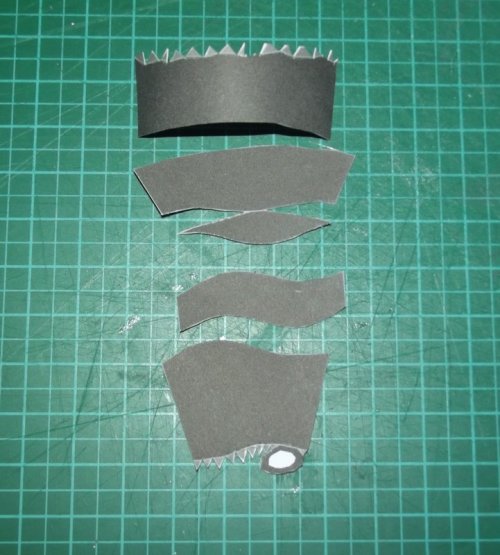
...and good tip there, laminating parts with spare, rather than folding them over - like that :)
 

Revell-Fan

Co-Administrator
Staff member
Administrator
Moderator
Aug 1, 2009
11,613
12,353
228
Vreden
Thank you all! :)

How'd you manage the recolour?

I imported the PDF pages into Gimp and played with the settings:

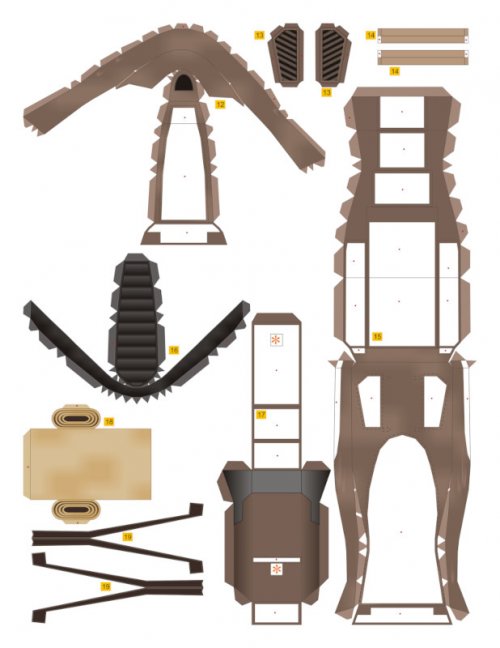
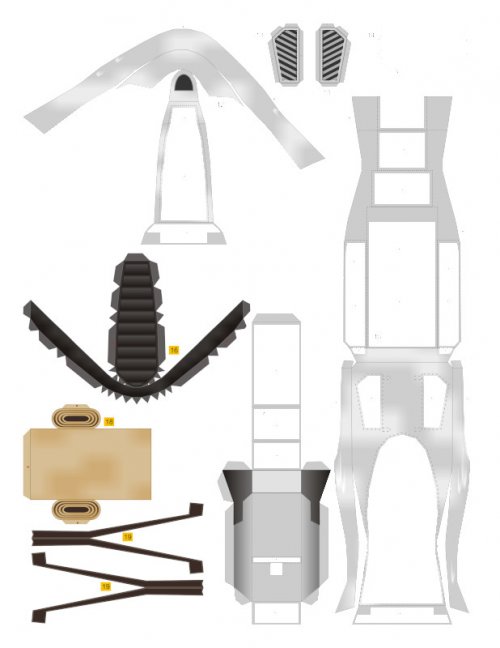
1) The imported page:

l0.jpg

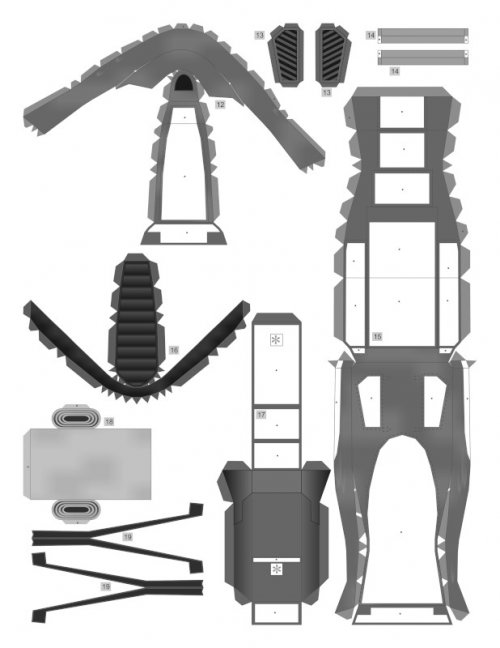
2) Layer duplicated and desaturated:
l1.jpg
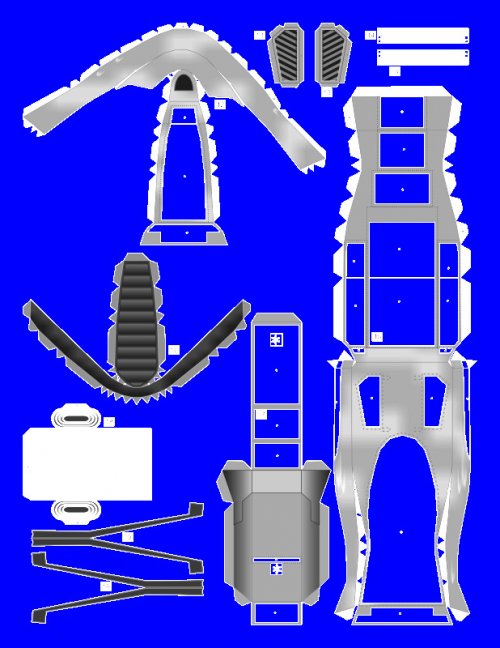
3) Layer duplicated and Colour Dodge:

l2.jpg

4) Layer duplicated and Screen:

l3.jpg

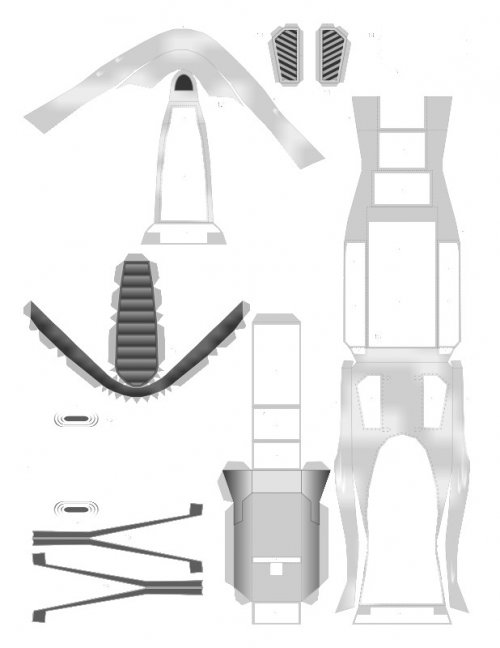
5) Then I moved the original unaltered layer up and added a layer mask. I left everything visible which should keep its original colour.

l4.jpg
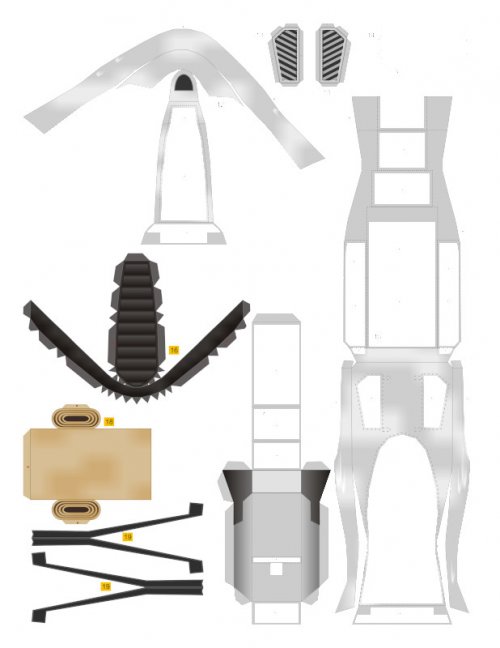
6) I selected the parts which should be simply desaturated (parts 19), copied and pasted them as a new layer and desaturated them:

l5.jpg
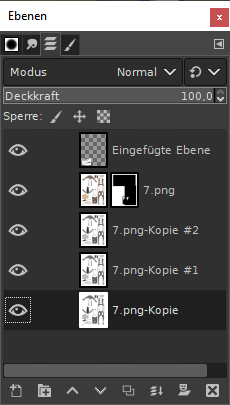
7) The page was saved as *.xcf and exported as *.png. This is the layer window:

layers.png

This is basically the same procedure I used on the Colonial Raptor when I turned it to white. The layer modes give you a good control of the output. You can make it as bright as you want and you can toggle the visibility of the layers till you have a pleasing result. If you just kill the colour by simply painting over it you are in danger of removing the weathering. If you look carefully you can see that the Dodge mode killed all flaps. No idea why but I added them on-the-fly on the printed page. :)
Will you be posting the recolour on this site?
I'll send the pattern to Julius and ask him. ;)
 

Revell-Fan

Co-Administrator
Staff member
Administrator
Moderator
Aug 1, 2009
11,613
12,353
228
Vreden
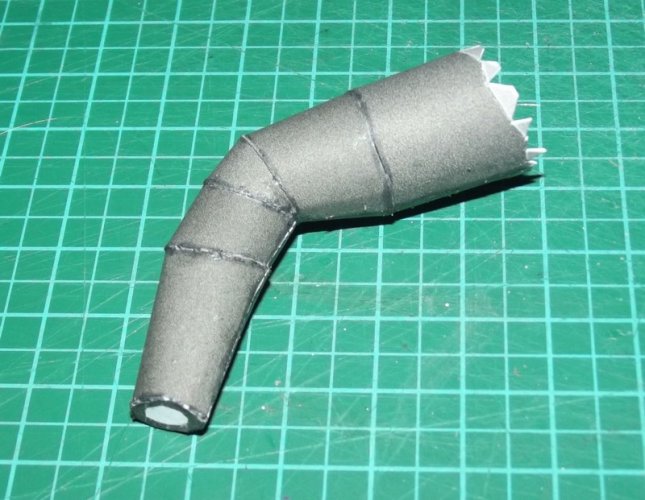
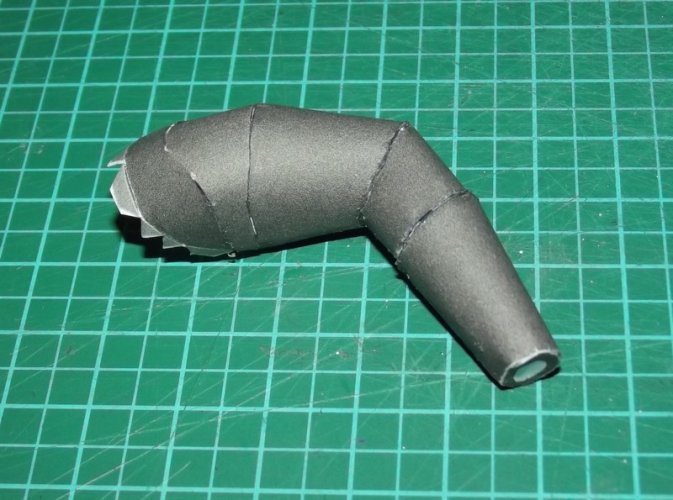
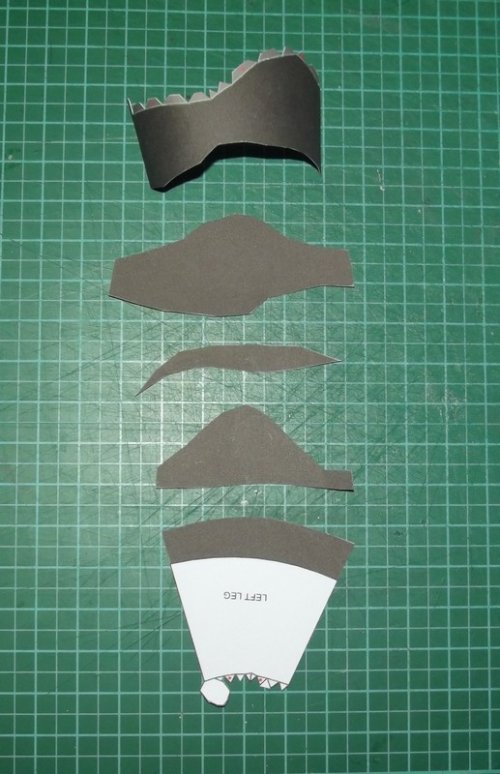
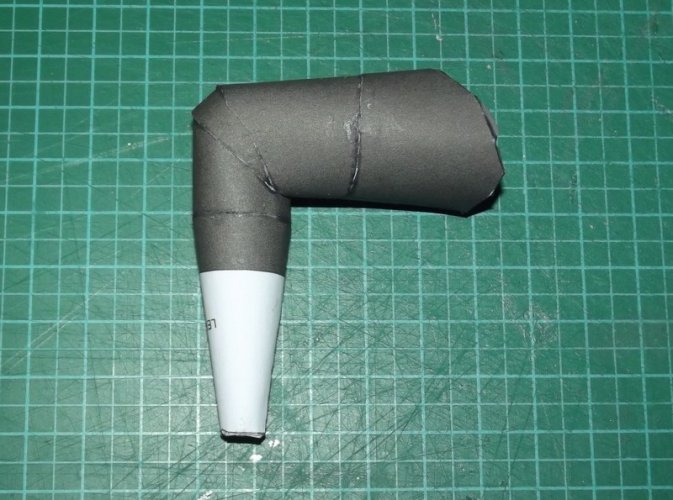
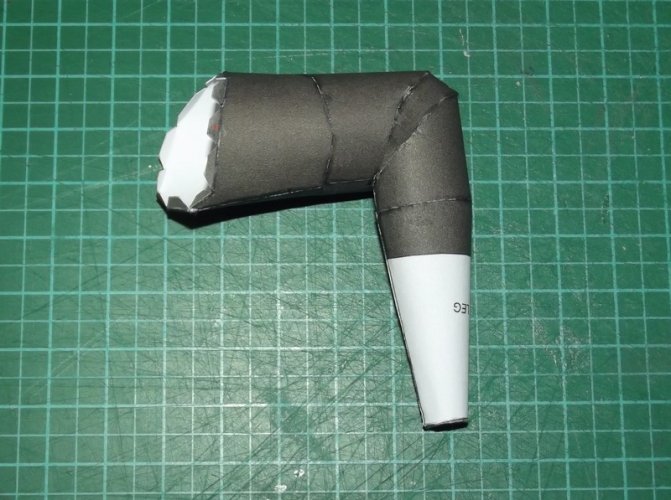
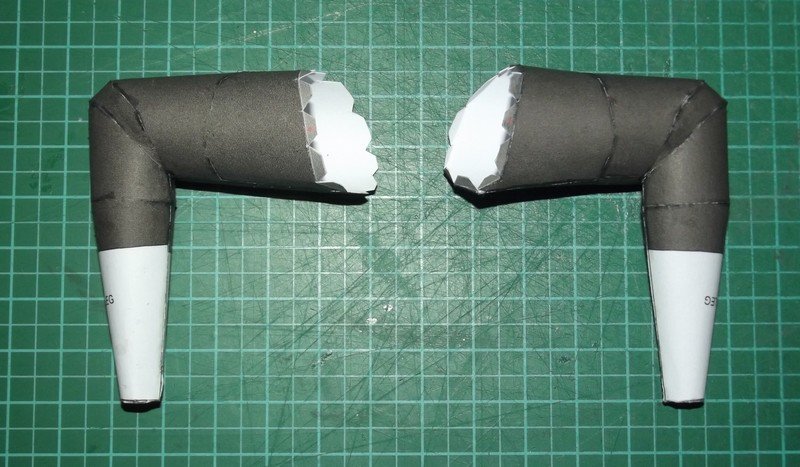
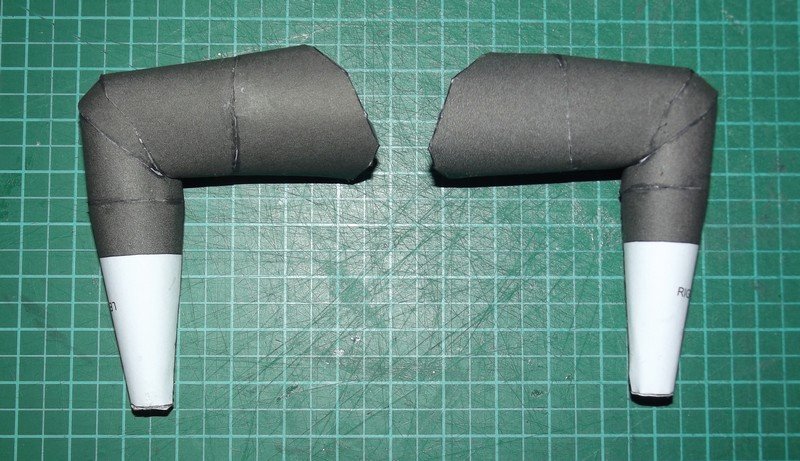
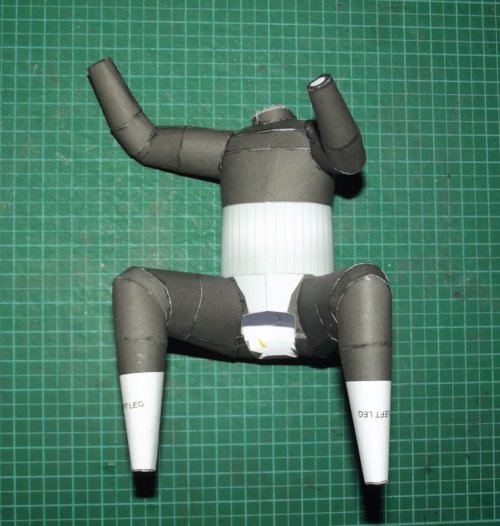
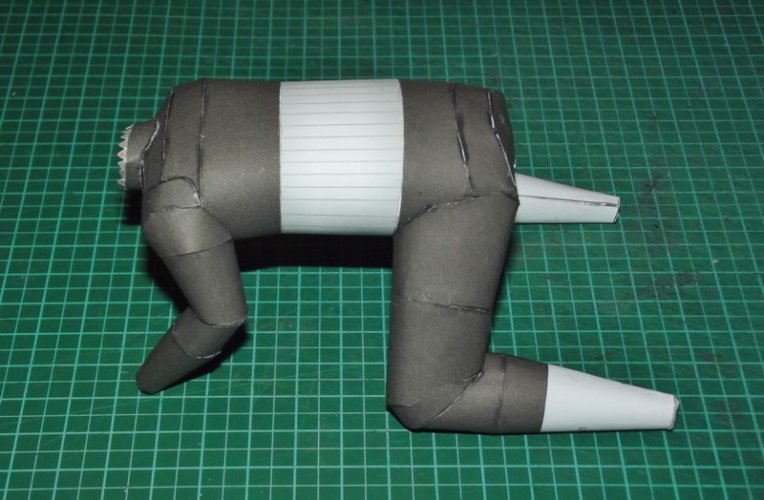
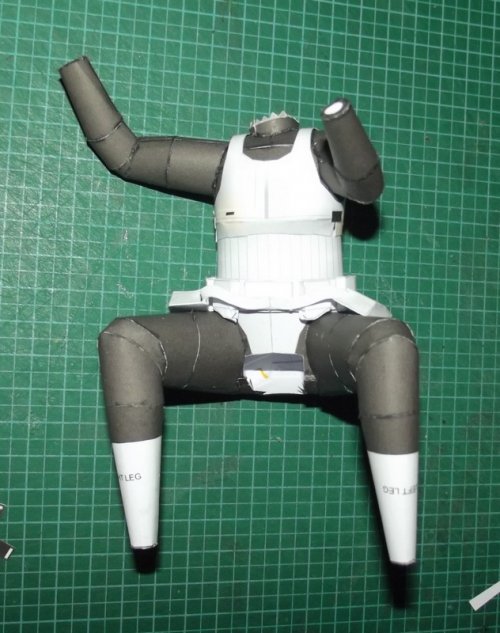
Here we go with the limbs! :)

DSCF0715.jpg

DSCF0716.jpg

DSCF0717.jpg

DSCF0718.jpg

DSCF0719.jpg

DSCF0720.jpg

DSCF0721.jpg

DSCF0722.jpg

They fit excellently:

DSCF0733.jpg

DSCF0726.jpg

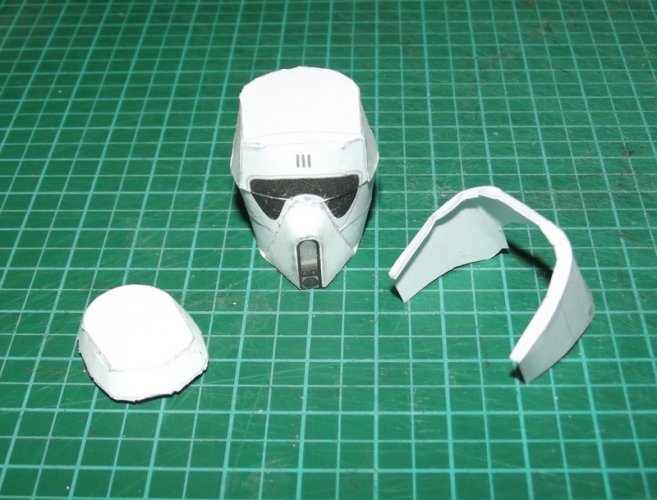
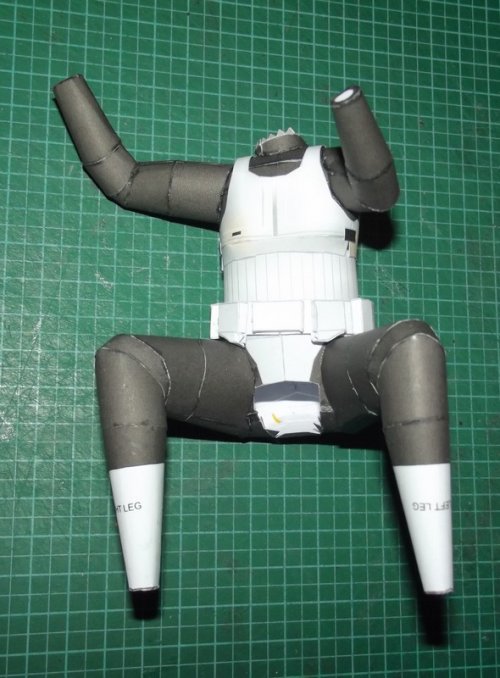
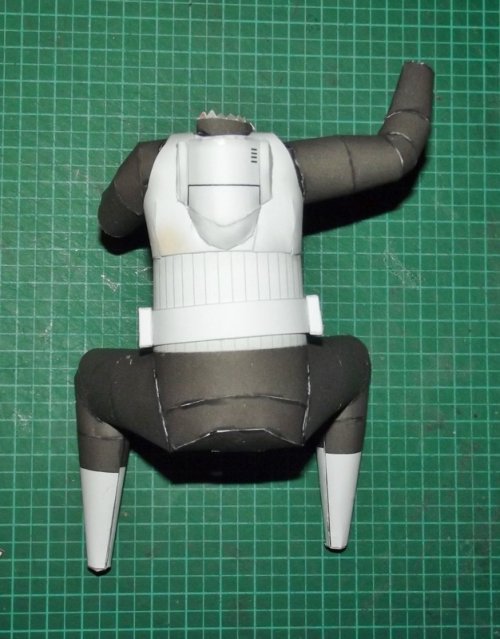
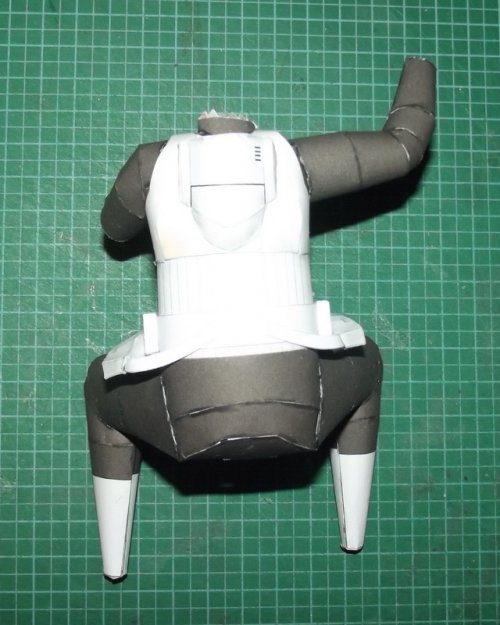
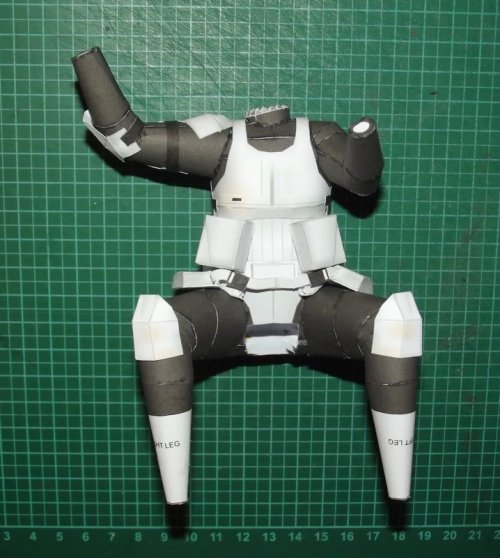
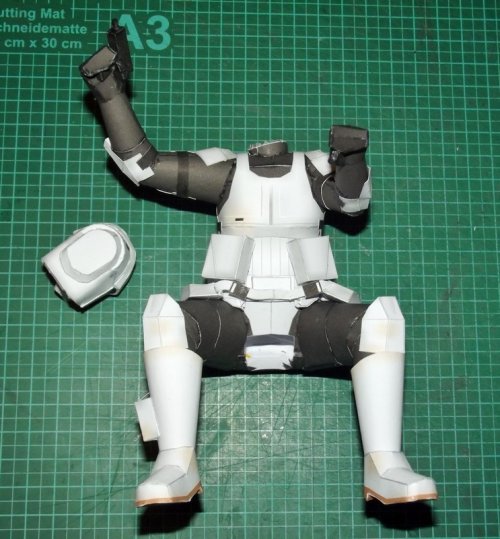
OK, this might be somewhat disturbing but it proves that even Scout Troopers may have a hangover. And sometimes they loose their head, too. :drinksmile:
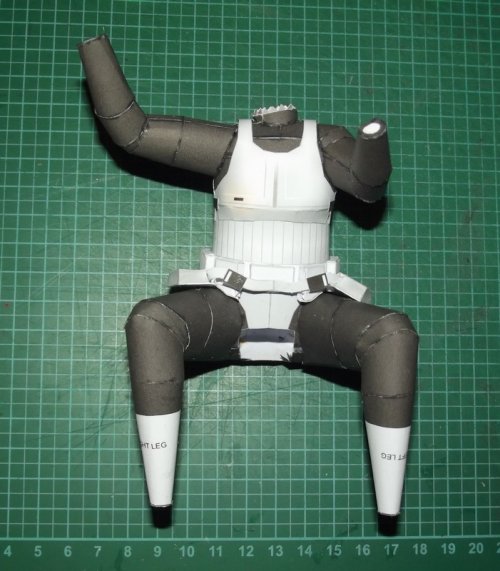
Oh my - this one doesn't even HAVE a head! So let's get it over with! :)

DSCF0727.jpg

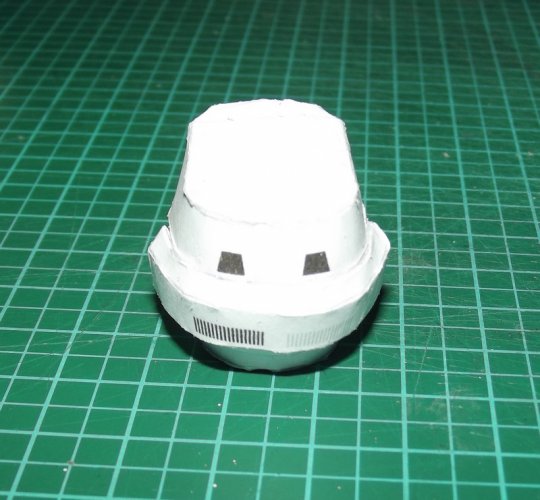
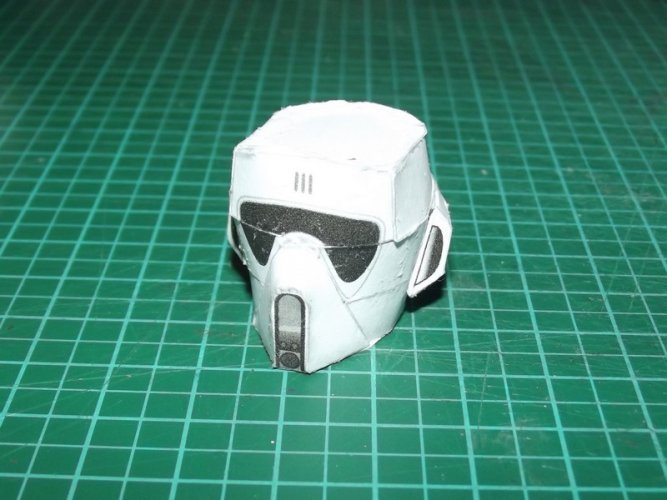
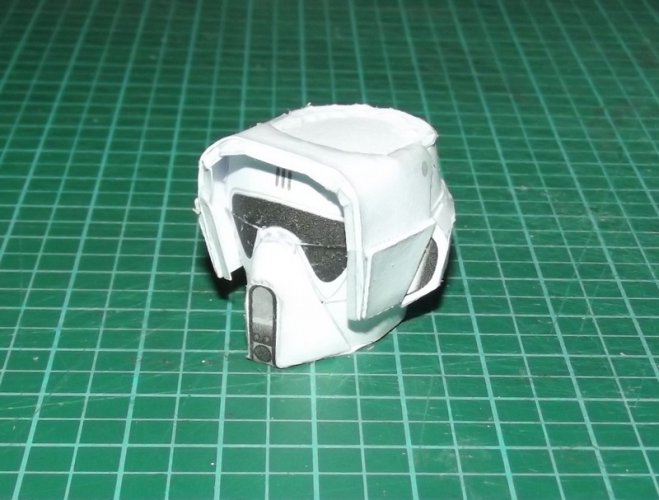
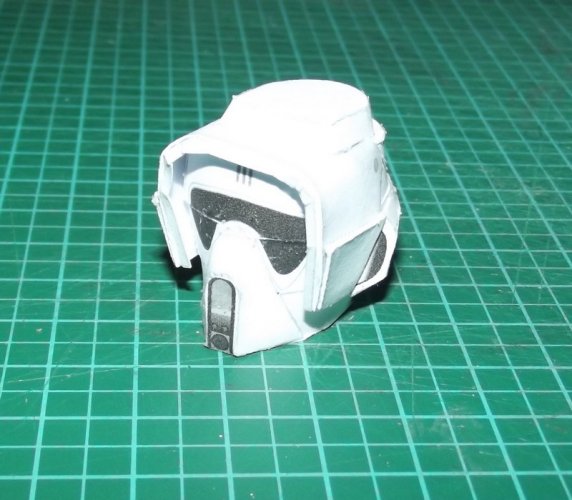
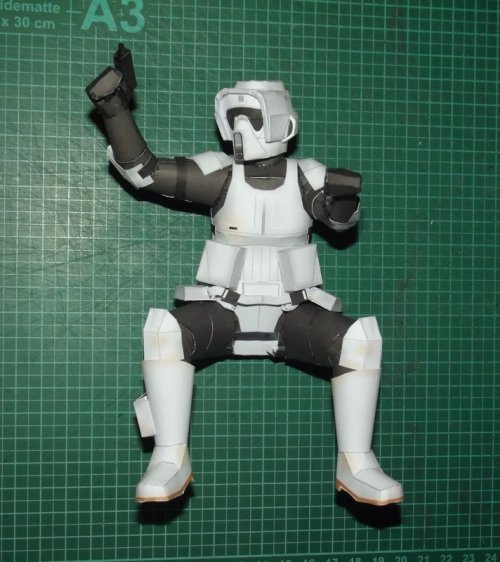
It is best to attach the "ears" first. This gives you the proper position of the visor.

DSCF0728.jpg

DSCF0729.jpg

DSCF0731.jpg

DSCF0732.jpg

Done! :)
 

Revell-Fan

Co-Administrator
Staff member
Administrator
Moderator
Aug 1, 2009
11,613
12,353
228
Vreden
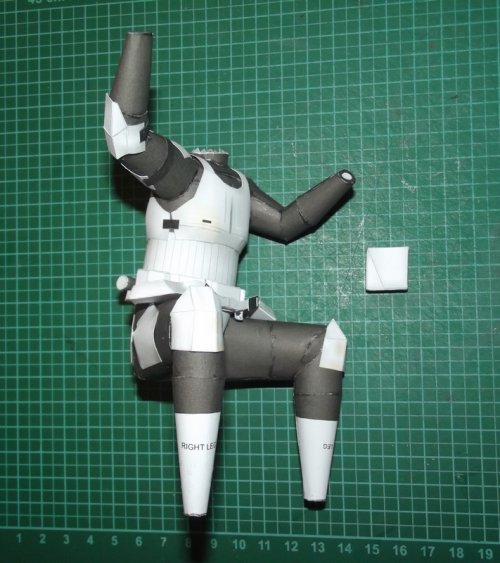
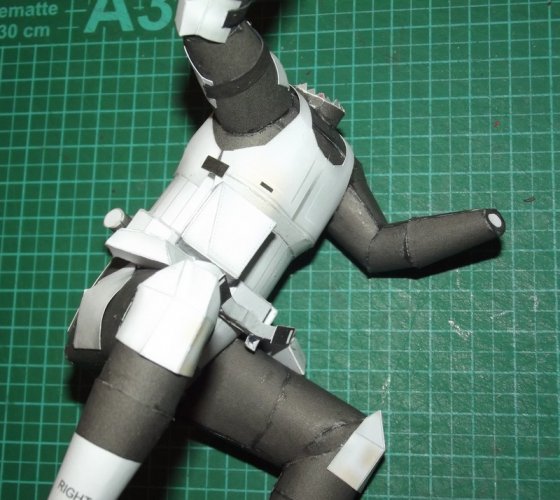
Now it is time to dess him up. First the body armour:

DSCF0734.jpg

The belt pouches:

DSCF0735.jpg

A strap has to be fiddled through two of them:

DSCF0736.jpg

DSCF0737.jpg

The backpack:

DSCF0738.jpg

Now everything comes together:

DSCF0739.jpg

DSCF0740.jpg

DSCF0741.jpg

DSCF0742.jpg

DSCF0743.jpg

DSCF0744.jpg

The boots look very realistic:

DSCF0745.jpg

DSCF0746.jpg

In for some tap-dancing?

Maybe later. ;)

First we have to attach the upper arm armour.

DSCF0747.jpg

DSCF0748.jpg

And more pouches.

DSCF0749.jpg

DSCF0750.jpg

DSCF0752.jpg

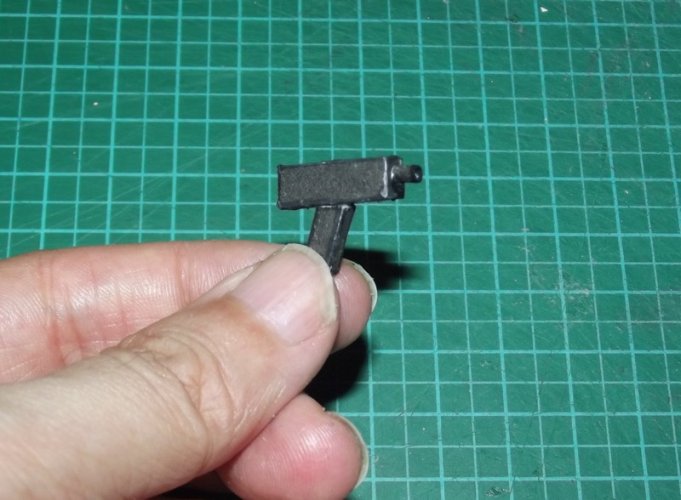
And the blaster! :)
 
Last edited:

Revell-Fan

Co-Administrator
Staff member
Administrator
Moderator
Aug 1, 2009
11,613
12,353
228
Vreden
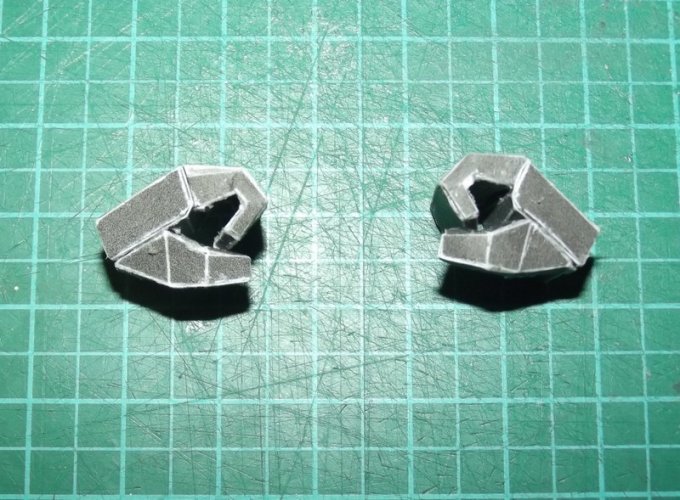
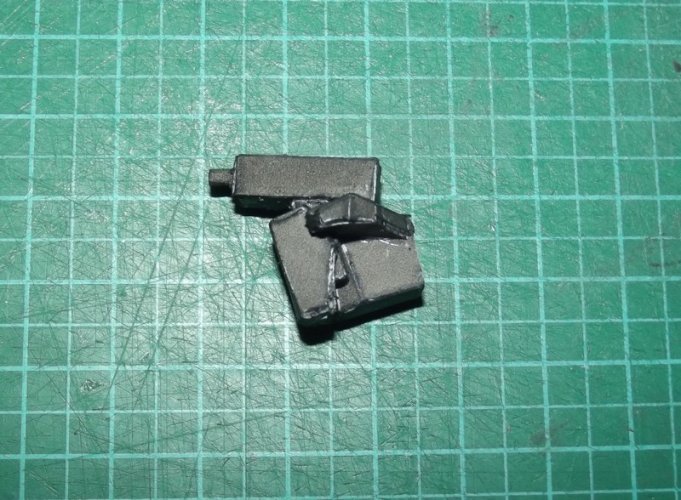
Each hand consists of three major parts.

DSCF0753.jpg

DSCF0754.jpg

DSCF0755.jpg

DSCF0756.jpg

To insert the blaster you have to carefully open the palm. It fits snugly but it is best to secure it with a drop of glue.

DSCF0758.jpg

A first dry-fit. Hands and boots are loosely pushed over the arms and legs. Do not glue them yet because they need to be loose in order to position the Scout on his bike correctly.

DSCF0760.jpg

The head is glued to the neck. You can adjust the rotation of the head according to your liking.
 

Revell-Fan

Co-Administrator
Staff member
Administrator
Moderator
Aug 1, 2009
11,613
12,353
228
Vreden
Now the moment of truth has come.

Since the handle bar and the foot bar position tell you how to mount the Trooper onto the bike you have to work your way carefully through each position.

First attach the left hand.

DSCF0762.jpg

The handle bar is very delicate so be extremely careful not to rip it off. Open the palm of the hand and push it over the handle. Secure it with a drop of glue. Wait till the glue has cured before you continue.

I'm sorry that I cannot show you any pictures of the mounting of the pilot here because I had absolutely no hand to take any. I hope that my description can be understood even without pics. :)
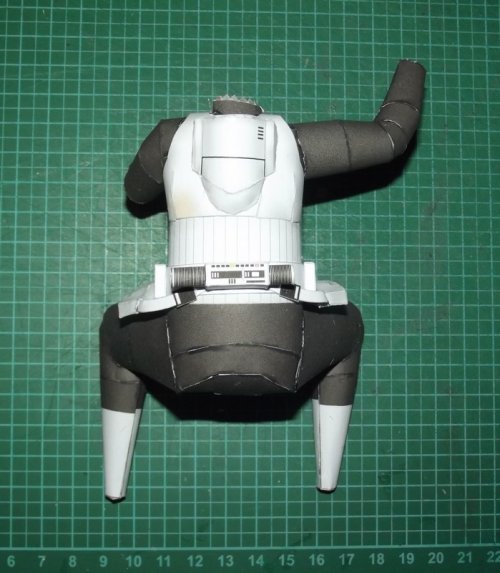
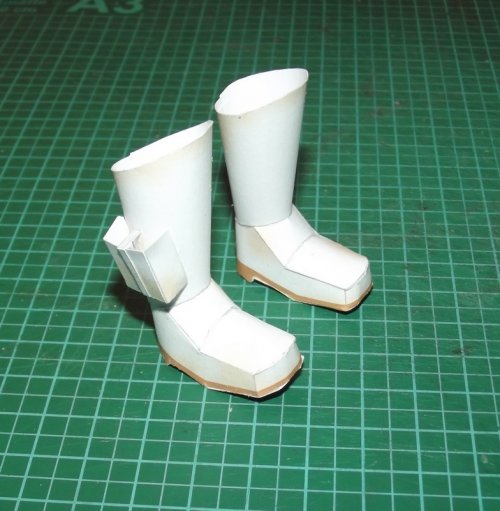
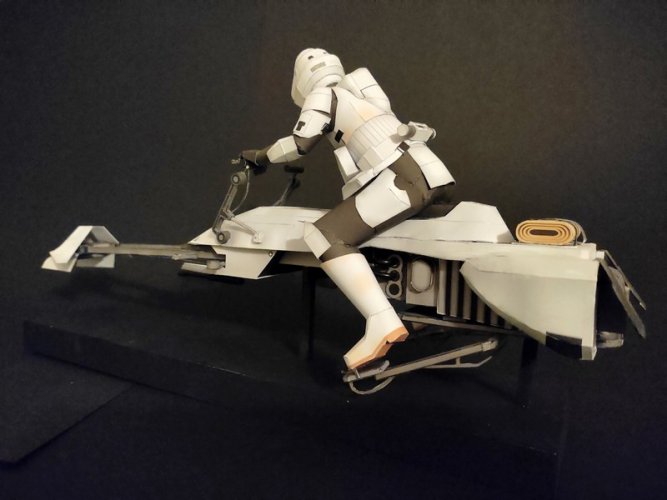
Put the biker onto the saddle. It sits pretty much at the rear. Wiggle your way through and you will find the sweet spot. Use the boots to see where they meet the foot bar. Once you have found the position apply some glue to the bottom of the biker, press it onto the saddle and hold it down till the glue has cured.
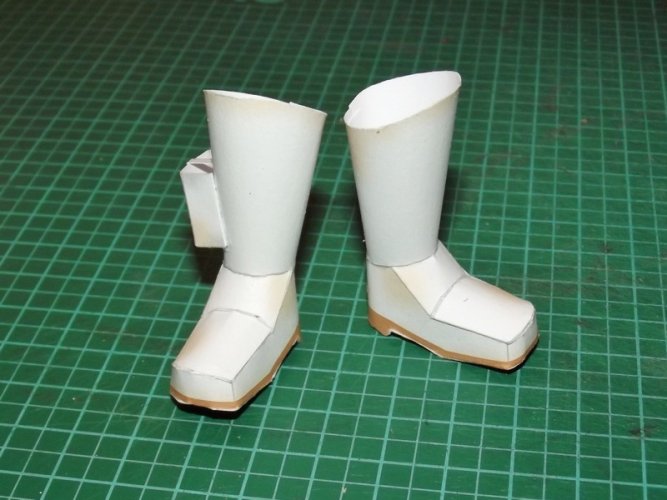
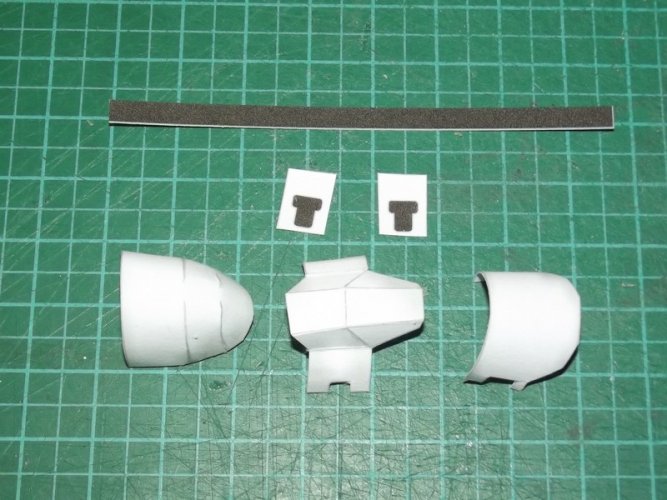
Put some glue inside the left hand and slide it over the left arm stump. This attaches the biker safely.

Then put some glue into the back of the boots. Leave the front of the boots afloat. Slide the boots over the leg stumps, adjust their position so that they slightly touch the foot bars and hold them till the glue has cured.

The result should look like this:

1658352385199.jpg

Please note that the boots are not glued to the bar in order not to apply stress on them.

1658352385183.jpg

1658352385072.jpg

1658352385112.jpg

1658352385168.jpg

1658352385249.jpg

:)
 
Last edited:

Revell-Fan

Co-Administrator
Staff member
Administrator
Moderator
Aug 1, 2009
11,613
12,353
228
Vreden
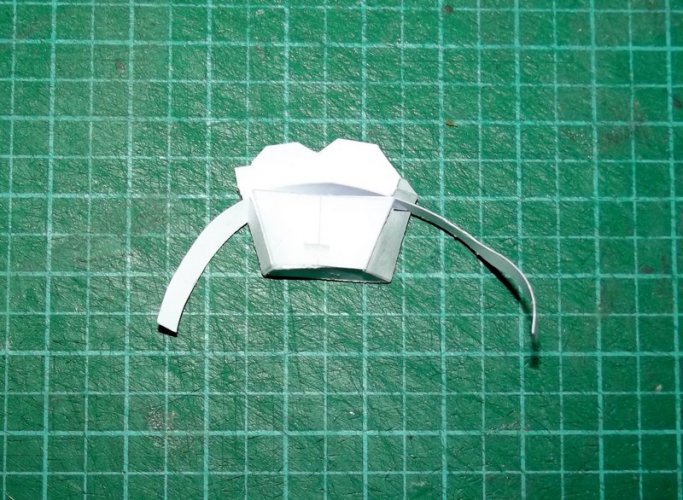
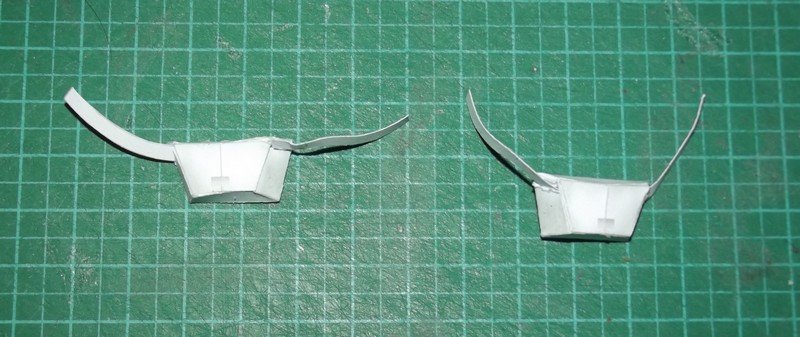
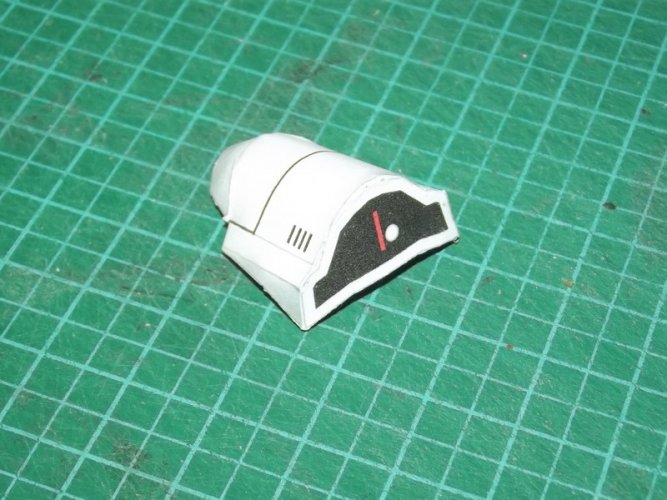
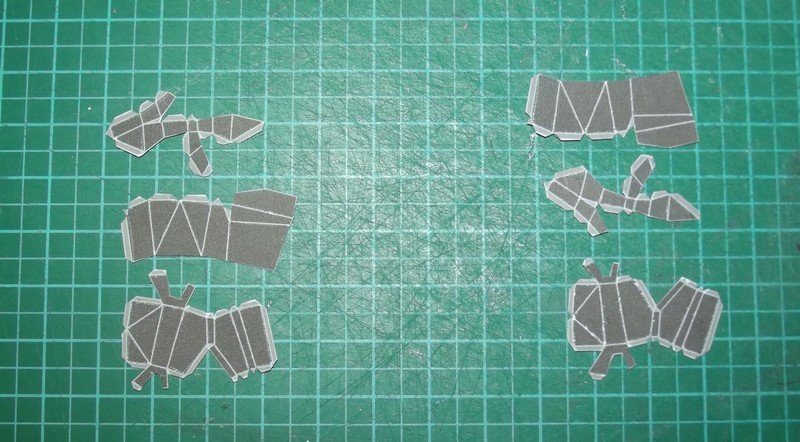
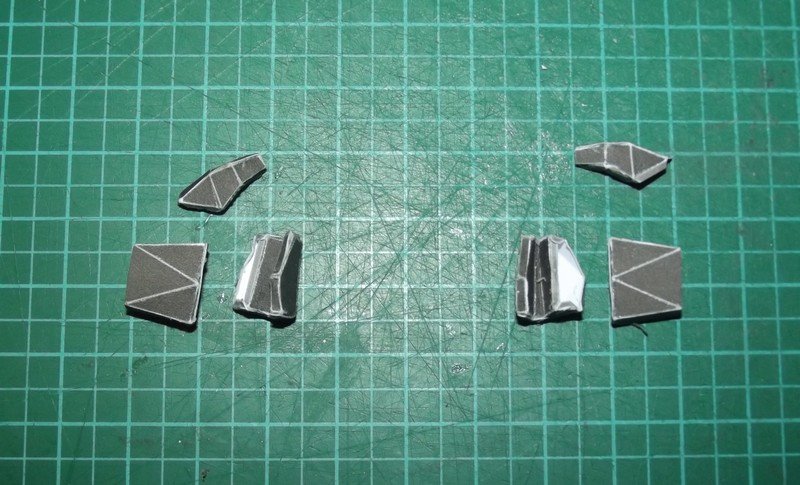
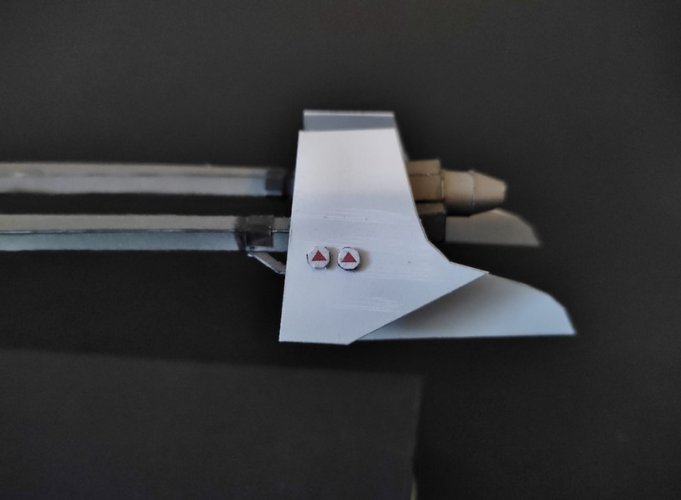
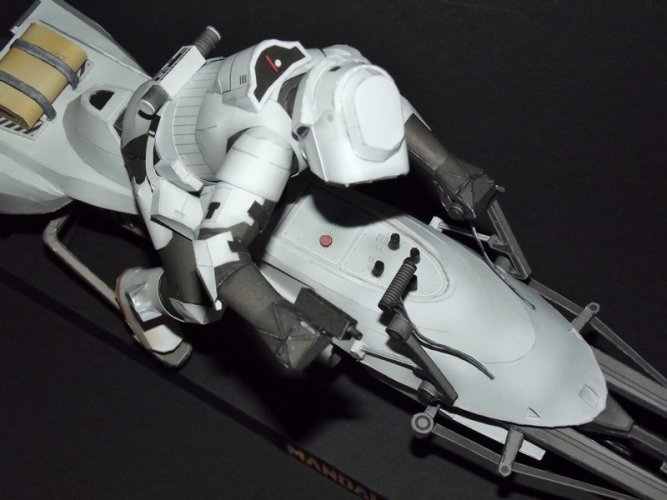
Looking at the bike I noticed some areas which could be refined. So I printed some extra parts and laminated them to some strategic points.

DSCF0763.jpg

1658444707068.jpg

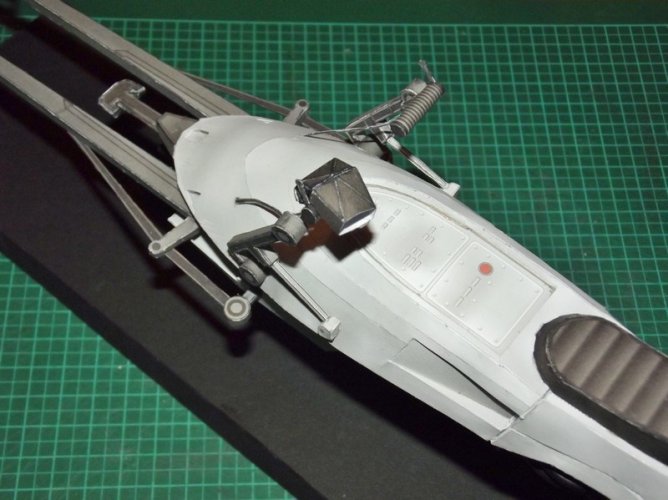
The stabilizers got their circles and the control panel a laminated red button and some control levers made of painted toothpicks (5mm long).

DSCF0769.jpg

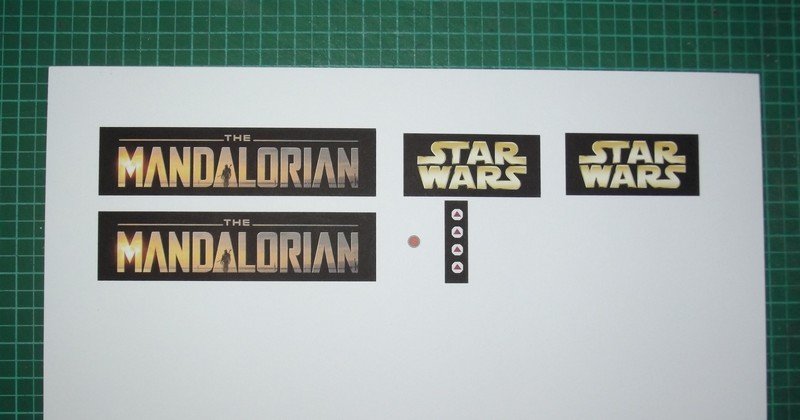
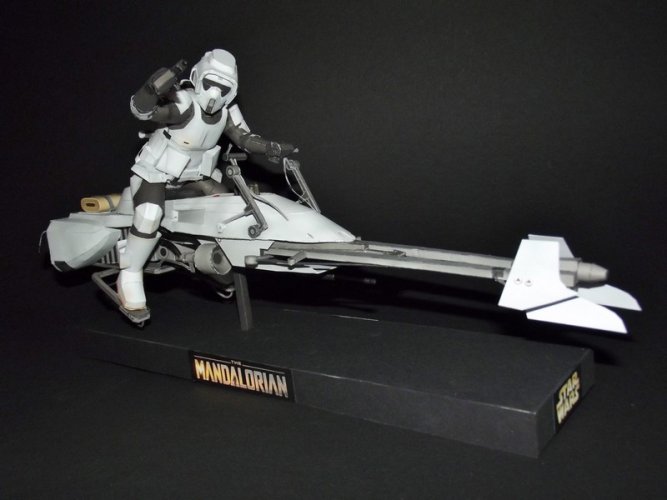
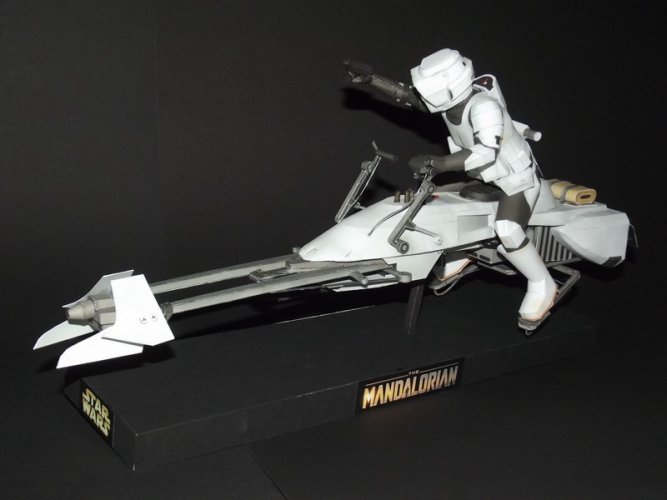
The base was decorated with some logos to break up the black:

DSCF0764.jpg

DSCF0770.jpg

DSCF0771.jpg

DSCF0772.jpg

DSCF0774.jpg

DSCF0775.jpg

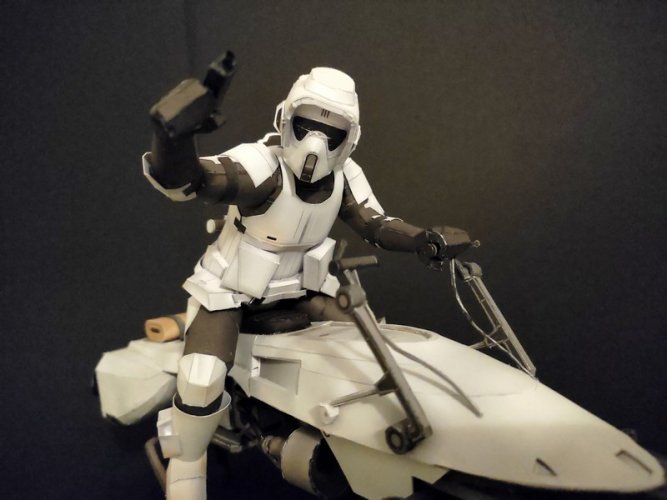
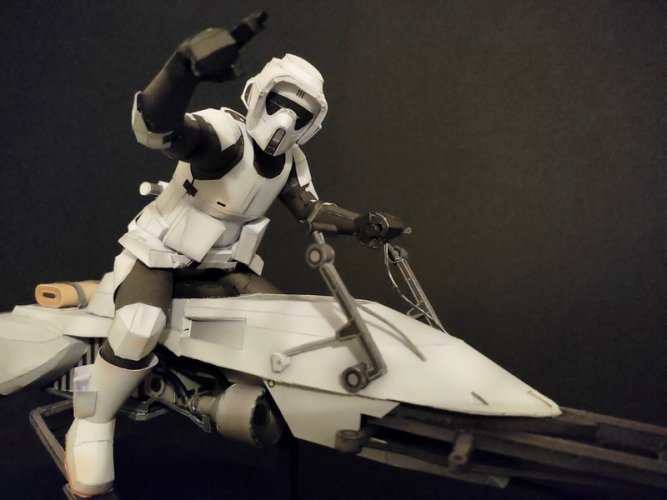
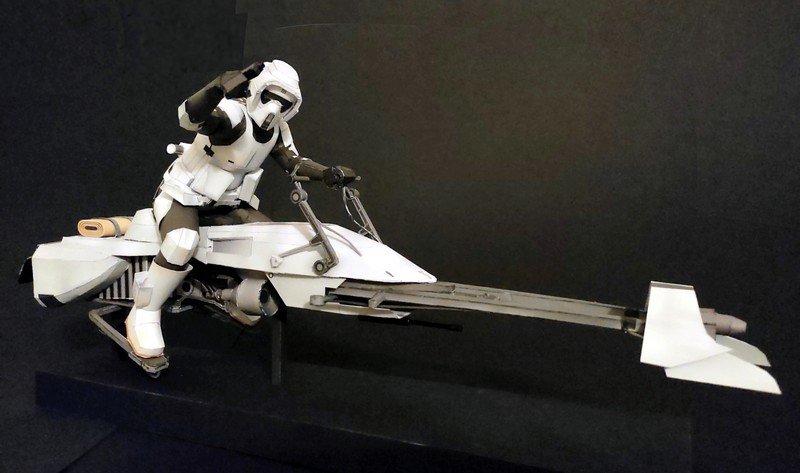
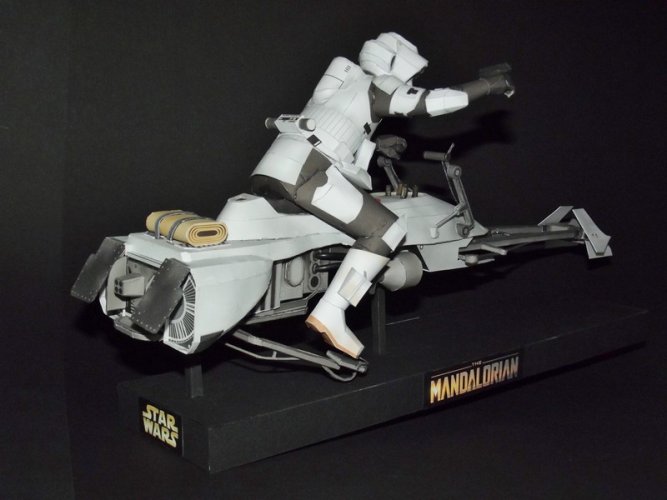
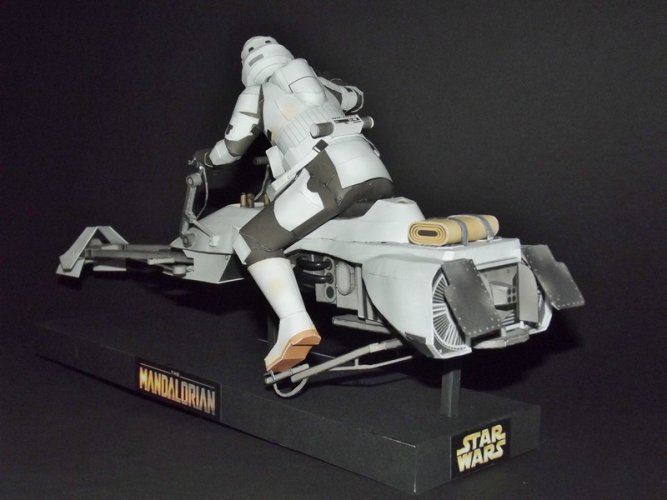
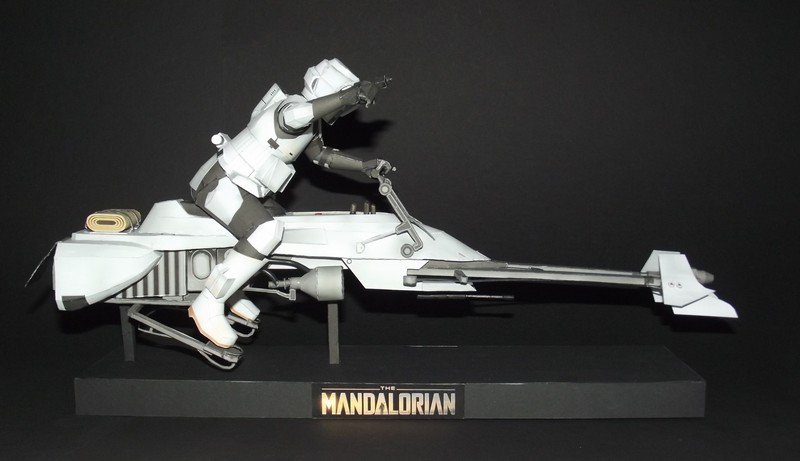
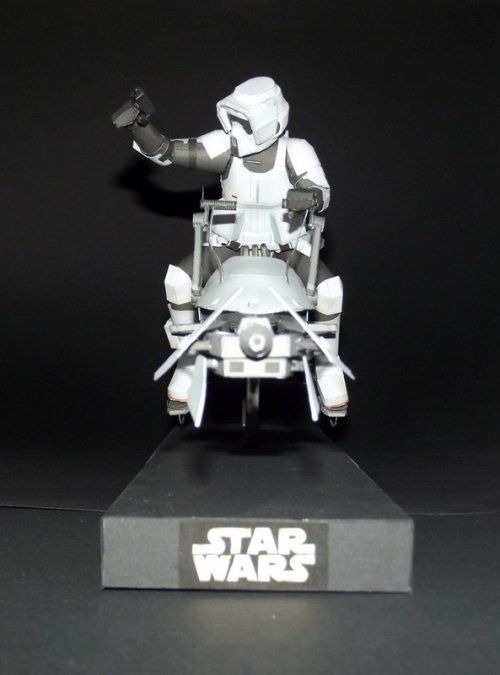
And this is it! :)
 

Revell-Fan

Co-Administrator
Staff member
Administrator
Moderator
Aug 1, 2009
11,613
12,353
228
Vreden
Thank you very much! :)

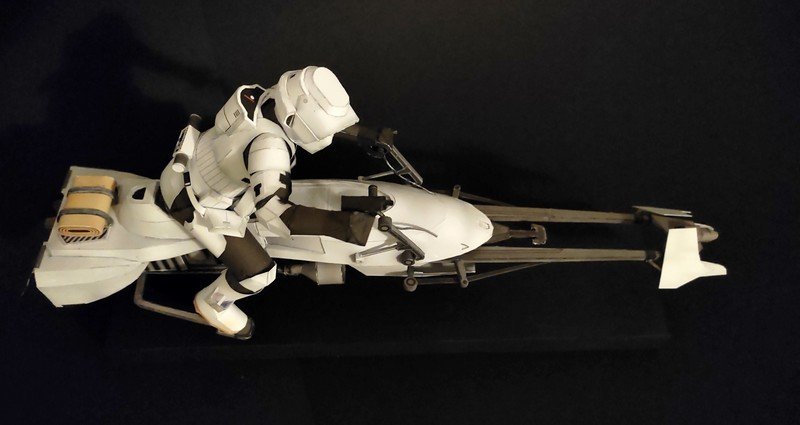
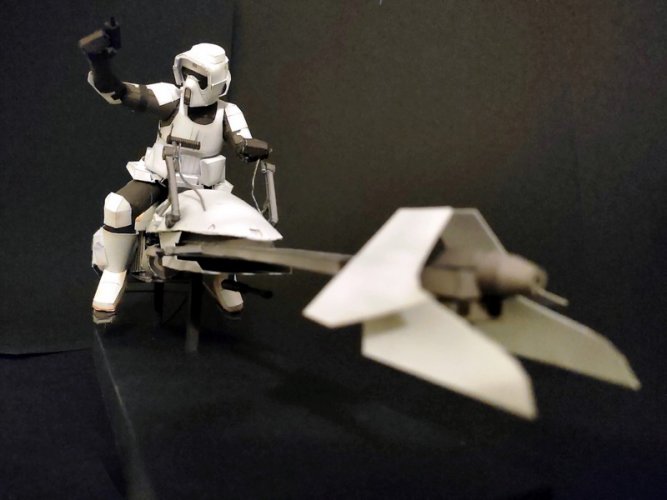
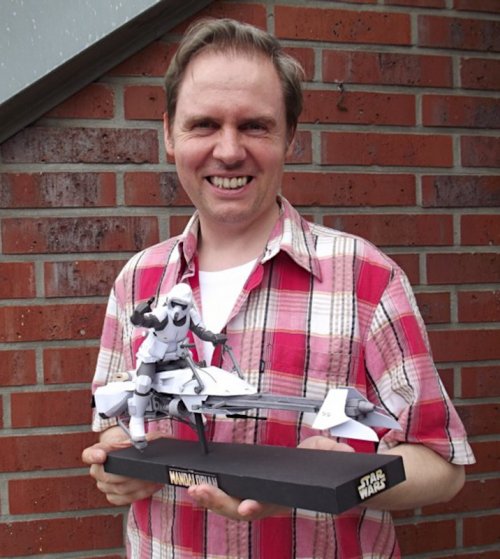
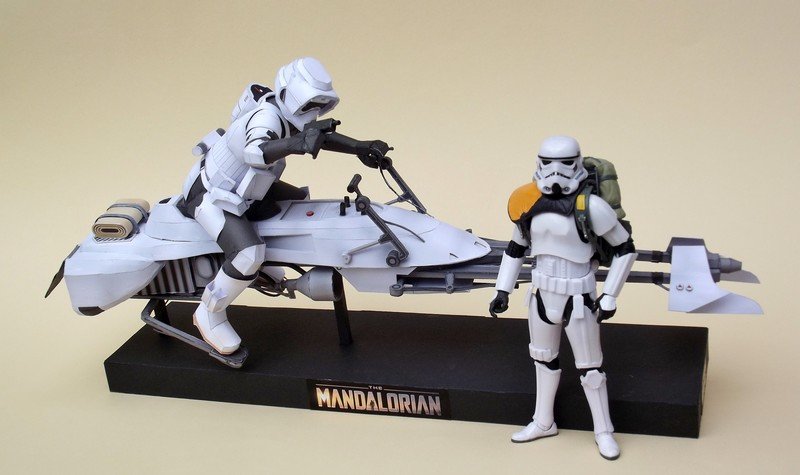
I really enjoyed the build. I did not encounter any big problems and the kit is very carefully thought-out. There are a few things which could be improved, like the levers could be added and the layout of the control panel is not quite right, but the overall appearance is truly stunning. If you want to build a Speederbike paper model for your shelf - this is the one to go. You will find more beauty pics in the gallery.

DSCF0787.jpg

THANK YOU, JULIUS!!! :)

However, there is one glaring mistake which I noticed after the build was finished. The scale is wrong! If you put it beside a Hasbro Black Series figure you will easily see that it is not 1/12th scale. The Scout is about 20 - 21 cm tall which brings it closer to 1/8th scale.

DSCF0811.jpg

Ah well, you cannot have it all! :)

The model was a HUGE hit and my friend was elated to get it from me. Mission accomplished! :)
 

Revell-Fan

Co-Administrator
Staff member
Administrator
Moderator
Aug 1, 2009
11,613
12,353
228
Vreden
Thank you, my friend! :)

I don't know what it is but I always have to change something when I build a model for my colleague. Here is was the colour and the turbine, the Sandcrawler got a recess, the Snowspeeder a new bottom, the TIE fighter cockpit, the Xmas deco for the AT-AT... :D