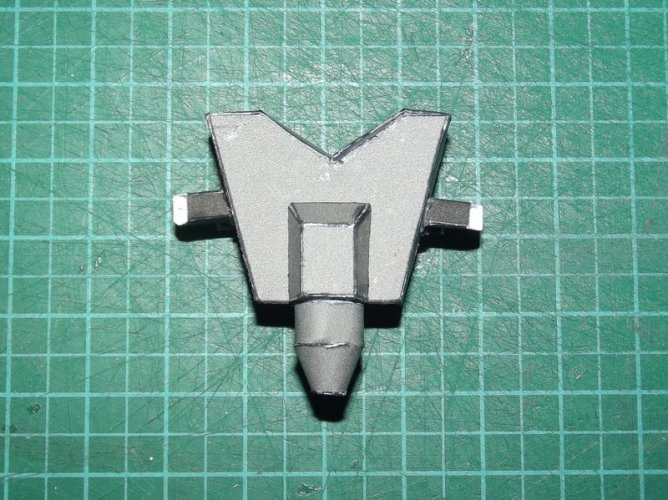
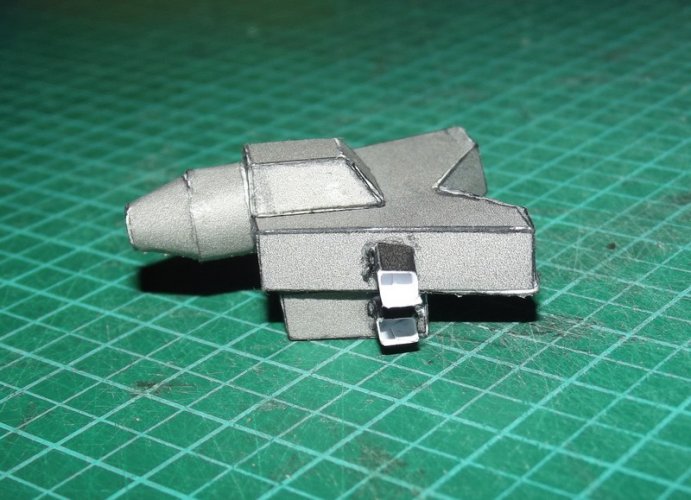
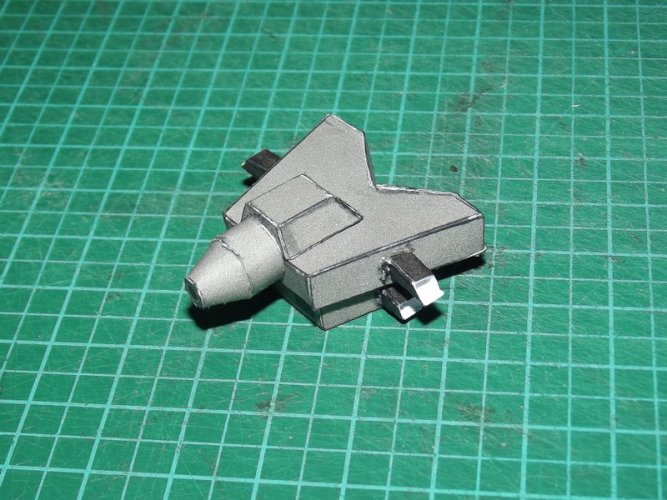
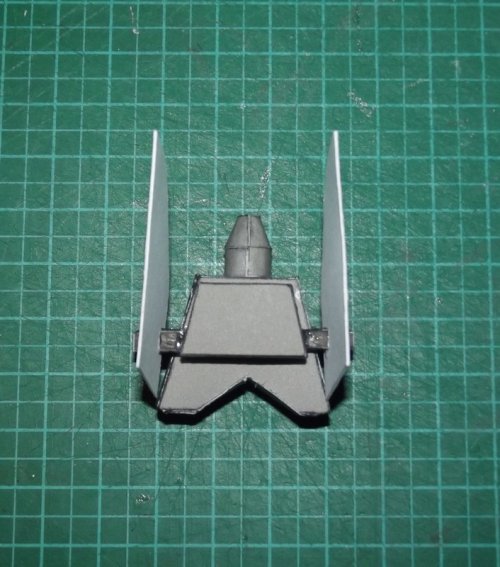
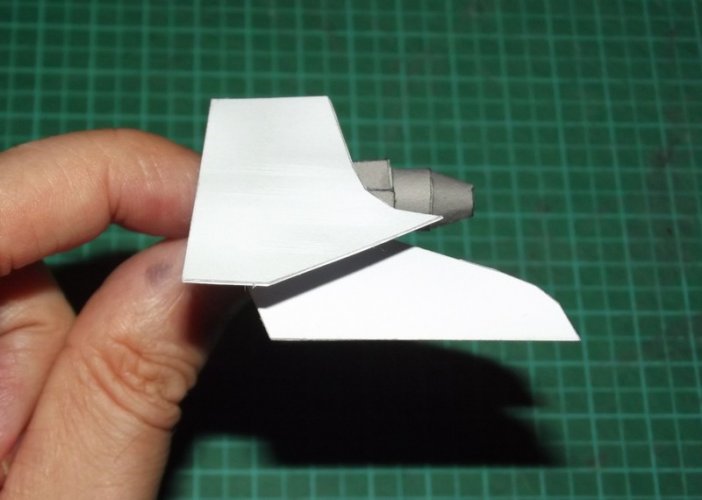
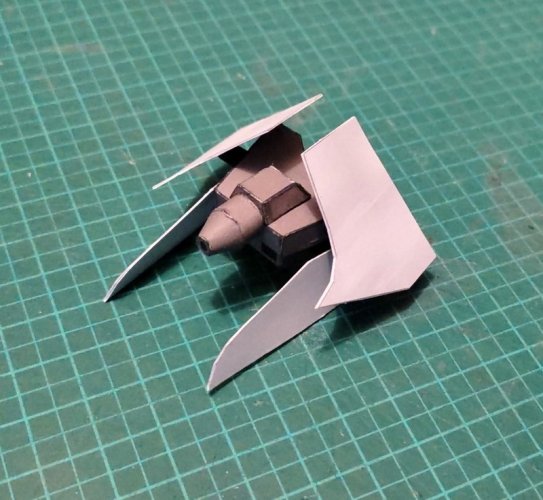
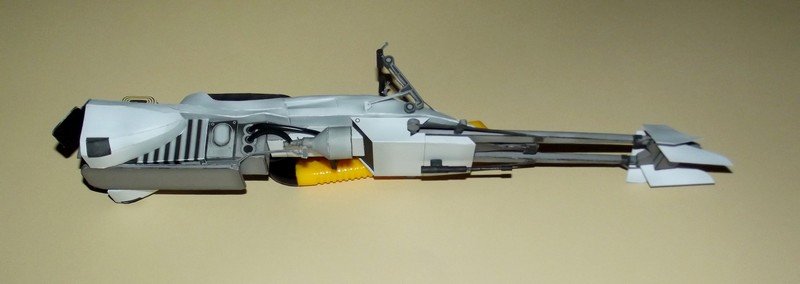
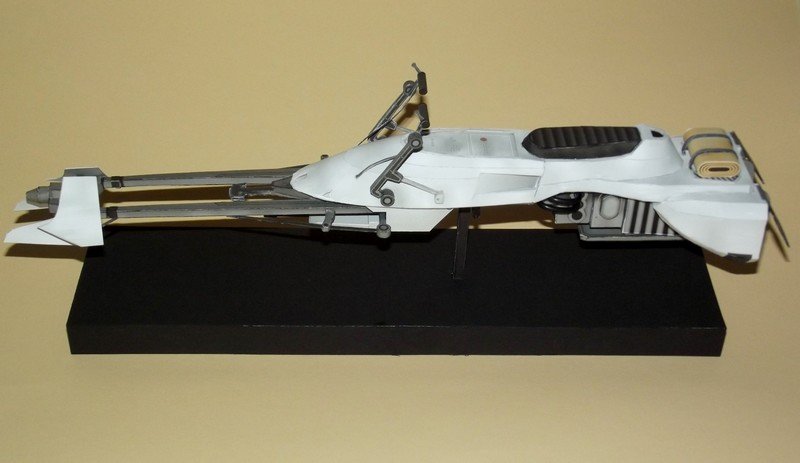
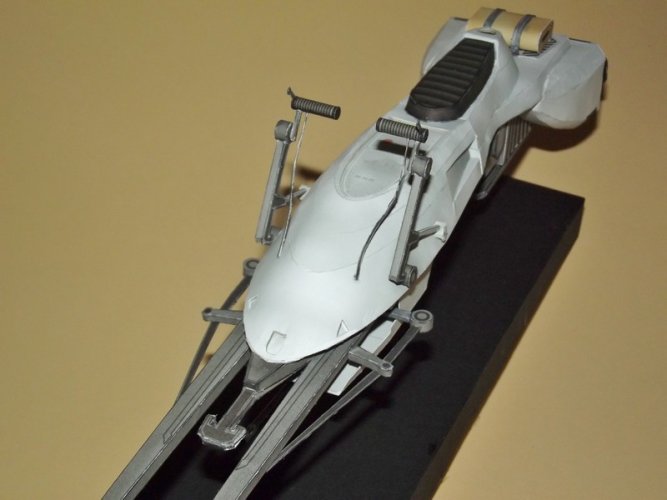
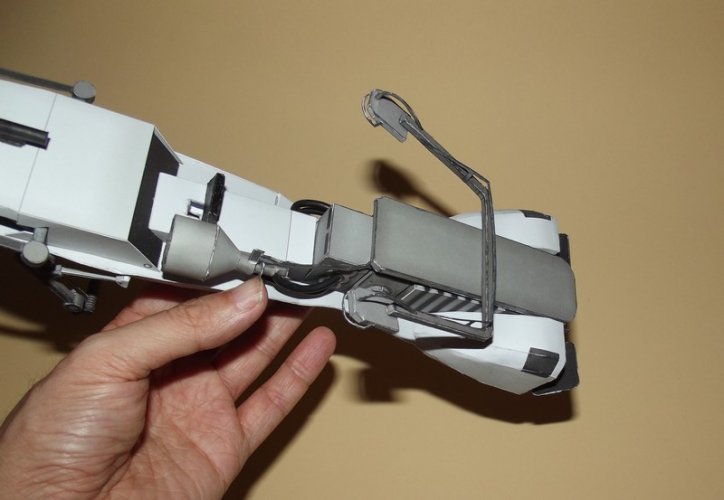
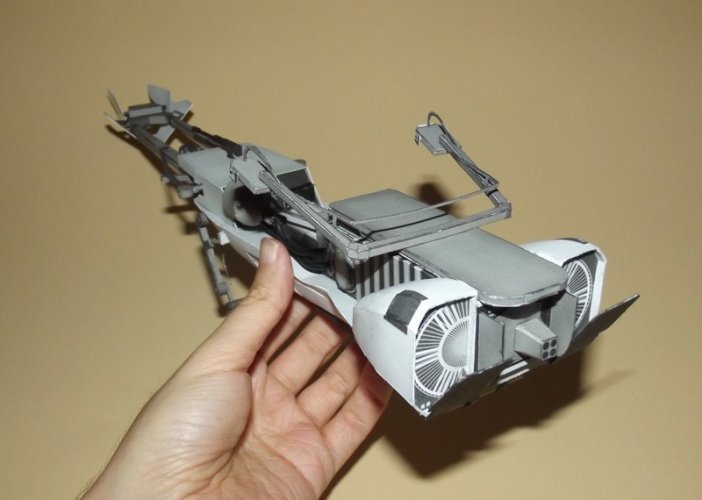
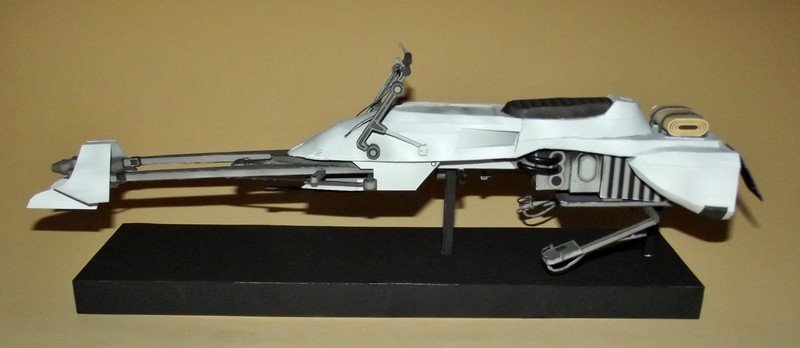
Star Wars 74-Z Speeder Bike (The Mandalorian)

Revell-Fan

Co-Administrator
Staff member
Administrator
Moderator
Aug 1, 2009
11,613
12,353
228
Vreden
Hello fans,

probably you were wondering about the lack of updates of the Aston Martin thread lately. Now I'm gonna tell and show you the reason for that. ;)

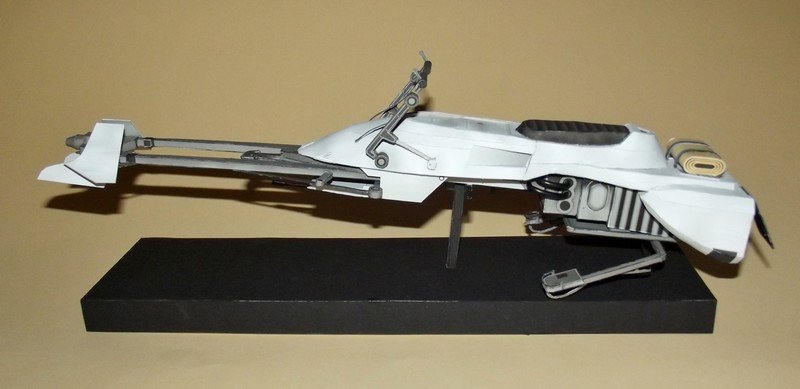
My Star Wars friend's birthday is imminent and I am busy making a new model for him. This time I chose the Speeder Bike by Julius Perdana. Since my friend and I are huge fans of "The Mandalorian" I recoloured the plans accordingly and turned it from brown to bone-white. To do so I imported the pages into Gimp, desaturated the parts in question and played around with the layer settings till I had a pleasing result.

I have wanted to build this kit for a long time by now but time and space constraints prohibited this project. Now that I know that the model would not stay at my place for very long I gave it a go. Because I had to meet a deadline I was constantly cutting and gluing as much and as fast as possible and had very little time for anything else. With the main work completed I found some time to (finally) start the build thread on this beautiful model.

This kit has some errors and some missing parts but nothing you could not correct and enhance on-the-fly. And assembly is a charm (unlike the Aston Martin) and it was kinda refreshing and relaxing to build such a straight-forward kit. :)

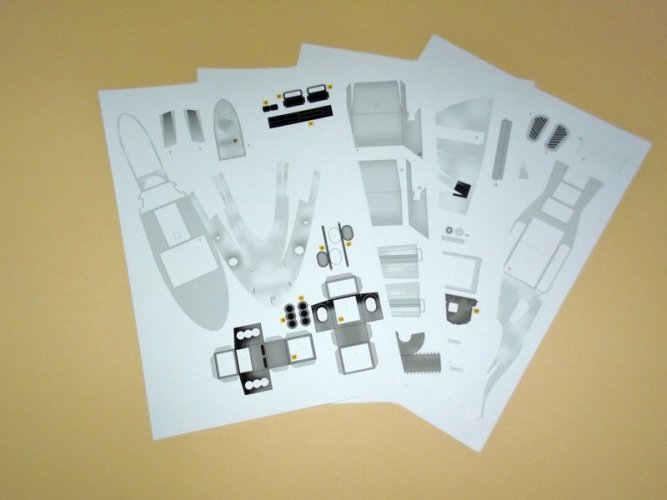
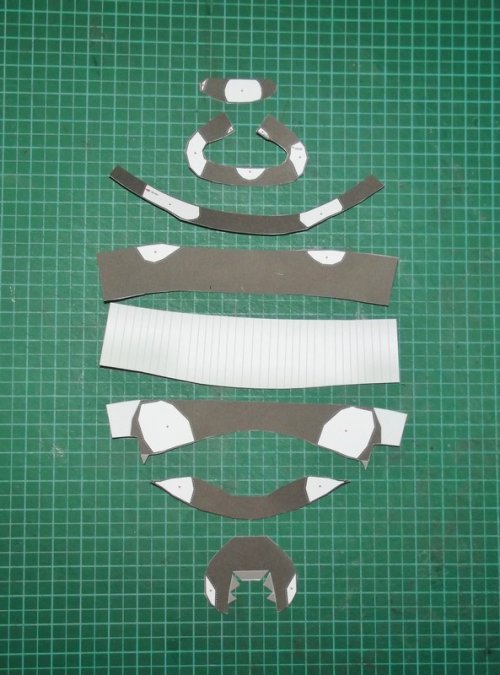
Everything begins with the printing.

DSCF0594.jpg

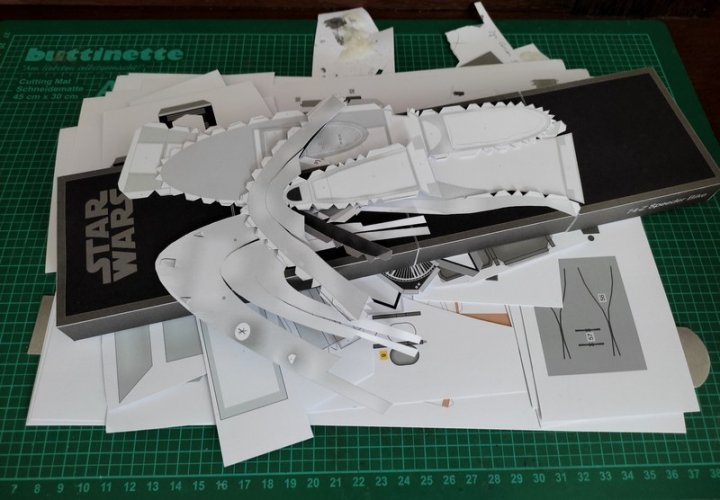
Then comes the cutting.

1658078229300.jpg

Many parts are easily identifiable, so I swang into action and spent one complete afternoon with cutting and scoring.

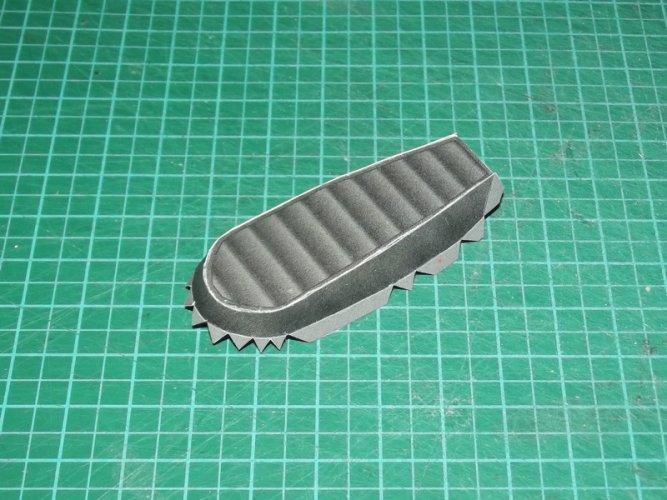
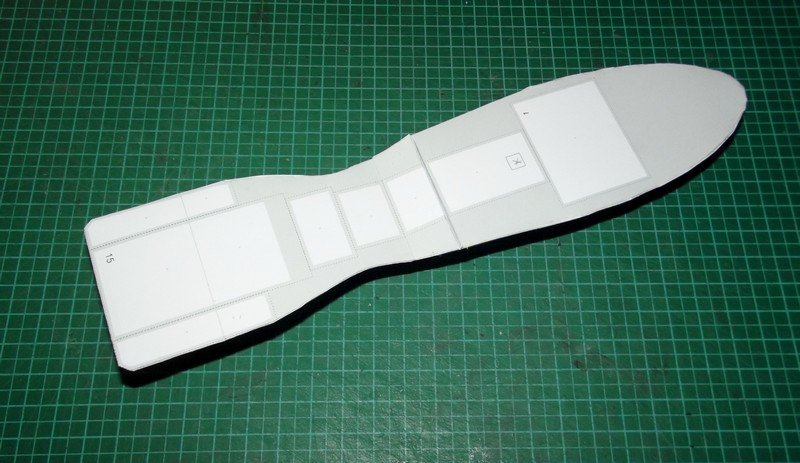
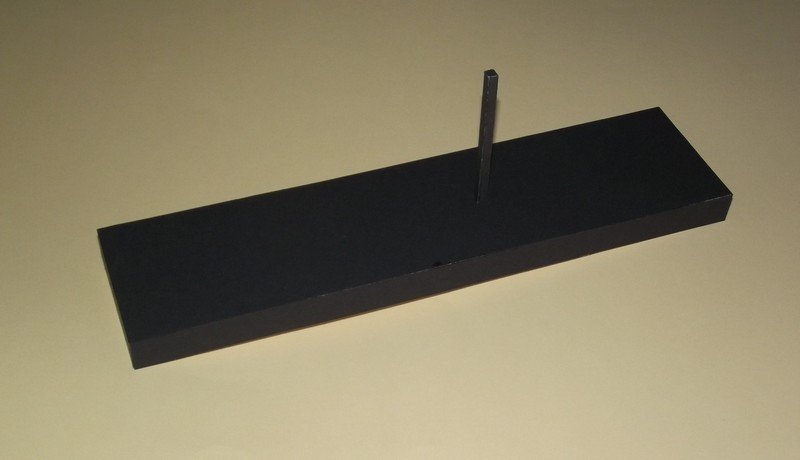
The first big piece I assembled was the display stand.
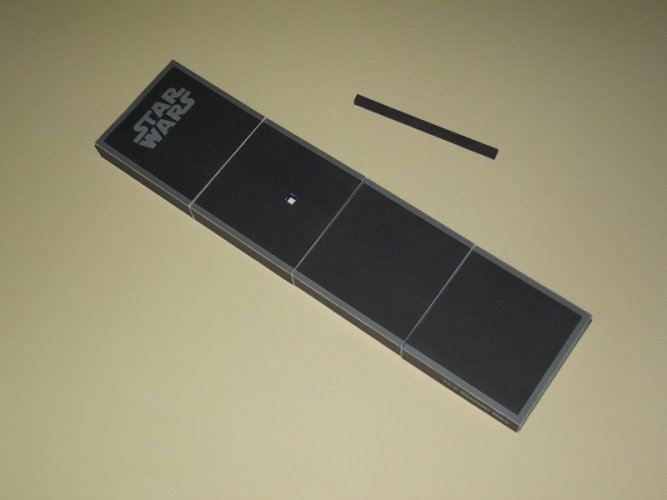
DSCF0692.jpg

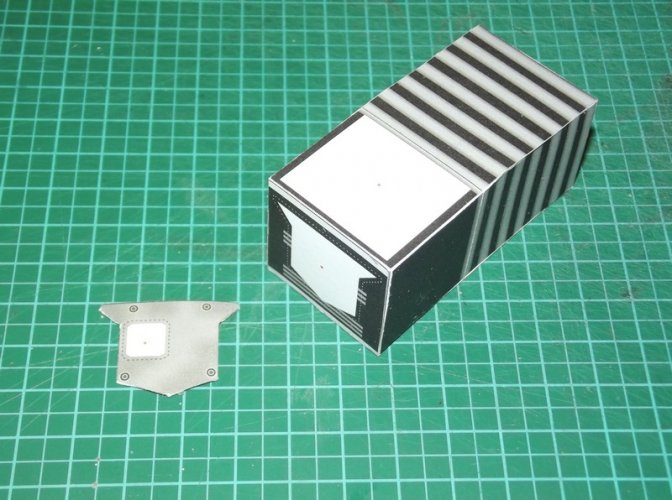
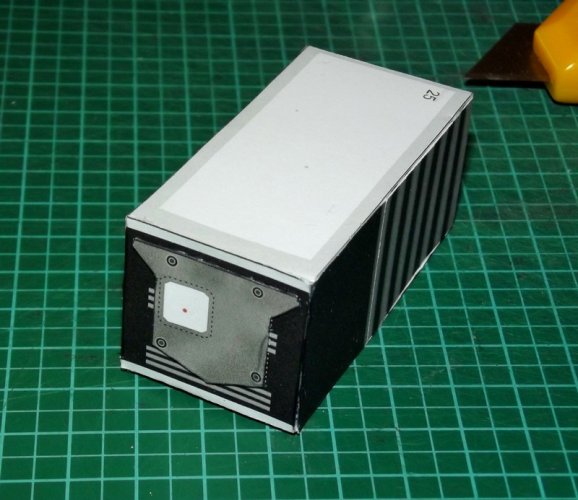
I did not like the segmented look, so I laminated some pieces of black card to the surface.
DSCF0693.jpg

This looks much nicer and much more elegant now.

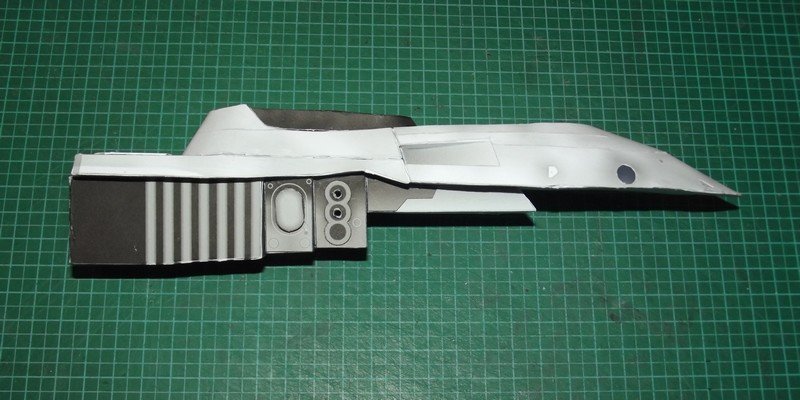
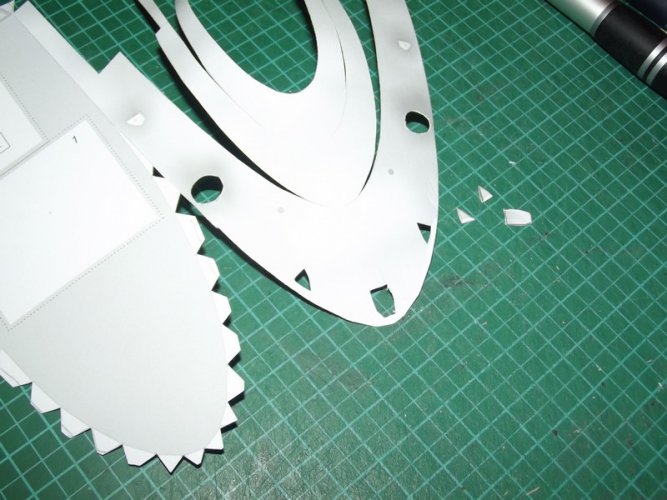
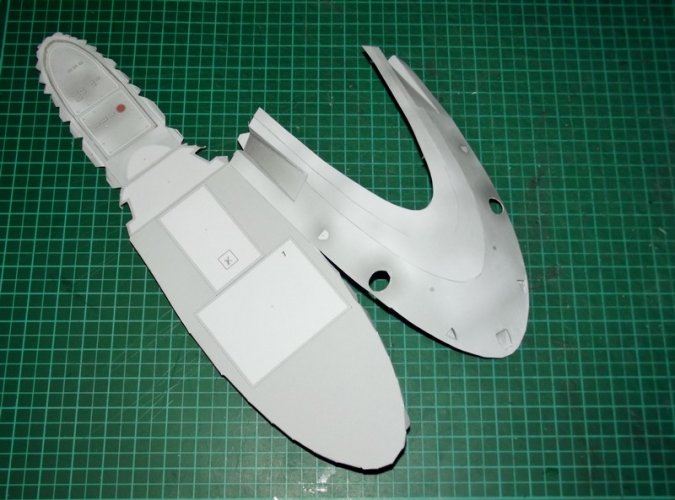
The first thing I changed on the bike was to recess the three small inserts at the front of the main body.
DSCF0595.jpg

DSCF0597.jpg

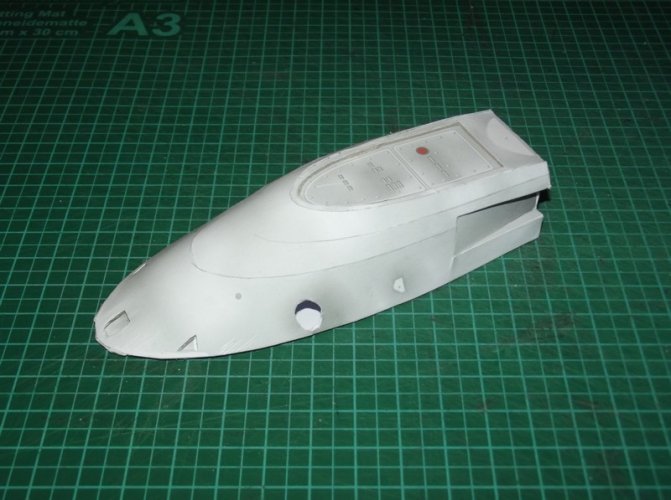
The control panel was recessed using a piece of leftover card. Unfortunately the kit does not provide a spacer but it is not difficult to make one.
DSCF0598.jpg

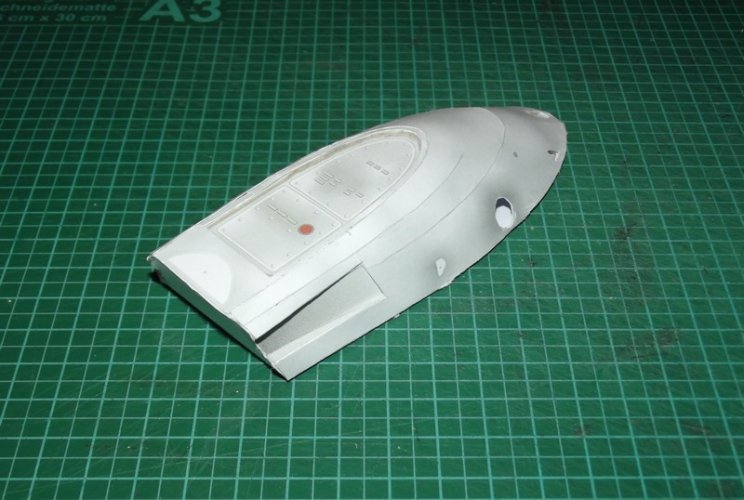
Whenever necessary I cut off the flaps on the curved parts and glued them together with paper strips on the back.
DSCF0599.jpg

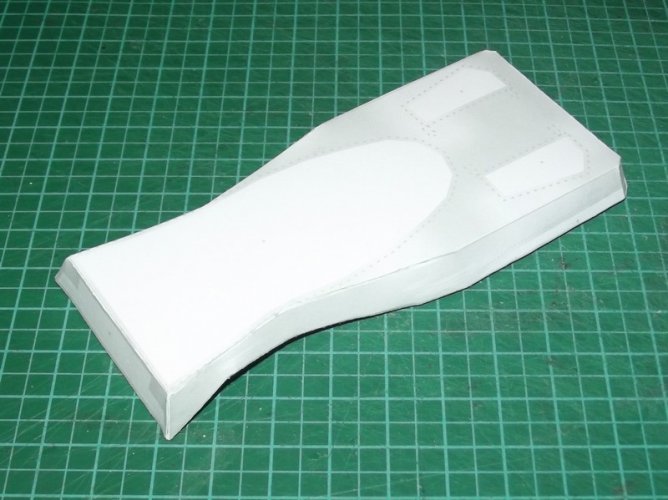
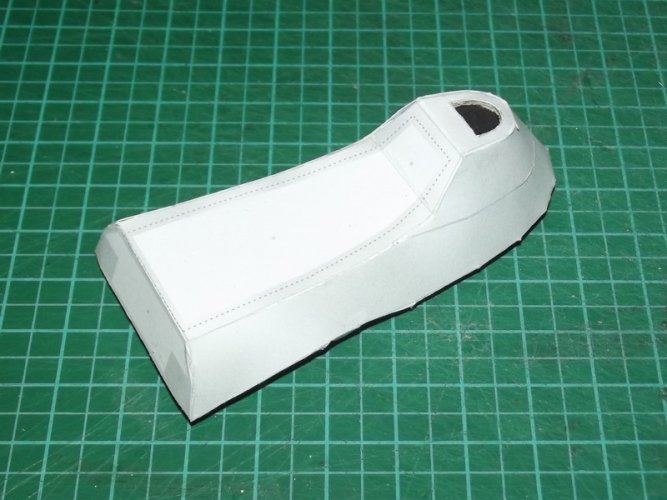
Even at this early stage you can see that Julius met the proportions extraordinarily well and it is a testiment of masterful craftmanship to achieve such a complex shape with so few cuts.
DSCF0602.jpg

DSCF0600.jpg

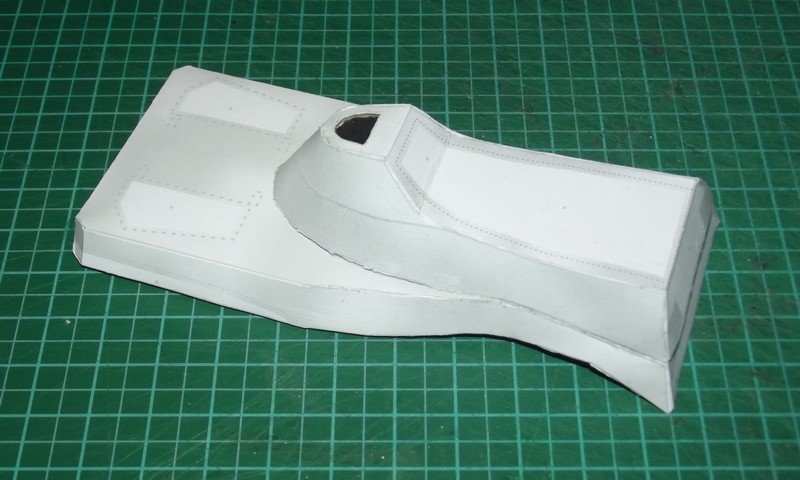
I too recessed the black area behind the seat. Easy job. :)
DSCF0603.jpg

DSCF0604.jpg

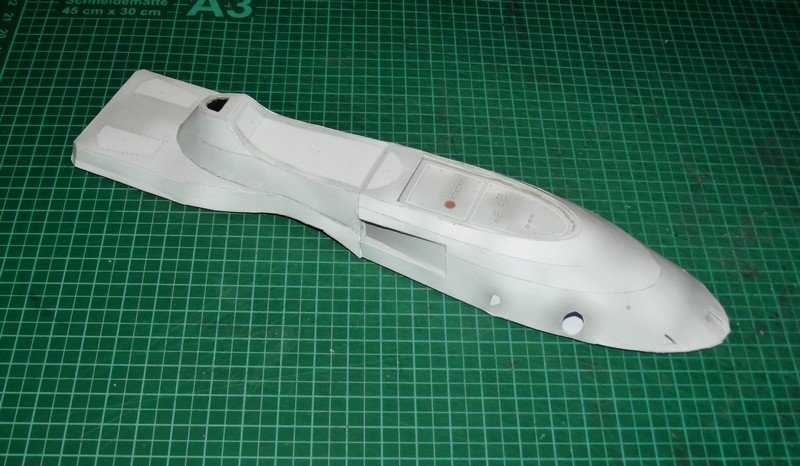
Both halves are glued together.

DSCF0601.jpg

The seat is attached. This piece could be improved since the real one follows the curvature of the bike. However, I guess Julius chose this simplified shape to make the build easier and to effectively hold the Scout Trooper in place later. In order not to mess up the design I left it as is.
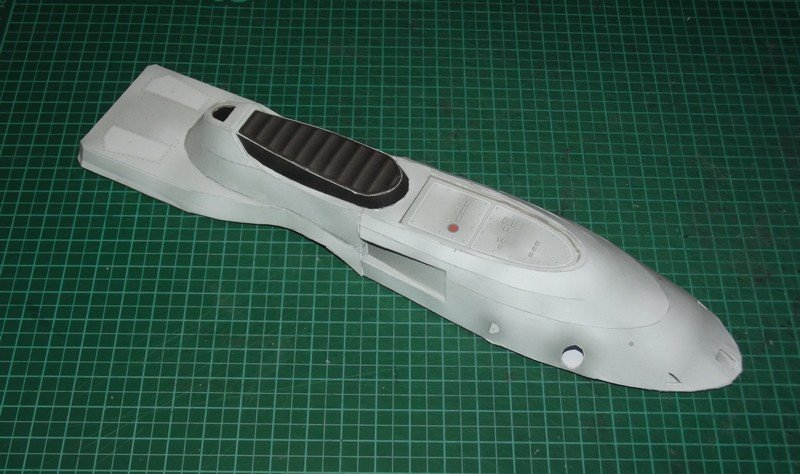
DSCF0605.jpg

BEAUTIFUL! I already love it! Stay tuned! :)
 
Last edited:
Rhaven Blaack

!!!THE MAN BEHIND THE CURTAIN!!!
Staff member
Administrator
Moderator
Jun 12, 2009
12,525
9,908
228
Oregon
www.deviantart.com
You are off to a GREAT start on this project! I am quite certain that your friend will like it!
I am looking forward to seeing how this project turns out!!!
 
  • Like
Reactions: Revell-Fan

Chuffy70

Well-Known Member
Jun 5, 2022
842
1,708
75
Norwich UK
Happy memories stirred from my Airfix/MPC version years ago... looking forward to seeing more.

could we see some rulers or day to day items in shot to get a sense of scale please?
 
  • Like
Reactions: Revell-Fan

Revell-Fan

Co-Administrator
Staff member
Administrator
Moderator
Aug 1, 2009
11,613
12,353
228
Vreden
Happy memories stirred from my Airfix/MPC version years ago... looking forward to seeing more.

could we see some rulers or day to day items in shot to get a sense of scale please?
The grid pattern on my cutting mat is 5x5mm. The kit is in 1/12 scale and should fit with the Bandai and Black Series figures nicely. :)
 
Last edited:
  • Like
Reactions: Rhaven Blaack

Revell-Fan

Co-Administrator
Staff member
Administrator
Moderator
Aug 1, 2009
11,613
12,353
228
Vreden
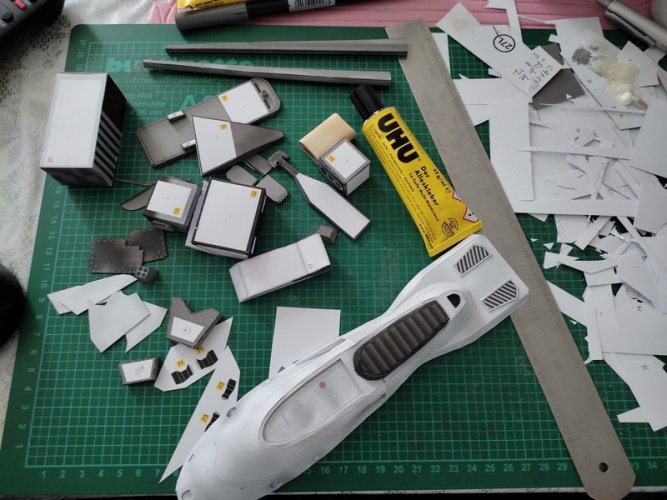
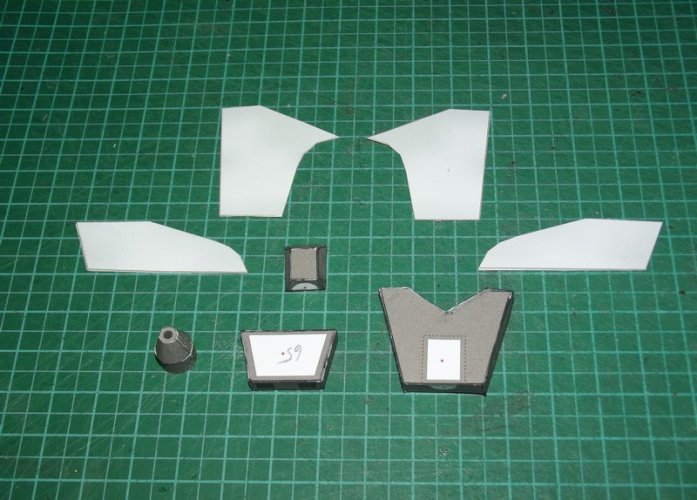
Thank you all for your comments! Let's continue with the next steps - and I indeed took some pictures with everyday items beside the model parts as requested by @Chuffy70 . :)

1658078229263.jpg

The metal ruler is 30 cm long.

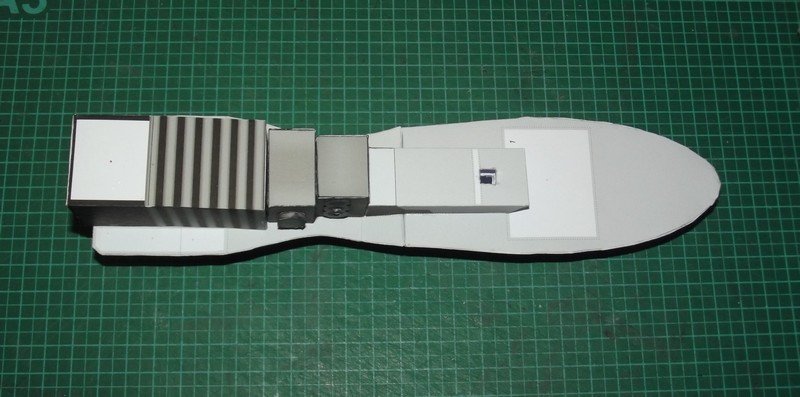
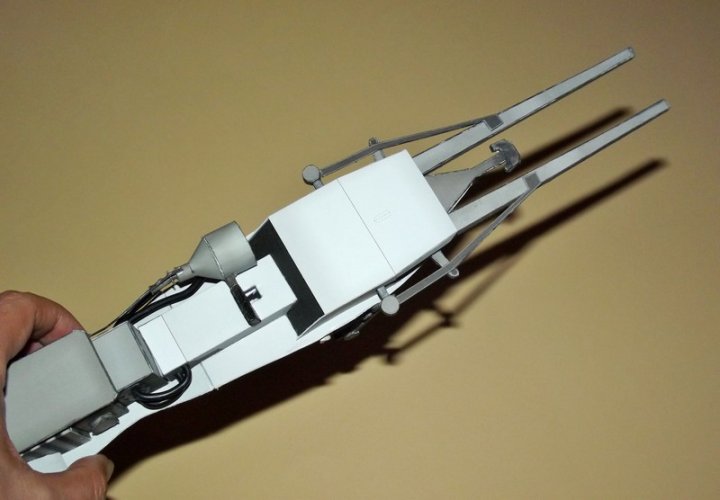
Detailing the underside was very straight-forward because most of the structures consist of simple boxes.

DSCF0645.jpg

DSCF0612.jpg

I thought the exhaust plate could be improved a bit. Checking various images of the Bandai model revealed that the shape is pretty spot-on, so I left the exhaust area as is.

DSCF0614.jpg

DSCF0646.jpg

I did not glue the final piece in place yet because it is necessary to insert the front fork into it which was not ready yet at this stage of the build.

DSCF0647.jpg

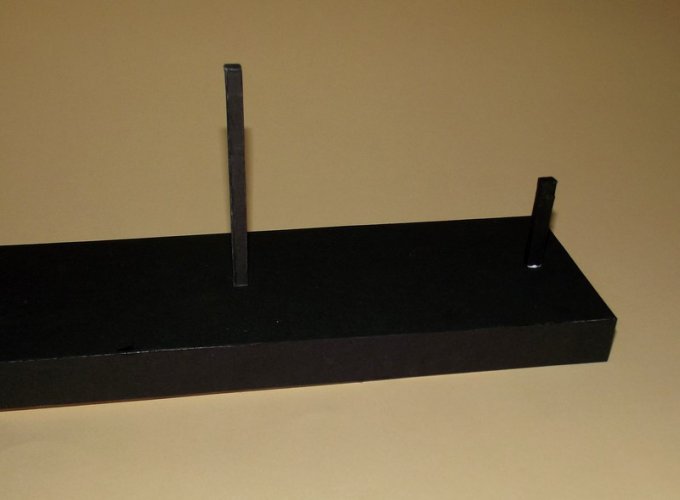
Please note the hole for the rod of the stand.

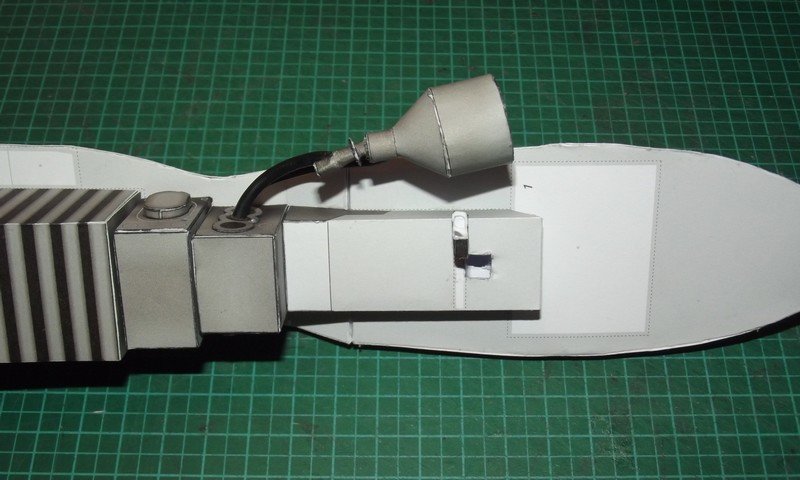
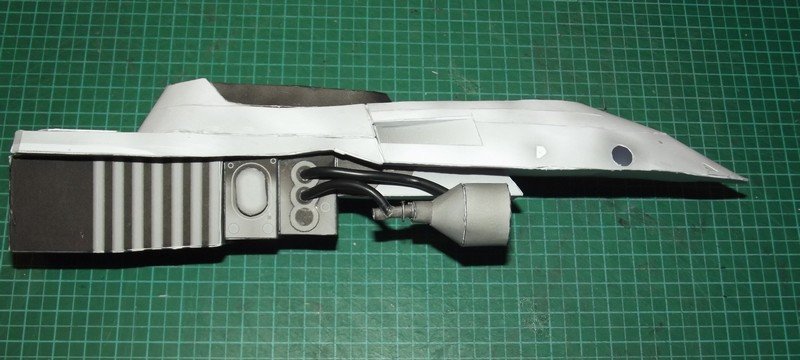
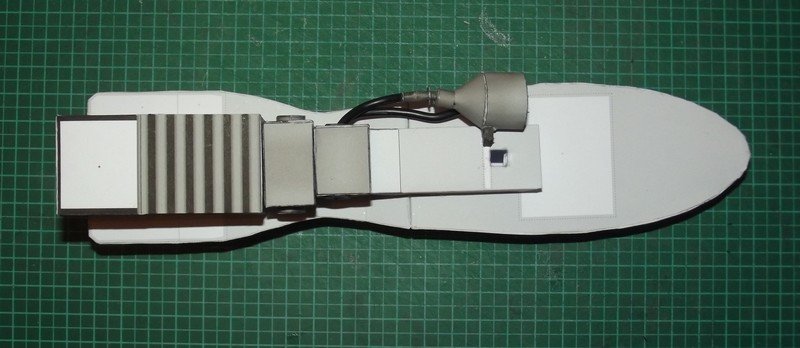
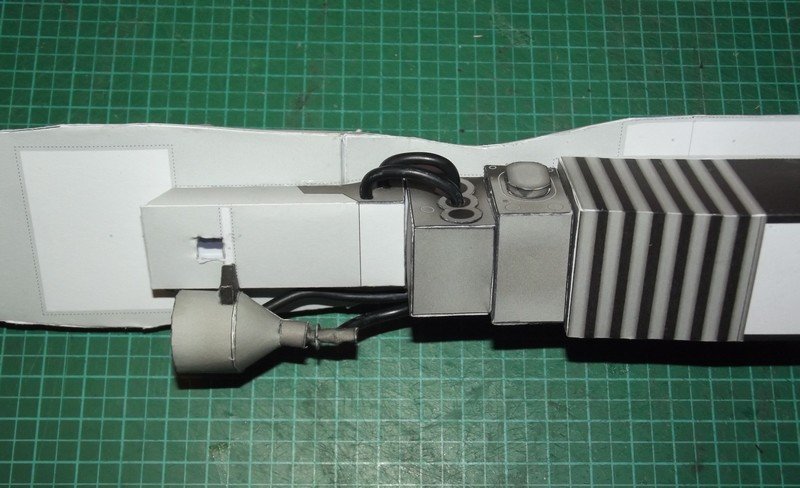
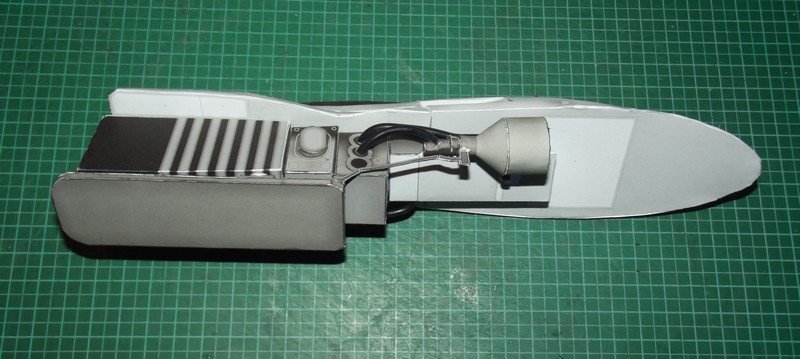
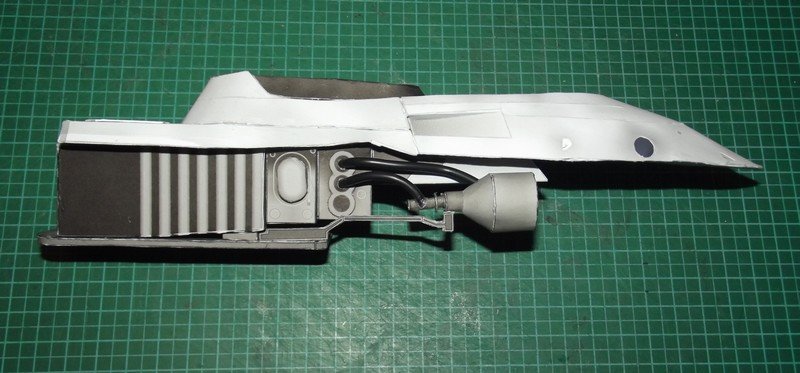
Now it was time for one major change. The original Speederbike features only one turbine whereas the kit provides two. I speculated that Julius did that to make the model symmetrical. Well, that could have been one reason but a more important aspect was that the bar connecting both turbines is crucial to keep the model on the stand. Unfortunately I found that out AFTER I cut the bar in half. :hammerhead:

However, one step at a time. :)

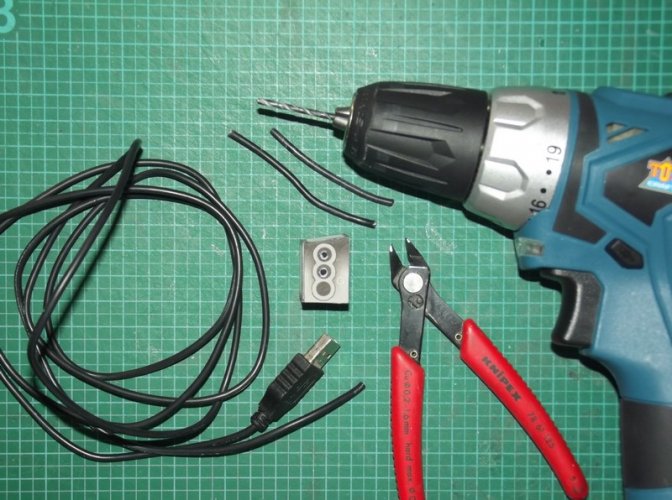
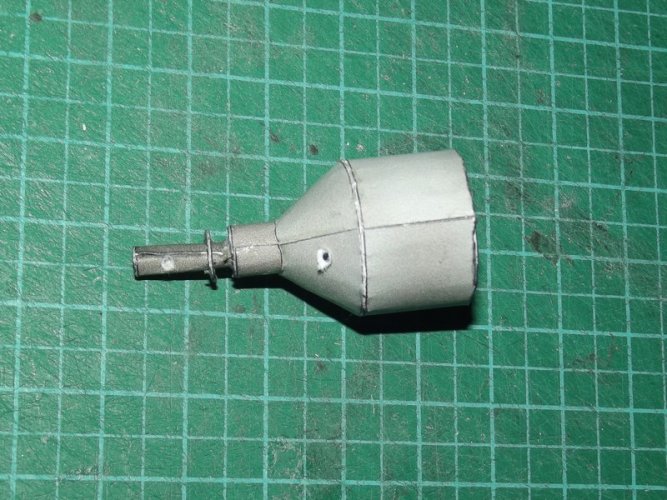
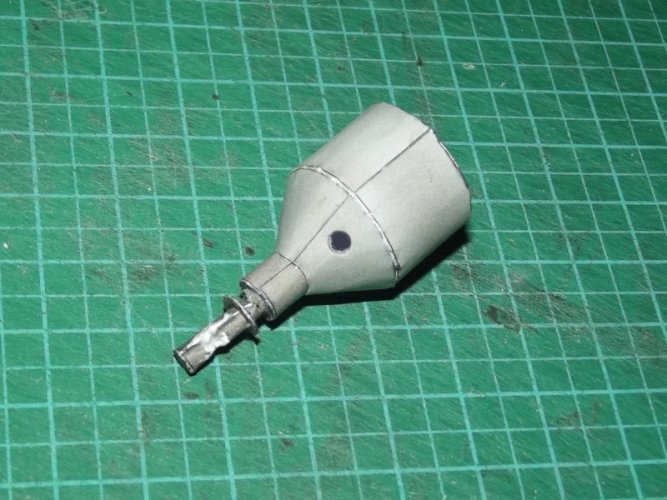
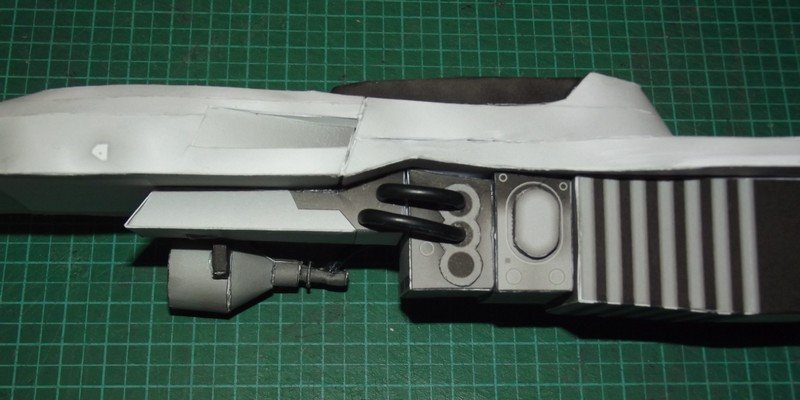
First I assembled one turbine and skipped the other. Then I pulled out my drill and drilled two holes into the turbine and its corresponding tube.

DSCF0644.jpg

DSCF0648.jpg

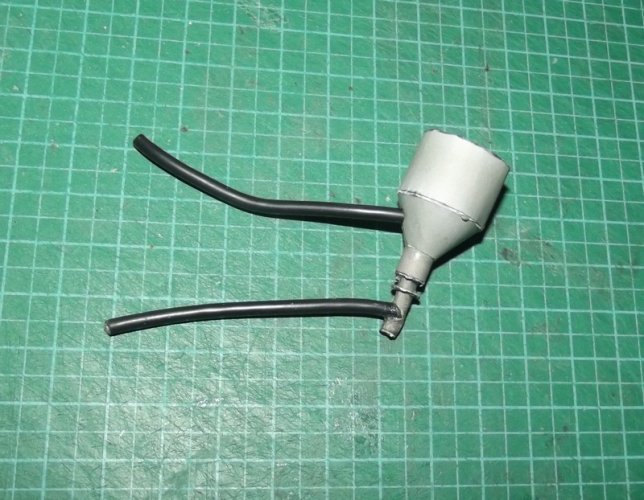
The holes was widened with a wooden rod

DSCF0650.jpg

till it was able to hold a piece of cable in position. And yes, it is the same cable I used on my Wall-E build. ;)

DSCF0651.jpg

I secured the cable to the tube with a drop of glue, the other cable going into the turbine fits by friction.

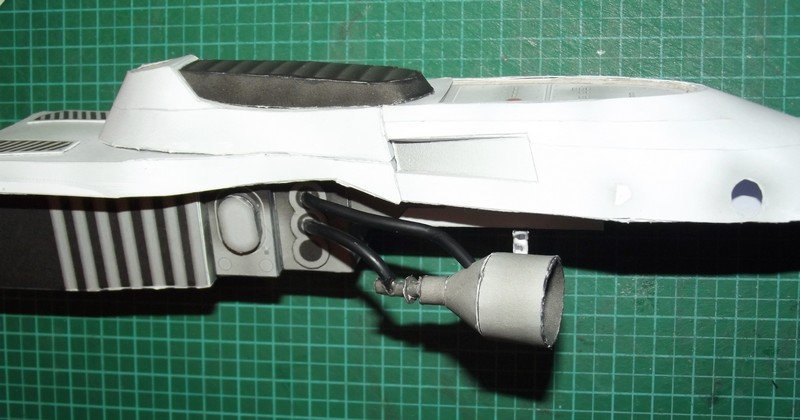
Attaching the turbine to the bike was a bit tricky. The part is very fragile and does not like constant bending and pulling. But with some patience you get this:

DSCF0652.jpg

DSCF0653.jpg

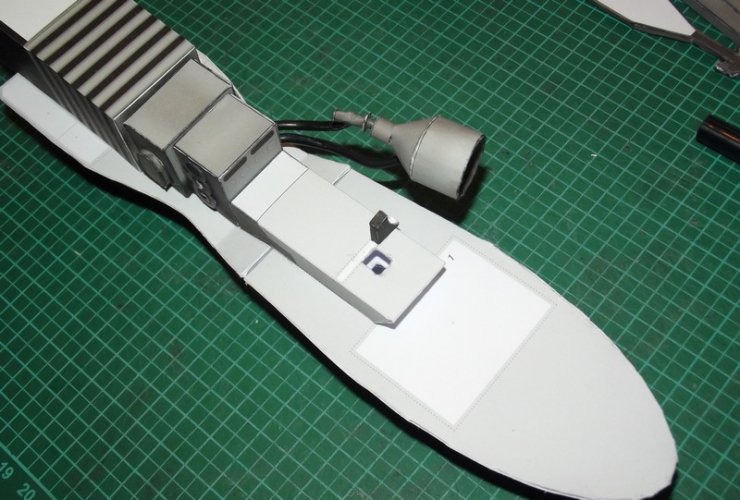
Here you can see the shortened turbine bar.

DSCF0654.jpg

DSCF0655.jpg

DSCF0656.jpg

And done! :)

I drilled some holes into the other side and attached two more cables there. I did not follow any pattern, it just had to look good.

DSCF0657.jpg

DSCF0658.jpg

The next plate was attached:

DSCF0659.jpg

DSCF0660.jpg

DSCF0661.jpg

The design of the kit is very carefully thoughtout and the fit of the parts is AMAZING! :)
 
Last edited:
Revell-Fan

Co-Administrator
Staff member
Administrator
Moderator
Aug 1, 2009
11,613
12,353
228
Vreden
When I test-fitted the bike on the stand I noticed that it was VERY tail heavy which made me rethink the shortened turbine bar idea. I build a simple block from leftover paper and attached it at the bar's position.

DSCF0674.jpg

To my surprise the bike continued to be tail heavy but the new bar extension gave it some stability. I would address this problem later.

Adding the next components to the front were very easy. The instructions are very precise. It is only the order in which the parts are attached that matters.

DSCF0676.jpg

A view from the top:

DSCF0677.jpg

DSCF0678.jpg

DSCF0679.jpg

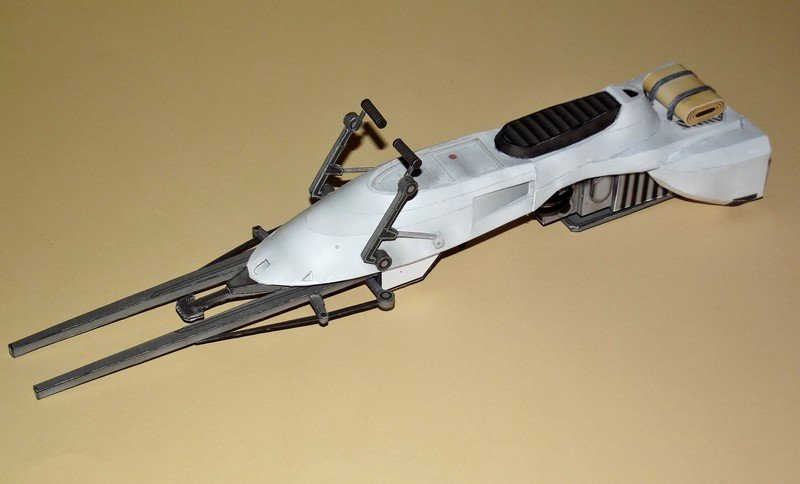
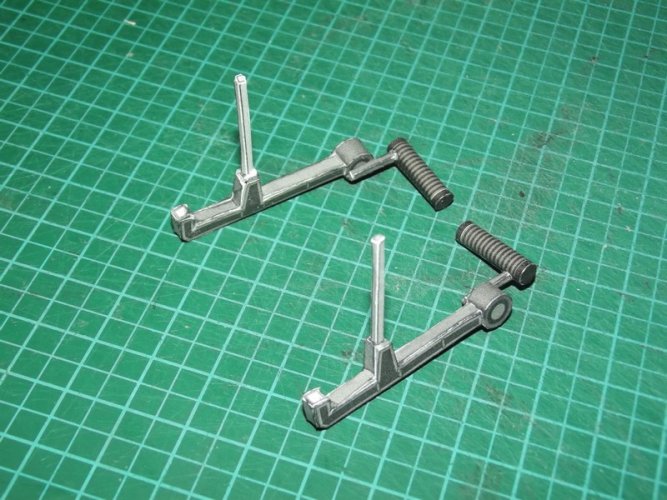
The handle bars are very easy to make but they are fairly fragile and have to be handled with care. It was mind-boggling to see that they both rest on a tube that runs across the main body. This may become handy for someone who would like to make an articulated bike. :)

DSCF0680.jpg

1658078229248.jpg

Since the little struts are so thin it is a bit difficult to see where the angled end is orientated. Test-fit the parts carefully before gluing. Only one position fits.

DSCF0682.jpg

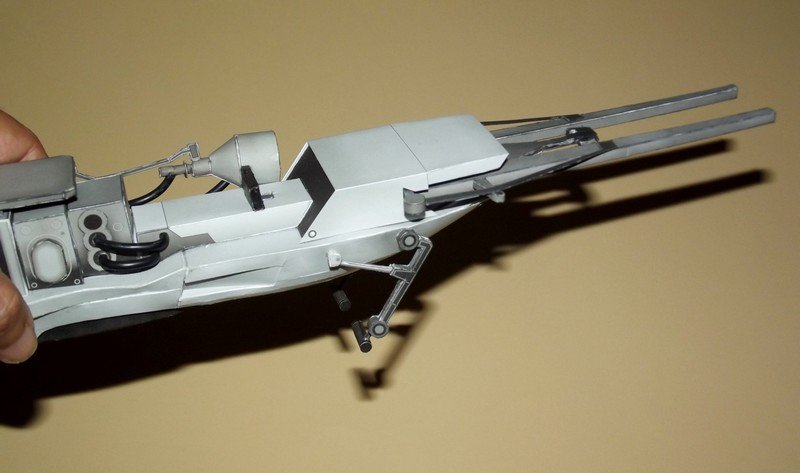
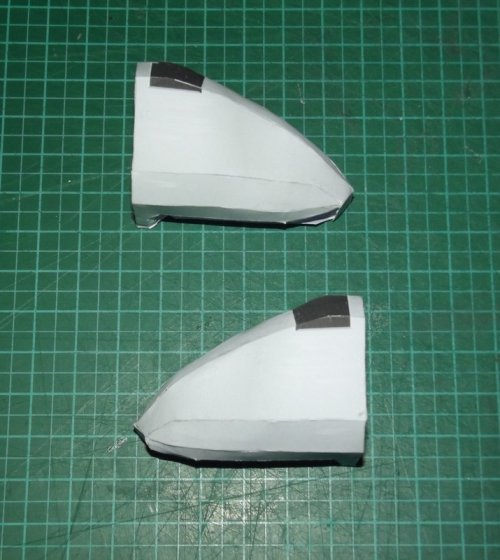
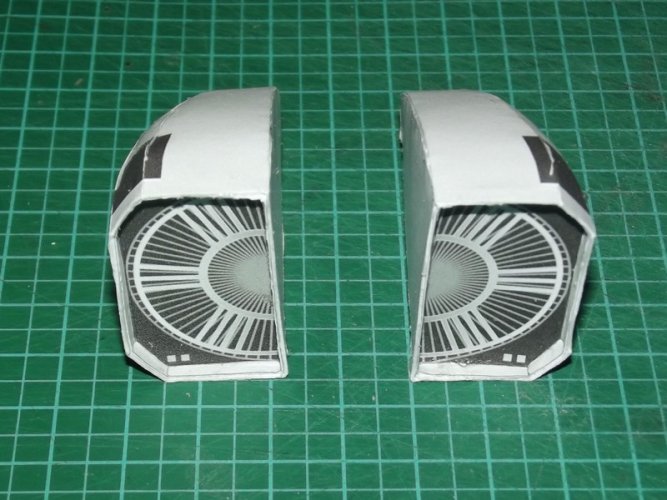
The space shuttle cockpit halves which were used on the filming models are simplified but fairly nicely representated:

DSCF0609.jpg

For a moment I thought about cutting out the black area but decided against it in order not to spoil stability and to give the finished model some additional colour.

DSCF0610.jpg

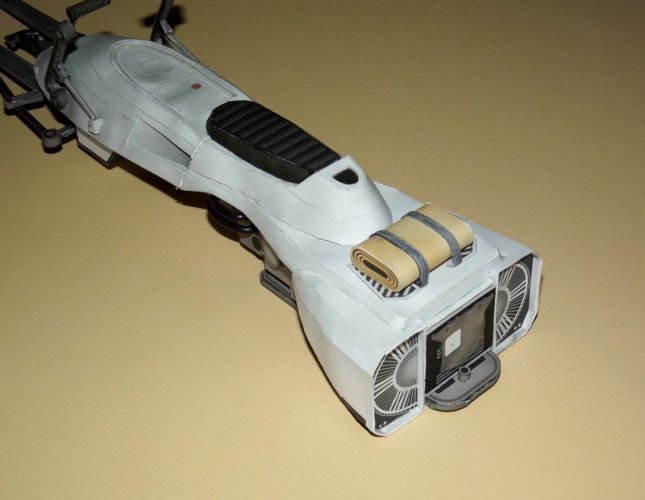
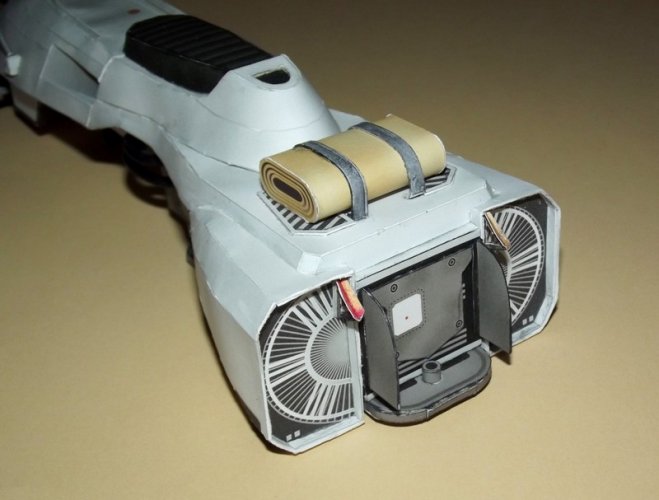
The fans could be raised but they look good the way they are.

DSCF0683.jpg

The "piece of luggage" adds some flair to the model. It is nice to see that the straps are seprate parts. You could add some buckles for more authenticity.

DSCF0685.jpg

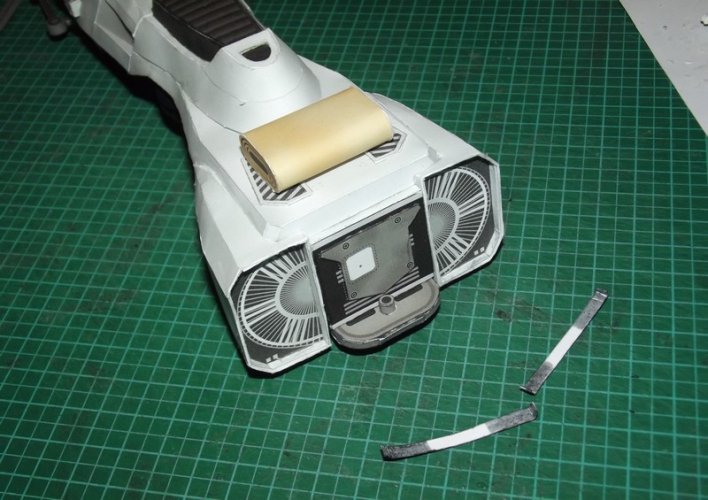
One important note: Parts 70 fold into two triangles. They are in the instructions but they are hard to spot because Julius forgot to add their numbers in the assembly pictures. They go at the rear and hold the exhaust flaps into place.

DSCF0687.jpg

It is important to align all parts very carefully. Make use of the provided straight-on views that come with the kit.

DSCF0684.jpg

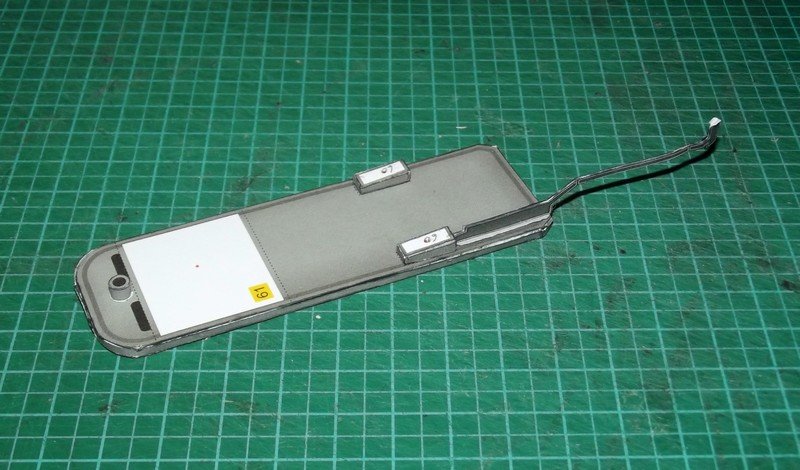
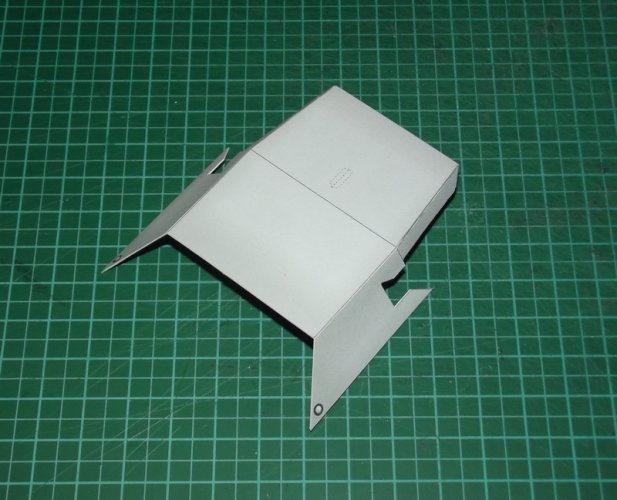
The bottom cover is attached:

DSCF0689.jpg

DSCF0606.jpg

The parts.

DSCF0607.jpg

Inside view.

DSCF0608.jpg

Outside view.

DSCF0690.jpg

Attached.

Now I had a problem: With all these delicate parts attached I had extreme difficulty keeping the bike somewhere. There is no area available which could rest flat on a table. So I stuck it onto the stand for the time being or used an open box, again similar to my Wall-E build. :)
 
Last edited:
Revell-Fan

Co-Administrator
Staff member
Administrator
Moderator
Aug 1, 2009
11,613
12,353
228
Vreden
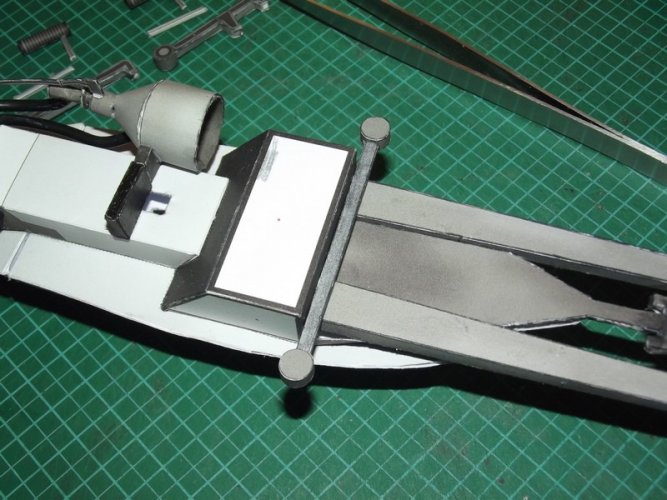
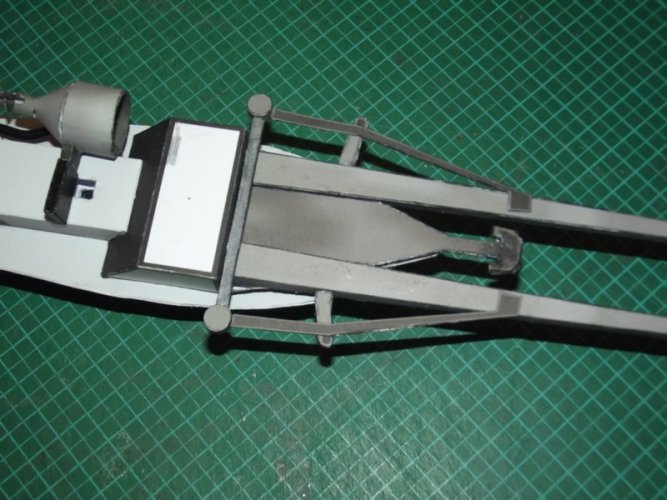
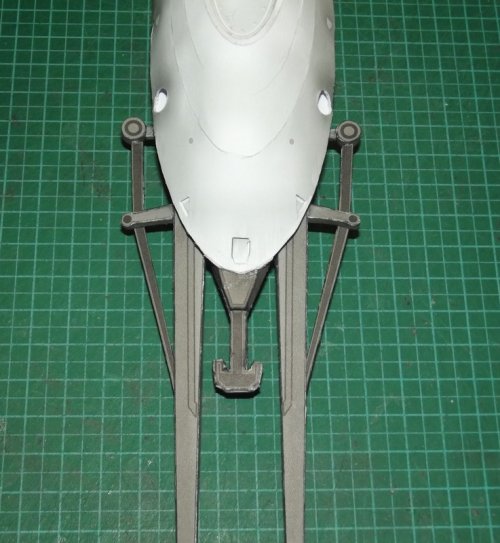
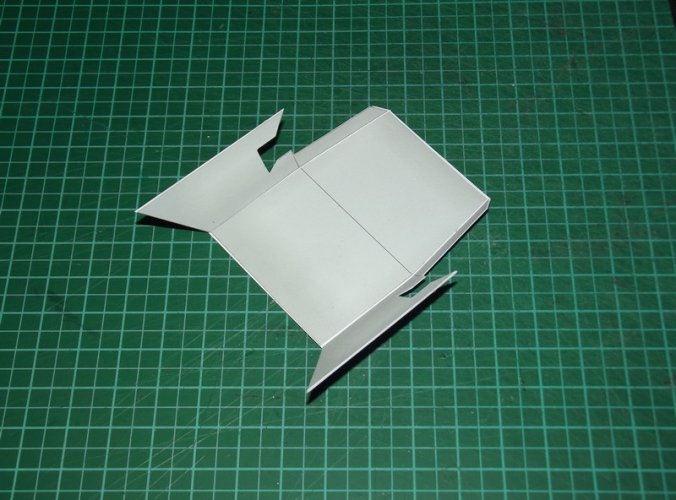
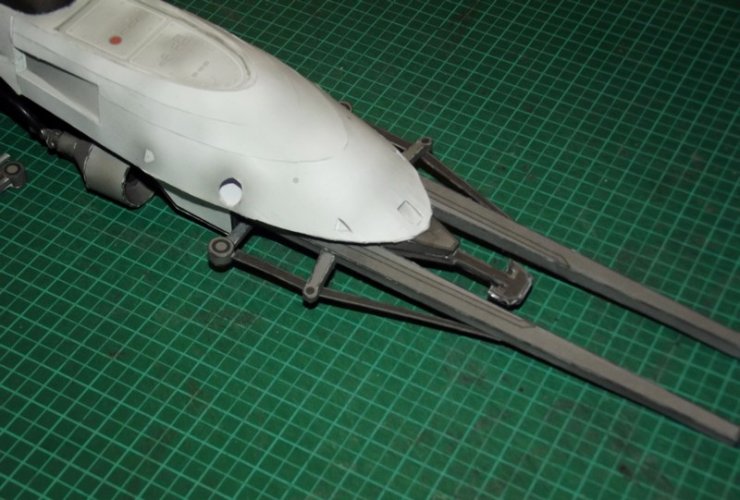
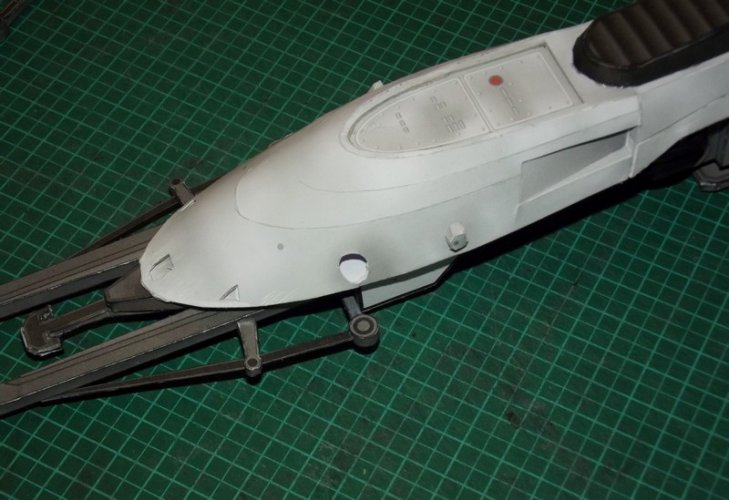
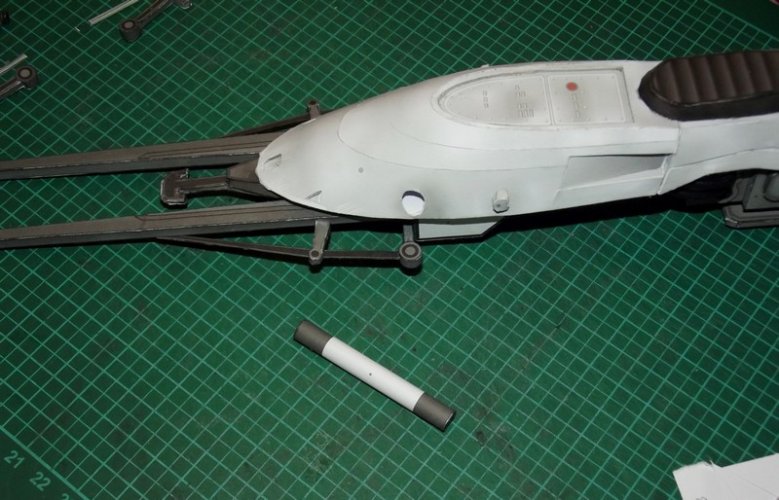
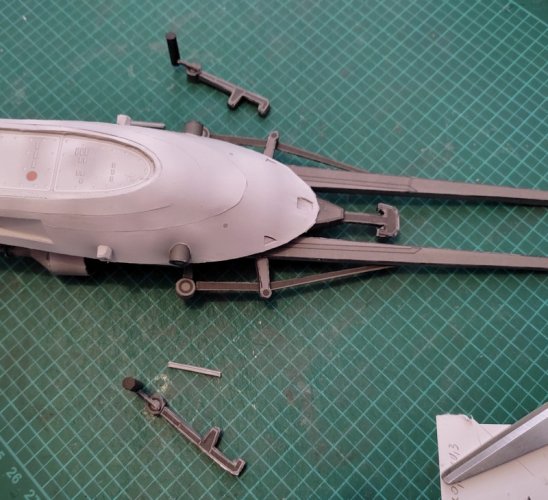
One of the most complex steps is the assembly of the front stabilizers. There are no alignment marks and you have to rely solely on the top, bottom and side views Julius provide with the kit.

DSCF0615.jpg

To give you a better idea of how to attach the parts I have taken a lot of pictures from different angles. Study them well if you want to build a bike, too.

DSCF0616.jpg

The black struts are supposed to go straight to the sides. I corrected that on-the-fly and pushed them into place.

DSCF0619.jpg

DSCF0620.jpg

DSCF0621.jpg

DSCF0622.jpg

DSCF0623.jpg

DSCF0624.jpg

DSCF0626.jpg

DSCF0627.jpg

(No, I did not hurt my thumb; the spot came from the marker I used to paint the edges. ;) )

processed (8).jpg

And DONE! :)
 
Last edited:
Chuffy70

Well-Known Member
Jun 5, 2022
842
1,708
75
Norwich UK
Thanking you kindly for size reference, truly humbled by your addition of bits and scaling to something I know the sizes of, namely Black Series and 1/12th... always good to see a ruler now and again...

The double turbo-intake thingy got me thinking to the Ralph McQuarrie concept paintings of the speeder, I seem to remember the intake being on the other side of the machine, perhaps that's where Julius got his inspiration?
 

Revell-Fan

Co-Administrator
Staff member
Administrator
Moderator
Aug 1, 2009
11,613
12,353
228
Vreden
The double turbo-intake thingy got me thinking to the Ralph McQuarrie concept paintings of the speeder, I seem to remember the intake being on the other side of the machine, perhaps that's where Julius got his inspiration?
Possibly. Now that you mention it, the bike in the RMQ paintings had the turbine on the left side whereas the filming miniatures and mockups had it on the right side. So this is another case of flipped geometry (with the Death Star II being the first one). I would never have noticed that if you hadn't pointed that out! :)
 
Last edited:
Chuffy70

Well-Known Member
Jun 5, 2022
842
1,708
75
Norwich UK
Possibly. Now that you mention it, the bike in the RMQ paintings had the turbine on the left side whereas the filming miniatures and mockups had it on the right side. So this is another case of flipped geometry (with the Death Star II being the first one). I would never have noticed that if you hadn't pointed that out! :)
As a kid, seven at the time of Star Wars, and thirteen around Jedi, all we had for reference before the internet were 'The Art of' books, those images of Ralph's were almost burned into the brain with hours poured starring at the pages
 

Revell-Fan

Co-Administrator
Staff member
Administrator
Moderator
Aug 1, 2009
11,613
12,353
228
Vreden
"Jedi" was my first encounter with Star Wars. I was too young for the others. I was three weeks old when ANH premiered. My "addiction" began when my mom bought me my first action figures, a Jawa and a Sandpeople, back then in November 1982. This caught my attention and since I was into everything space themed I wanted to know more. When my aunt provided me with the first articles on the movies I was hooked. When "E.T." was announced I wanted to watch it at all cost. However, this was the first time I was watching a scifi flick at the theatre (before that I was used to "The Rescuers", "Cinderella" etc. ). The theatre was dark and the sound was very loud. When "E.T." was running from Peter Coyote, screaming like hell, I did the same and left the building as fast as possible. That one scene was just too much for a six year old brain to handle and put an end to watching "Jedi" at the theatres before it even premiered at my home town.

However, I quickly found a suitable alternative which helped me overcome my troubled youth: "Battlestar Galactica" (and "Buck Rogers"). In summer 1983 the first German television broadcast a series of scifi movies in conjunction with the launch of "Jedi". Among them were classics like "The Black Hole" and "Logan's Run". They showed "Buck Rogers" on a Friday evening, the making of "Jedi" on a Monday afternoon and "Mission Galactica: The Cylon Attack" on a Saturday night (the second movie version of the series, cobbled together from "The Living Legend" and "Fire in Space"). I was completely blown away by the VFX, the Cylons and Dirk Benedict. I resembled him quite a bit which made him the ideal role model, and when I learned that BSG was a WEEKLY SERIES I had to watch every episode when they were shown on Dutch TV. So I became a Galactican. :)
 
  • Like
Reactions: mijob

Revell-Fan

Co-Administrator
Staff member
Administrator
Moderator
Aug 1, 2009
11,613
12,353
228
Vreden
Let's cotinue with the build! :)

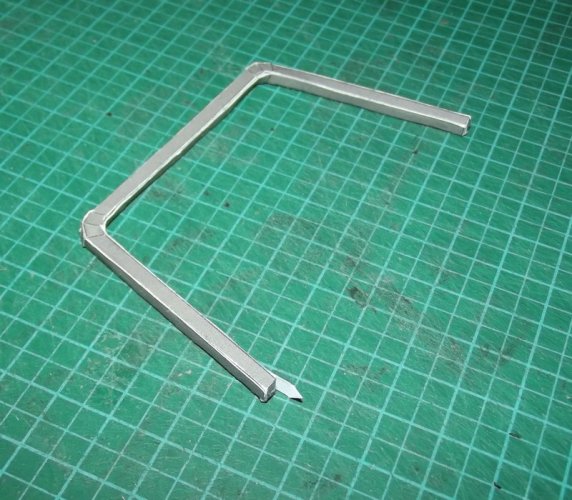
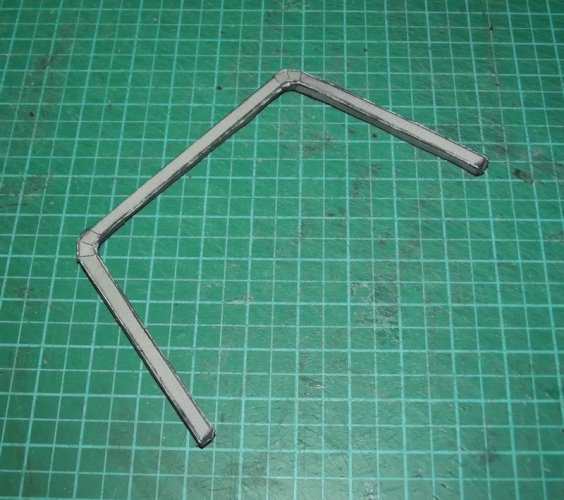
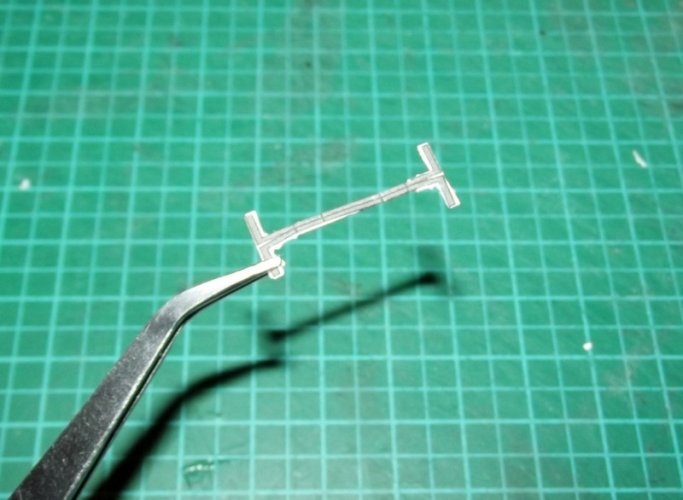
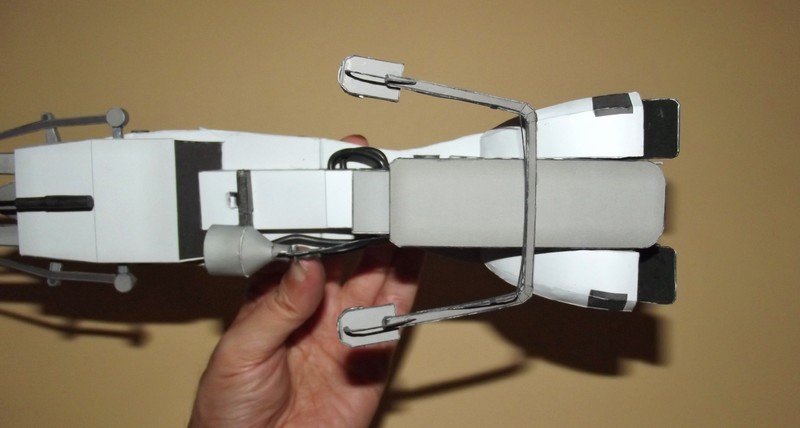
The foot bar was next. The main piece consists of two parts, one outer shell and a strip which is glued to the inner perimeter.

DSCF0629.jpg

DSCF0630.jpg

DSCF0631.jpg

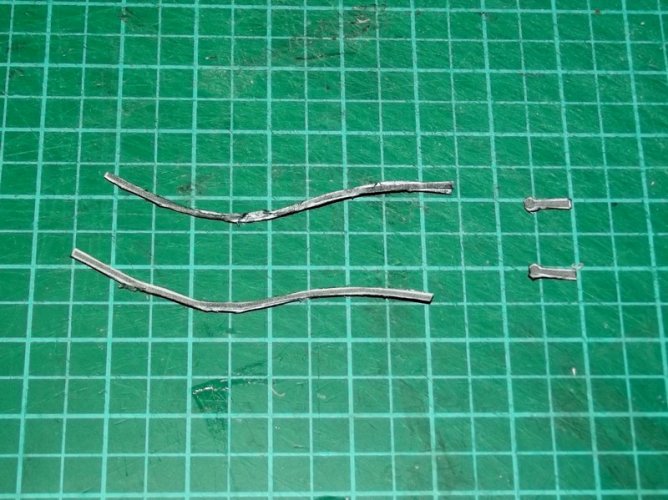
The strip was a bit too long and had to be shortened.

DSCF0632.jpg

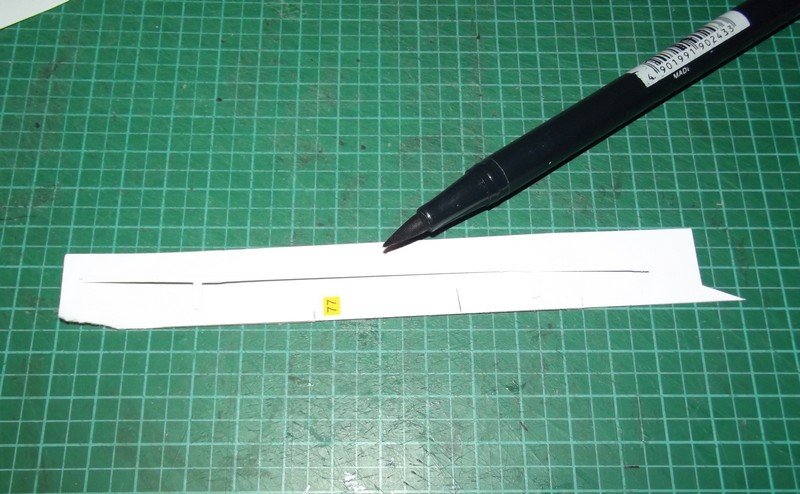
Part 77 should have been doubled to colour the back side. Since there was no second version of the part I used my marker to paint the back side.

DSCF0636.jpg

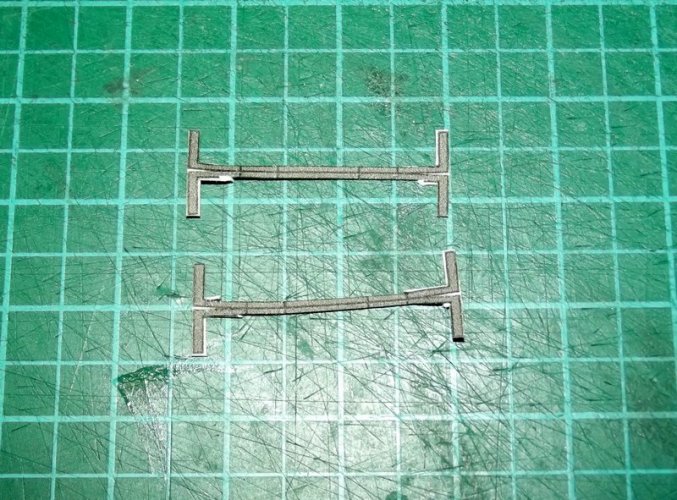
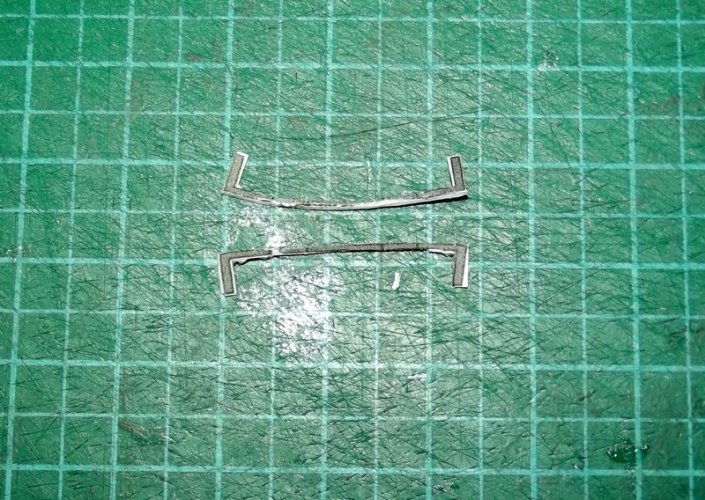
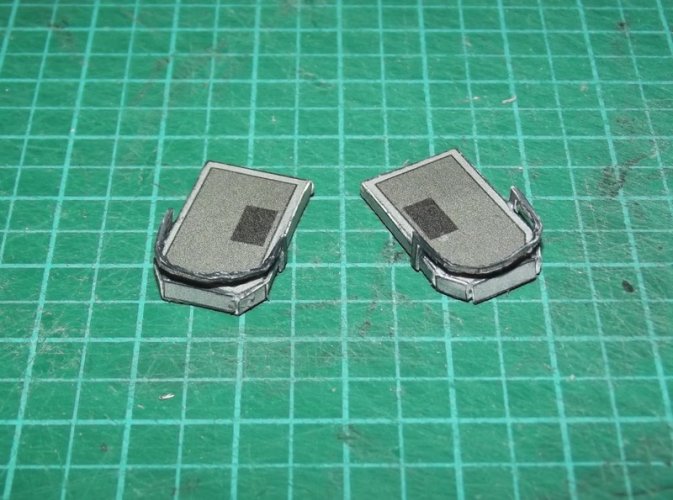
The foot straps:

DSCF0637.jpg

I found it easier to laminate both parts back to back and cut them apaprt in the middle instead of folding each piece in the middle.

DSCF0638.jpg

DSCF0640.jpg

DSCF0641.jpg

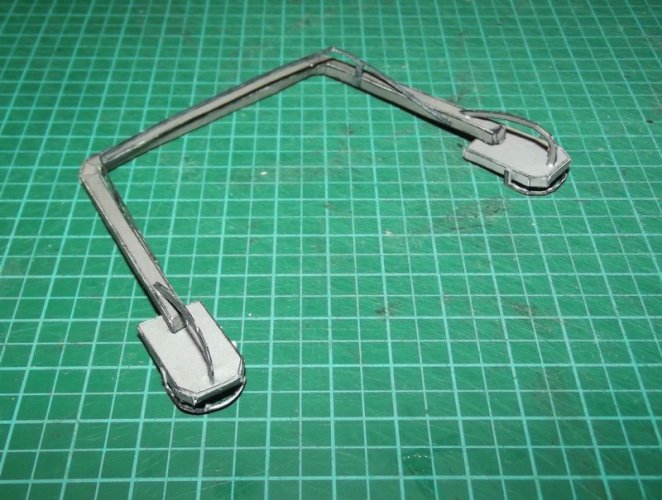
Everything attached:

DSCF0642.jpg

DSCF0643.jpg

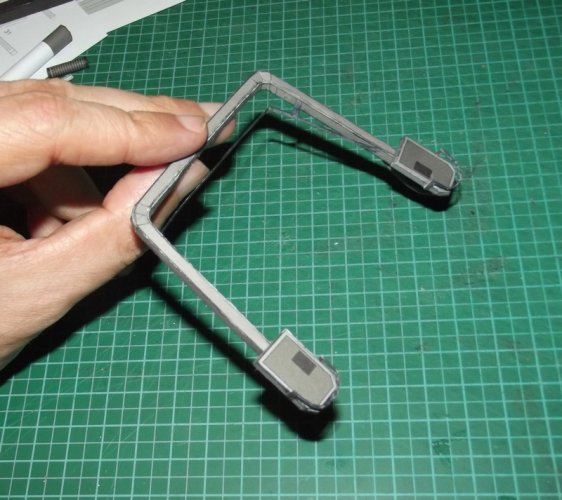
Some detail pieces were added to the handle bars:

DSCF0691.jpg

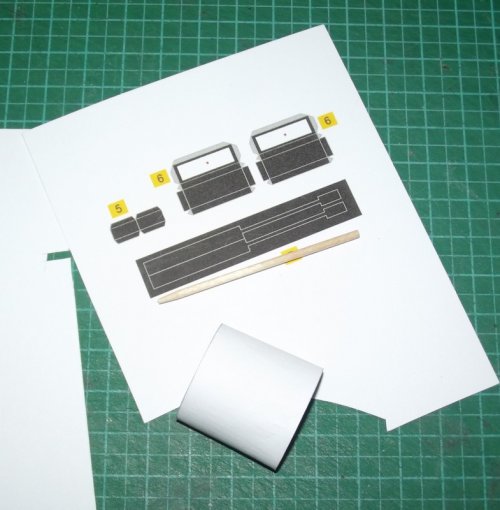
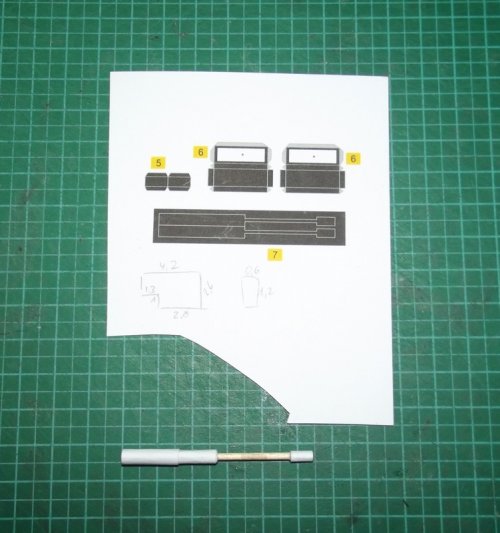
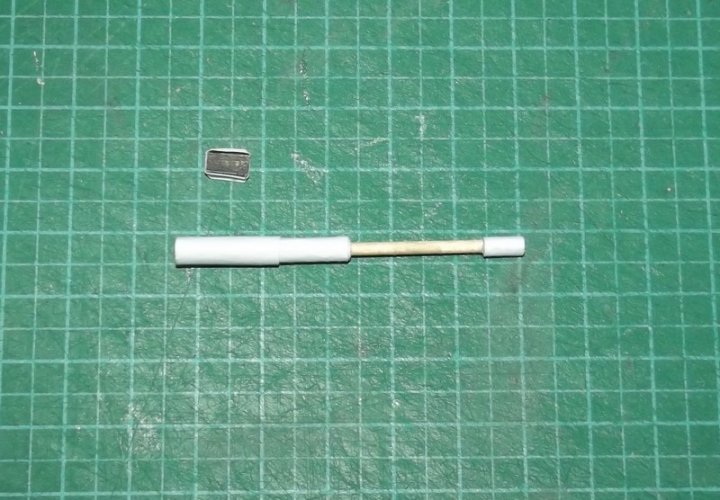
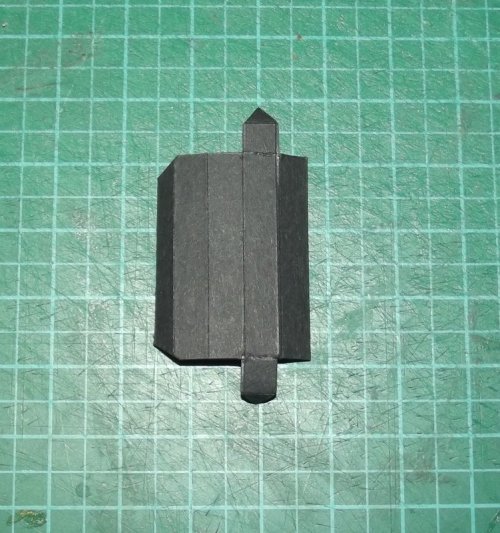
The main gun is supplied as a flat piece. I chose a toothpick and some scrap paper to flesh it out a bit:

DSCF0694.jpg

DSCF0695.jpg

DSCF0697.jpg

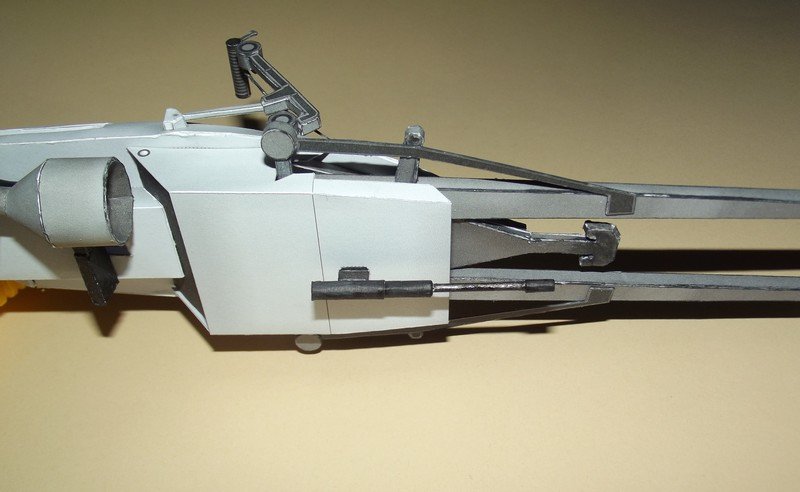
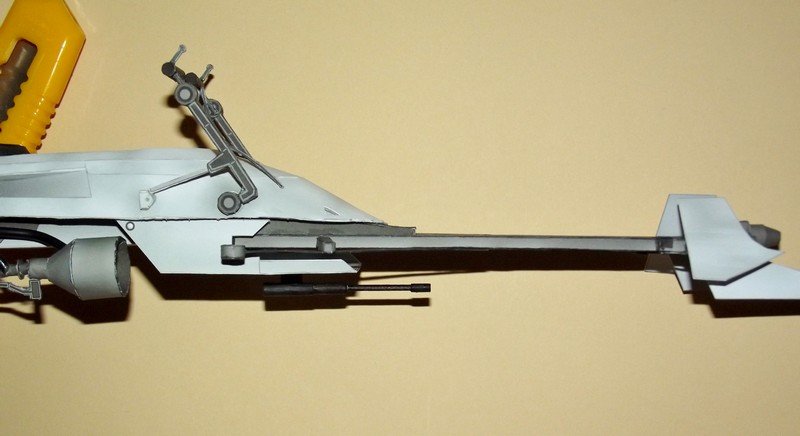
The gun was painted black and attached.

DSCF0699.jpg

DSCF0700.jpg

DSCF0701.jpg

DSCF0702.jpg

DSCF0704.jpg

The bike was held in place nicely with the help of the added block. However, this was going to change very soon...
 
Last edited:
Revell-Fan

Co-Administrator
Staff member
Administrator
Moderator
Aug 1, 2009
11,613
12,353
228
Vreden
Because when the foot bar was attached -

DSCF0709.jpg

DSCF0710.jpg

DSCF0711.jpg

it began to sag!

DSCF0707.jpg

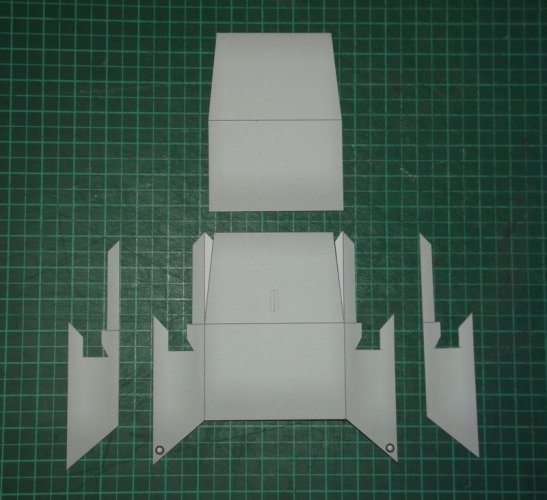
The added weight of the foot bar sealed the fate of this construction. There were two solutions: First, move the mount an inch closer to the tail of the model. This was not possible without the risk of damaging it. So I went with solution no 2: Adding another support.
DSCF0705.jpg

DSCF0706.jpg

DSCF0708.jpg

DSCF0712.jpg

Much better! :)

And a small preview of the things to come:

DSCF0698.jpg

Stay tuned!

:)
 
Last edited: