Time for an update.
I work at a job with a very slow workflow. The reality is that I only have about 30 to 40 minutes of actual work in any given day. I literally sit and wait for the phone to ring, then transfer the caller to another number, or provide them with a number when requested. And since I work a 4-midnight shift, it's not terribly busy. My bosses know this and actively encourage me to find things to keep me busy (I was told by my boss's boss "Read a book or surf the internet!"). About the only thing we can't do is sleep. So I get most of by building done at work.
Missing build pics:
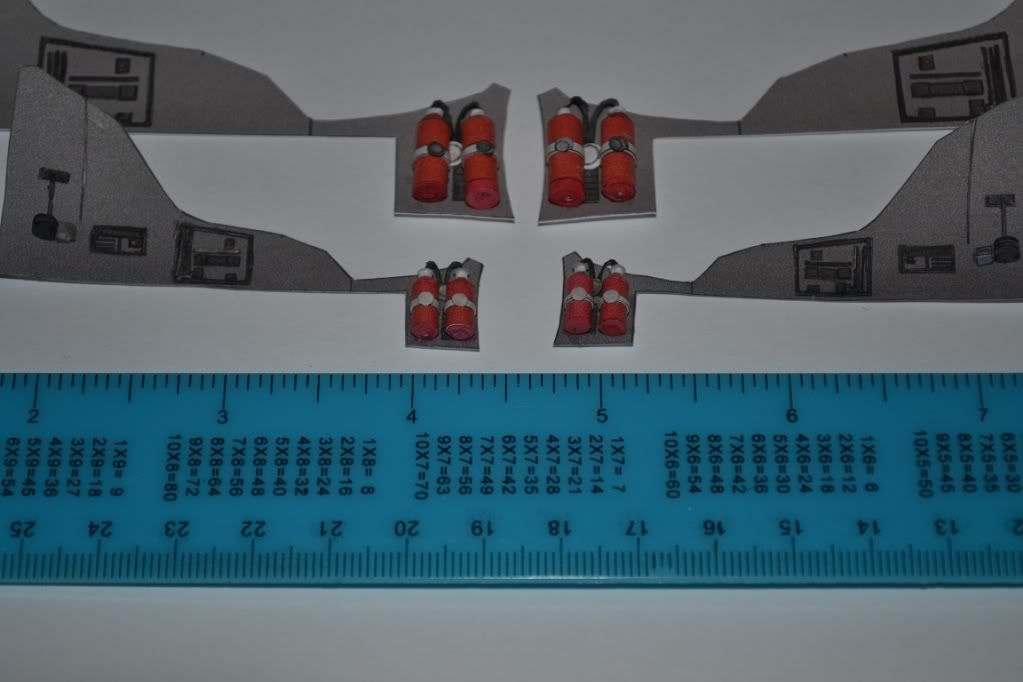
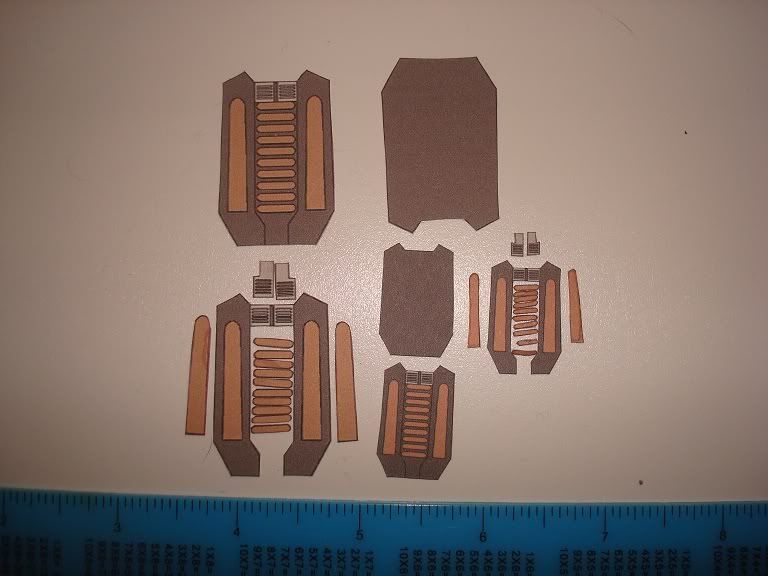
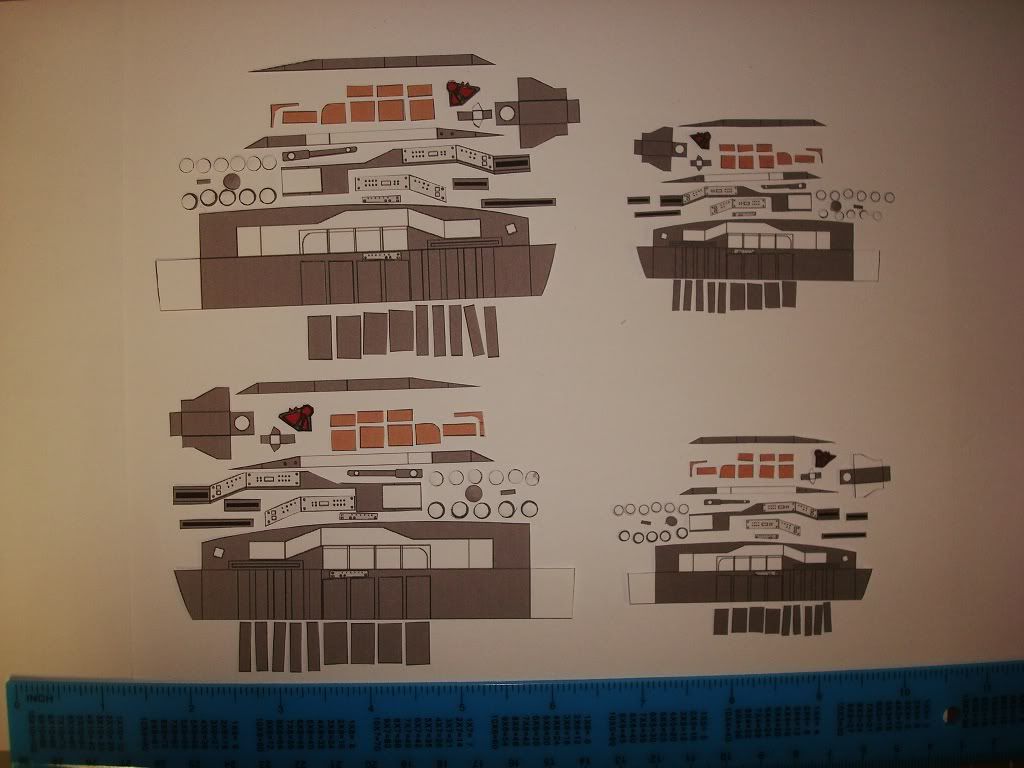
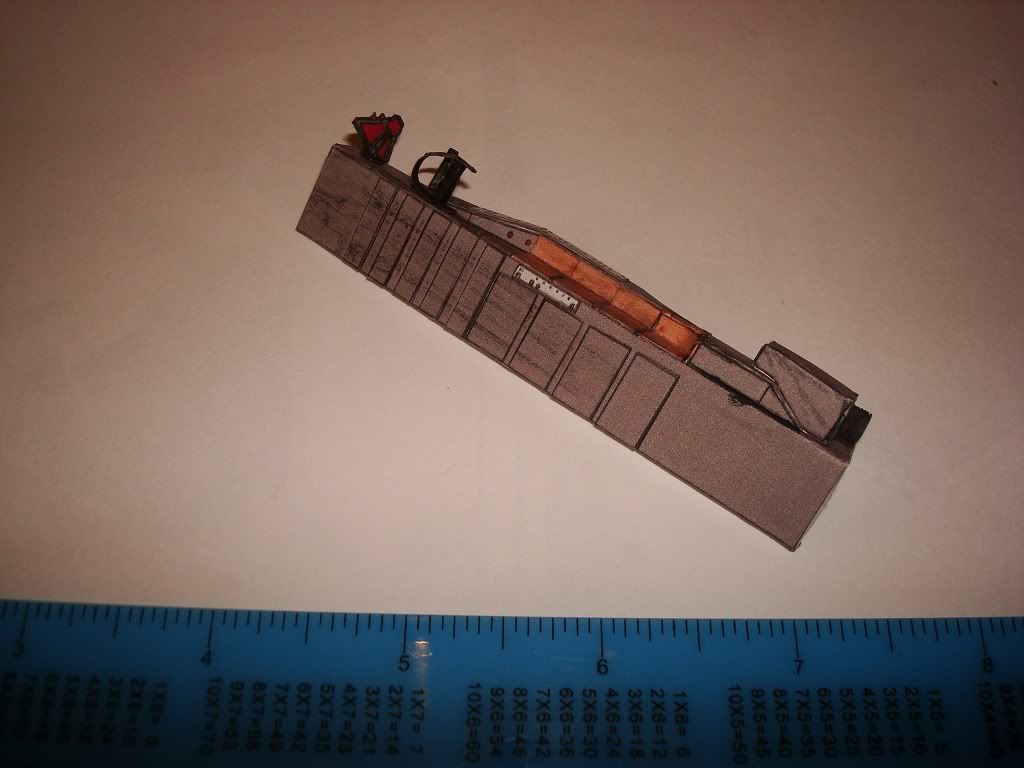
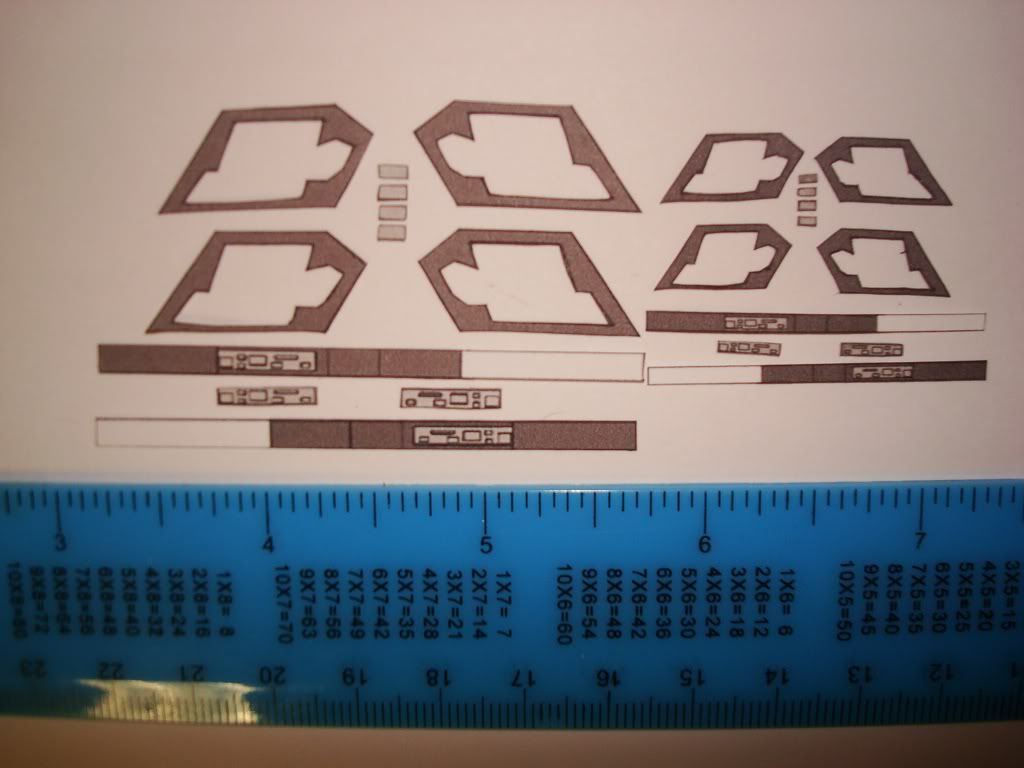
Side console pieces
This image has been resized. Click this bar to view the full image. The original image is sized 1024x768.
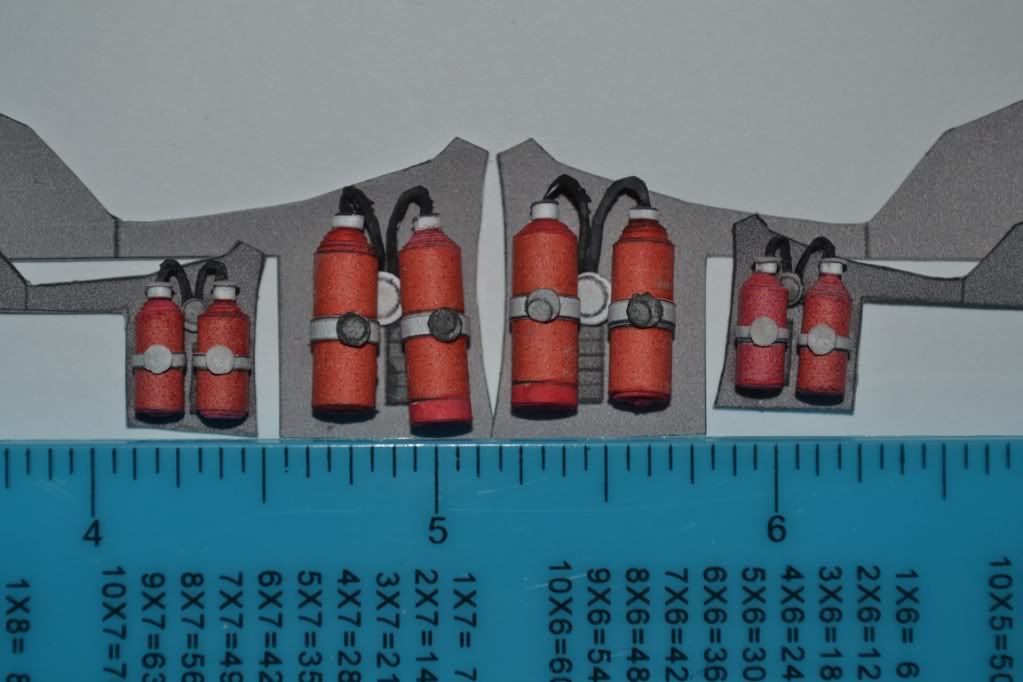
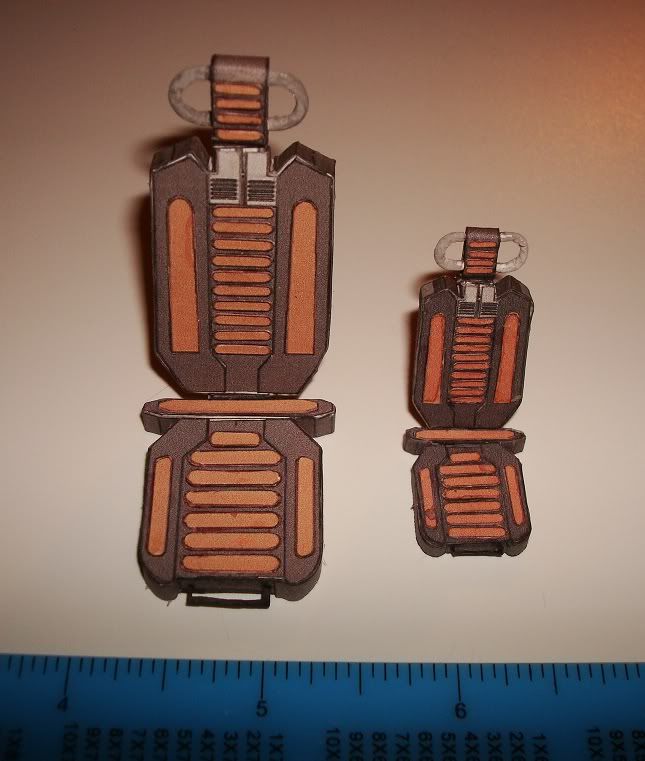
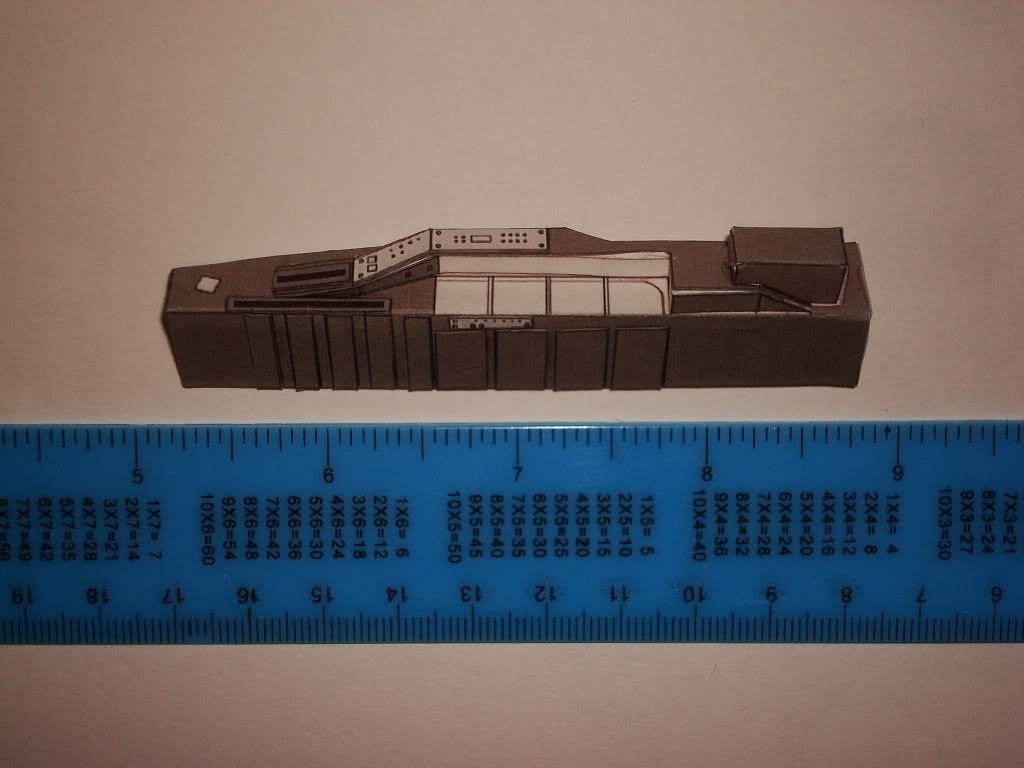
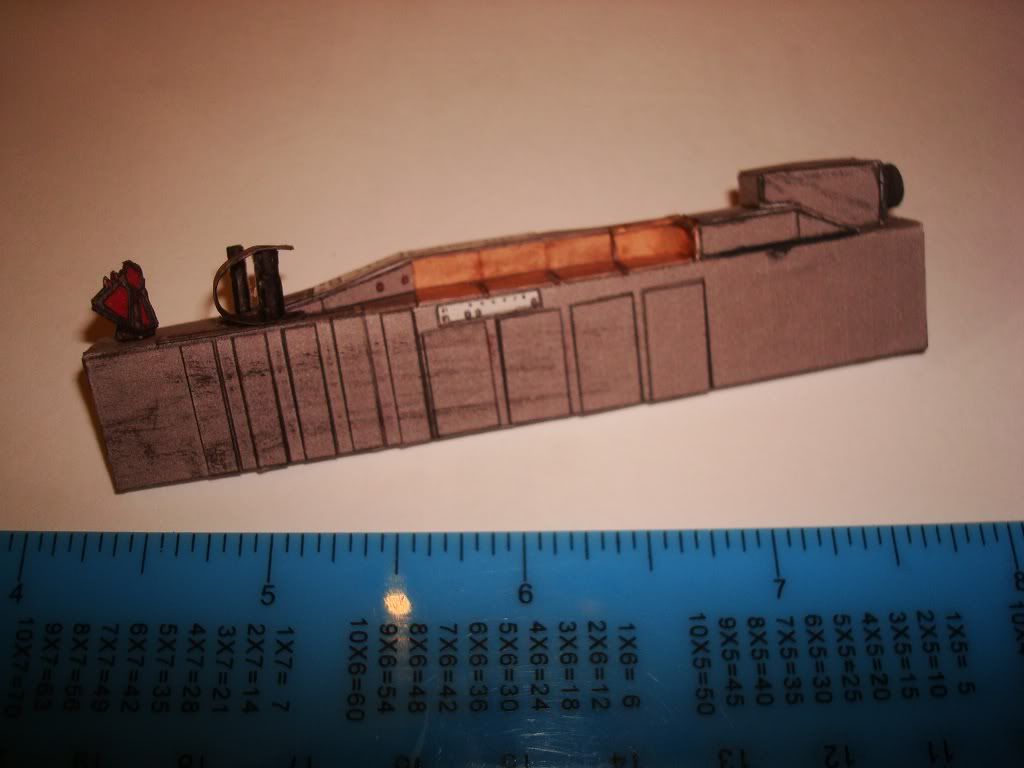
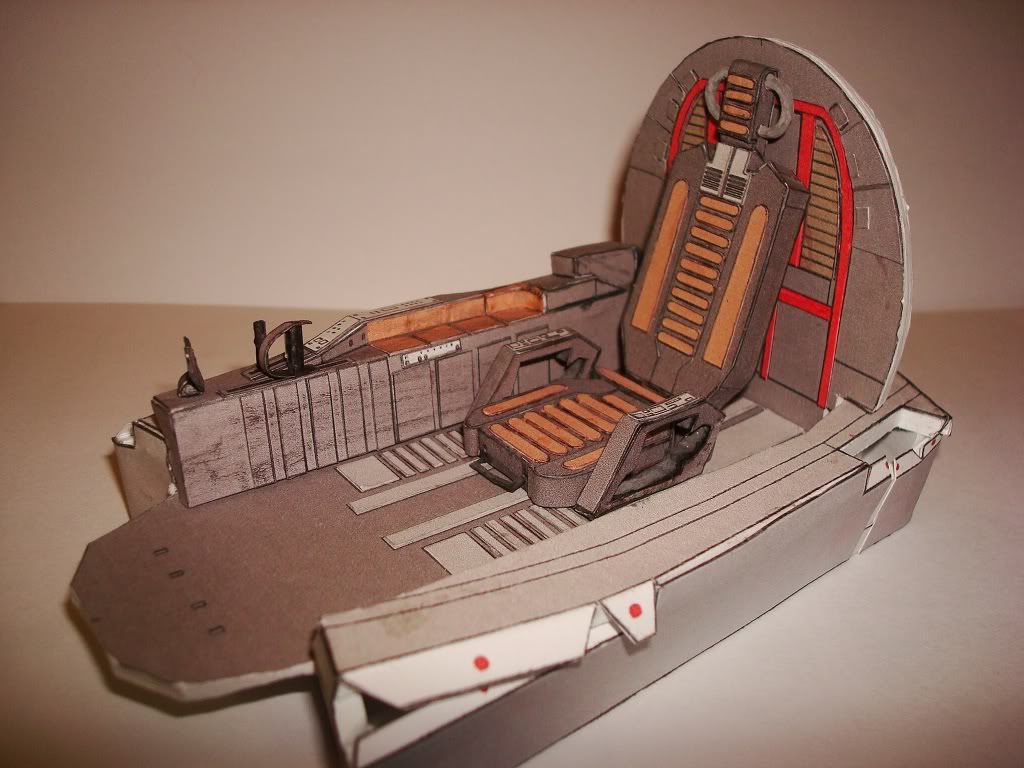
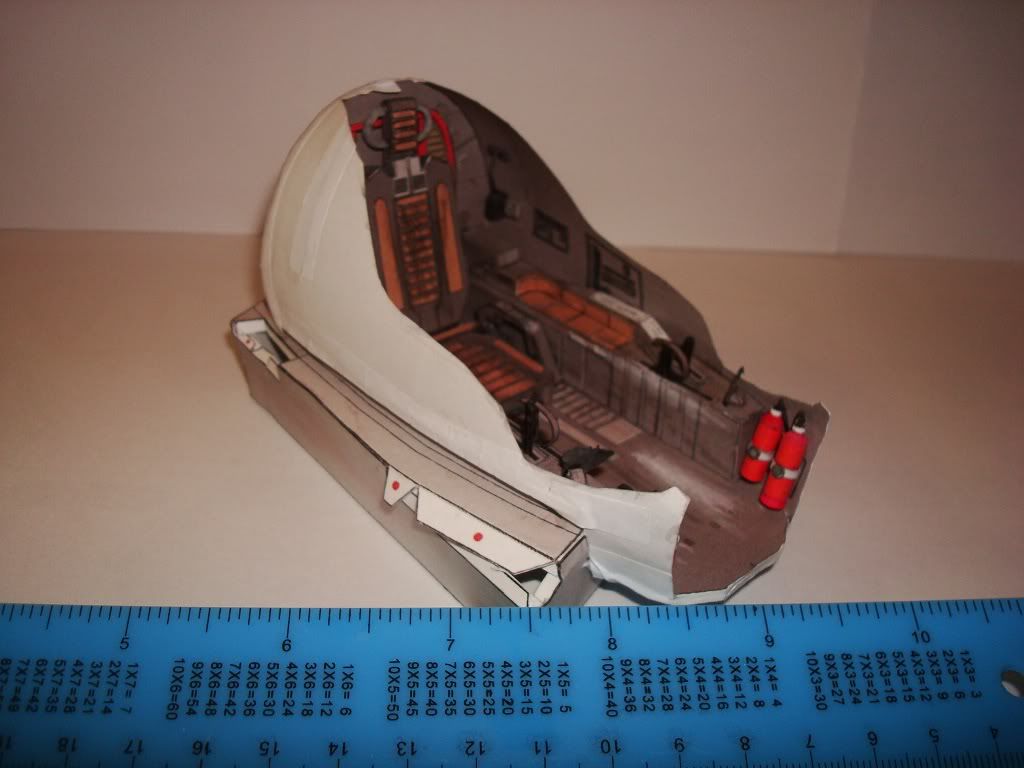
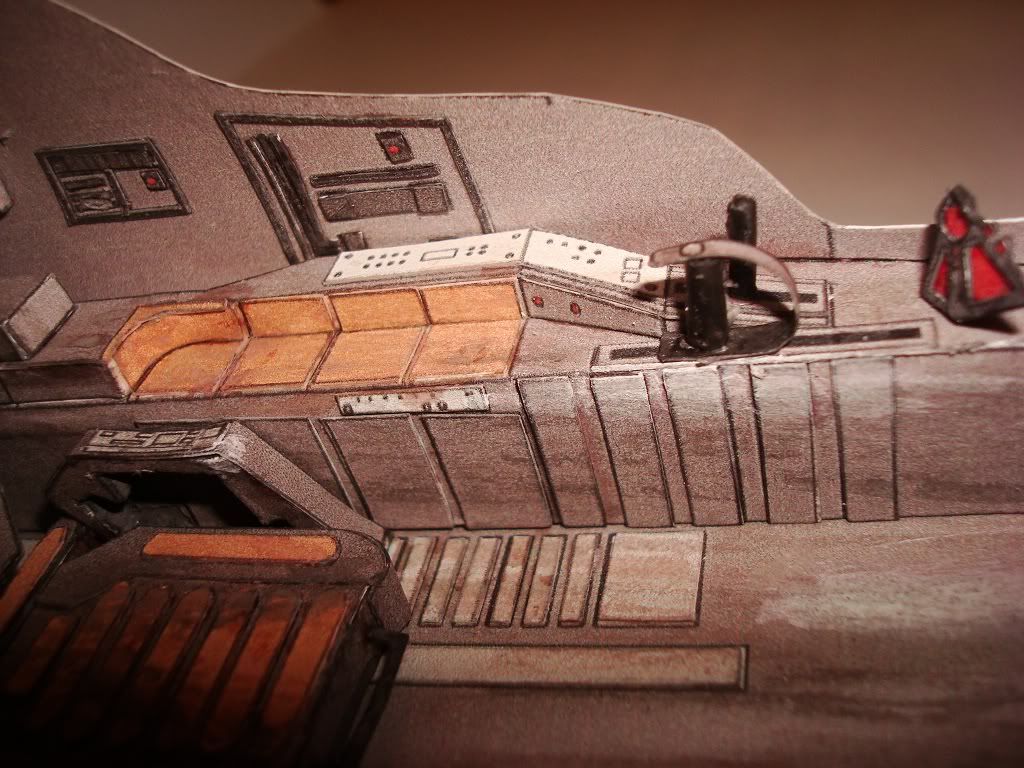
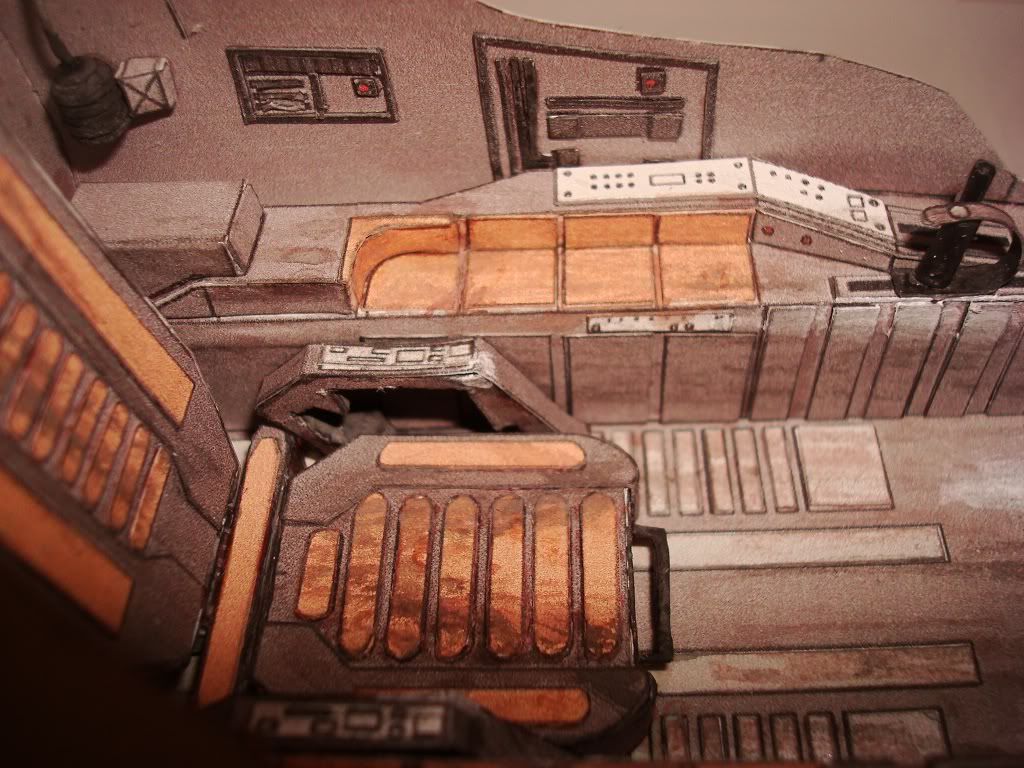
Finished large right console with weathering.
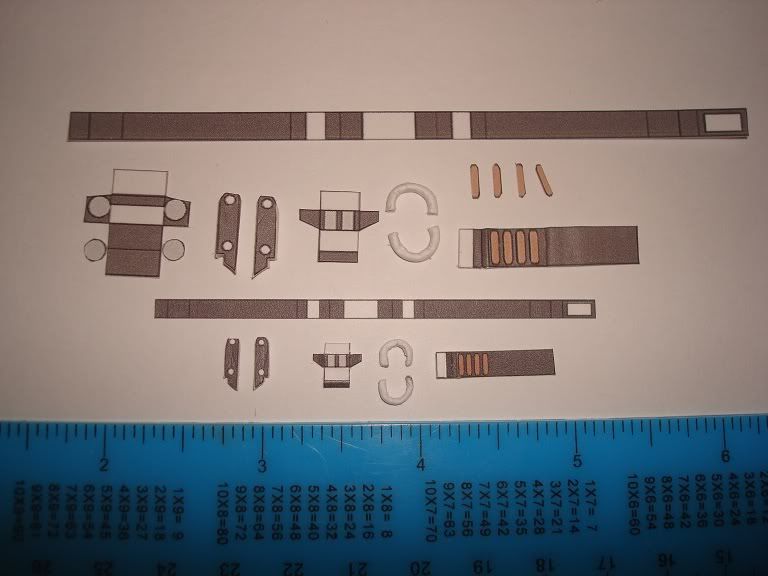
This image has been resized. Click this bar to view the full image. The original image is sized 1024x768.
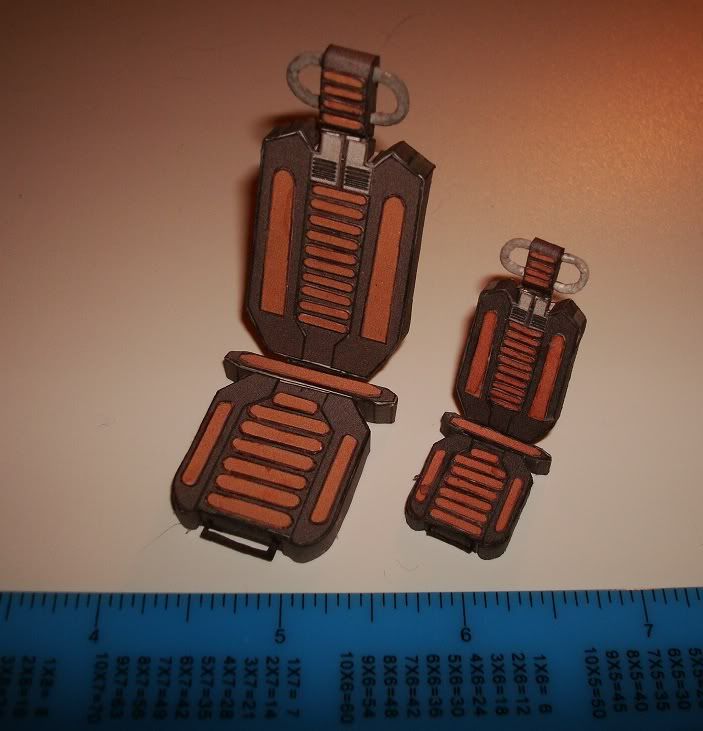
This image has been resized. Click this bar to view the full image. The original image is sized 1024x768.
This image has been resized. Click this bar to view the full image. The original image is sized 1024x768.
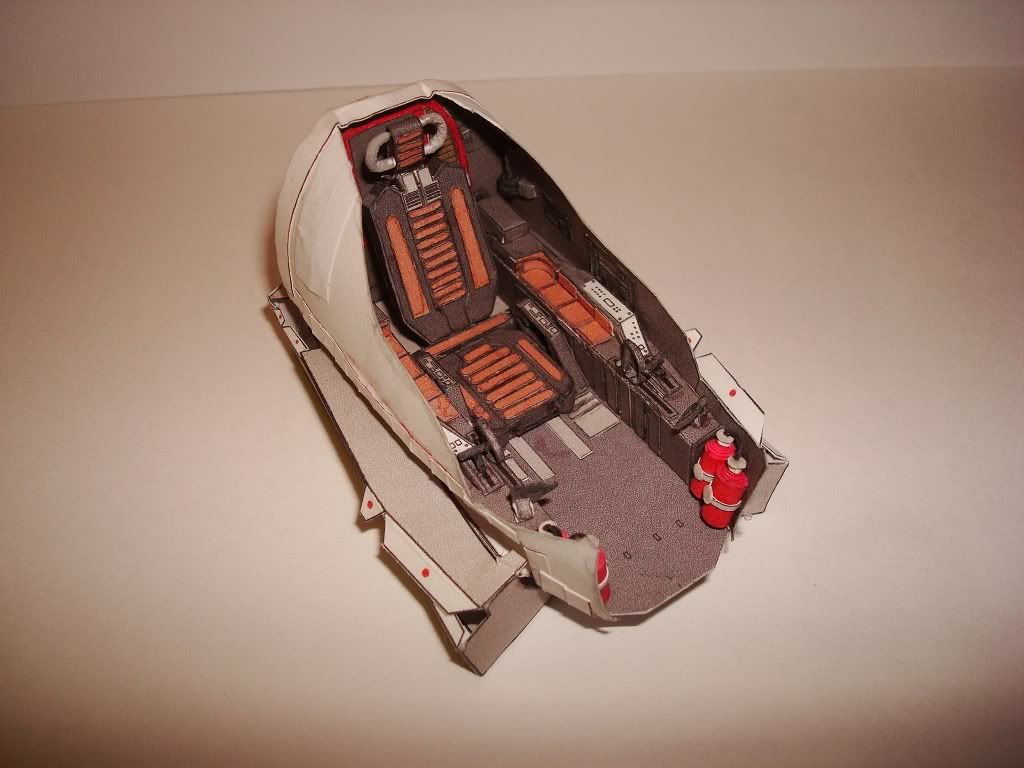
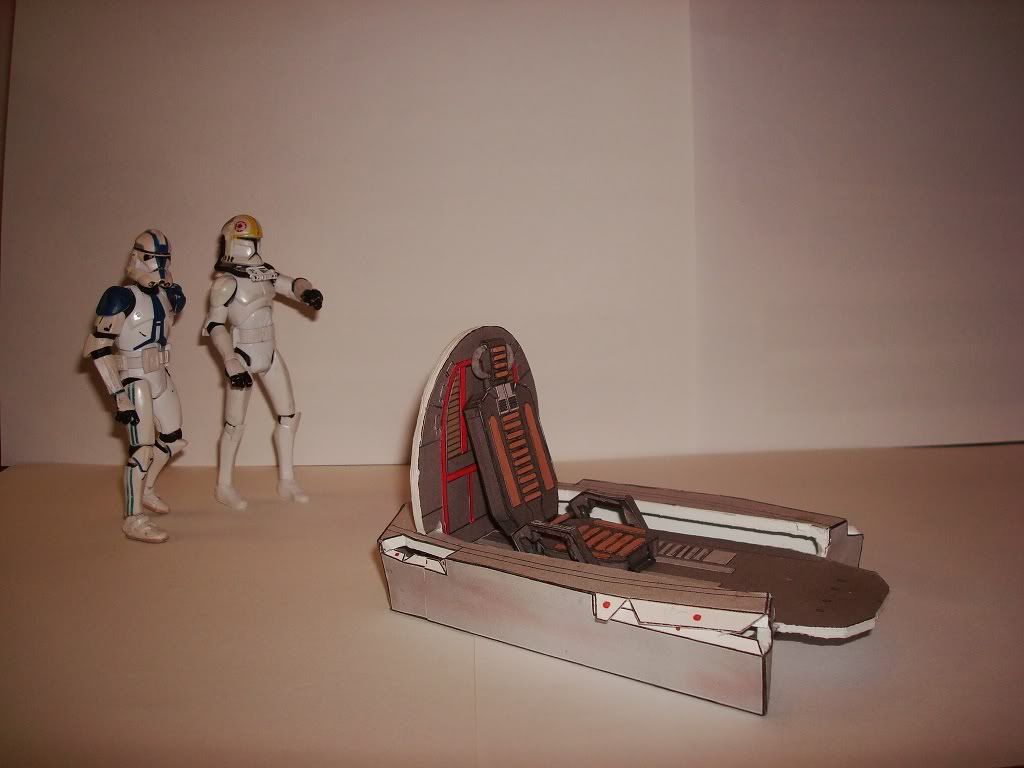
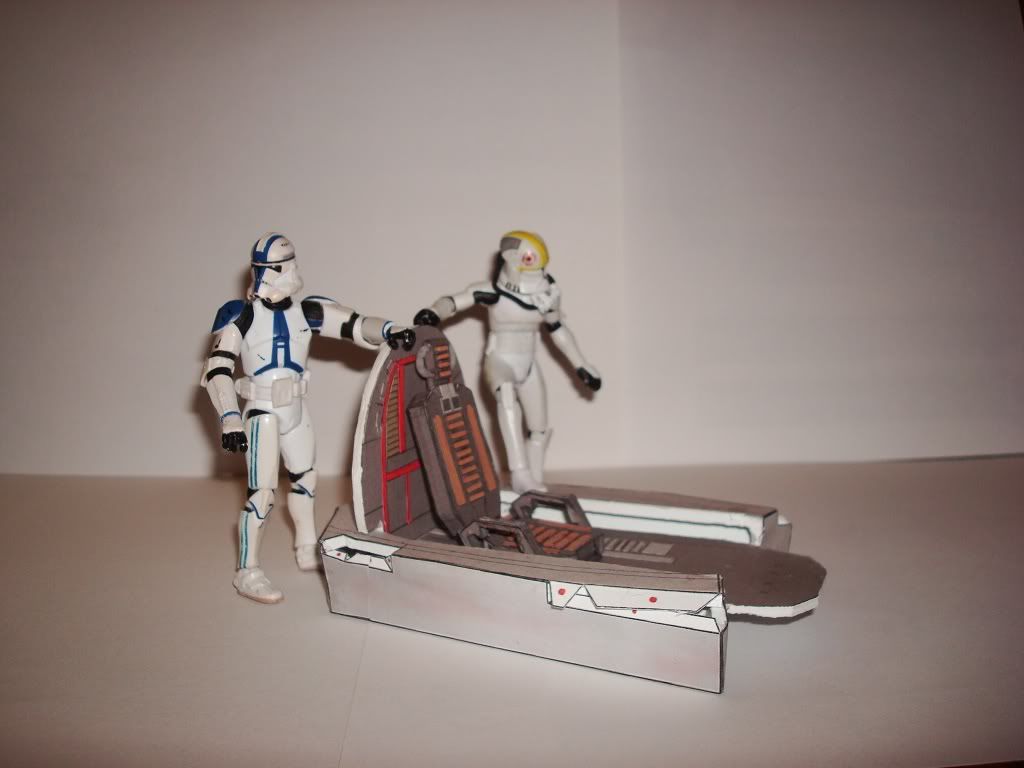
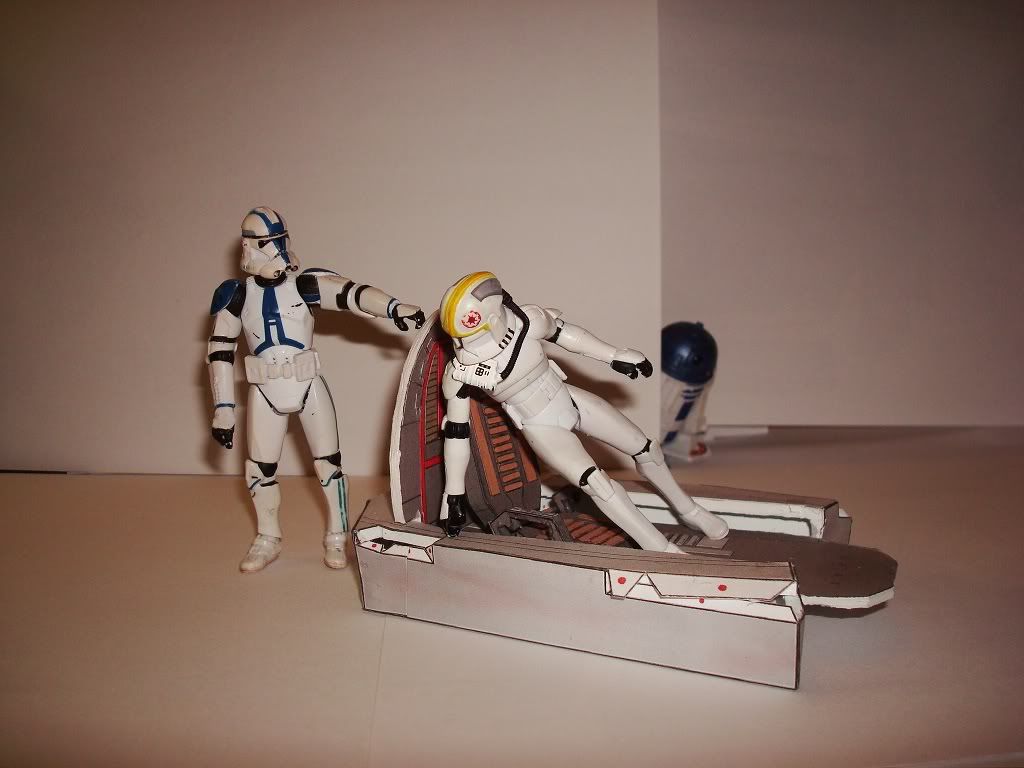
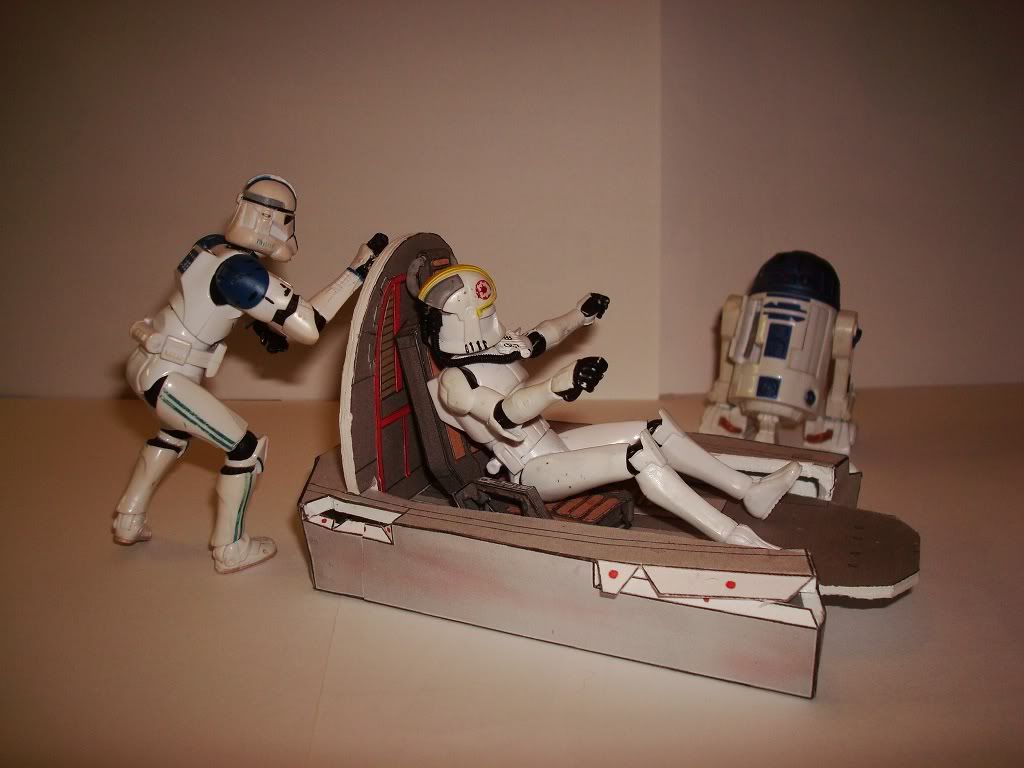
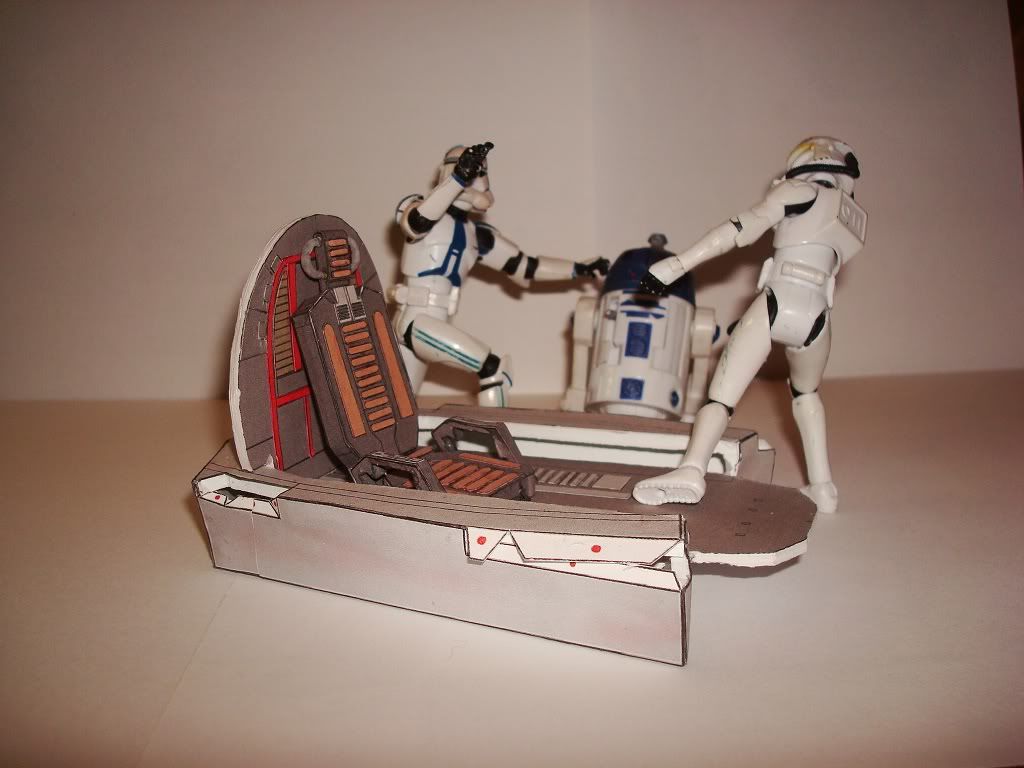
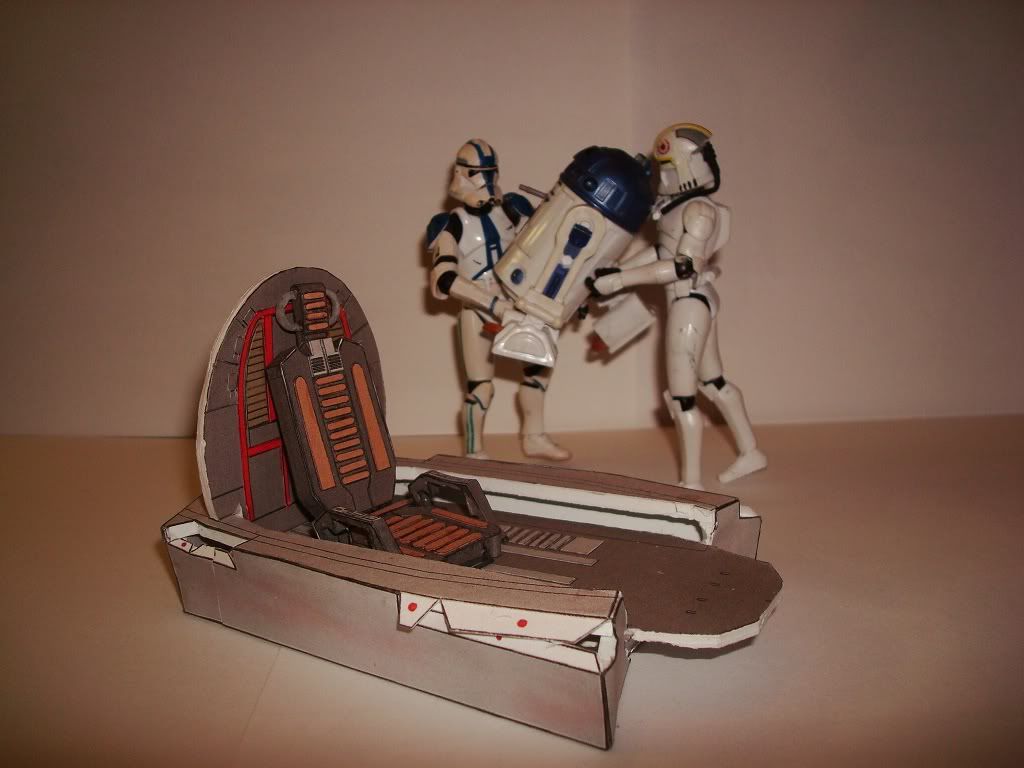
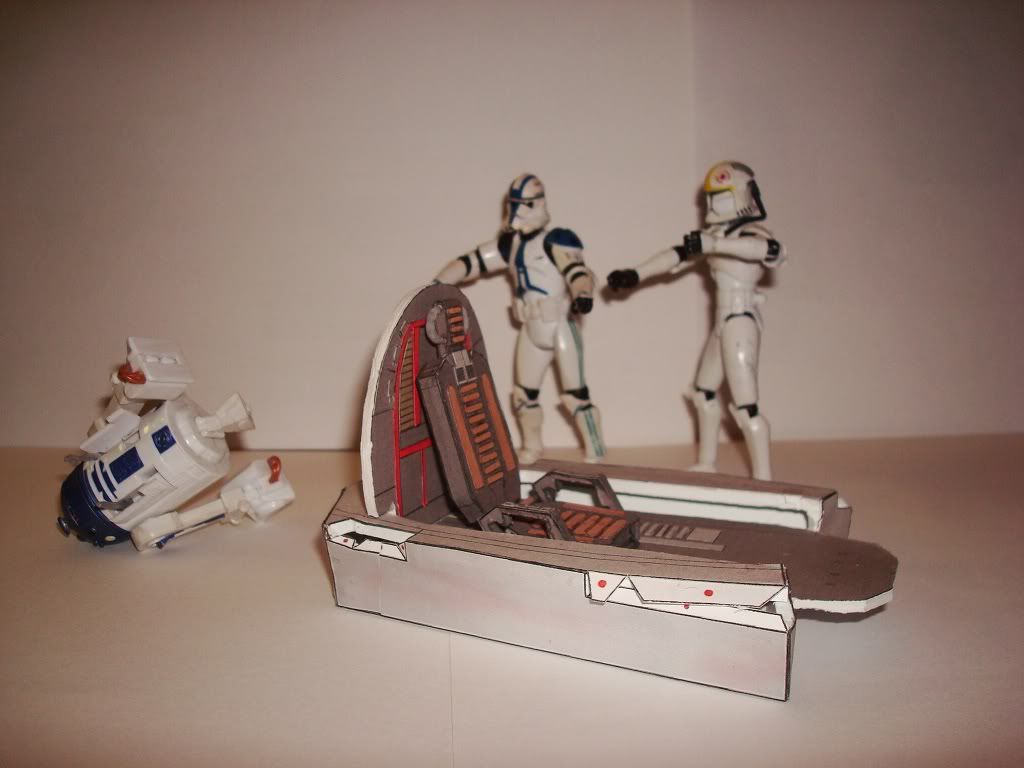
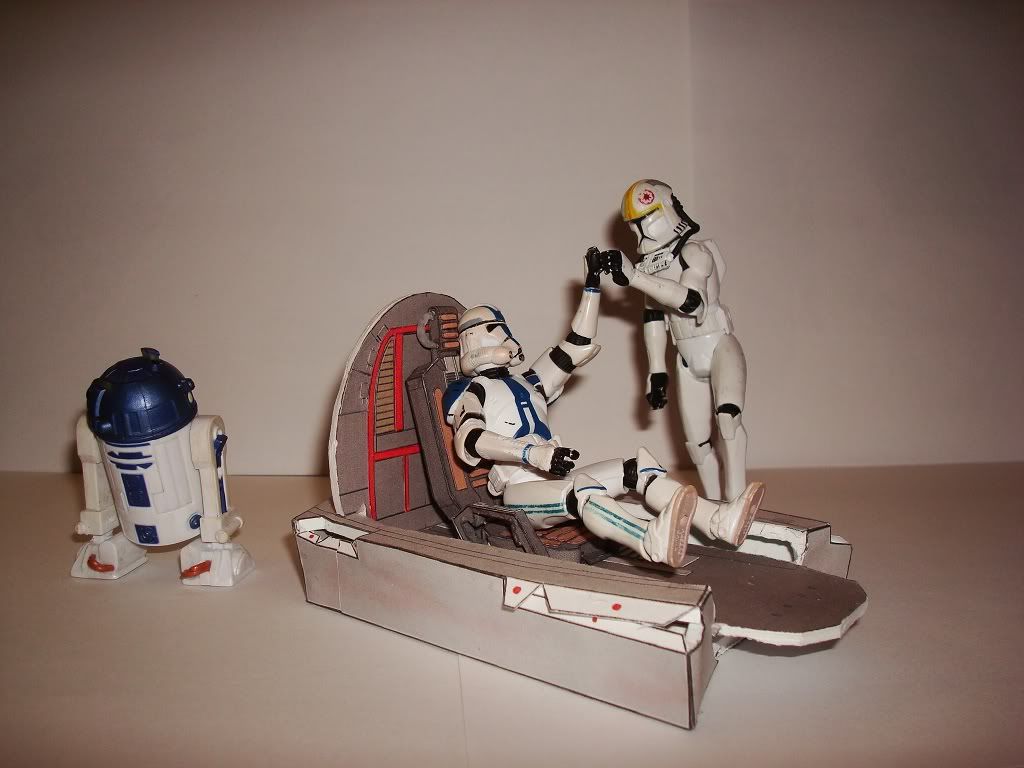
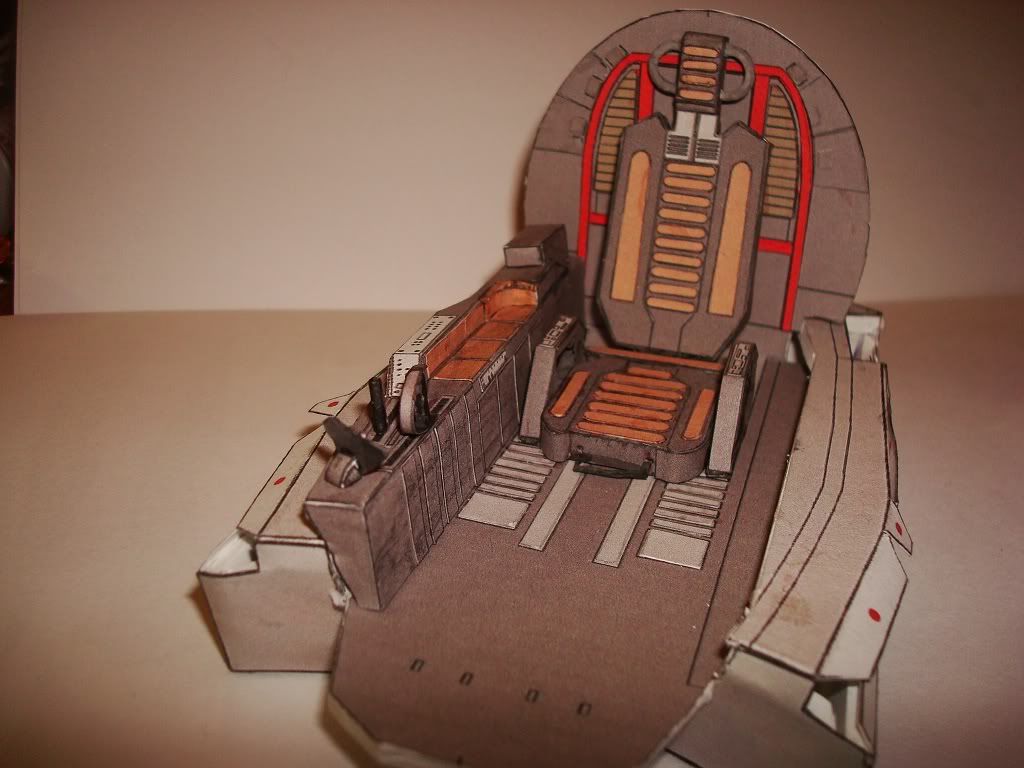
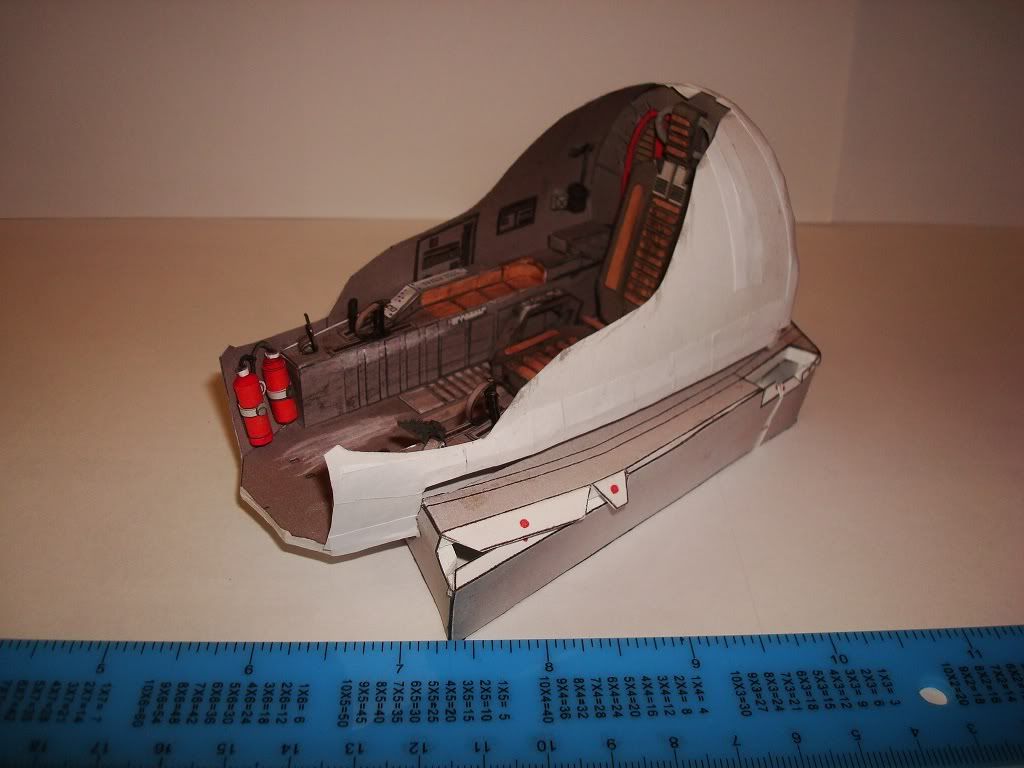
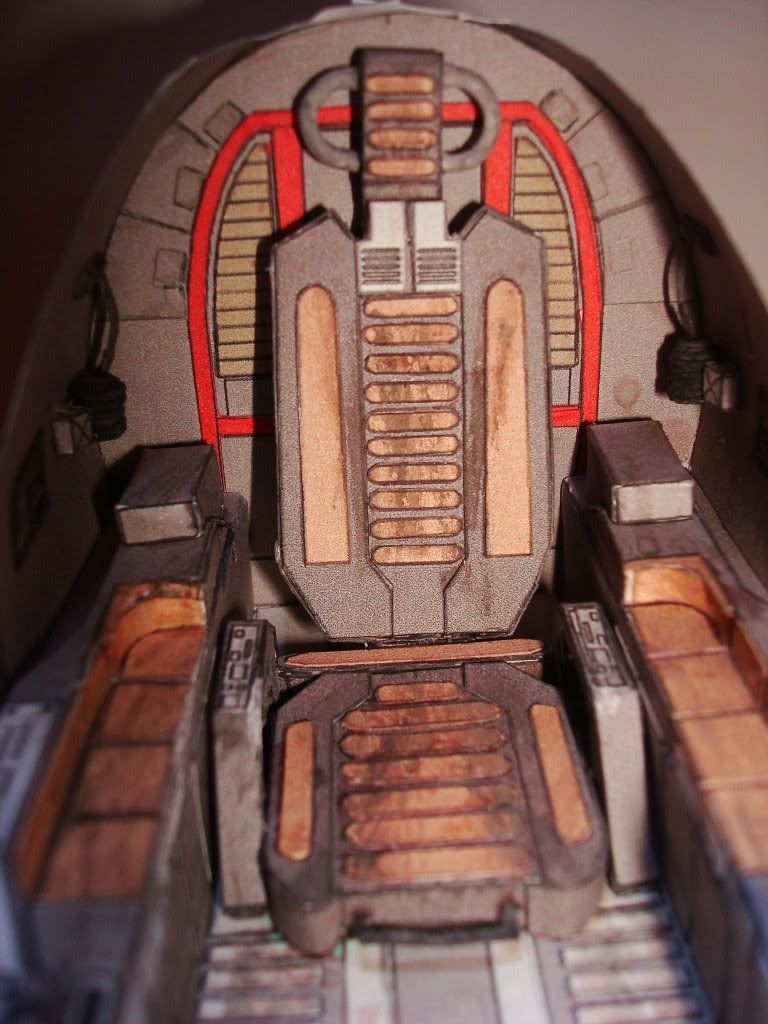
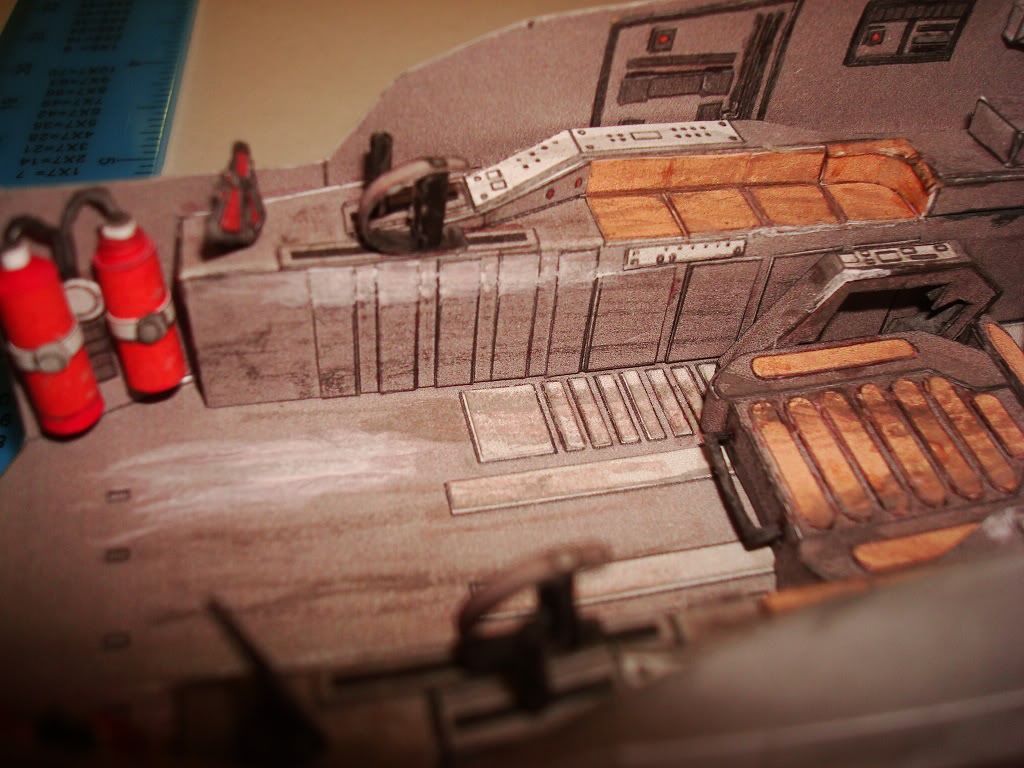
Test fitting with the large tub, deck, rear bulkhead, and chair assembly.
This image has been resized. Click this bar to view the full image. The original image is sized 1024x768.
This image has been resized. Click this bar to view the full image. The original image is sized 1024x768.
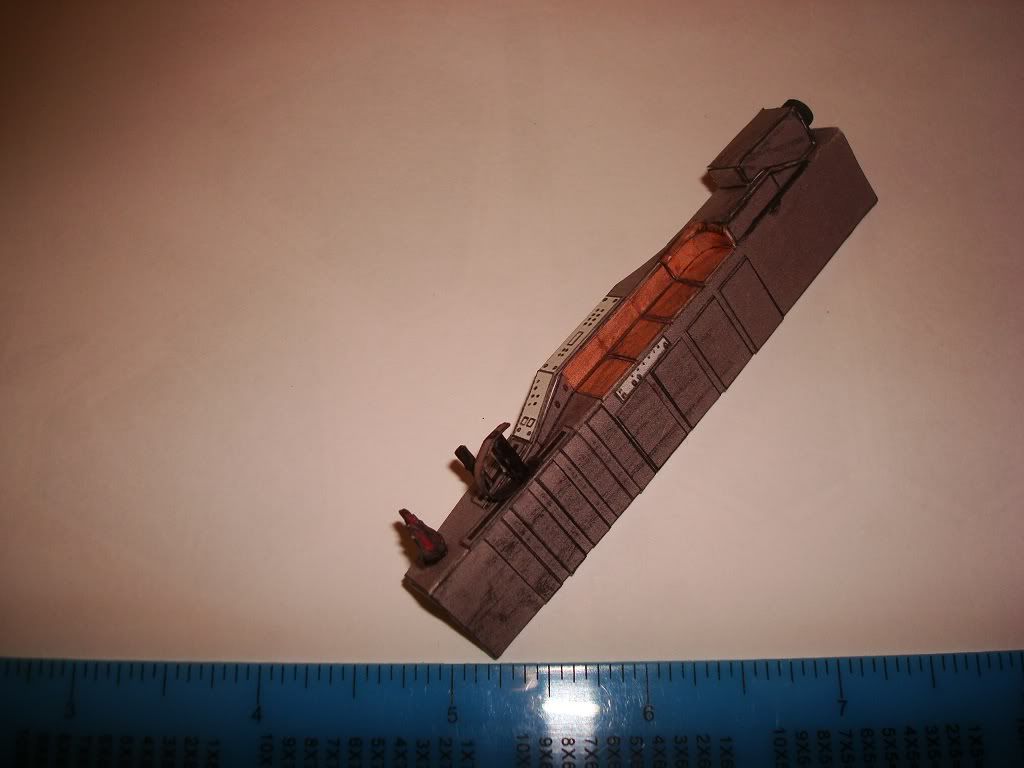
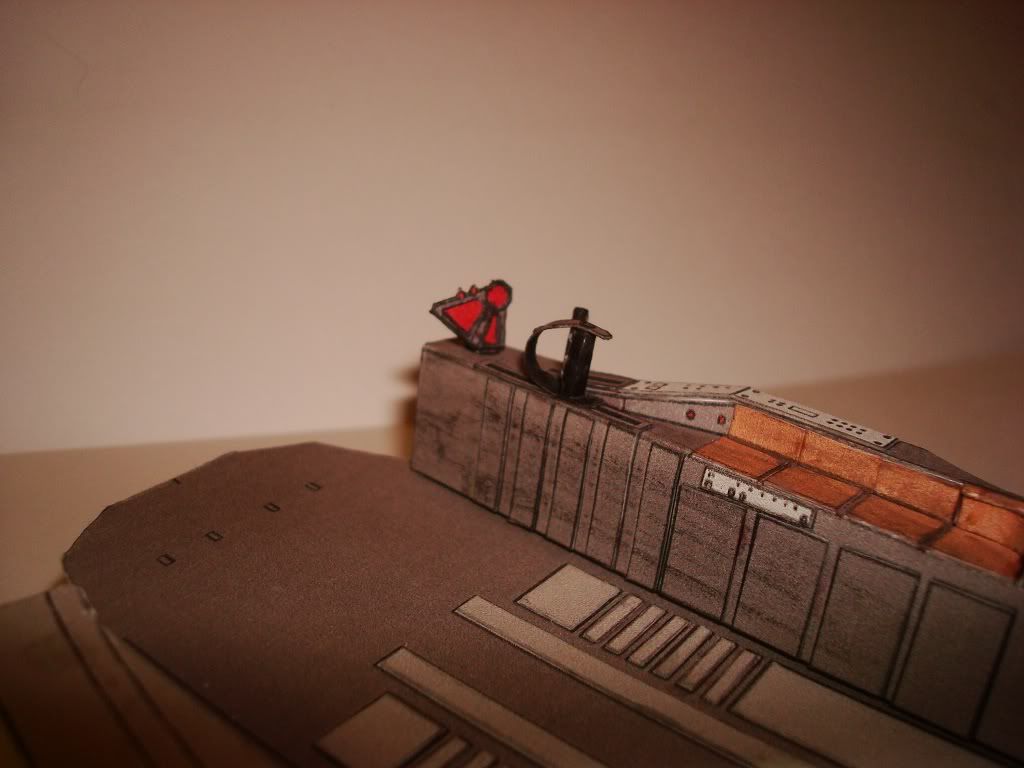
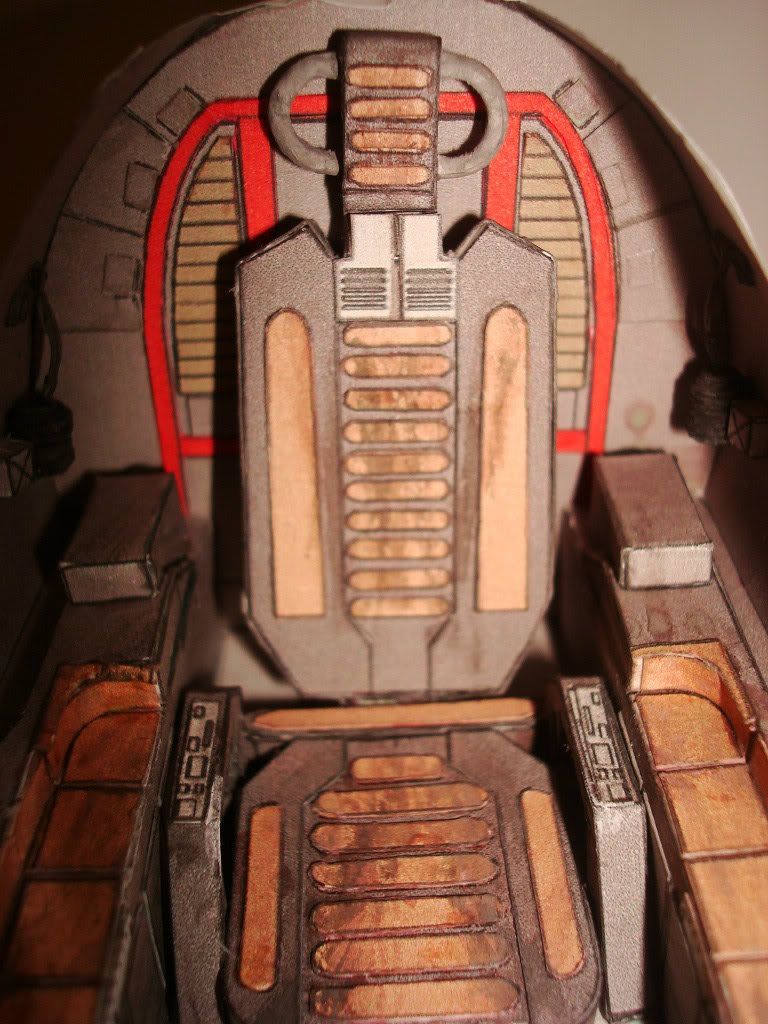
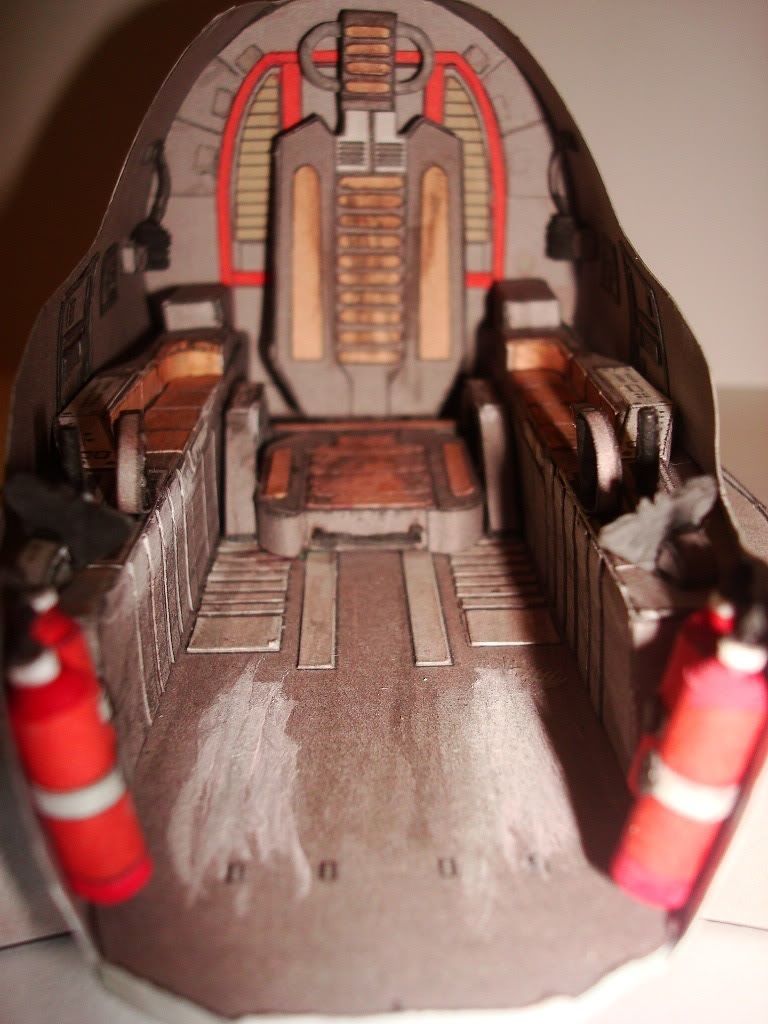
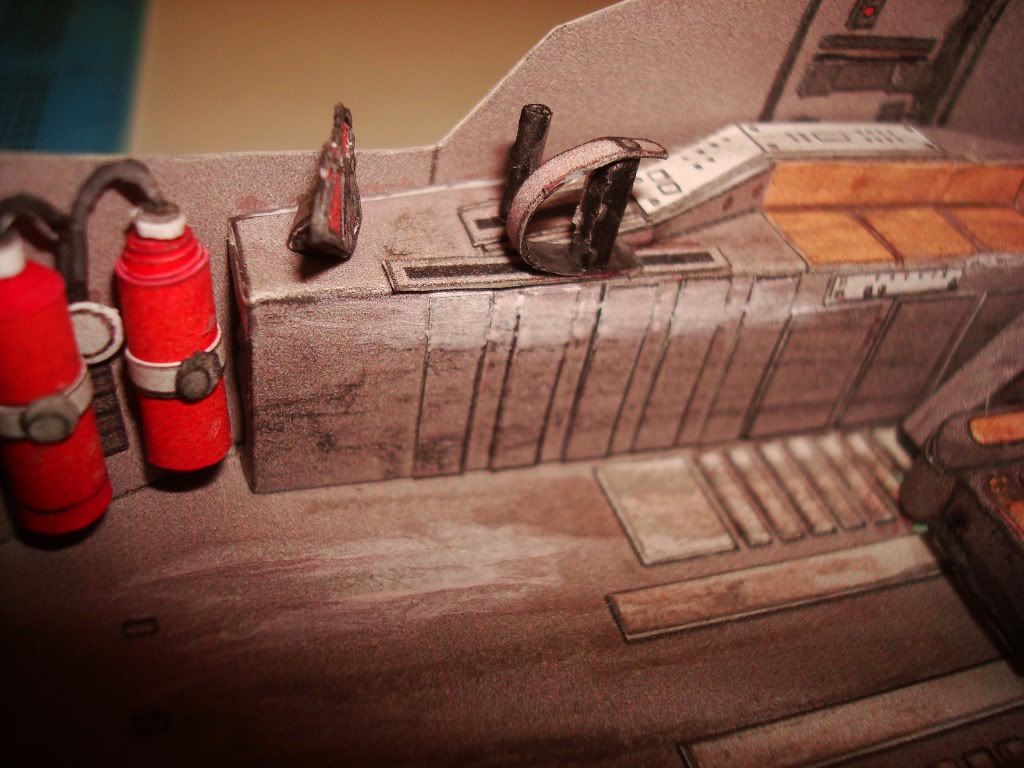
And a detail shot showing a targeting/scanning device.
This image has been resized. Click this bar to view the full image. The original image is sized 1024x768.
Now I'm going to back up a bit here and try to point out some of the challenges one might encounter when working on this build.
There is no clear indication how far forward or backward in the "tub" to place the cockpit deck and rear bulkhead. I went with aligning the indicated console outlines with the front of the "tub." (visible on the deck to the pilots left side in this photo)
This shows a test fit of the large cockpit. Also, though you cannot see it from my photos the rear bulkhead has a support triangle protruding straight back from the middle of the rear bulkhead. In order to fit the deck in, I found it necessary to trim the support down in all mock ups that I completed.
It is also not clearly indicated which of the 2 indicated cutout notches indicated above should align with the top of the tub. In the smaller model I used the bottom notch, while in the larger model it seems to fall in line with the top one.
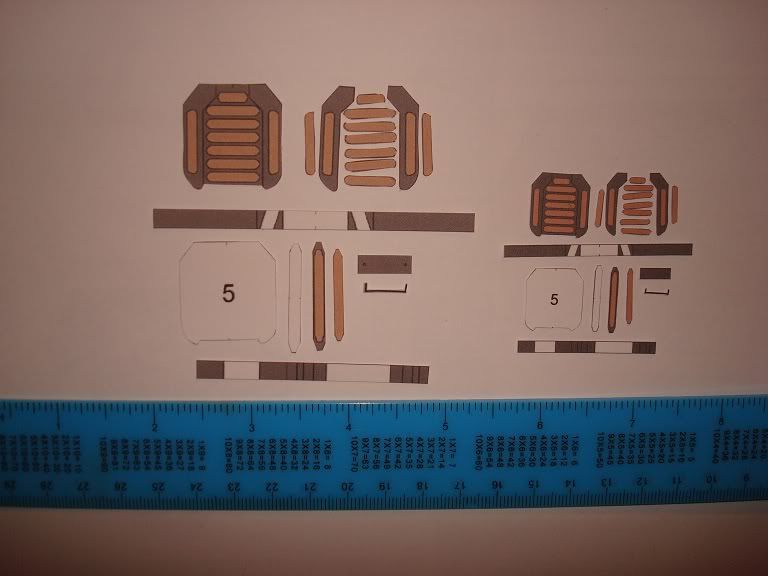
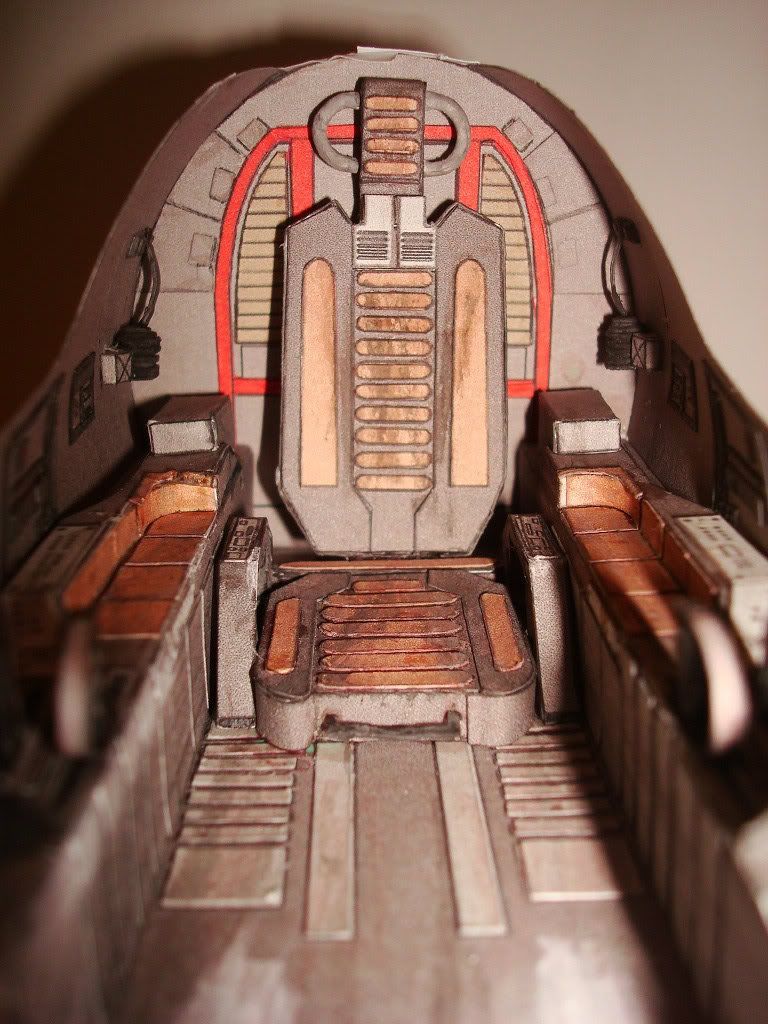
The instructions are very unclear regarding the semi rectangular piece seen to the rear of the seat bottoms. In the instructions it appears a uniform dark grey. I found it helpful to print the instructions as a photo, AND have them displayed on the monitor from the website. The website uses red lines to indicate part numbers which can end up being more helpful than the included instructions.
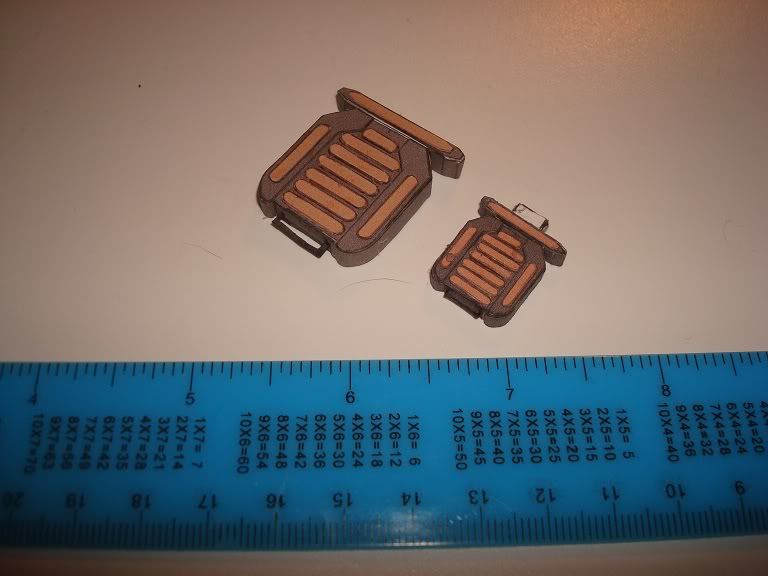
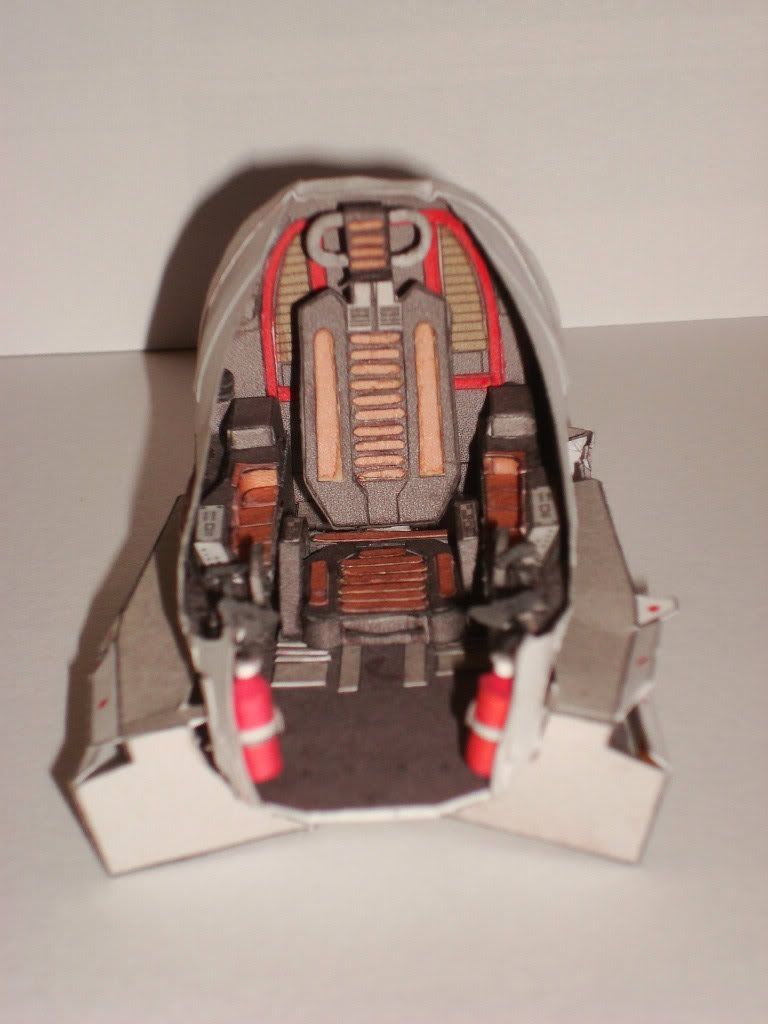
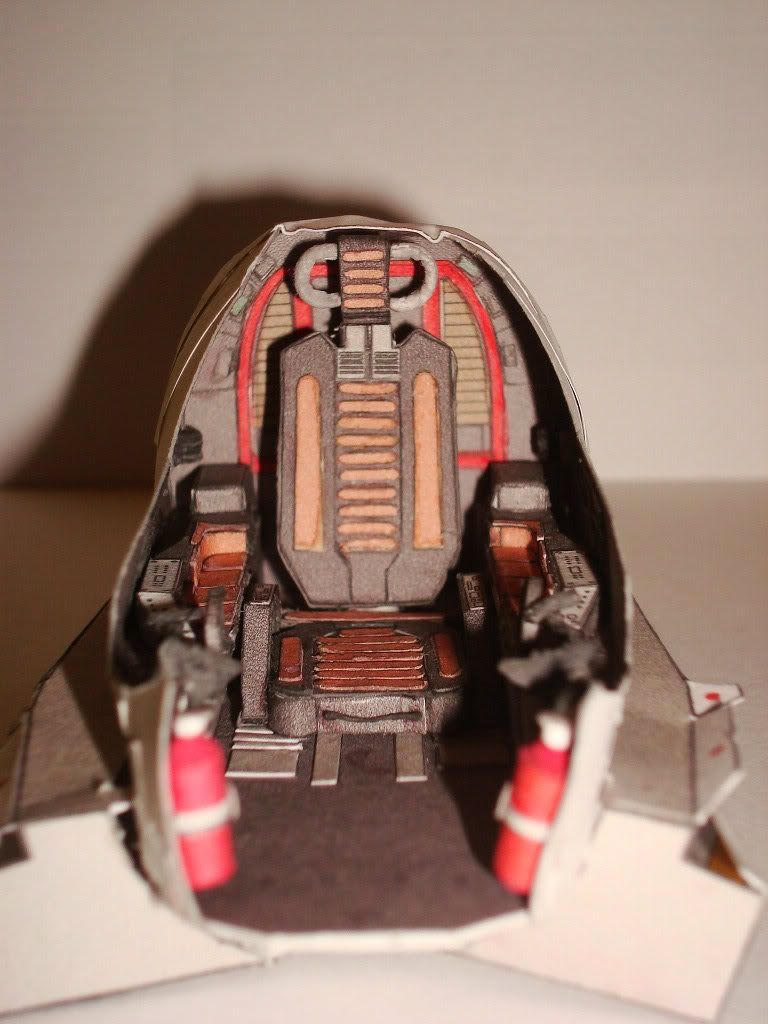
These are the pieces for the seat side/armrests. You will notice that there is a long strip with a control panel detail that goes around the outside of the piece. There are only the four small rectangular pieces to fill both the inside cutouts. These, I believe are meant for detail pieces for the missing inside piece. I got around this by laminating the armrests. As seen below.
This picture also shows the curved "leather" elbow rest on the side console that had to be created as the one included in the model is way too short.
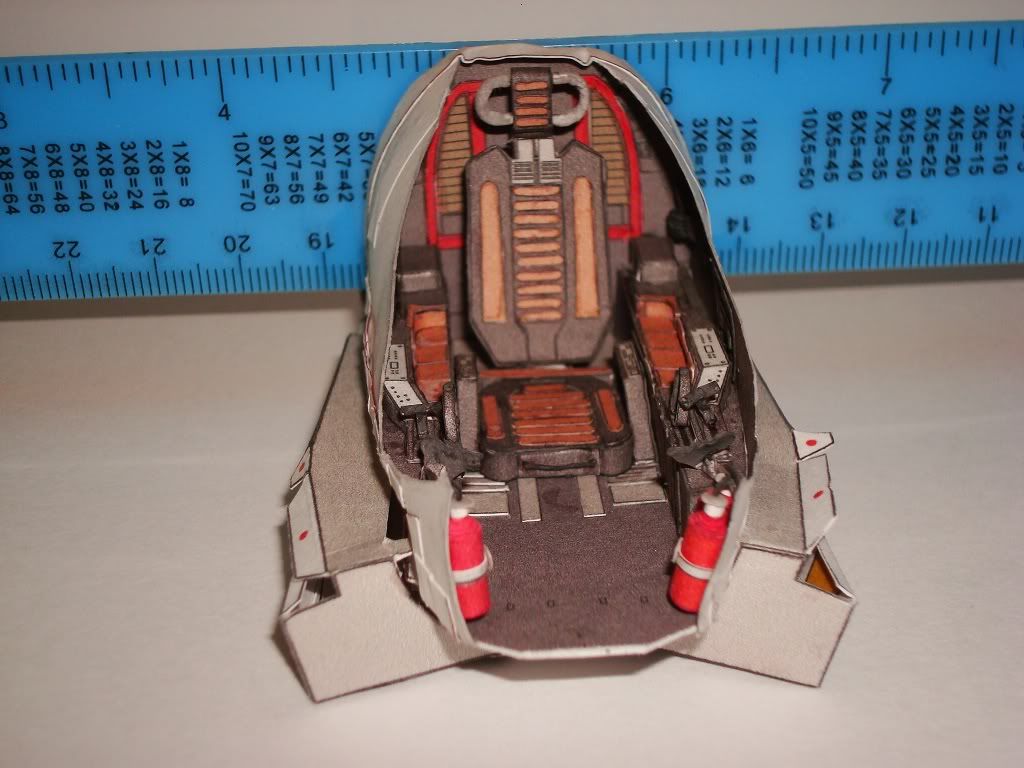
On the small cockpit pictured below I had to shorten both consoles by about 3/16"
I also ran a supporting piece around the entire upper area of the rear bulkhead and side bulkheads. One final bit, as a beginner I was a bit lost/befuddled at the lack of any glue tabs etc in the cockpit pieces, but I have to say that am not surprised that it does tend to make a much cleaner product.
That is all that I can think of for now.
HE will bring balance to the farce.


")