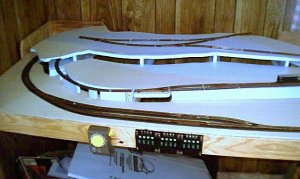
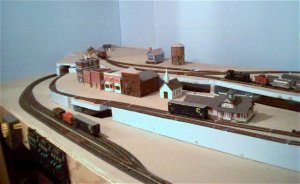
Just so you know that I'm still working, here are some in-progress shots of the work on the upper levels. In this view you can see the inclines that I cut from the foam insulation. I had to chop it up in the curves so that the track would lay correctly. The upper level has not been permanently set into place. I still have to cut some pieces for the left and right rear corners. Plus, there is some additional work to be done on the tunnels (like putting fake walls on the inside).
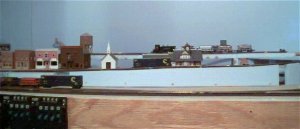
The track has been pinned and glued down from the base level up to the turnout on the second level. The second level spur, and the track leading to the third level will be fixed down later. After I make a few adjustments, I'm going to power up the line to the second level.
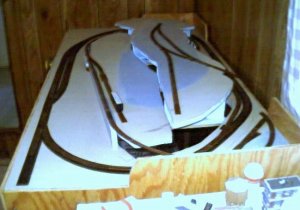
As you can see, I cut the two upper levels out of the base sheet of foam. The nice thing about this is that it gives me really good access to the underside of the whole layout. The track in the tunnel that leads to the second level sits on a little platform. The track for both tunnels is easily reached from underneath.
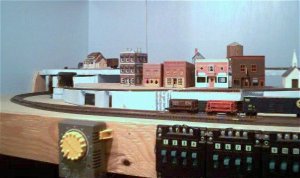
I will either use newspaper wads and paper mache to fill out the hillsides, or I might try to use an expanding foam product like Great Stuff. I want to experiment with the Great Stuff first before I make a commitment!")
-Rory
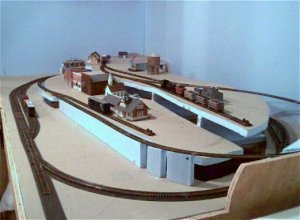
The track has been pinned and glued down from the base level up to the turnout on the second level. The second level spur, and the track leading to the third level will be fixed down later. After I make a few adjustments, I'm going to power up the line to the second level.
As you can see, I cut the two upper levels out of the base sheet of foam. The nice thing about this is that it gives me really good access to the underside of the whole layout. The track in the tunnel that leads to the second level sits on a little platform. The track for both tunnels is easily reached from underneath.
I will either use newspaper wads and paper mache to fill out the hillsides, or I might try to use an expanding foam product like Great Stuff. I want to experiment with the Great Stuff first before I make a commitment!
-Rory