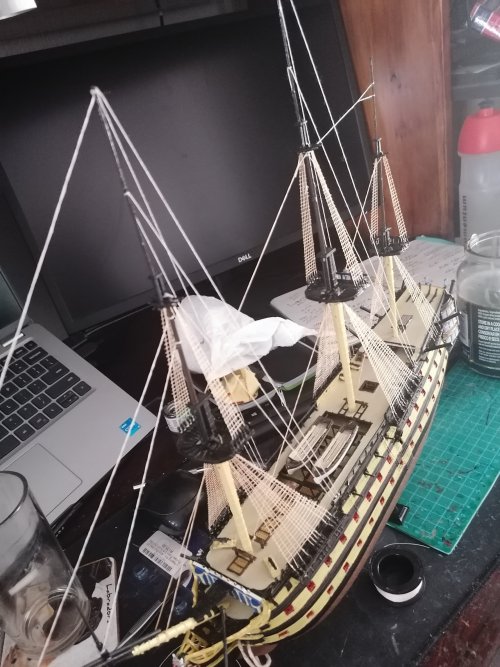
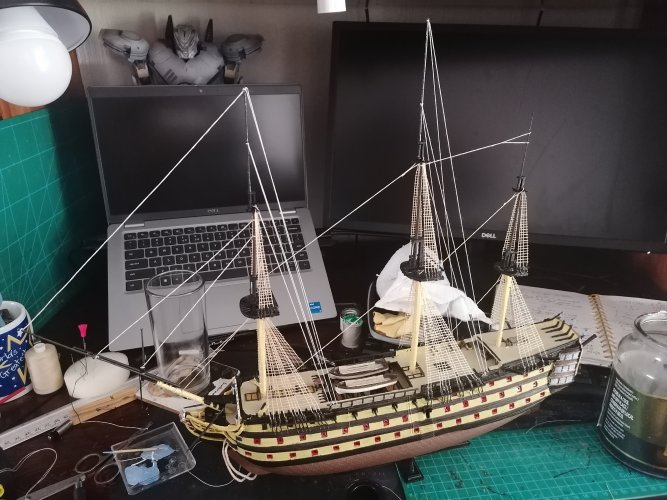
England Expects...
- Thread starter Cybergrinder
- Start date
You are using an out of date browser. It may not display this or other websites correctly.
You should upgrade or use an alternative browser.
You should upgrade or use an alternative browser.
- Apr 5, 2013
- 13,529
- 9,602
- 228
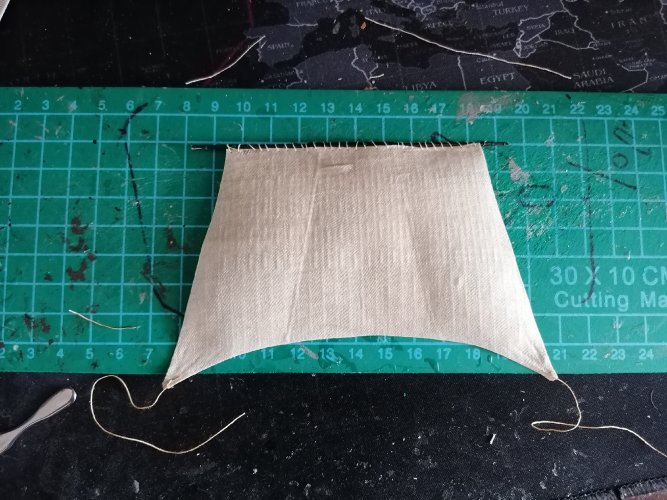
And now the great experiment; the sails which I had prepped earlier are now ready to go!
Quick reminder, that I am ditching the plastic ones (ok, using them as a mold....) in favour of cloth. I've also (at my girlfriend's suggestion) chosen to stitch the sails to the yards.
I give to you the fore-top s'l! (Fore top sail )
)
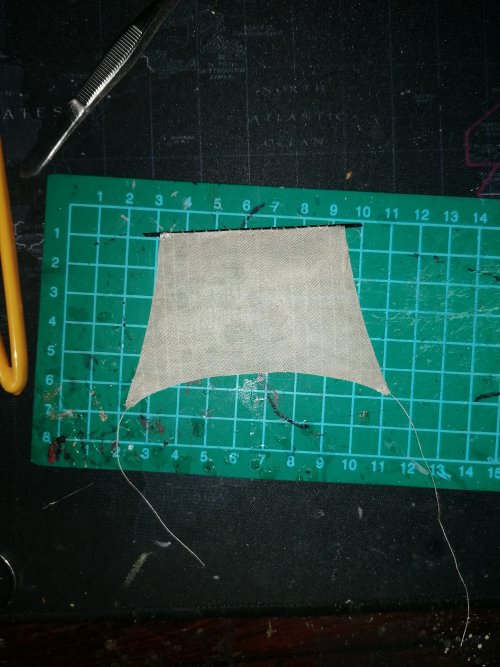
Quick reminder, that I am ditching the plastic ones (ok, using them as a mold....) in favour of cloth. I've also (at my girlfriend's suggestion) chosen to stitch the sails to the yards.
I give to you the fore-top s'l! (Fore top sail

- Apr 5, 2013
- 13,529
- 9,602
- 228
Last edited:
Now, the bit I've been itching to get to, furling the sails 
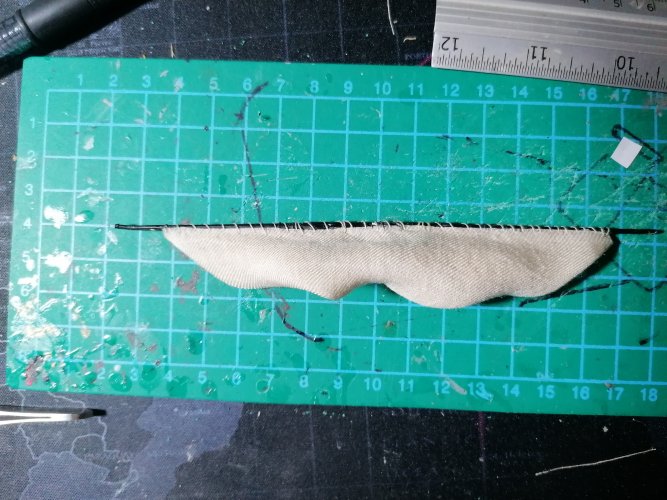
First I cut the sail (bit of a guess-timate since the one provided is moulded furled) and stitched to the yard arm. The corner is then pulled up to the yard and tacked to the yard.
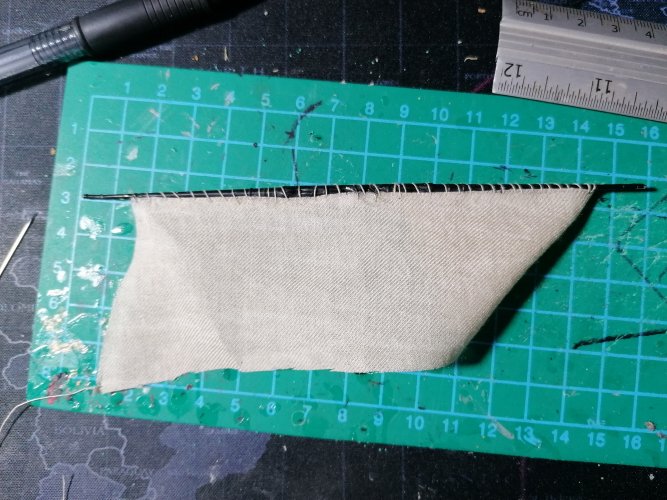
Them the circled area is stitched to the same point as the first corner
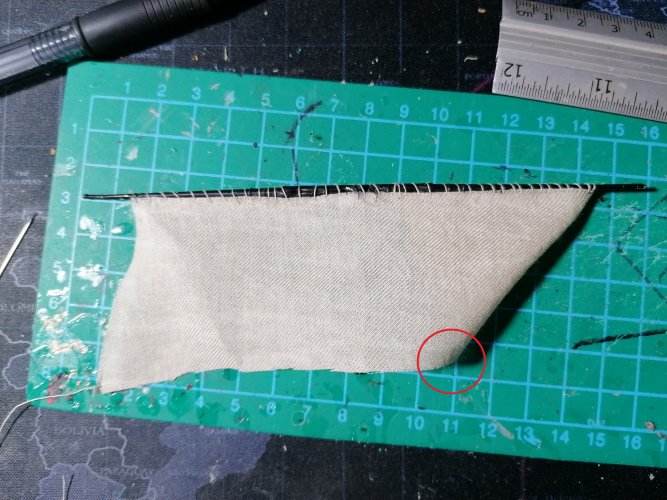
And you get this, front view;
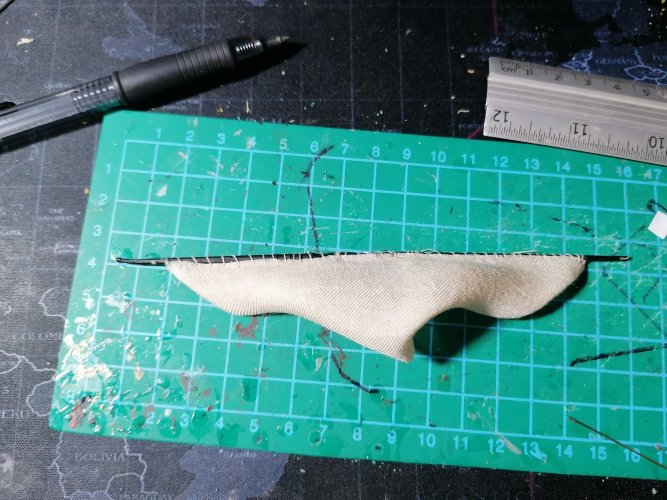
And rear
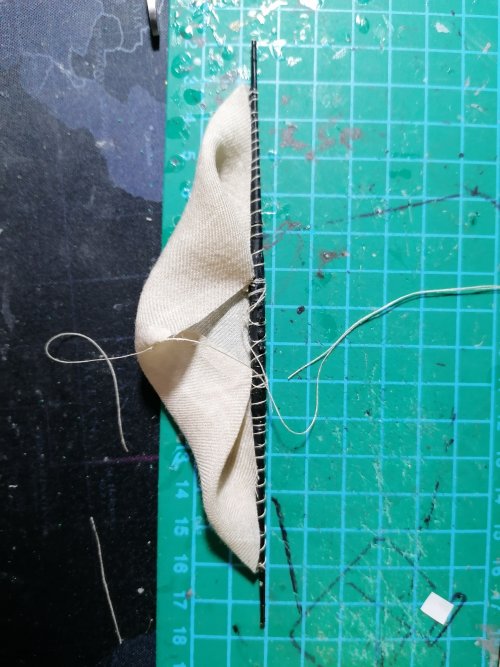
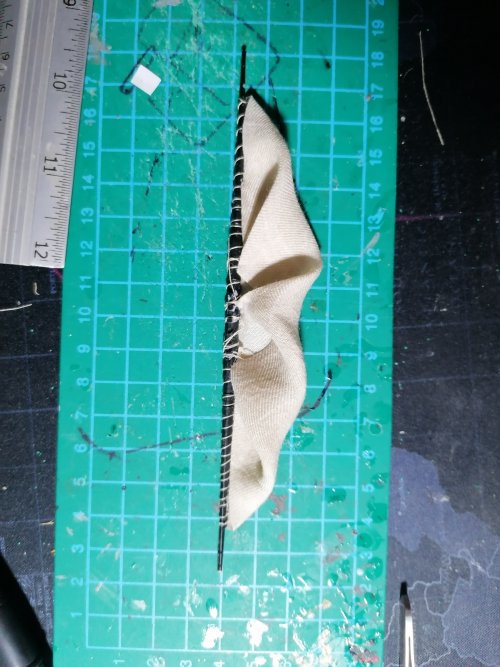
Next the middle part is stitched together, and then to the yard.
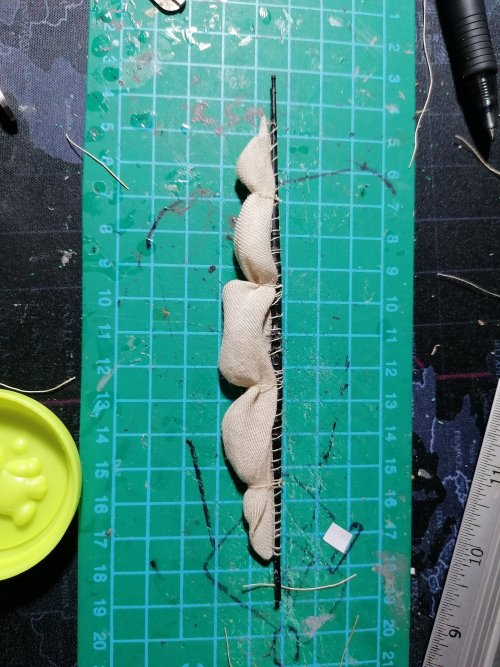
Last but not least, the reefing ropes, front
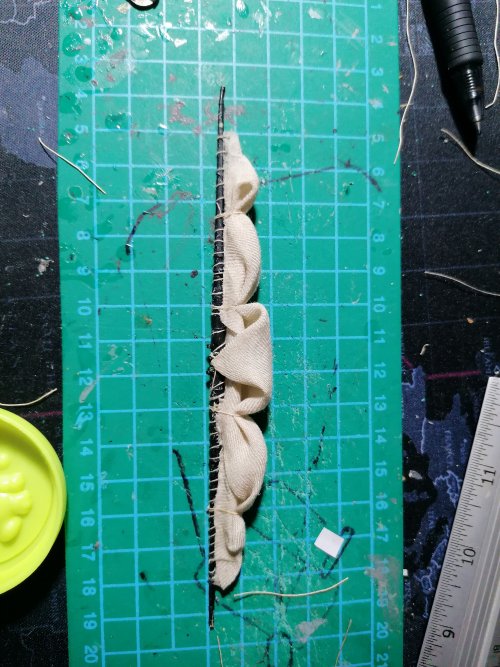
And rear
Then just a bit of wood glue to nip the edges together
First I cut the sail (bit of a guess-timate since the one provided is moulded furled) and stitched to the yard arm. The corner is then pulled up to the yard and tacked to the yard.

Them the circled area is stitched to the same point as the first corner

And you get this, front view;

And rear

Next the middle part is stitched together, and then to the yard.


Last but not least, the reefing ropes, front

And rear

Then just a bit of wood glue to nip the edges together
Nice job, must look at a glossary on all these sailing terminologies - stuff you always hear about, but unless you know, it all sounds strange to a landlubber
- Apr 5, 2013
- 13,529
- 9,602
- 228
I really like the texture of the sail cloth. This will add much to the model. Might have to get a U.V. box to protect the model. U.V. is not kind to cloth and thread. 
Thanks guys, I've even contemplated having all the sails furled....
- Apr 5, 2013
- 13,529
- 9,602
- 228
So with the foremast sails done and attached I got carried away and worked on the bowsprit before taking any pictures....
So here we are, foremast complete and one of the flying jibs attached, stitched onto the sheet. To explain the terms; A flying jib is called such as it is attached to a sheet (rope) as opposed to a standing jib which would be attached to a yard.
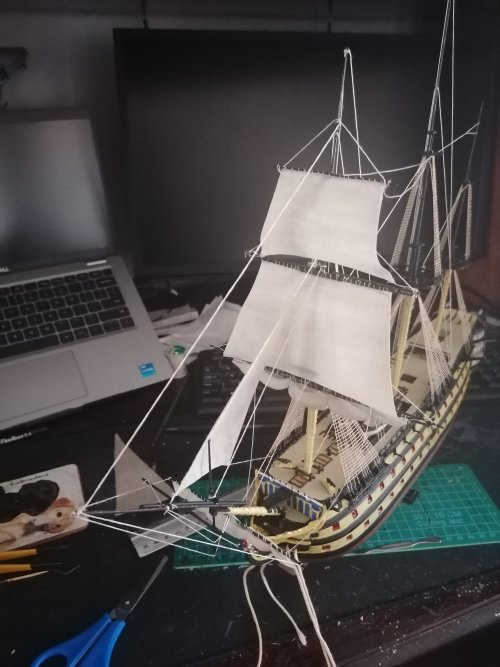
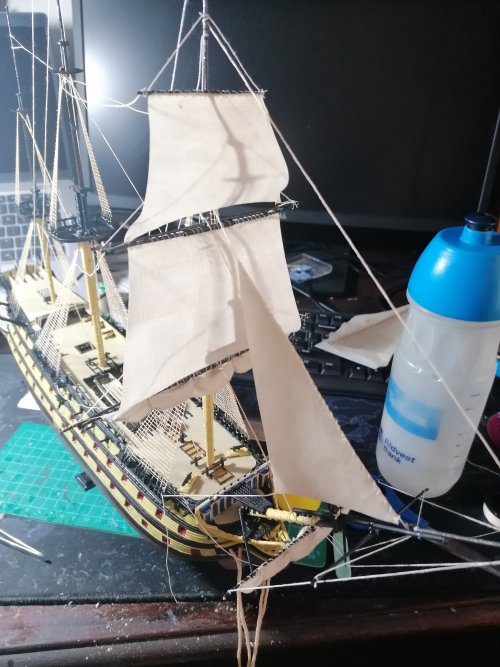
So here we are, foremast complete and one of the flying jibs attached, stitched onto the sheet. To explain the terms; A flying jib is called such as it is attached to a sheet (rope) as opposed to a standing jib which would be attached to a yard.


- Apr 5, 2013
- 13,529
- 9,602
- 228


