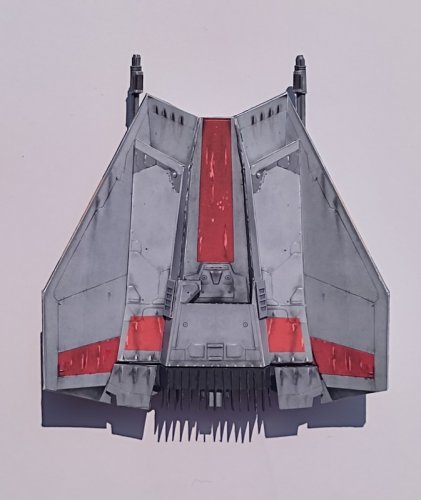
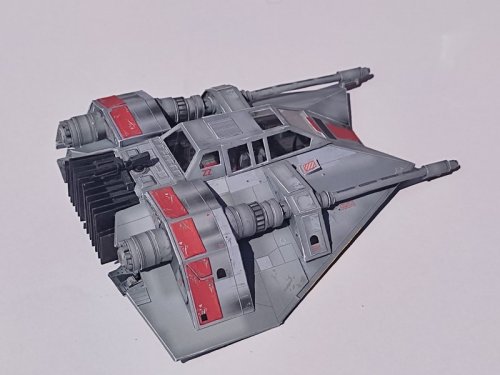
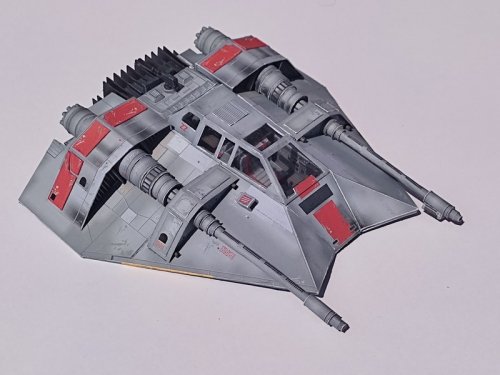
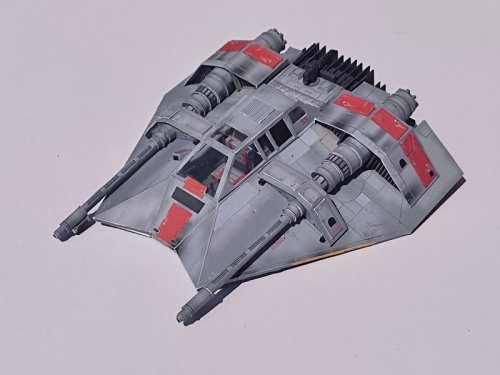
Echo Base, this is Rogue Two
- Thread starter Revell-Fan
- Start date
You are using an out of date browser. It may not display this or other websites correctly.
You should upgrade or use an alternative browser.
You should upgrade or use an alternative browser.
I simplified the harpoon a bit and skipped the detailing strips. The barrel and the mount are made of a toothpick. This was done to make work a bit simpler (hell, at this scale these tubes are TINY!) 
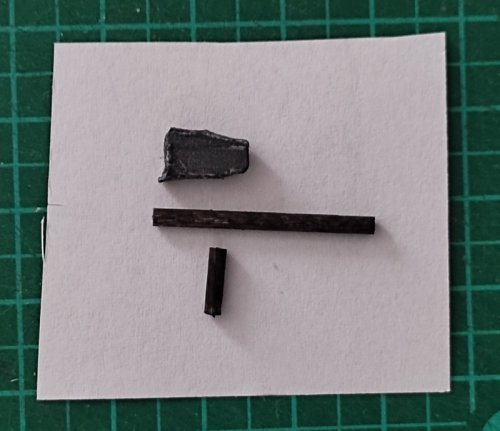
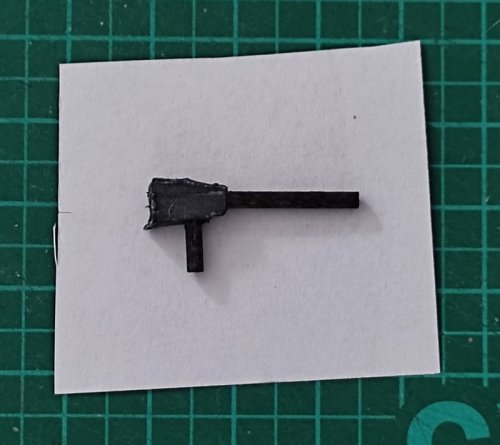
I cut a hole into the mounting points and pushed the mount through them. It sits very securely even without glue - and can be rotated.
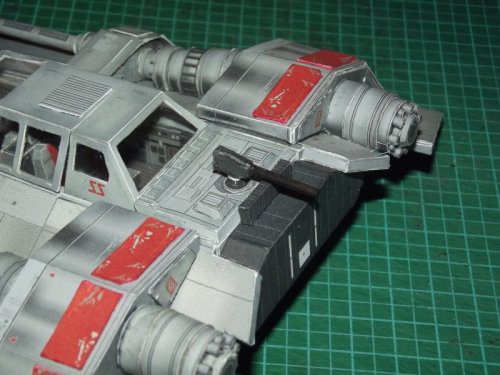
And now the massacre begins:
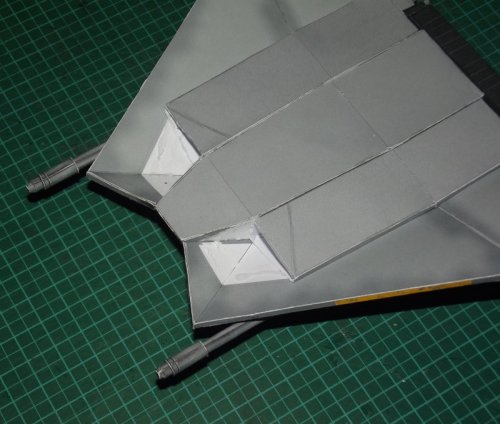
The wrong tips of the side pieces of the fuselage were removed.
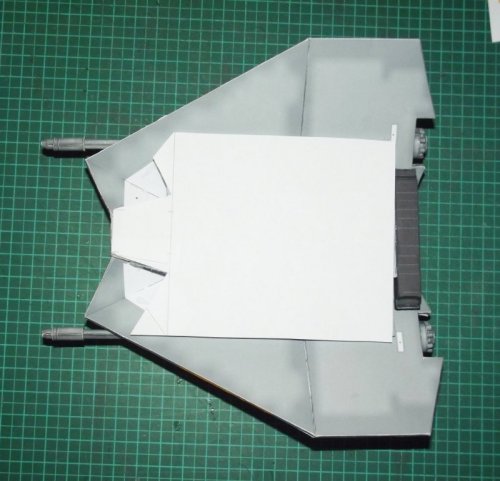
Now I'm using several pieces of scrap paper to determine the shape of the new parts.


I cut a hole into the mounting points and pushed the mount through them. It sits very securely even without glue - and can be rotated.

And now the massacre begins:

The wrong tips of the side pieces of the fuselage were removed.

Now I'm using several pieces of scrap paper to determine the shape of the new parts.
Last edited:
- Apr 5, 2013
- 13,653
- 9,801
- 228
I've always liked this ship. The way it was shown flying in the movies always irked me as they showed the spoilerons/ailerons moving in the wrong direction relative to the ships movement. Also, this model actually has room for the rear gunner as the movie prop had the guys legs sticking out through the bottom, either that, or they had a lot of pilots with no lower halves to their legs. Great job!! 
Indeed! 
It took several attempts to know what to do to accurize the shape. The result will not be 100% screen-accurate, however, that is not the goal. Getting the model screen-accurate woud require a complete remake since there are so many inaccuracies like the panel lines and missing pieces. The marvellous texture saves the model and justifies the upgrade. I really did not believe that it would require so much work in the end and I hope to get it ready in five days because that is when my deadline ends.
So now. To determine a different shape in three dimensions without computer support is a bit tricky. I found it easy to use several strips of paper with pointy edges.
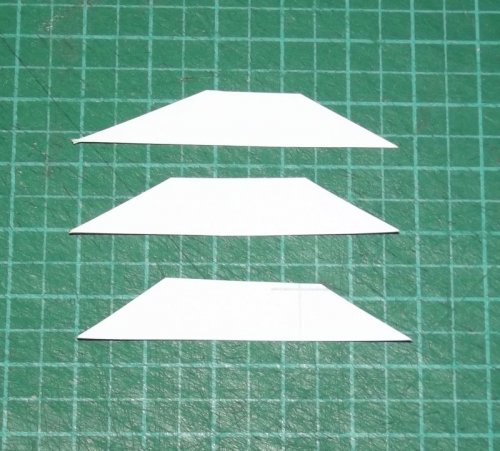
I put the pointy edge into a corner, add another piece, tape the two together and work my way up.
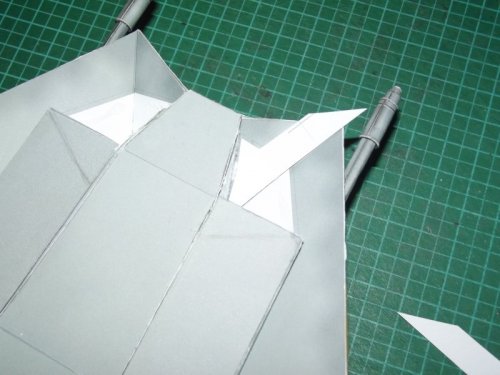
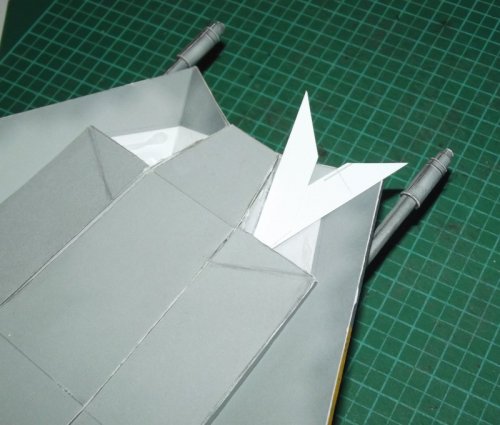
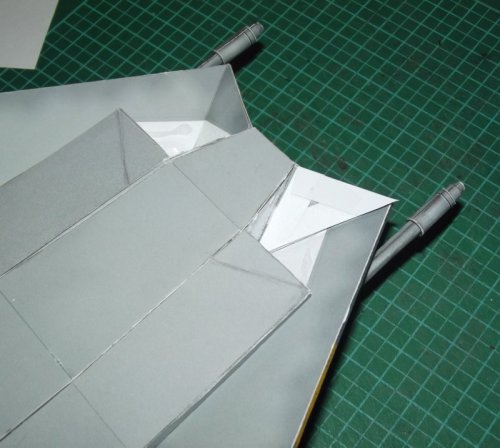
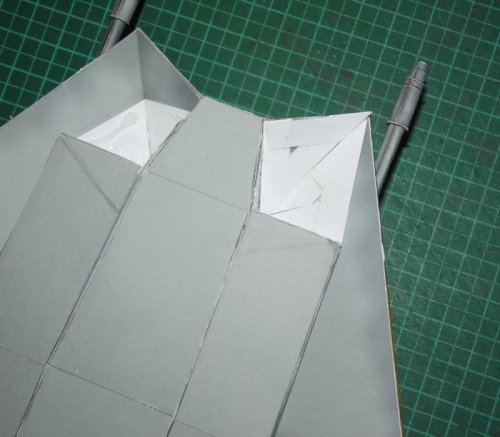
A few parts later I realized that the shape can be simplified further, so I came up with this:
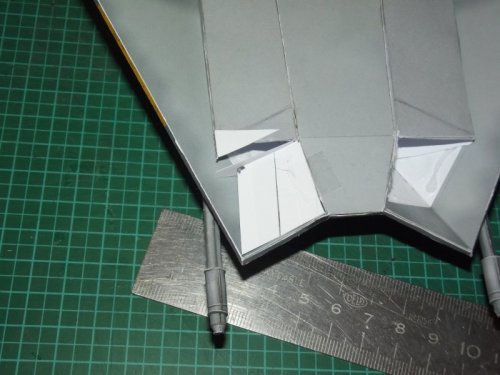
Taped together it looks like a little bird:
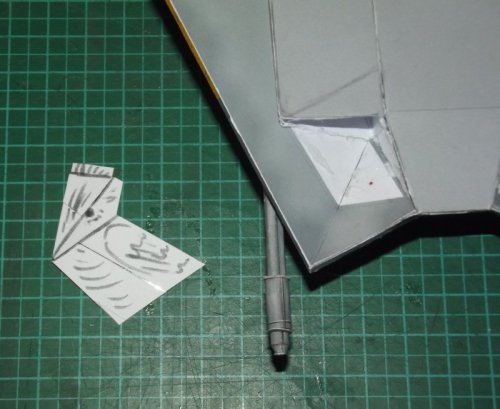
Now the shape is scanned and turned into the first upgrade piece for the bottom.
It took several attempts to know what to do to accurize the shape. The result will not be 100% screen-accurate, however, that is not the goal. Getting the model screen-accurate woud require a complete remake since there are so many inaccuracies like the panel lines and missing pieces. The marvellous texture saves the model and justifies the upgrade. I really did not believe that it would require so much work in the end and I hope to get it ready in five days because that is when my deadline ends.
So now. To determine a different shape in three dimensions without computer support is a bit tricky. I found it easy to use several strips of paper with pointy edges.

I put the pointy edge into a corner, add another piece, tape the two together and work my way up.


A few parts later I realized that the shape can be simplified further, so I came up with this:

Taped together it looks like a little bird:

Now the shape is scanned and turned into the first upgrade piece for the bottom.
- Apr 5, 2013
- 13,653
- 9,801
- 228
You truly have an innate ability to fabricate out of thin air. You do have something much more powerful than any computer or computer program, the insight and the multi dimensional thinking prowess of your brain. 
Sorry for the late update but I had to get this sucker ready in time (yesterday!). Small spoiler: I was successful. The plane is ready and has already been given to my friend. 
And this is how the goal was achieved:
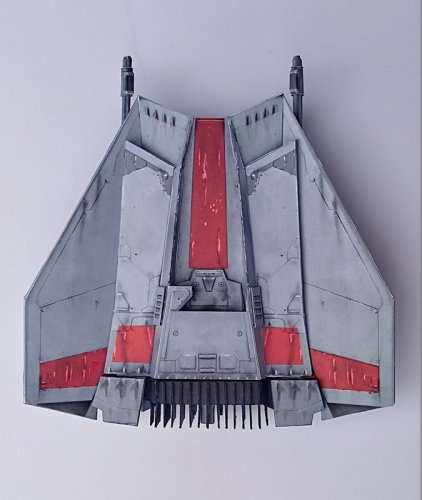
A google search gave me a nice straight-on view of the bottom of the original miniature. I chopped this into pieces and fabricated several new parts and layers in Gimp:
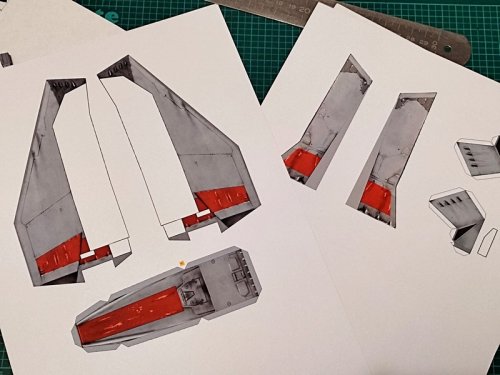
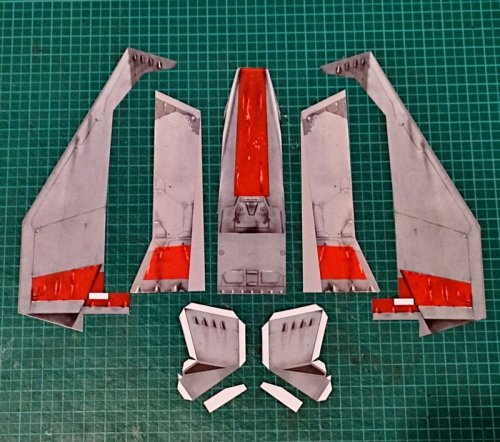
These were test-fitted to see how and if they worked:
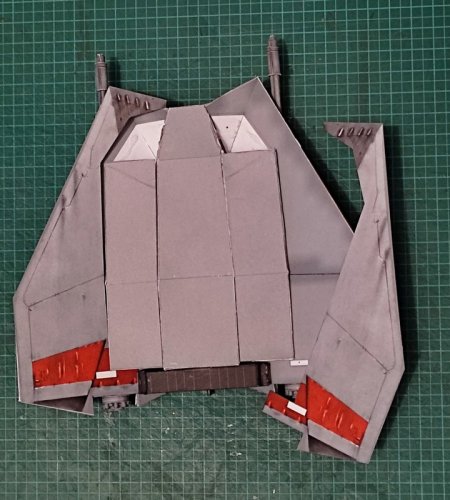
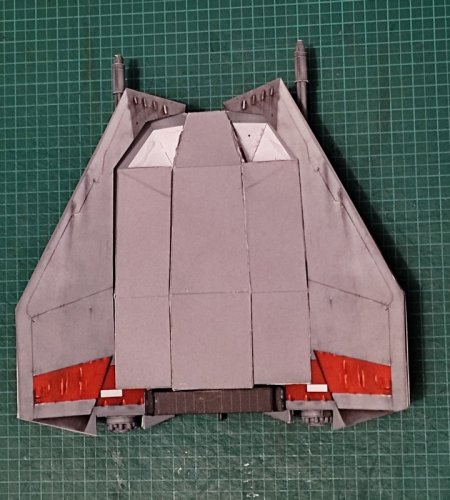
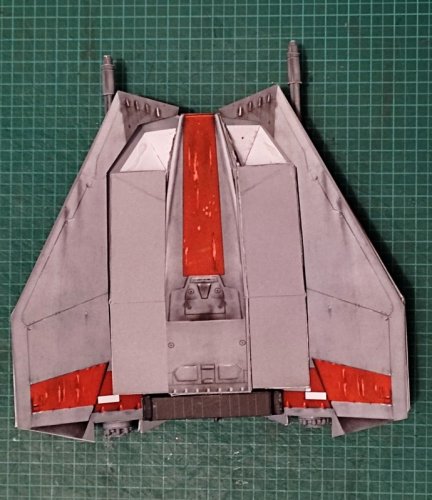
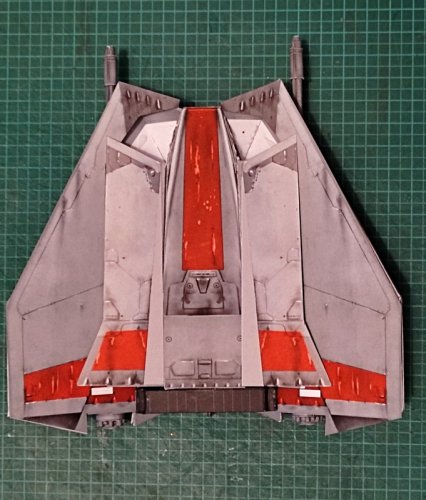
No big problems there. So I started glueing the new parts into place:
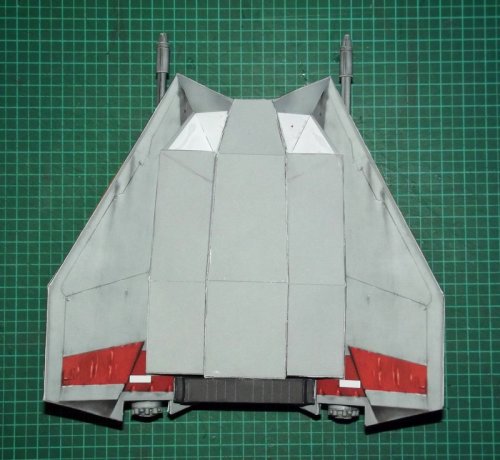
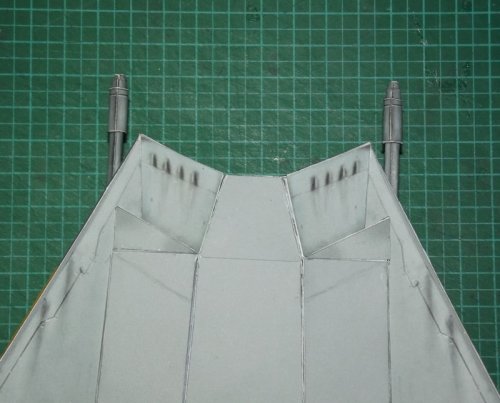
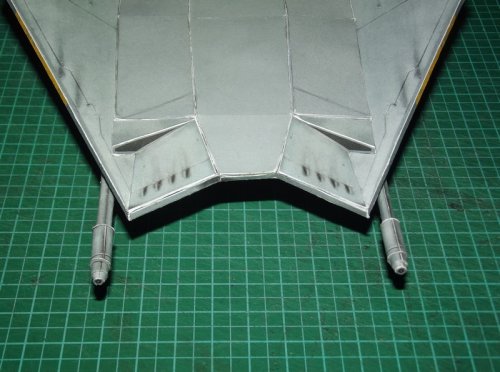
I was amazed at this one fitting on the first try because it was the trickiest part to design.
Now the rest was simply glued to the surface.
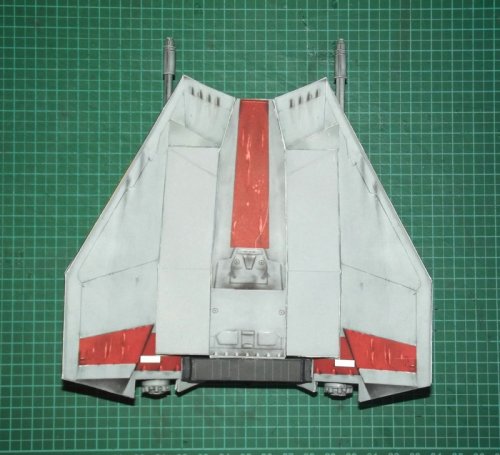
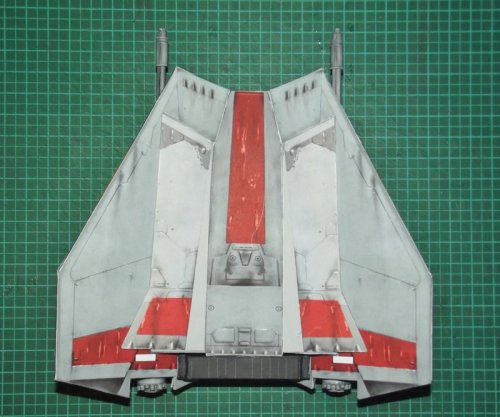
And this is how the goal was achieved:
A google search gave me a nice straight-on view of the bottom of the original miniature. I chopped this into pieces and fabricated several new parts and layers in Gimp:


These were test-fitted to see how and if they worked:


No big problems there. So I started glueing the new parts into place:


I was amazed at this one fitting on the first try because it was the trickiest part to design.
Now the rest was simply glued to the surface.


Last edited:
Next was the missing intake:
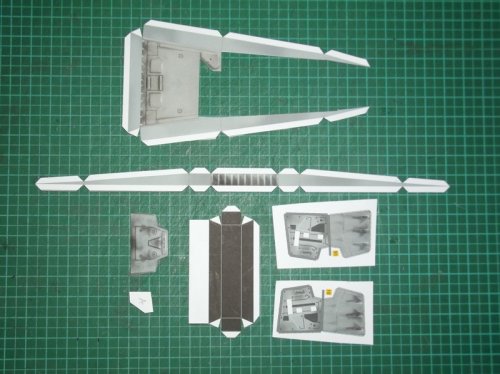
The intake was designed in Sketchup, unfolded and textured in Gimp.
Two parts are laminated to 1mm card:
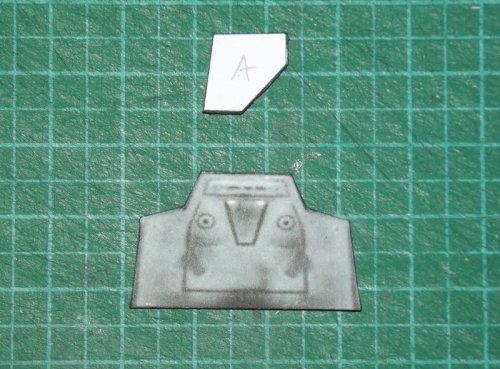
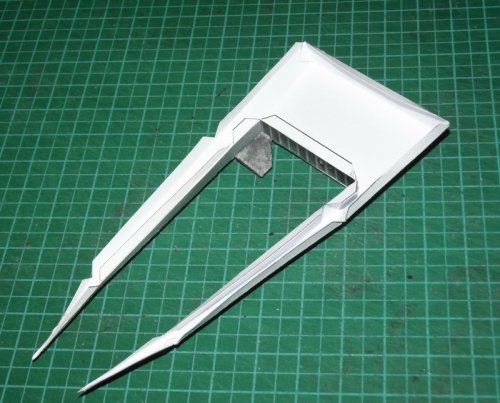
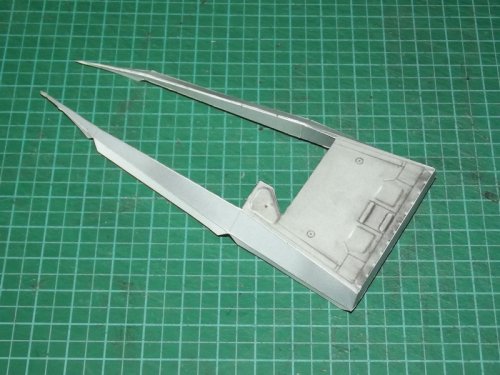
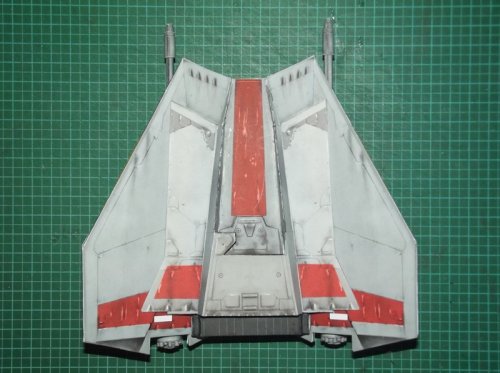
To my surprise this piece fit precisely at the first try, too.
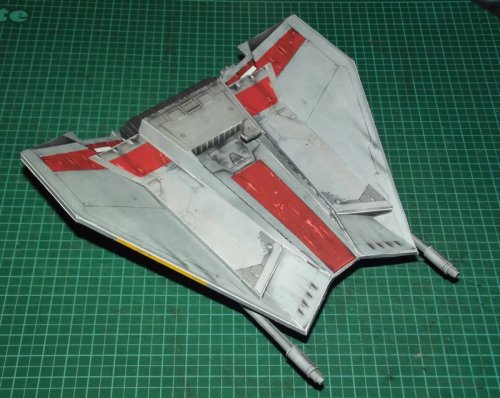
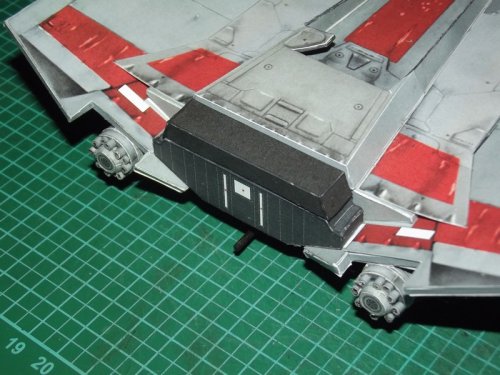
The exhaust block had to be thickened up and received this extension:
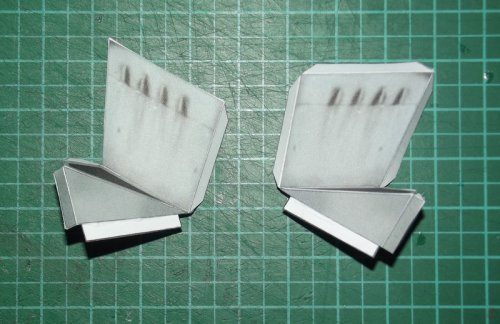
And just when I thought it was a walk in the park I noticed that the breaking flaps are in the wrong position:
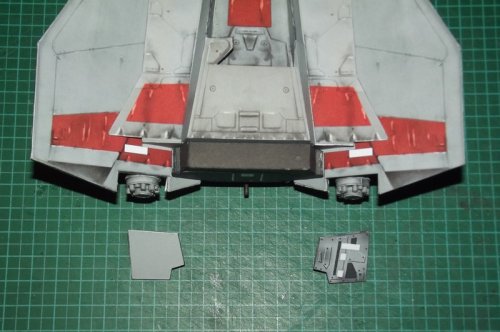
The right one should be on the left side and vice versa. In addition, the glueing marks are wrong. That meant my previous work to update them was completely in vain and needed another rework.

The intake was designed in Sketchup, unfolded and textured in Gimp.
Two parts are laminated to 1mm card:


To my surprise this piece fit precisely at the first try, too.

The exhaust block had to be thickened up and received this extension:

And just when I thought it was a walk in the park I noticed that the breaking flaps are in the wrong position:

The right one should be on the left side and vice versa. In addition, the glueing marks are wrong. That meant my previous work to update them was completely in vain and needed another rework.
Last edited:
Thank you very much! 
I saved the flaps for later so that they could not break off by accident and took care of the radiator flaps. Since I added a new part to the exhaust all pieces had to be extended by the height of the new part. The new flaps were printed and laminated to some card.

I used a black marker to paint the back side. That went extremely well.
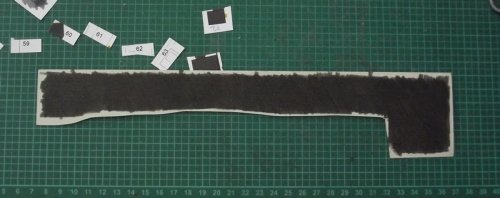
Then I attached the new flaps - again with no problems!
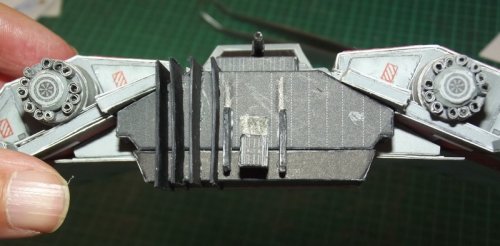
The glueing marks at the rear were painted black. The pieces that went there were attached deeper than before to compensate for the radiator extension.
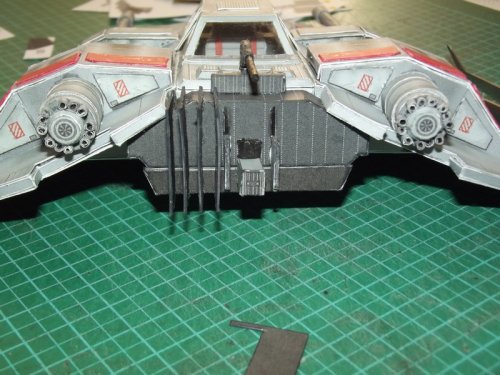
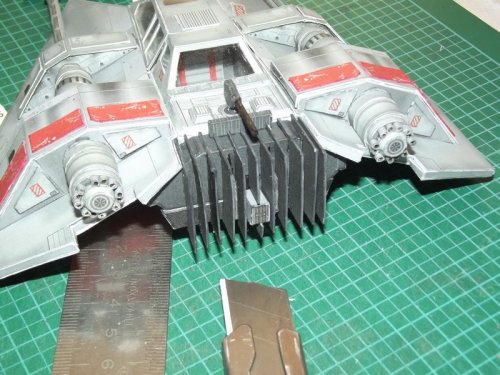
Not too bad, methinks!
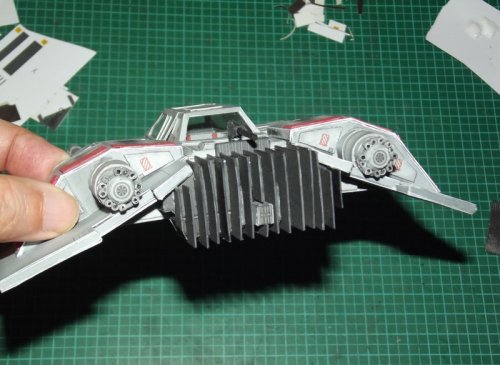
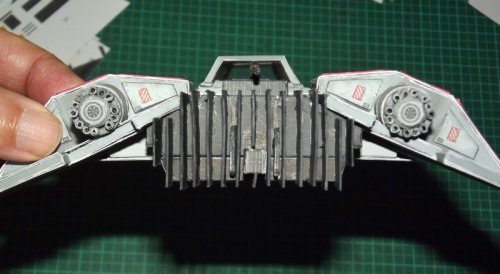
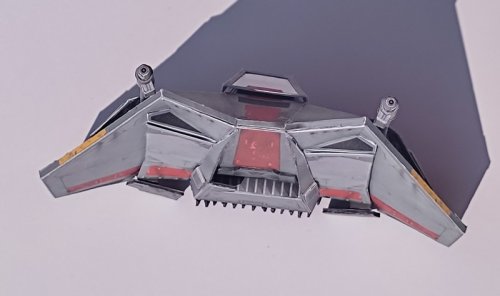
Time to attach the new breaking flaps:
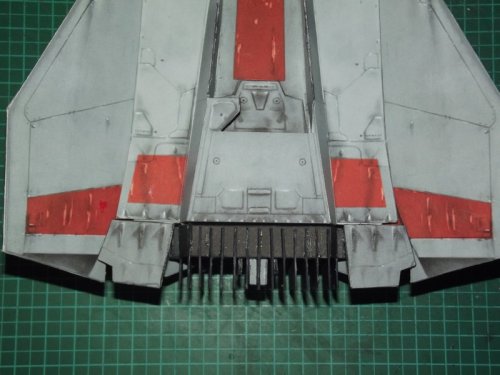
Phew, that's it!
I saved the flaps for later so that they could not break off by accident and took care of the radiator flaps. Since I added a new part to the exhaust all pieces had to be extended by the height of the new part. The new flaps were printed and laminated to some card.

I used a black marker to paint the back side. That went extremely well.

Then I attached the new flaps - again with no problems!

The glueing marks at the rear were painted black. The pieces that went there were attached deeper than before to compensate for the radiator extension.


Not too bad, methinks!


Time to attach the new breaking flaps:

Phew, that's it!
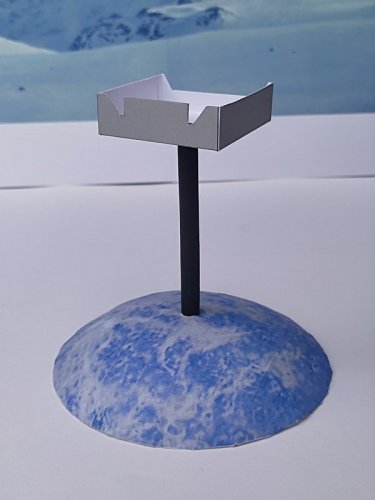
Now it was part for the stand.
I cut out the one that came with the kit to see how it went together.
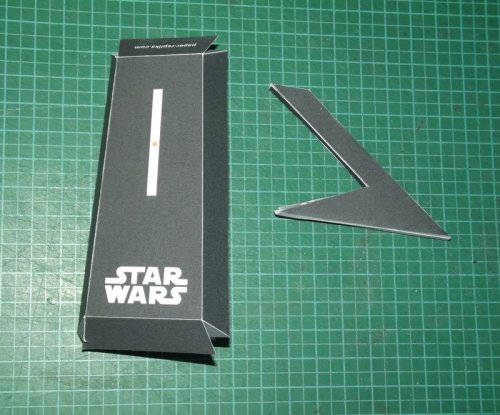
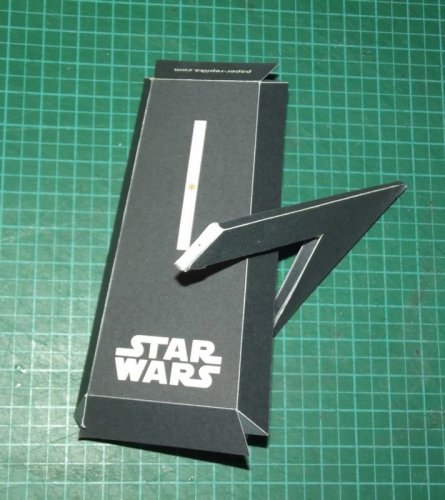
UGH! It was supposed to be glued to the plane! Maybe that was the reason why the bottom was so scarcely detailed...
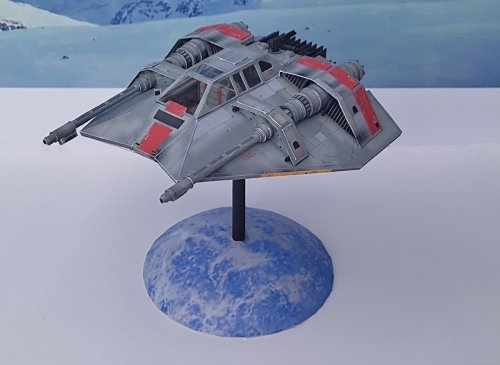
Hmm... That was absolutely inacceptable. I took out the stand I designed for the Triangle ship, recoloured it and made a new fitting mount:
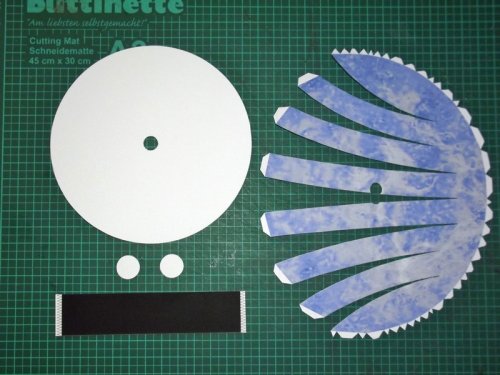
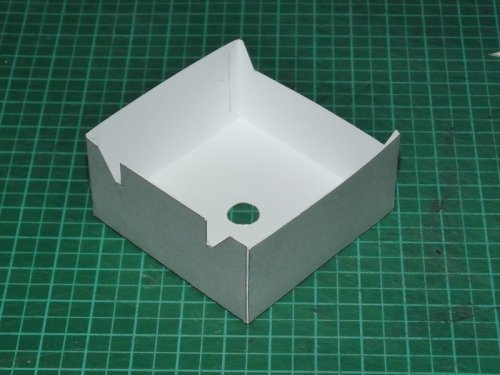
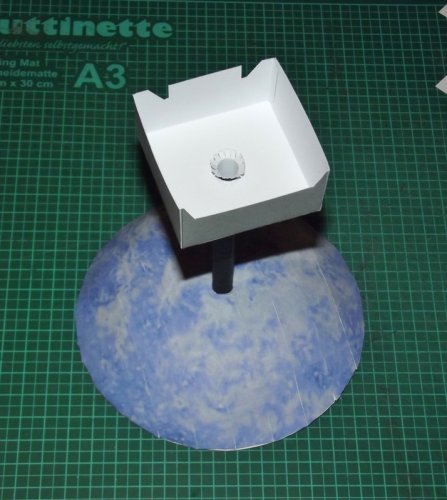
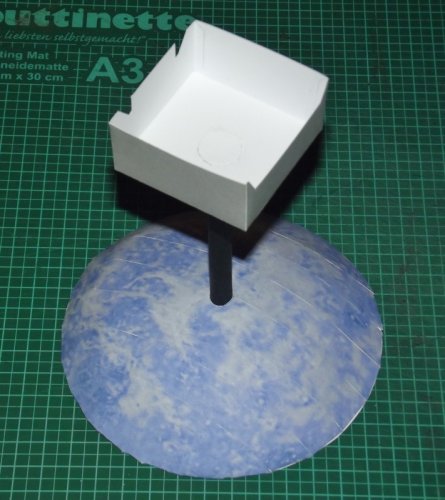
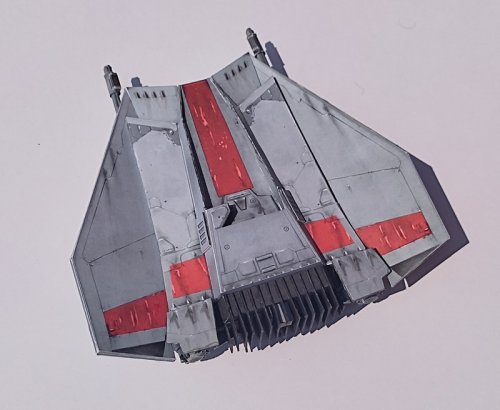
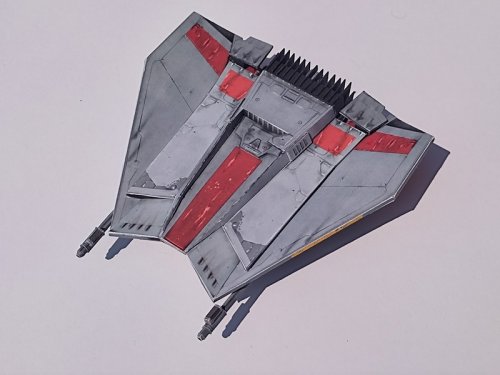
DONE!
- almost...
I cut out the one that came with the kit to see how it went together.


UGH! It was supposed to be glued to the plane! Maybe that was the reason why the bottom was so scarcely detailed...
Hmm... That was absolutely inacceptable. I took out the stand I designed for the Triangle ship, recoloured it and made a new fitting mount:


DONE!
- almost...
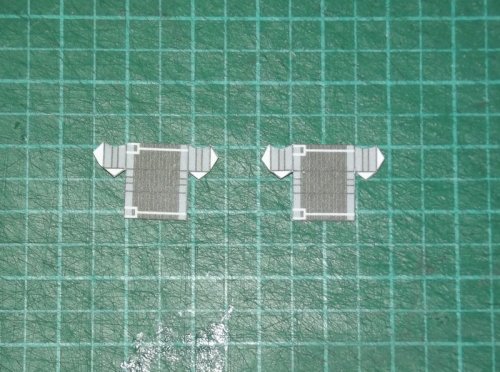
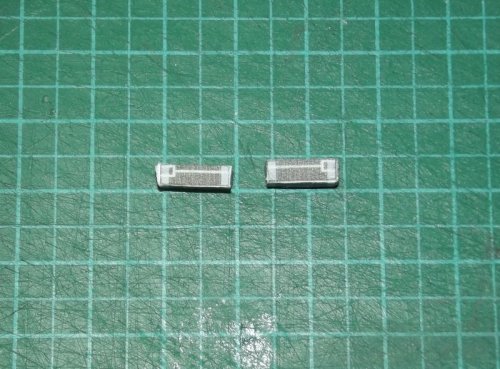
I still had some time left and examined the model closely. Then it occured to me that I could add some detail to the harpoon:
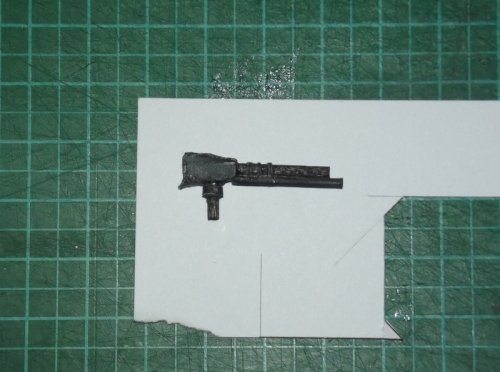
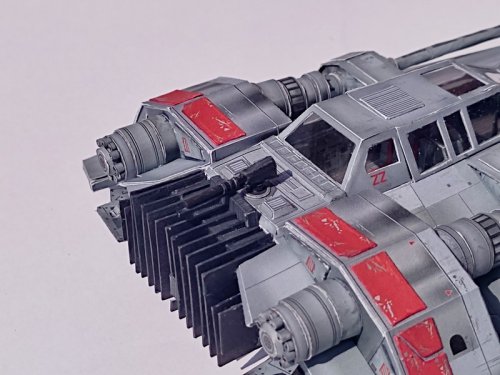
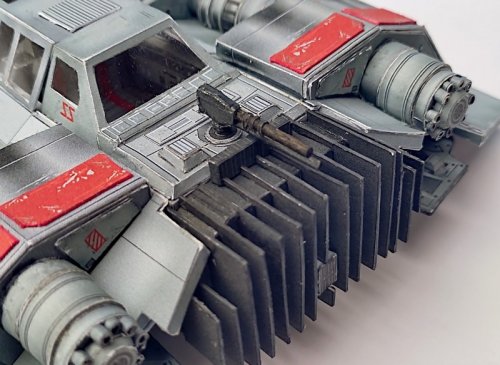
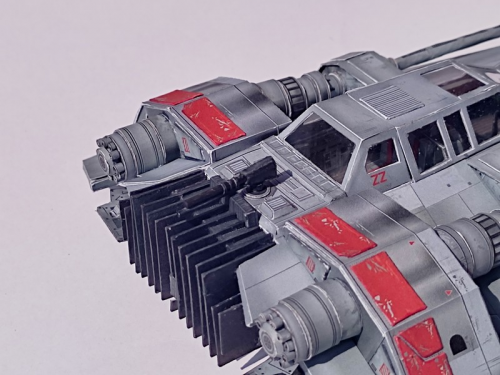
Then I added some greeblies to the front cannon mount:
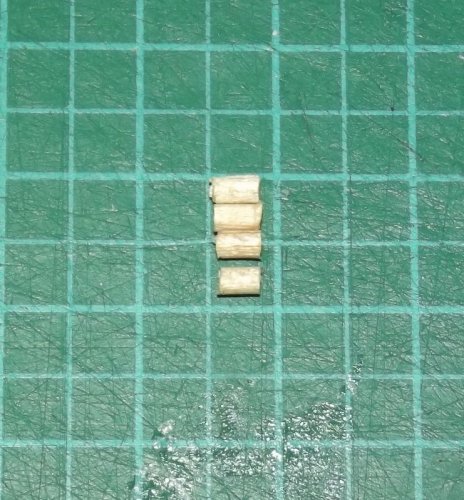
These were cut from toothpicks and painted black.
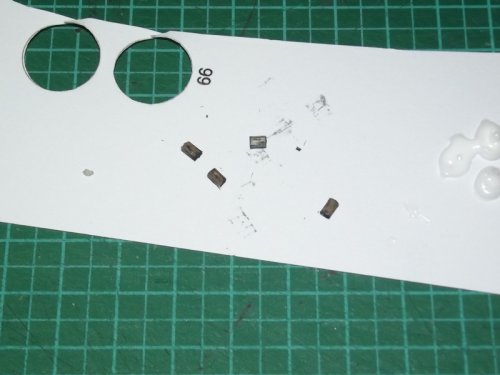
And the cannons themselves needed a small addition:
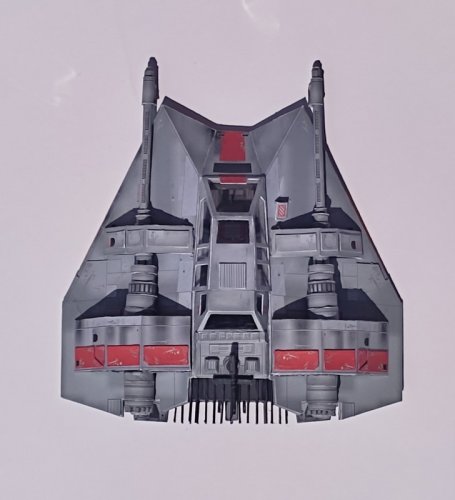
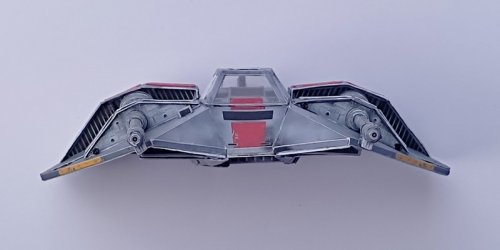
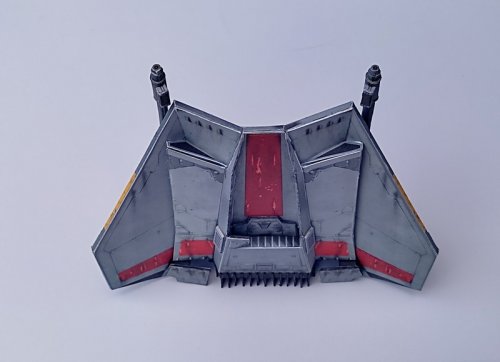
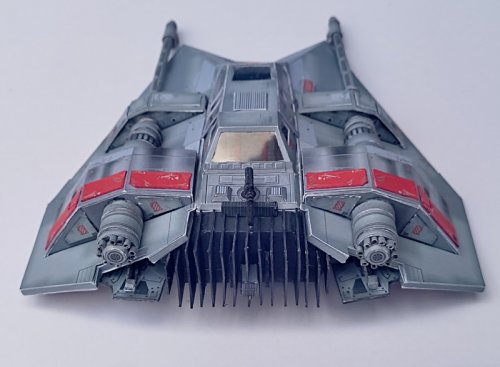
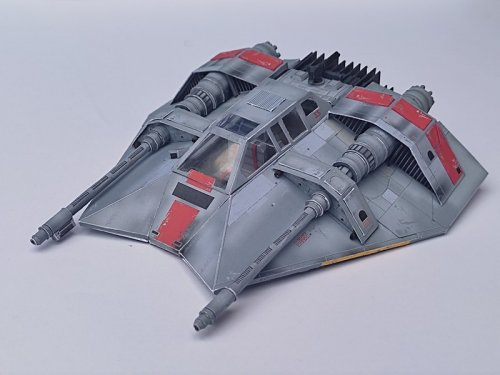
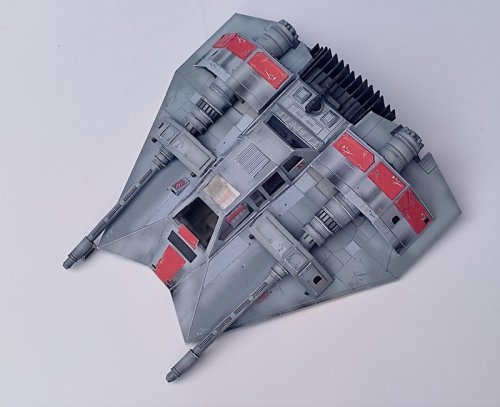
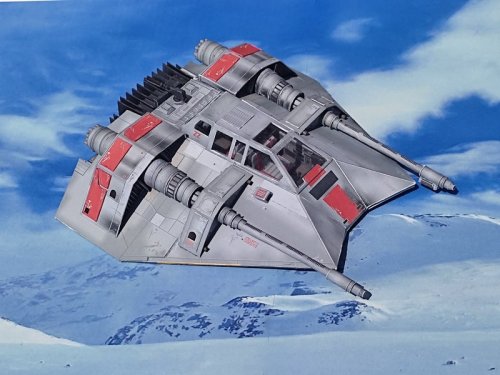
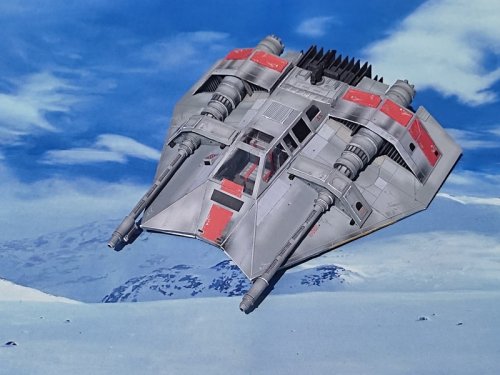
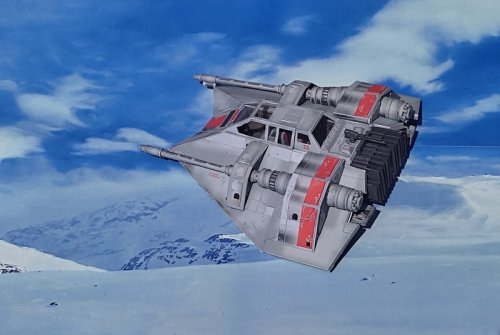
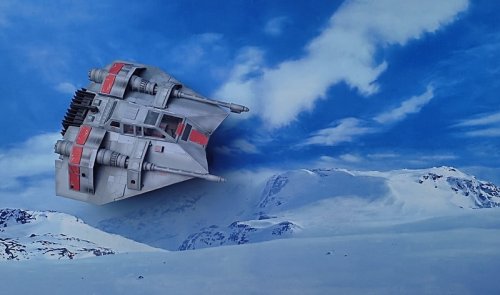
Now it was DONE! FOR REAL!!!
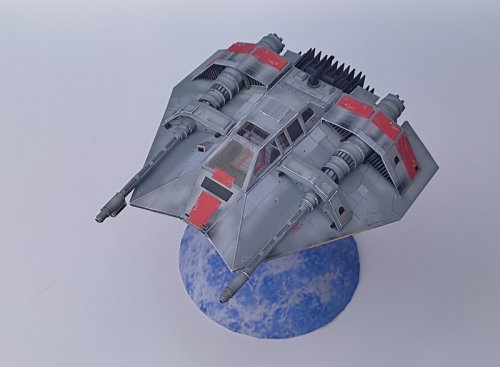

Then I added some greeblies to the front cannon mount:

These were cut from toothpicks and painted black.

And the cannons themselves needed a small addition:


Now it was DONE! FOR REAL!!!


