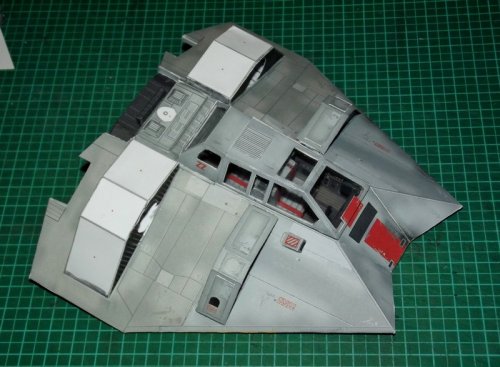
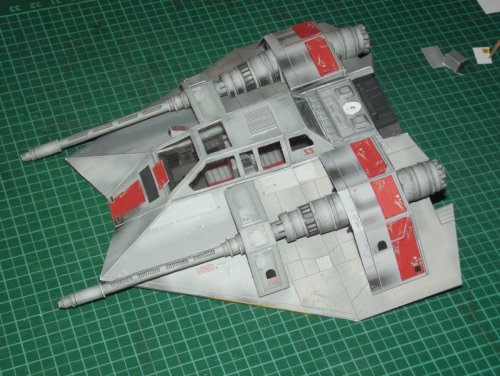
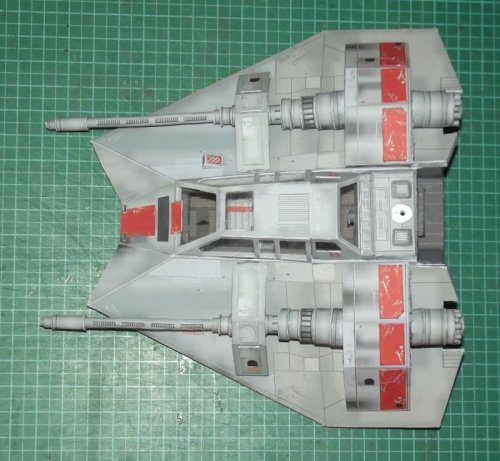
Echo Base, this is Rogue Two

Revell-Fan

Co-Administrator
Staff member
Administrator
Moderator
Aug 1, 2009
12,012
13,091
228
Vreden
My Star Wars friend's BD is approaching and like last year I have chosen a new model for him. The first plan was to make Imcold's X-Wing. The parts are printed but I won't have enough time to finish it. So I chose Julius Perdana's Snowspeeder as an alternative which you can find here.
1624813444837a.jpg

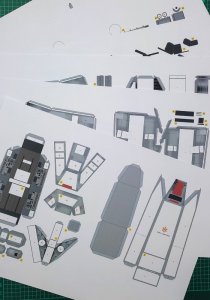
To ensure that he can display this model together with the other planes nicely I have resized the plans to 1/32 (the original ones are 1/20). Two pages could be printed on one page which was very nice.:)

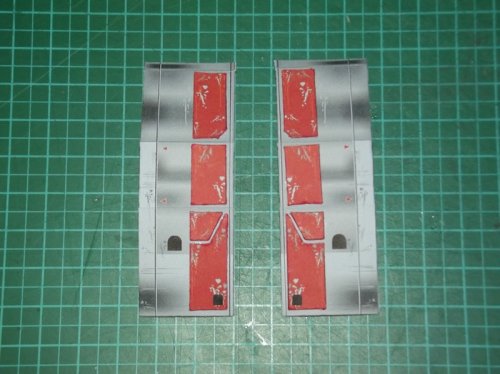
However, I encountered a tricky problem. Julius must have added a blur filter layer which could not be opened by InkScape. The texture became jagged and did not look very good. Hence I used PDFill to turn the pages into *.jpgs - with the same result! I tried Gimp and it worked finally. If you look at this picture you can cleary see what happened:
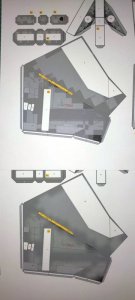
1624813476284a.jpg

The first print is the one with the jagged texture, the second is the smooth one created with Gimp. Of course I'll be using the latter one. ;)

Stay tuned for updates! :)
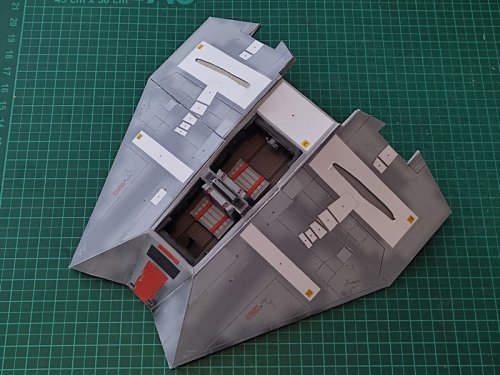
 
Thank you, Mark !:)

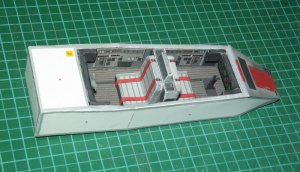
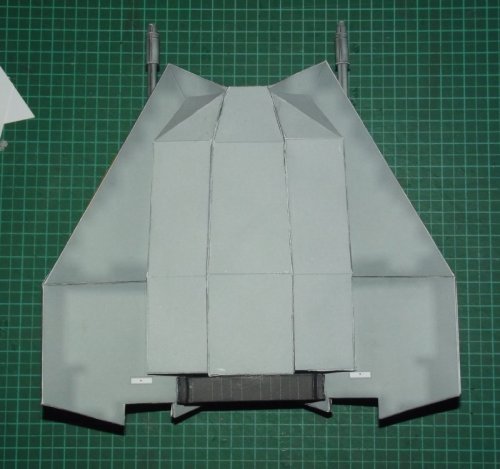
The side pieces must be flush with the bottom of the fuselage. Otherwise the wings will not fit.

DSCF9646.JPG

DSCF9647.JPG

1624958478779.jpg

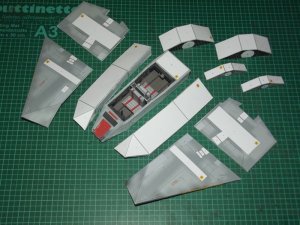
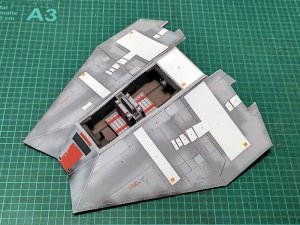
The wings are made of two pieces. There is a small gap between the halves which will be addressed later when I'm refining the bottom.
 
Thank you! :)

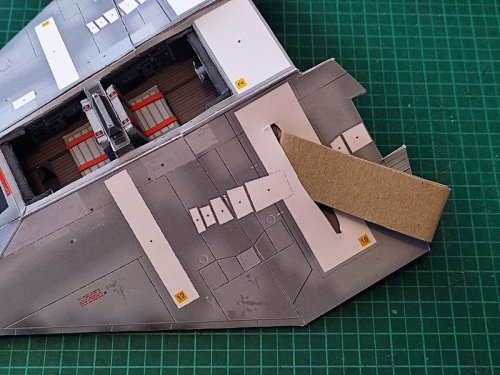
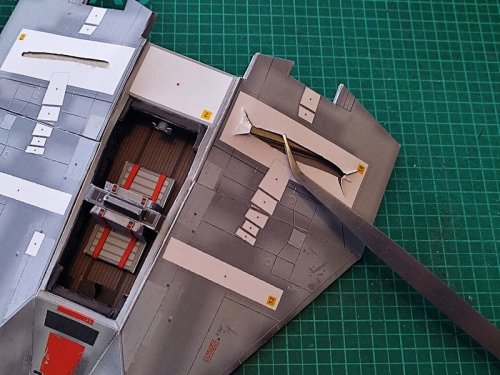
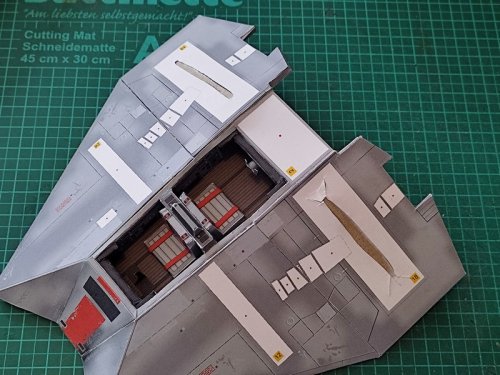
This is the first mod of the kit. I knew I should have reinforced the wings during assembly but I wanted to see how stable they are. Well, the front half is OK but the back half tends to bow in the middle. I cut a hole into the part and pushed some card inside. It fitted well and made the wing piece really strong. :)

IMG_20210708_162207.jpg

IMG_20210708_162409.jpg

IMG_20210708_162702.jpg

IMG_20210708_163041.jpg

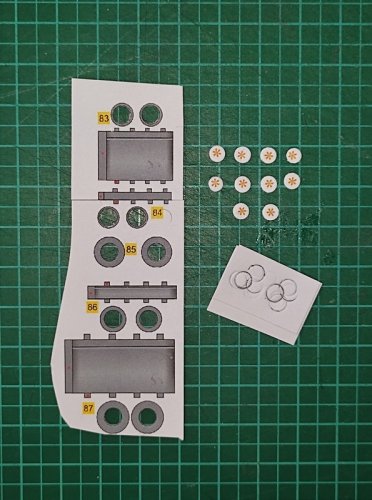
Next I assembled the parts for the cannons. You have to cut out several holes. These are very small, so I used a holepunch. This is the result:

1625923398556.jpg

Nice and clean. And YES, I used a HOLEPUNCH! There was no magic in effect but a small trick which I will not tell you. :Grin:

OK, I WILL tell you, but not here. I'm preparing a small and dirty thread in the tutorial section, so stay tuned! :)

IMG_20210629_175714.jpg

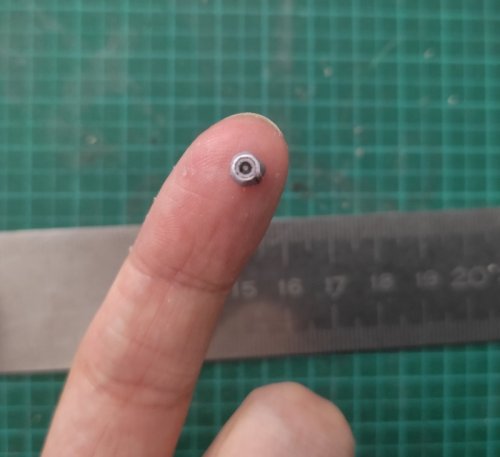
Of course this kit gave me my daily dose of self-torture, represented by this small cannon tip. :hammerhead:

There are two of them, so I had twice the fun. :hammerhead: :hammerhead:

IMG_20210708_185007.jpg

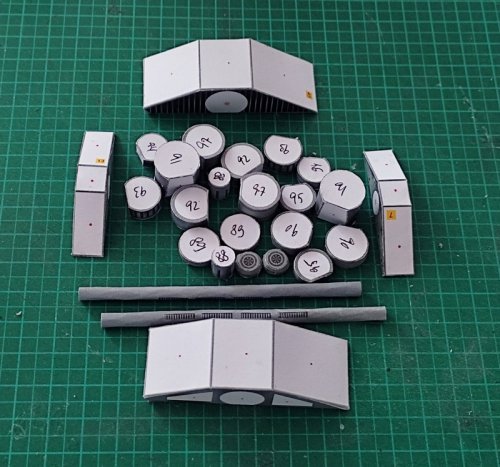
All cannon parts in one picture. :)

So far, so good. The build was coming along very nicely - until I noticed something which made me seriously reconsider the whole project.
 
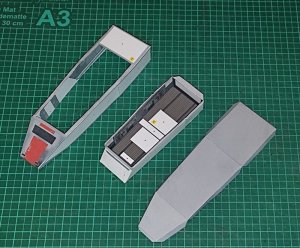
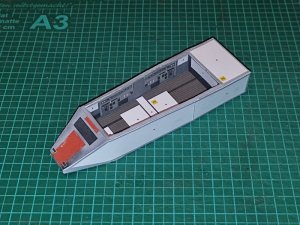
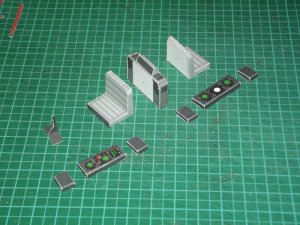
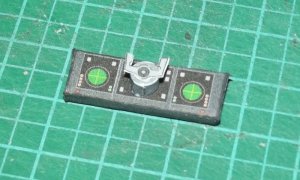
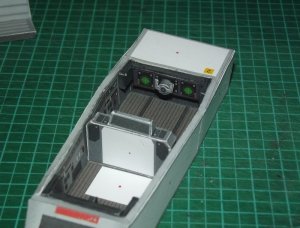
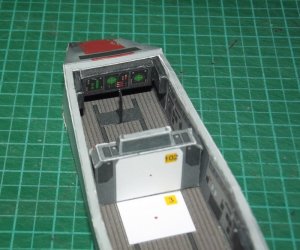
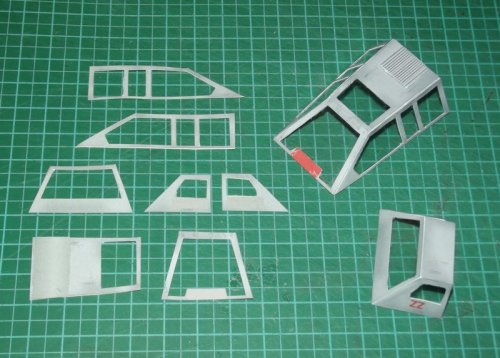
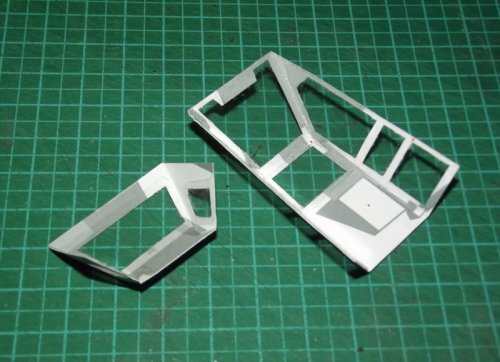
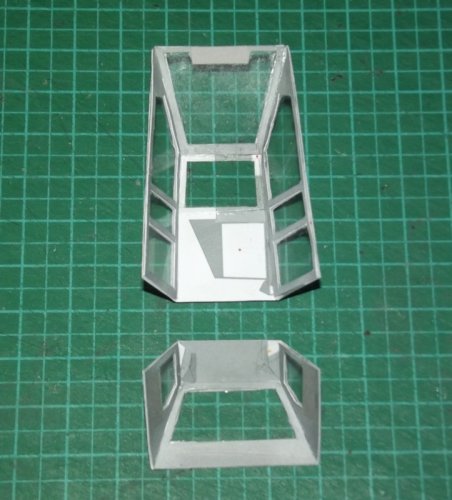
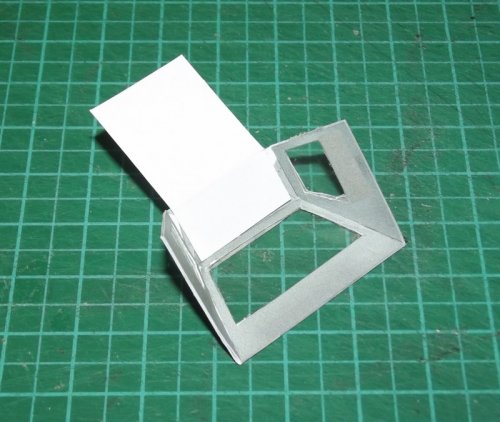
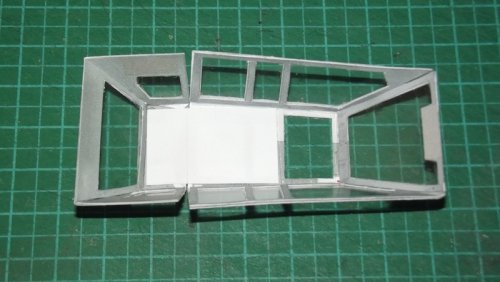
Next was the canopy.

DSCF9689.jpg

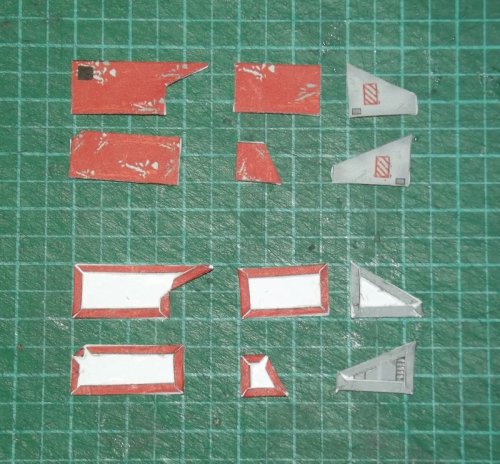
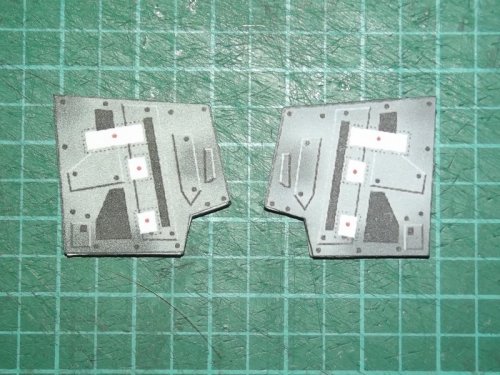
I printed two versions but edited the pattern slightly to get all-grey plates without any markings.

DSCF9691.jpg

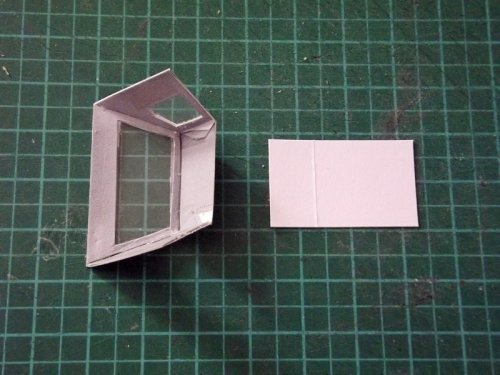
I attached some windows made of clear plastic.

DSCF9692.jpg

DSCF9693.jpg

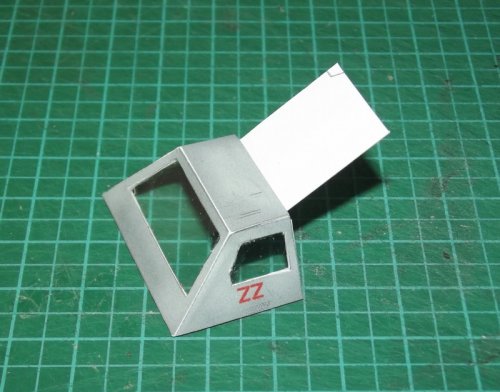
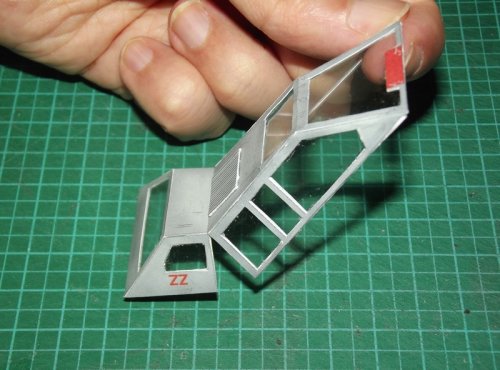
A strip of left-over card was used to make a hinge.

DSCF9695.jpg

DSCF9696.jpg

DSCF9697.jpg

DSCF9698.jpg

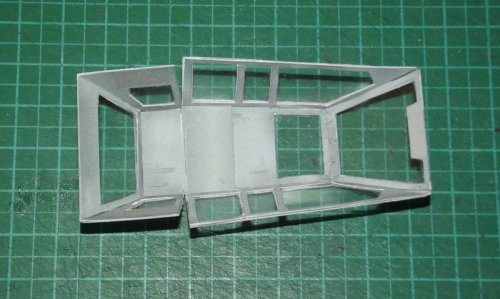
Then I covered all faces inside with the grey plates.

DSCF9699.jpg

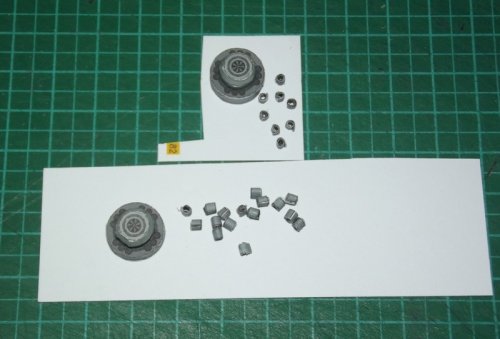
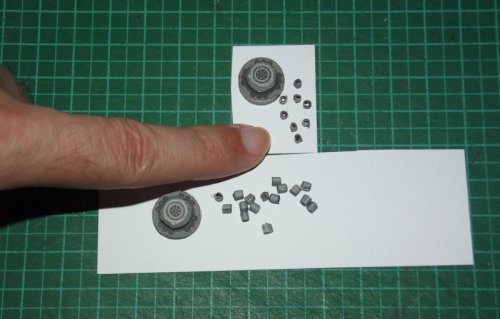
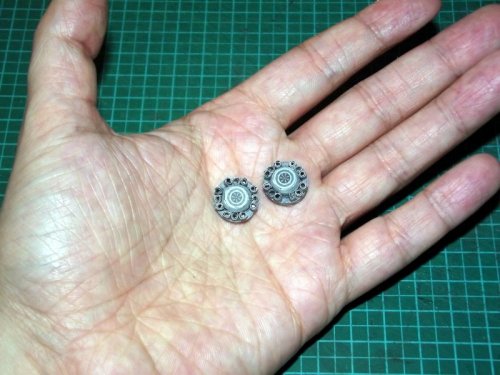
OH, I forgot to show you the thruster caps! They were pretty straight forward.
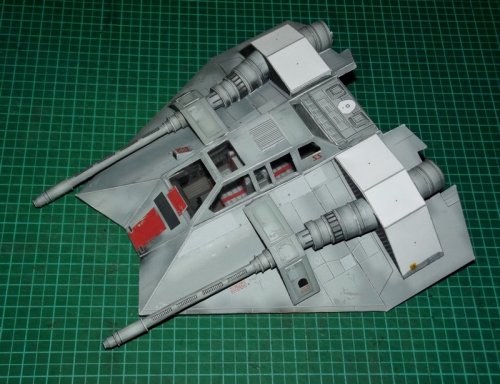
DSCF9705.jpg

And of course, another dose of self-torture..! :D
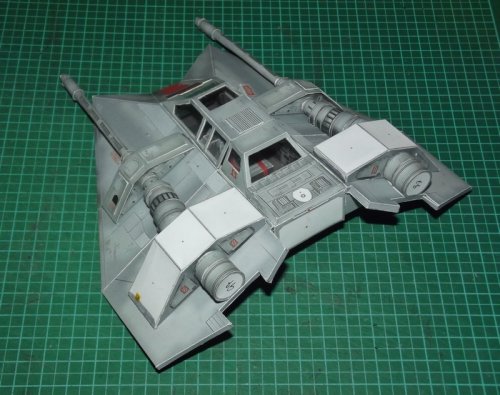
DSCF9706.jpg

DSCF9707a.JPG
 
Thank you very much but brace yourself for this post.

I continued with the detailing of the cannon and thruster mounts.

DSCF9724.jpg

Julius really surprised me with this technique. To beef up the pieces he added flaps to the edges which have to be folded and glued to the back side. Usually you would simply laminate the pieces to another layer of card but I think Julius chose another approach to save paper. I haven't seen this on any other paper model. I had my doubts but amazingly it worked! :)

DSCF9727.jpg

Another trick learned.

However, now I encountered something which caught me off-guard.

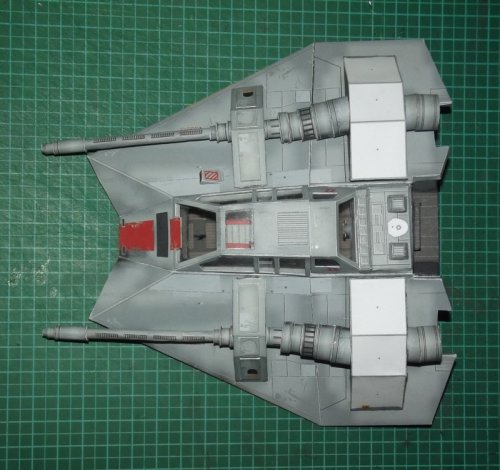
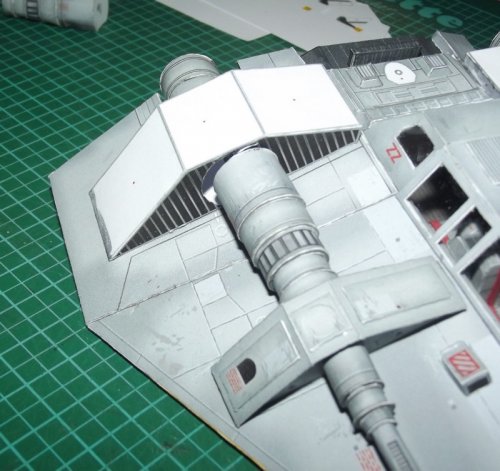
When I attached the canons and mount pieces according to the instructions and glue marks I got THIS result:

DSCF9725.jpg

DSCF9726.jpg

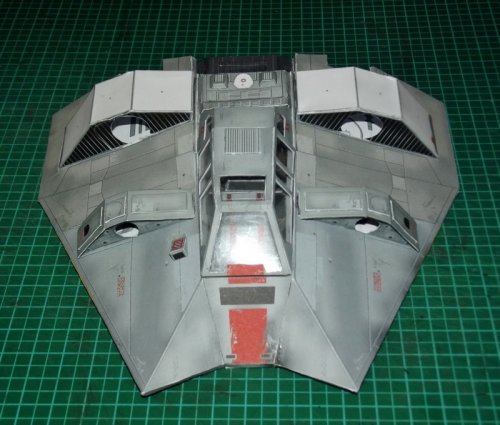
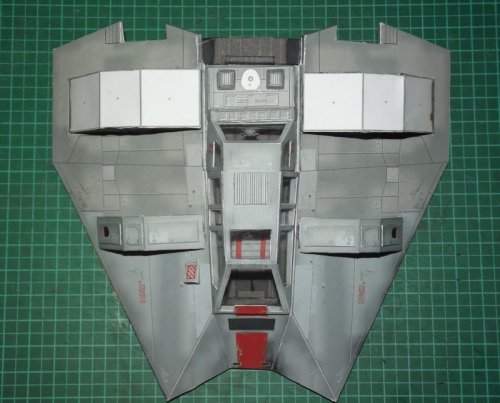
Do you see what I mean? If not, please take a look at this top view:

DSCF9729.jpg

There is something seriously wrong here! And this was not the only issue.

DSCF9737.jpg

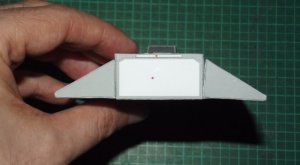
The braking flaps at the rear are the same whereas you should have one left and one right piece. Here you get two right parts.

DSCF9728.jpg

Whilst we are at the rear, the radiator block is suspiciously thin. I wondered why and turned the model around.

DSCF9739.JPG

There is - nothing! Just grey all over. I was shocked. This was truly disappointing! :frak:
 
Correcting the wrong flap was easy. I printed a mirrored version of the right side and laminated it to the flap:

DSCF9738.jpg

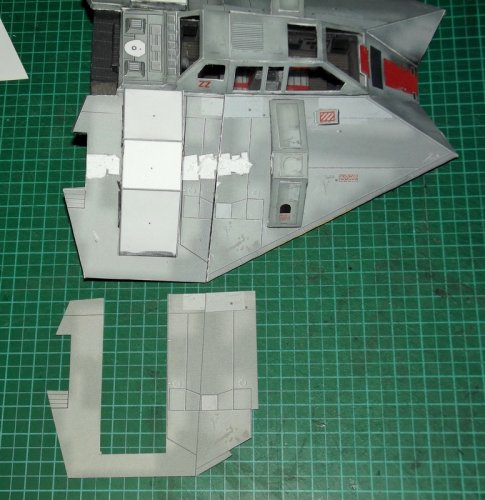
Correcting the bent in the cannons was a bit trickier. First I ripped everything off.

DSCF9732.jpg

Then I realigned the position of the middle piece:

DSCF9730.jpg

DSCF9731.jpg

This image shows by how much the correct position deviates from the mark: almost 3 mm!

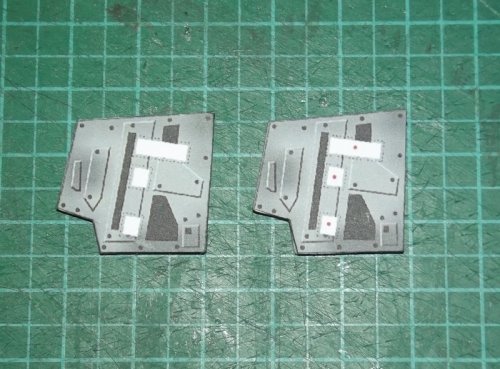
I moved the mark position in Gimp and restored the grill texture. Then I printed the front and back piece again and laminated it to the shoulder piece.

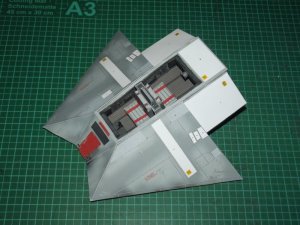
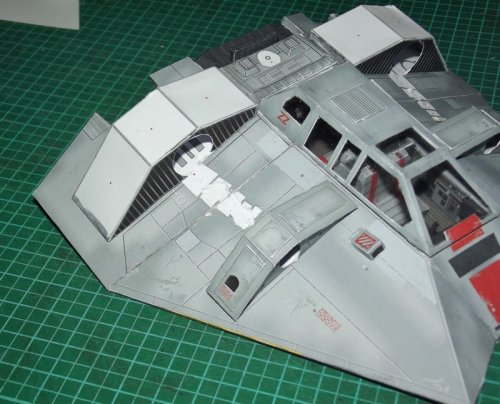
The wrong alignment marks on the wings had to be covered by a cleaned up version of the texture. This was printed on regular paper and glued to the surface. As a side effect this covered up the seam and combined both wing halves securely.

DSCF9733.jpg

DSCF9734.jpg

DSCF9735.jpg

DSCF9736.jpg

DSCF9741.JPG

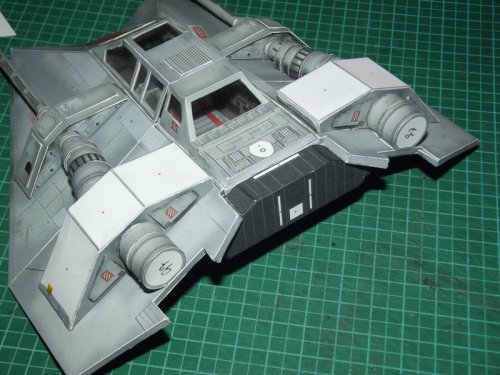
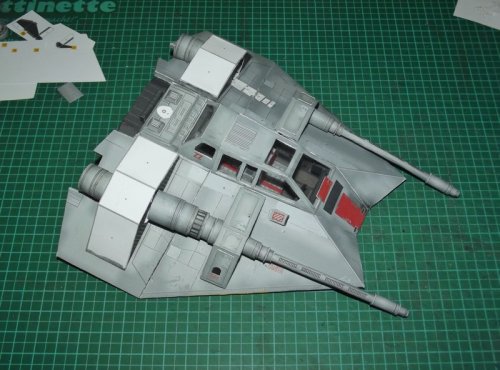
Now the cannons are straight! :)

DSCF9740.JPG
 
Thank you! :)

And here is the tutorial explaining how I used my holepunch to get such great results:


:)
 
  • Like
Reactions: Rhaven Blaack