WH40K Marauder Destroyer
- Thread starter Rhaven Blaack
- Start date
You are using an out of date browser. It may not display this or other websites correctly.
You should upgrade or use an alternative browser.
You should upgrade or use an alternative browser.
- Apr 5, 2013
- 13,529
- 9,602
- 228
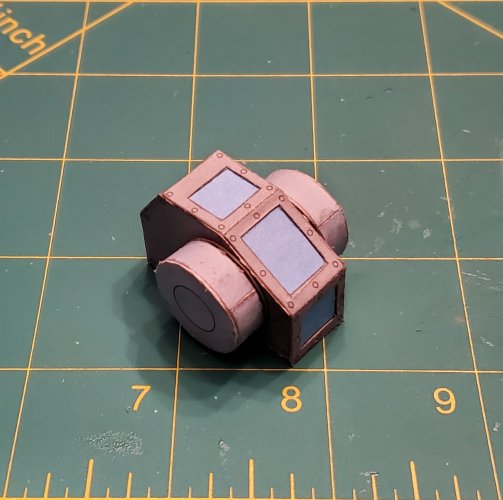
Moving on to the turret.
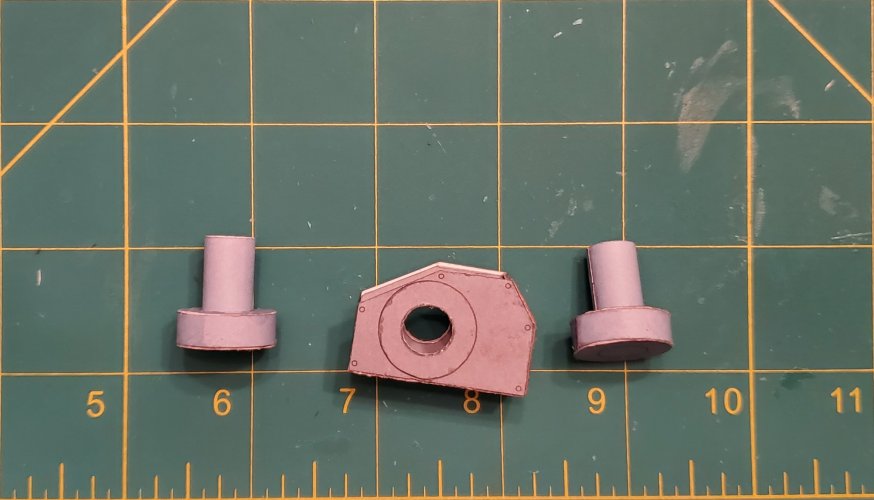
Here are the swivel mounts for the guns and the turret box. I mounted the axles inside of the swivel mounts (for additional strength).
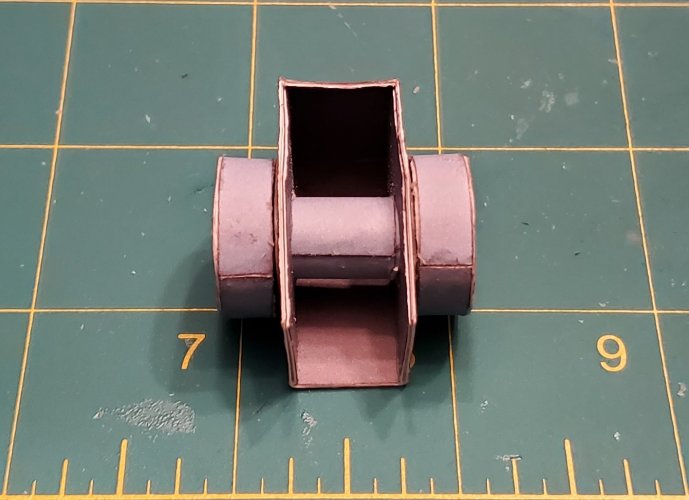
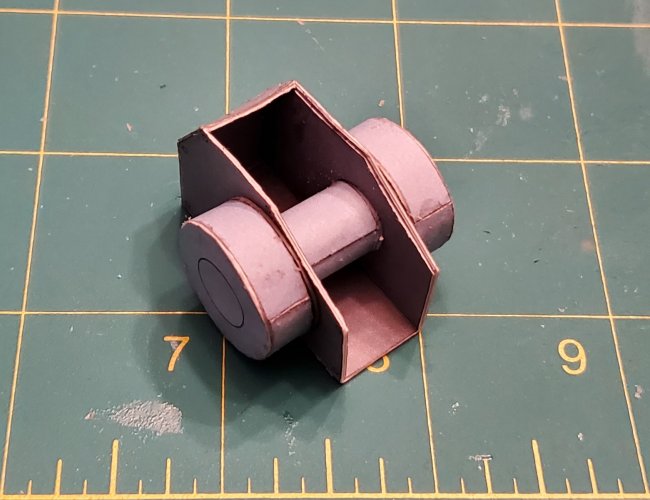
I cut one of the axles (linearly) into strips, so that I can slide one axle into the other for a stronger connection.
I attached the canopy window.
The guns are assembled (with additional greebling).
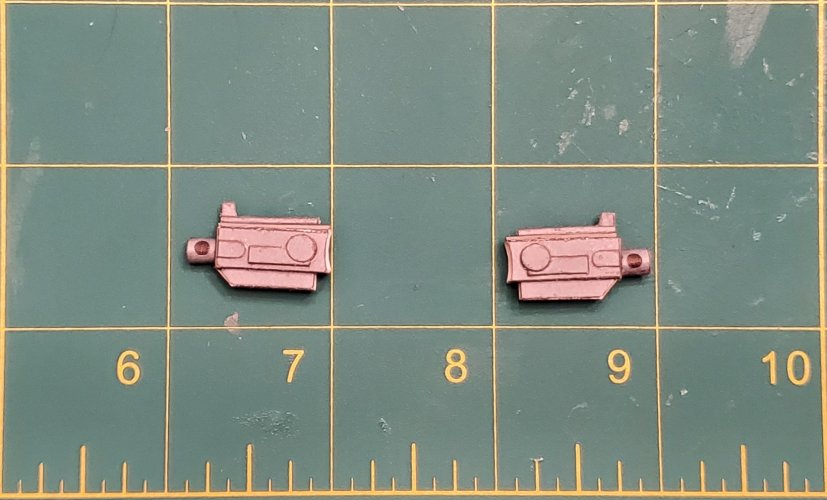
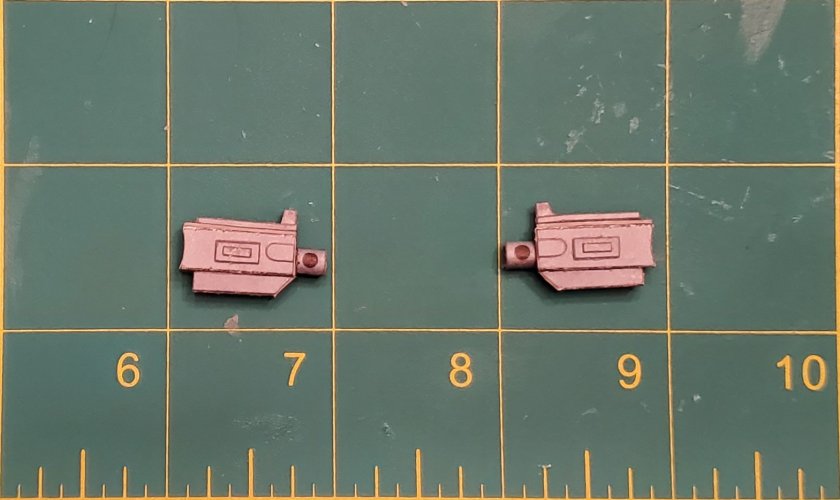
I attached the guns over the seams of the swivel mounts.
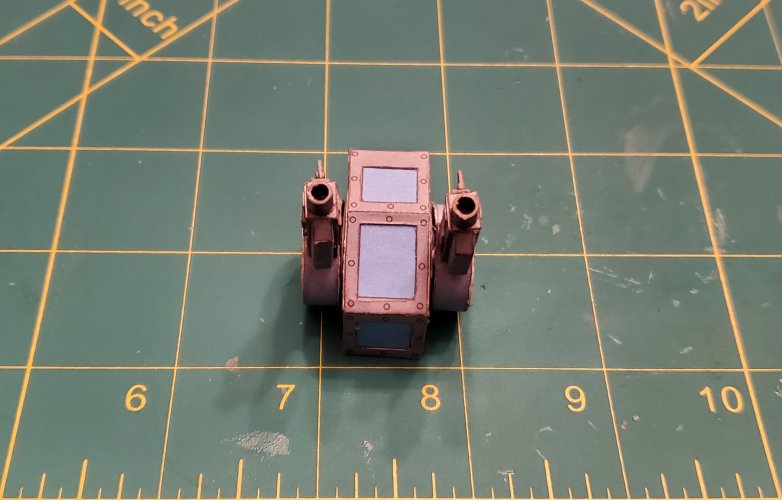
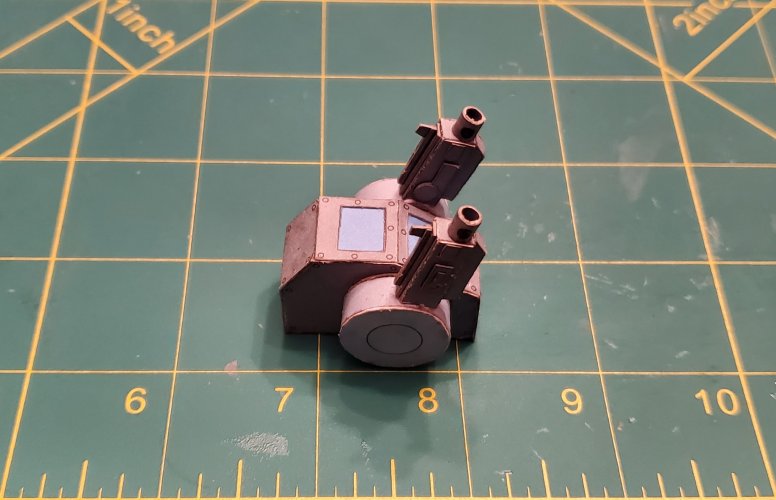
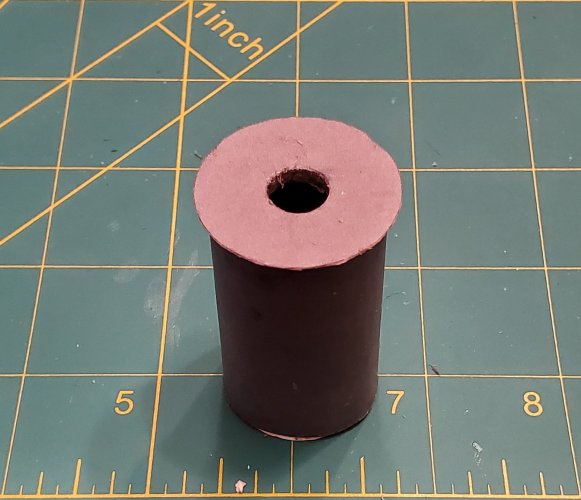
These are the parts for the swivel mount of the turret.
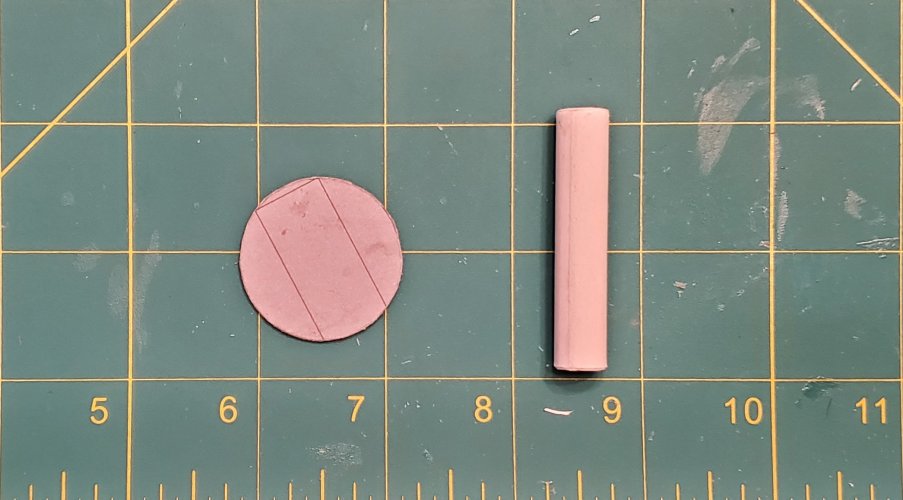
The swivel mount of the gunner station is assembled.
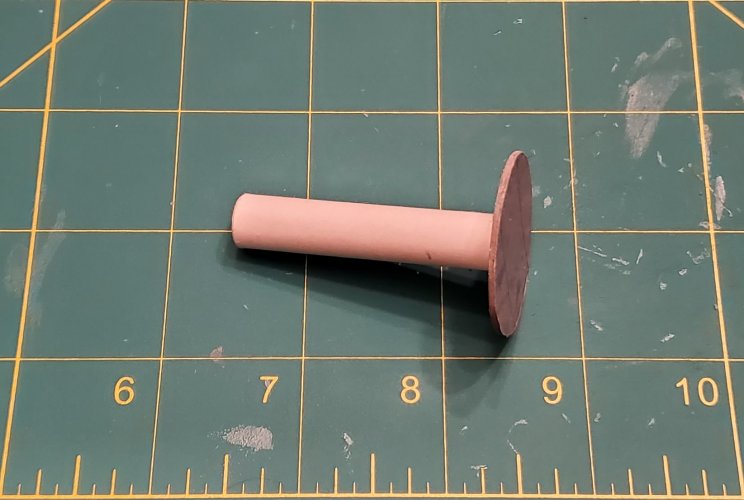
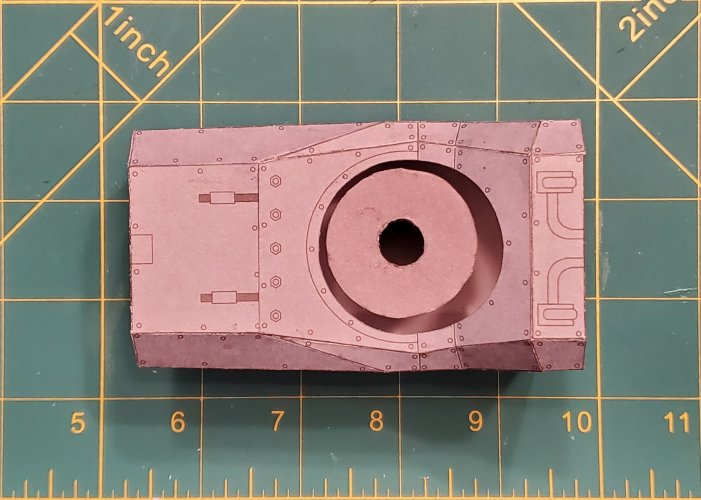
The turret is mounted on the swivel mount.
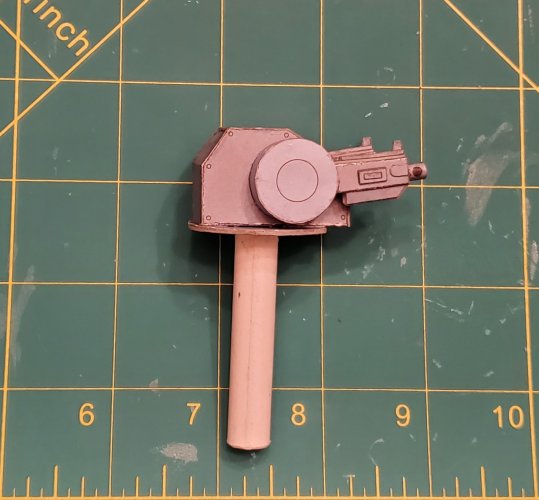
The spacer for the armour plates are attached.
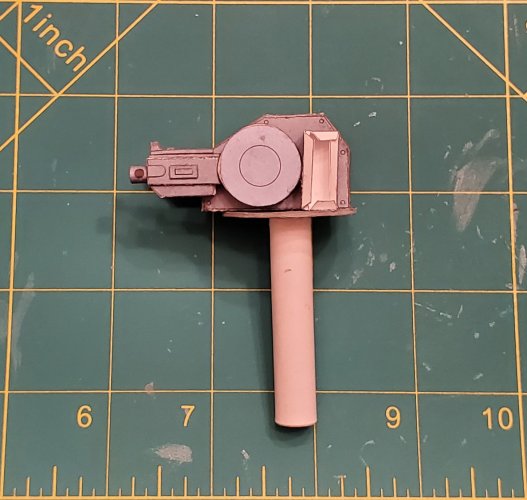
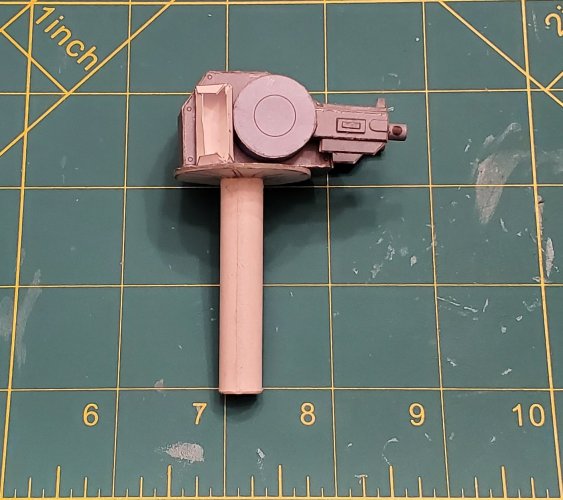
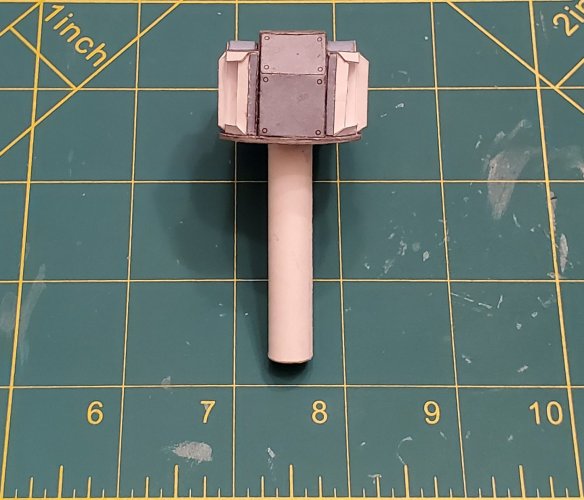
The armour plates are attached.
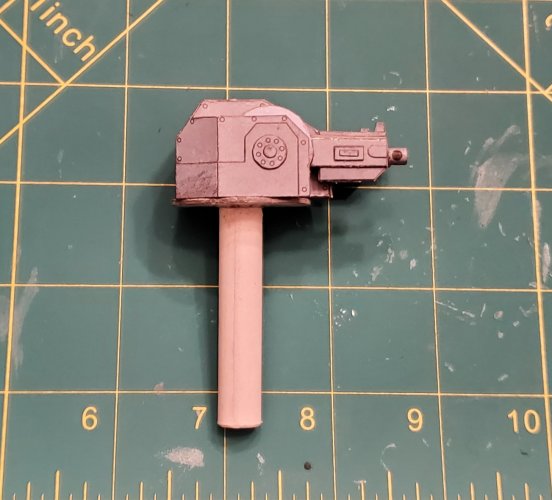
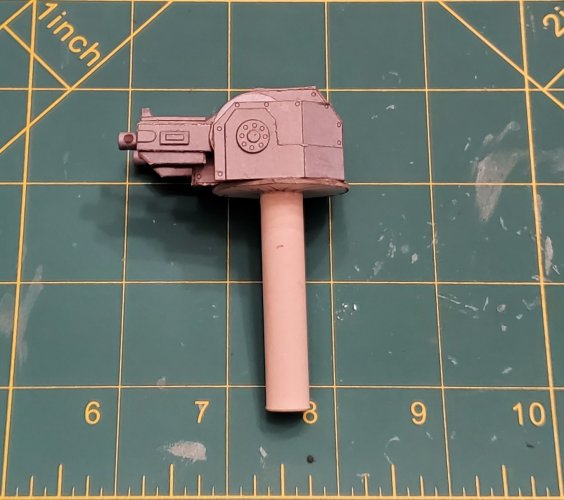
The turret is put in place. This section is finished.
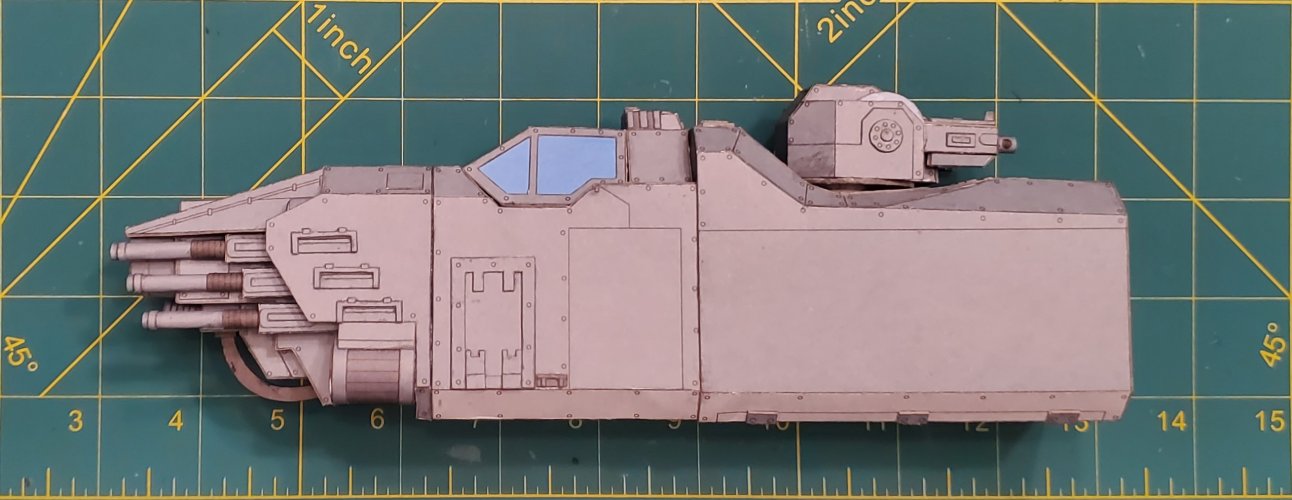
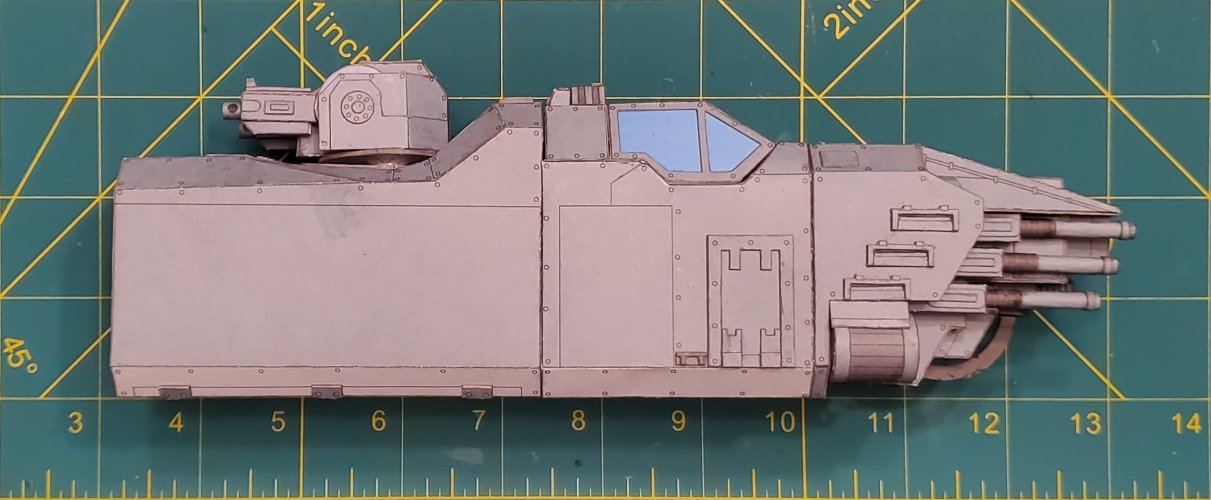
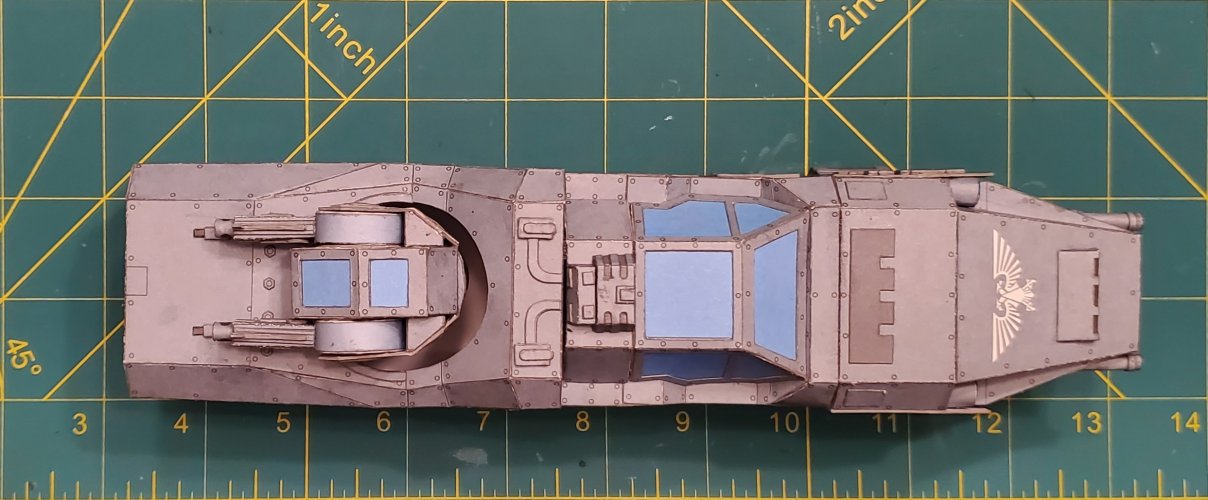
Here are the swivel mounts for the guns and the turret box. I mounted the axles inside of the swivel mounts (for additional strength).

I cut one of the axles (linearly) into strips, so that I can slide one axle into the other for a stronger connection.


I attached the canopy window.

The guns are assembled (with additional greebling).


I attached the guns over the seams of the swivel mounts.


These are the parts for the swivel mount of the turret.

The swivel mount of the gunner station is assembled.

The turret is mounted on the swivel mount.

The spacer for the armour plates are attached.


The armour plates are attached.


The turret is put in place. This section is finished.


Very nice build so far. She'll never be called pretty, but she is a beaut.
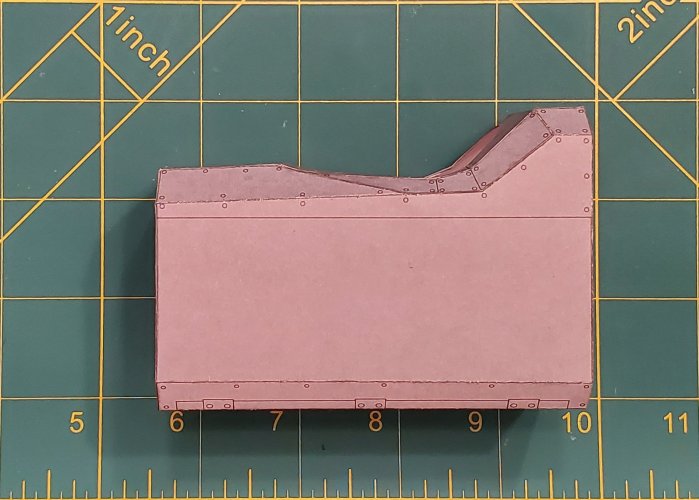
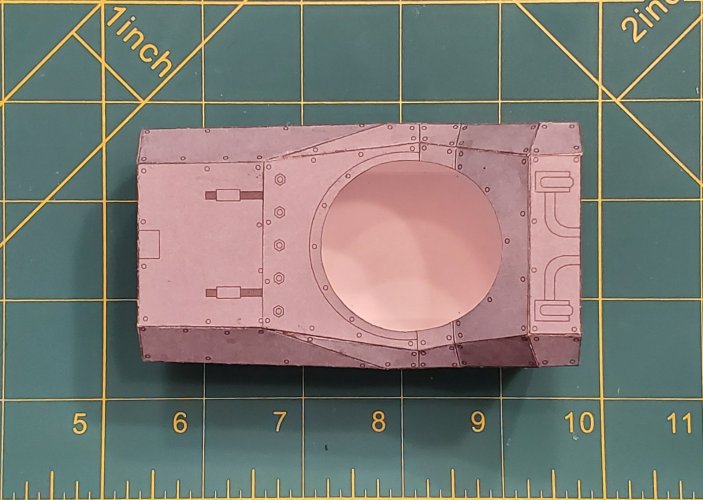
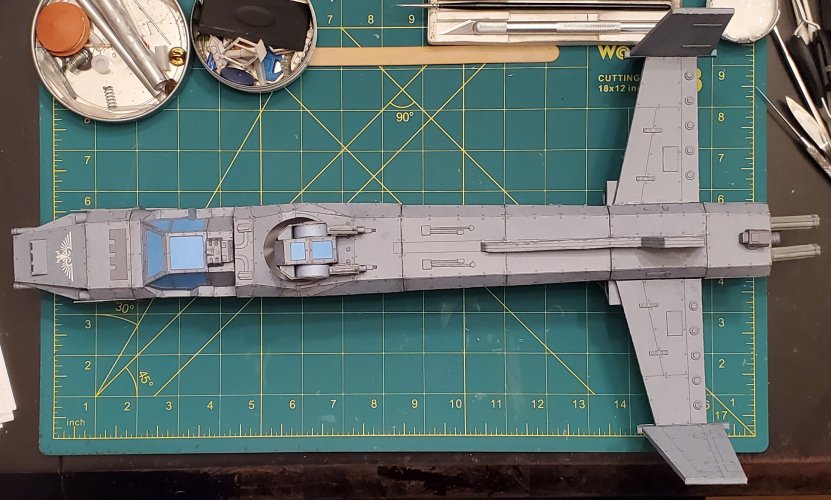
With this post, I will show two sections of the fuselage built, and three sections assembled to finish off the fuselage.
This section was very straight forward. I had no problems with it.
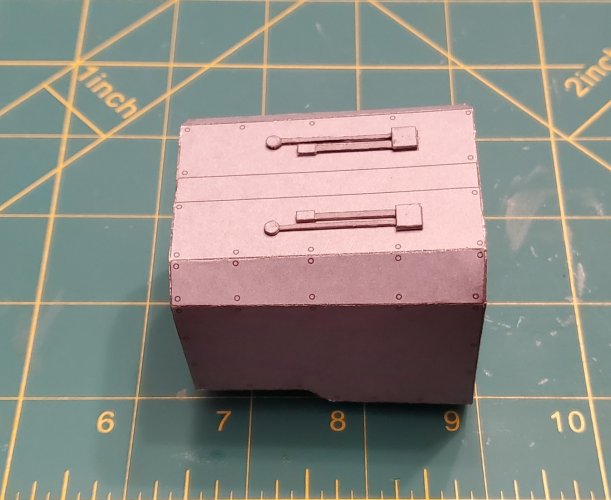
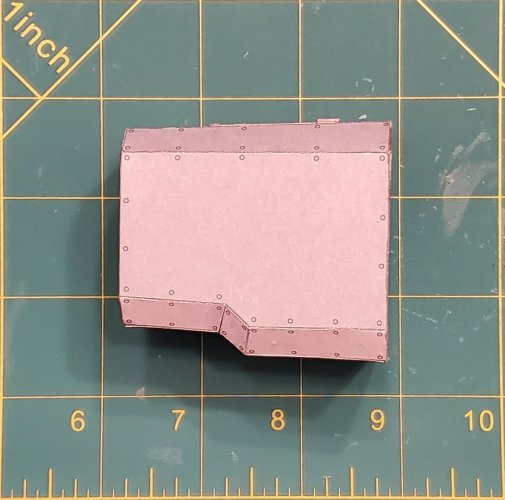
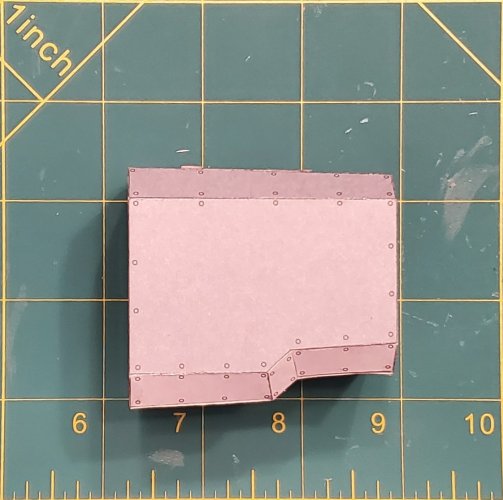
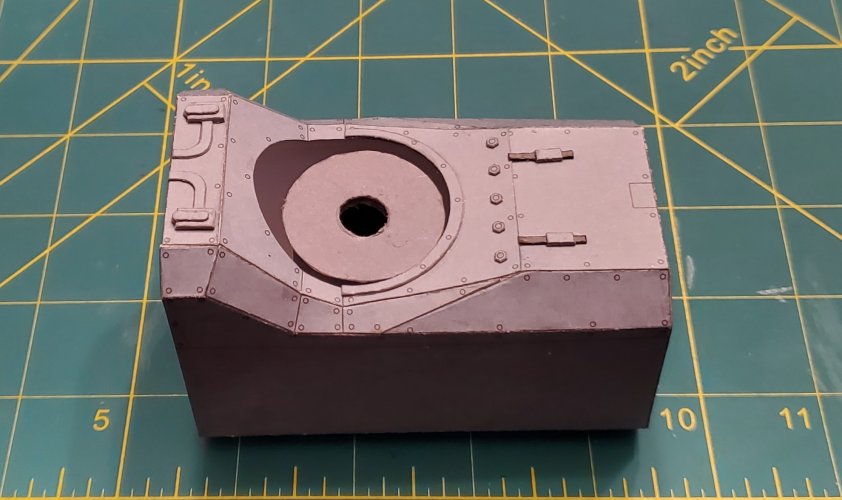
The section is attached to the fuselage.
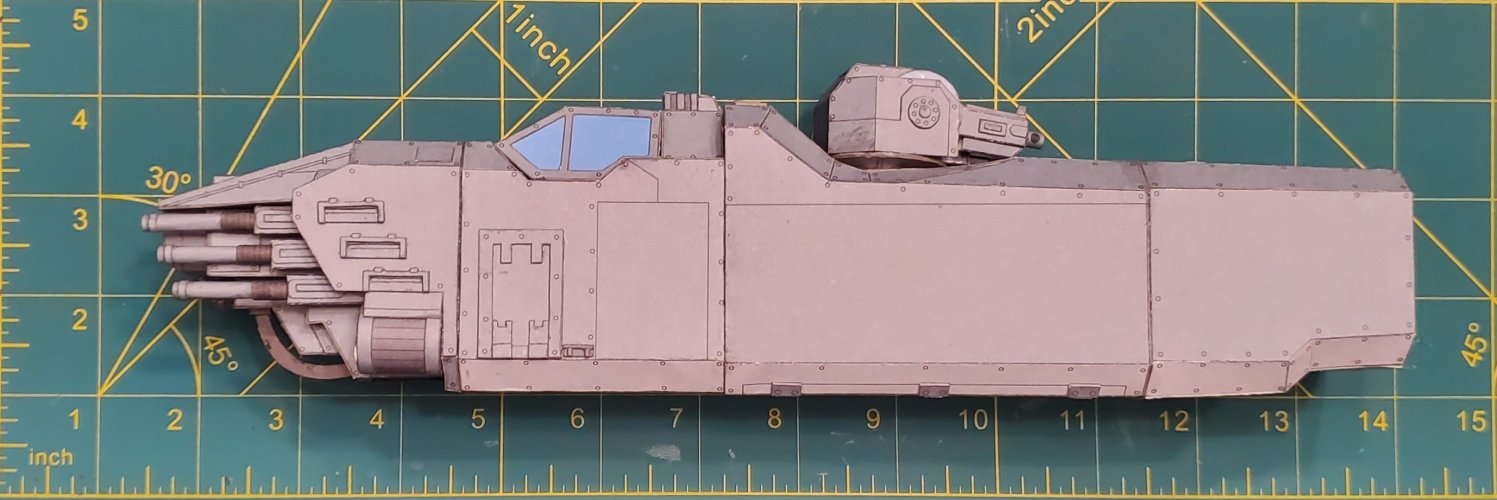
I have finished the main body. I did not have any problems with the last section.
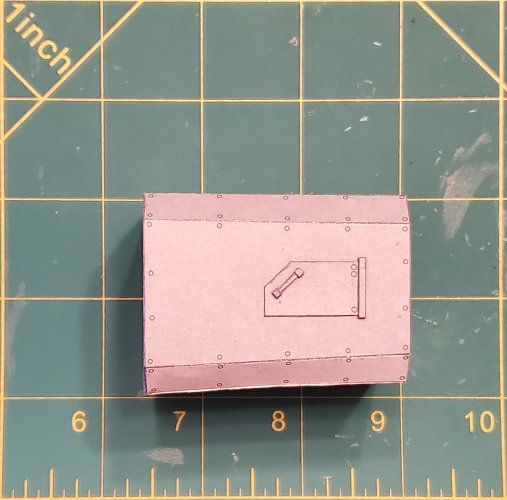
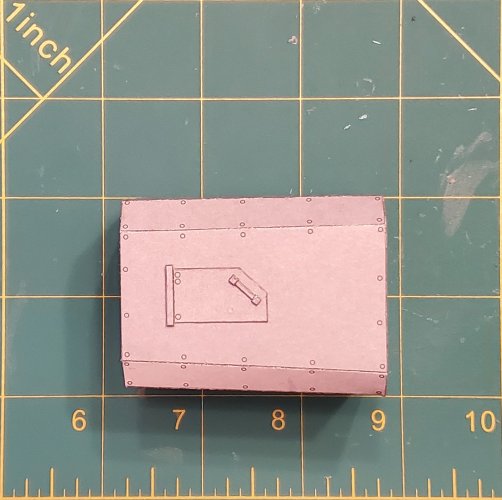
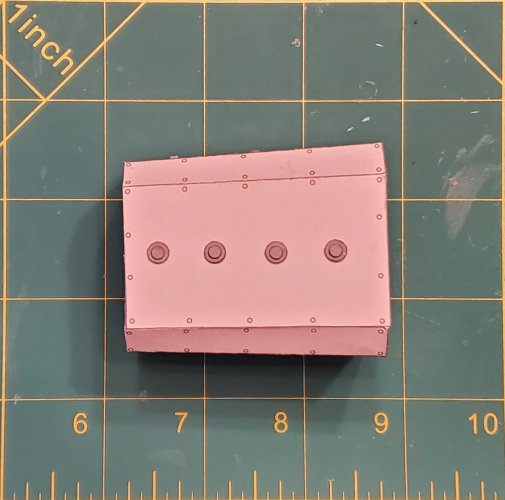
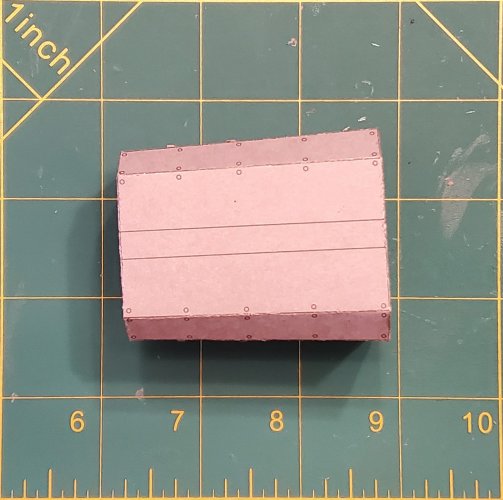
THis section is attached to the rest of the fuselage.


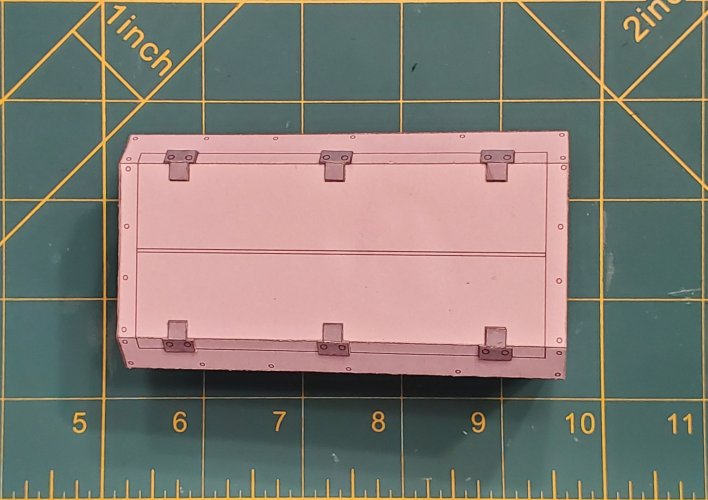
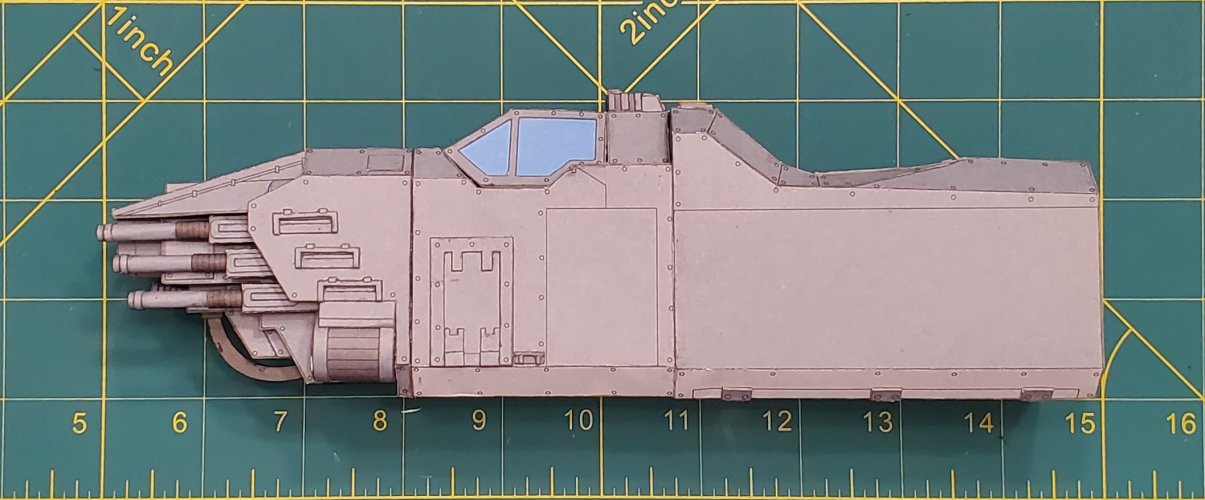
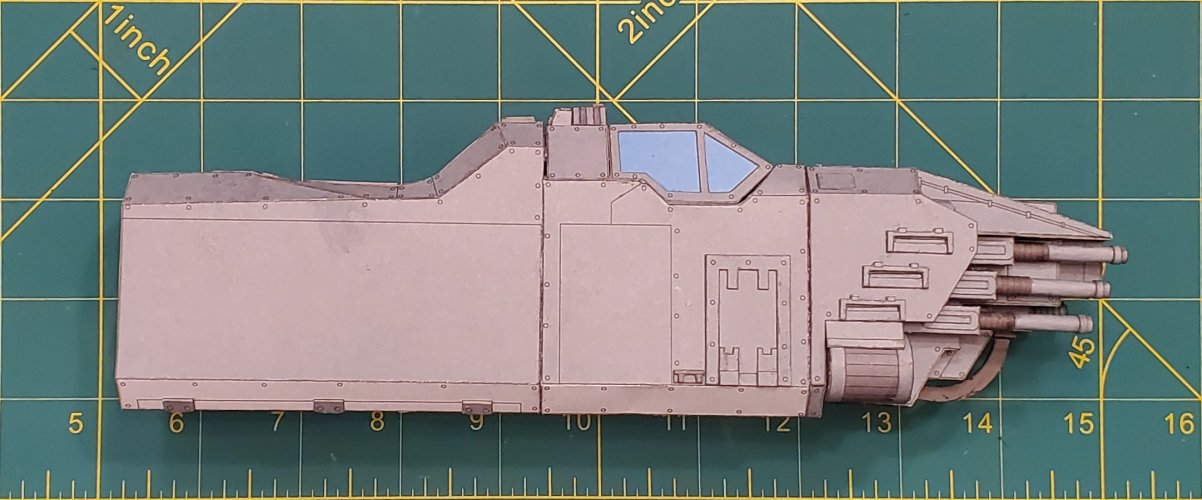
The tail/rear weapons section is attached to the fuselage, finishing out the whole fuselage section.
This section was very straight forward. I had no problems with it.


The section is attached to the fuselage.

I have finished the main body. I did not have any problems with the last section.


THis section is attached to the rest of the fuselage.


The tail/rear weapons section is attached to the fuselage, finishing out the whole fuselage section.

I thought about it. However, that is something that I have never been good at. So, unfortunately, no.Looking good, will you add any rivets?
Thank you!As always great work and a lot of details.
This (as well as all of the WH40K models) have a great deal of greebling potential. It is just a matter of really how far does one what to take it.


