Saucer Top
If you know anything about me from previous posts, it's that I like starships. And, since I love to have more projects going at one time than I can finish, I decided to finally launch the Reliant build that's been on the desk awhile.
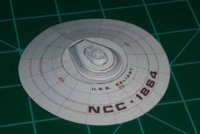
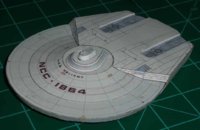
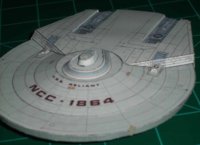
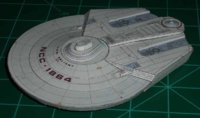
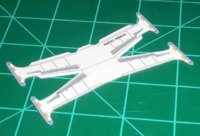
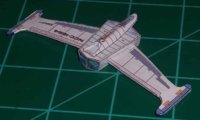
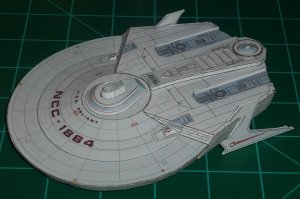
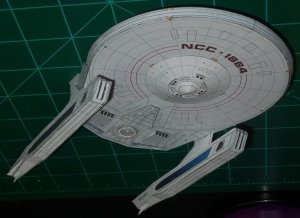
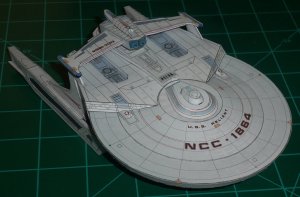
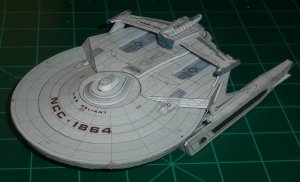
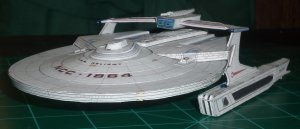
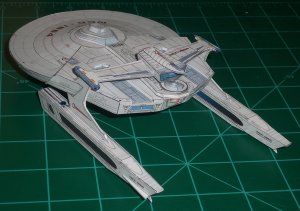
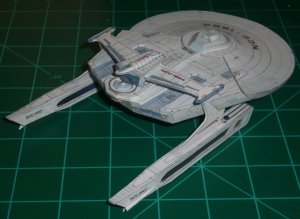
This is my build of Makino's Reliant. It's similar to the Enterprise I built some time ago. It's a nice model with nice art, but the finished versions I've seen all look really flat and boxy. So I'm making every effort to detail mine out and give her a little more character. I also remade all the hull markings in Illustrator for better accuracy and added anything that was missing. Also, to keep it in scale with my Rawen models I'm building this at 76% its original size.
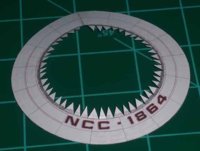
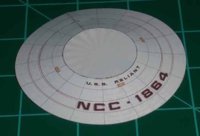
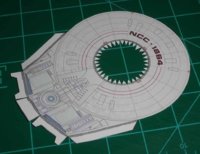
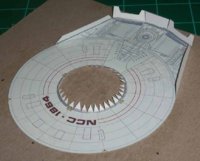
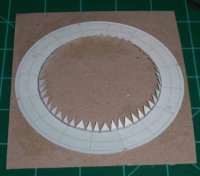
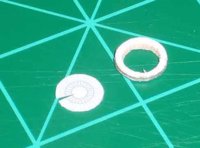
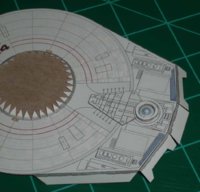
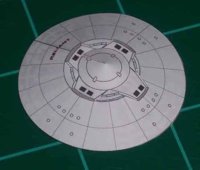
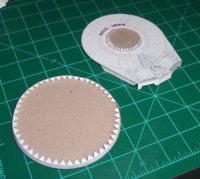
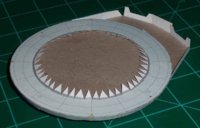
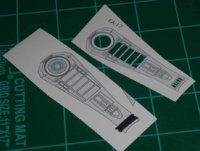
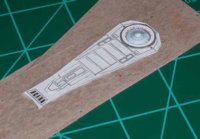
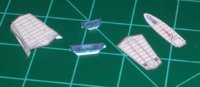
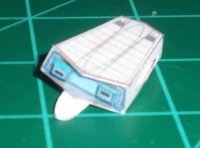
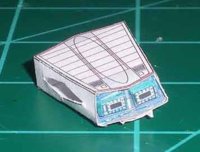
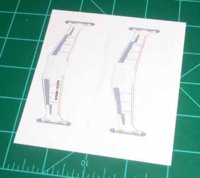
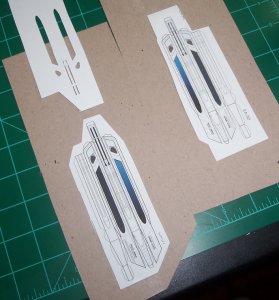
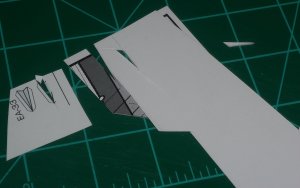
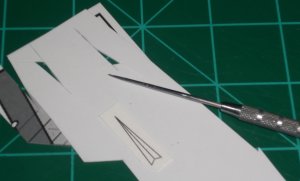
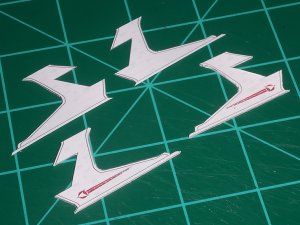
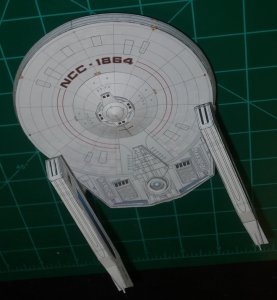
First up is the saucer section. As is my preferred style, I cut off the outer tabs that come on the model and cut new tabs at the inner edges in "Rawen style." I like this because it gives a better gluing area, works just as well as gluing new tabs from behind and saves time. I used a silver Sharpie on the tabs to hide any potential gaps. I placed the lower ring flat on the table and dropped the upper ring into place, then used my hands to gently nudge it until the deflector grids lined up as best as possible.
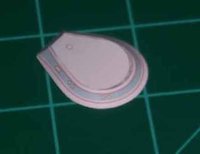
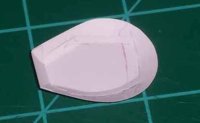
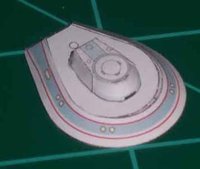
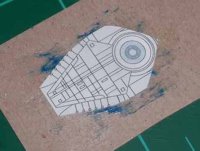
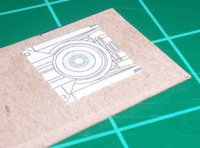
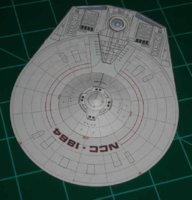
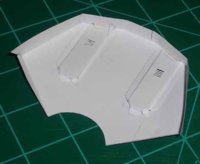
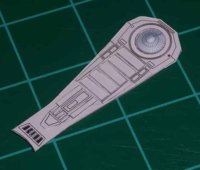
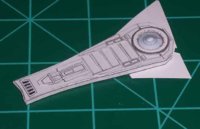
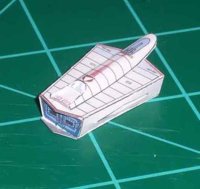
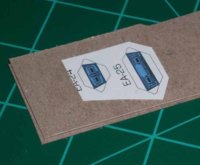
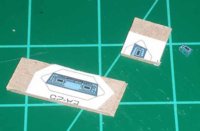
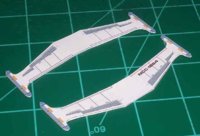
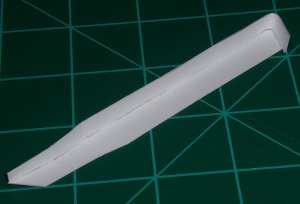
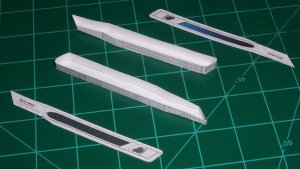
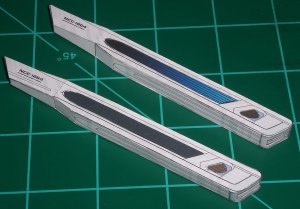
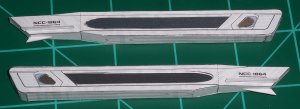
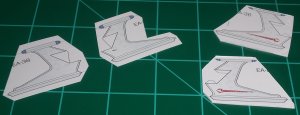
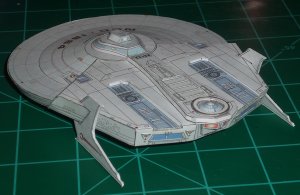
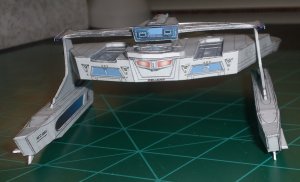
The upper saucer ring is curled with a wooden dial rod and glued from behind at the joint. Then the top base for the bridge goes on. For Deck 2 of the bridge module, I cut off the front triangle tabs but kept the ones at the rear. I curled the outer skin and glued it in place on one side. I pushed the "roof" up and glued the other side of the outer skin at the rear to make sure was no gap at the rear on either side. That looks terrible and I can't stand it. I pushed down the "roof" flat and glued it from behind using paper strips. Then the bridge module was built and glued to Deck 2, which then went on the saucer ring.
If you know anything about me from previous posts, it's that I like starships. And, since I love to have more projects going at one time than I can finish, I decided to finally launch the Reliant build that's been on the desk awhile.
This is my build of Makino's Reliant. It's similar to the Enterprise I built some time ago. It's a nice model with nice art, but the finished versions I've seen all look really flat and boxy. So I'm making every effort to detail mine out and give her a little more character. I also remade all the hull markings in Illustrator for better accuracy and added anything that was missing. Also, to keep it in scale with my Rawen models I'm building this at 76% its original size.
First up is the saucer section. As is my preferred style, I cut off the outer tabs that come on the model and cut new tabs at the inner edges in "Rawen style." I like this because it gives a better gluing area, works just as well as gluing new tabs from behind and saves time. I used a silver Sharpie on the tabs to hide any potential gaps. I placed the lower ring flat on the table and dropped the upper ring into place, then used my hands to gently nudge it until the deflector grids lined up as best as possible.
The upper saucer ring is curled with a wooden dial rod and glued from behind at the joint. Then the top base for the bridge goes on. For Deck 2 of the bridge module, I cut off the front triangle tabs but kept the ones at the rear. I curled the outer skin and glued it in place on one side. I pushed the "roof" up and glued the other side of the outer skin at the rear to make sure was no gap at the rear on either side. That looks terrible and I can't stand it. I pushed down the "roof" flat and glued it from behind using paper strips. Then the bridge module was built and glued to Deck 2, which then went on the saucer ring.