Your right, I'll prolly just make the normal Sr-71 and work on that later as an "add on"That double cockpit will be a challenge. I'd study this model, and make the fuselage section first. I would try and fit the cover afterward. Some of us use water, making molds out of two part epoxy, to get the shape, use that as a plug to put wet paper over. This allows you to get compound curves, and when it dries, you have the shape you want.
View attachment 218526
Sr-71B 1:45 build thread
- Thread starter abdullahsamir
- Start date
You are using an out of date browser. It may not display this or other websites correctly.
You should upgrade or use an alternative browser.
You should upgrade or use an alternative browser.
- Apr 5, 2013
- 13,525
- 9,598
- 228
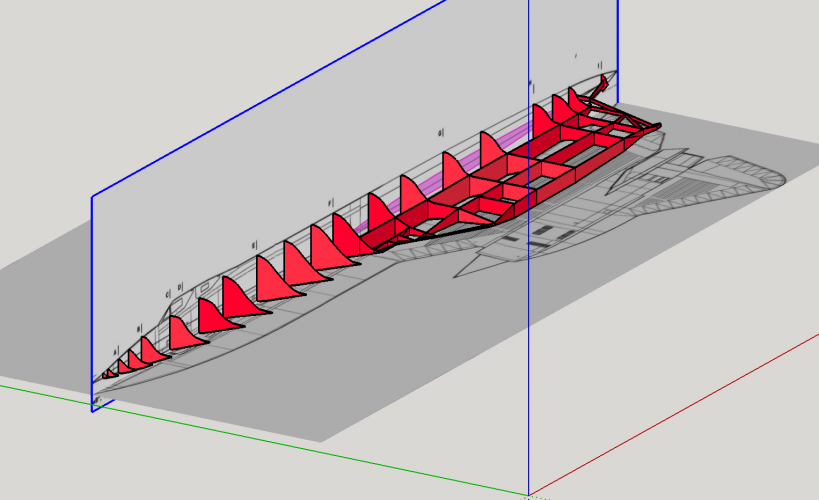
You're doing a great job, on a model that is not easy to design because of its curves. When you skin it, I would recommend thin strips on the formers to minimize the "skeleton" effect. You will have to compensate for that, of course, but it's worth the effort.
Have you seen Ken West's double cockpit "SR-71" model? It's superb. Just building that model is an accomplishment in itself.
Ken West's SR-71 Model:
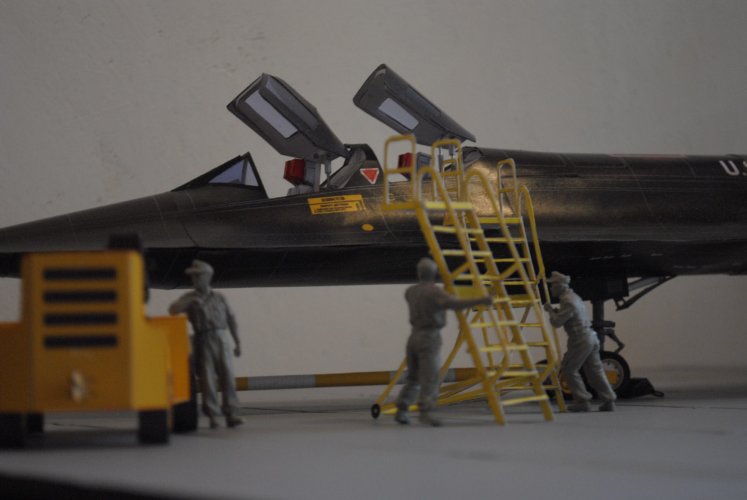
Have you seen Ken West's double cockpit "SR-71" model? It's superb. Just building that model is an accomplishment in itself.
Ken West's SR-71 Model:

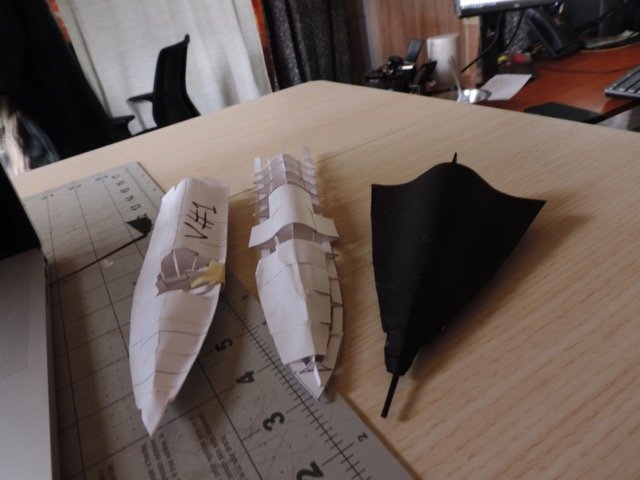
I got So exited that I just built a quick nose section using RF'S teachings and I have my FIRST PRINTABLE!!!!! My building techneques are questionable at best but I'm learning every minute!!!!! I used flattery
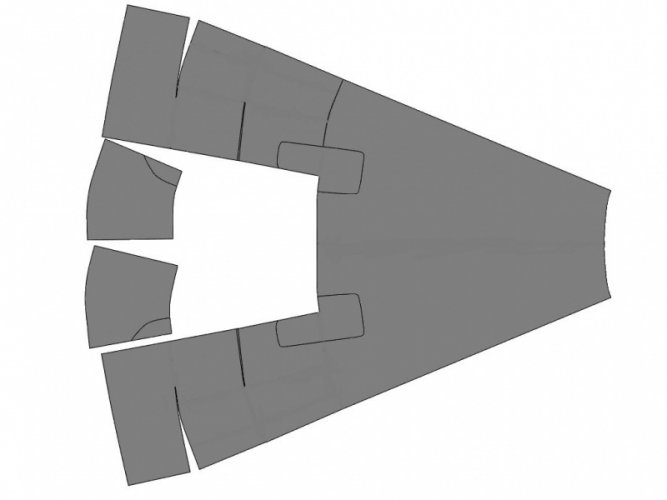
but flattery has an issue with unfolding the many triangle facets which make up the surface. So I used a plugin called "unwrap and flatten"and exported it using flattery To inkscape and now I'll put together a small part tomorrow I hope!
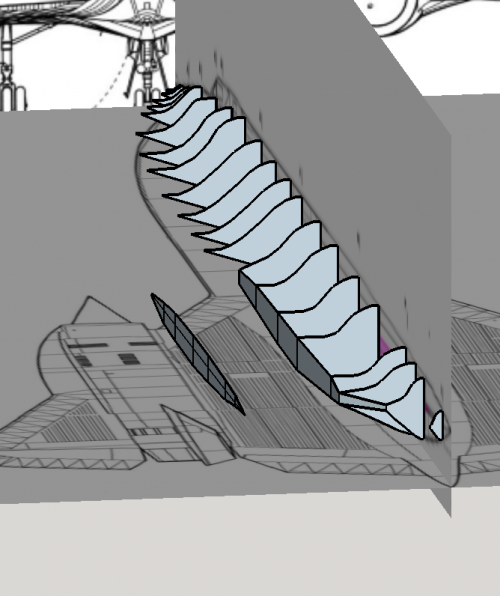
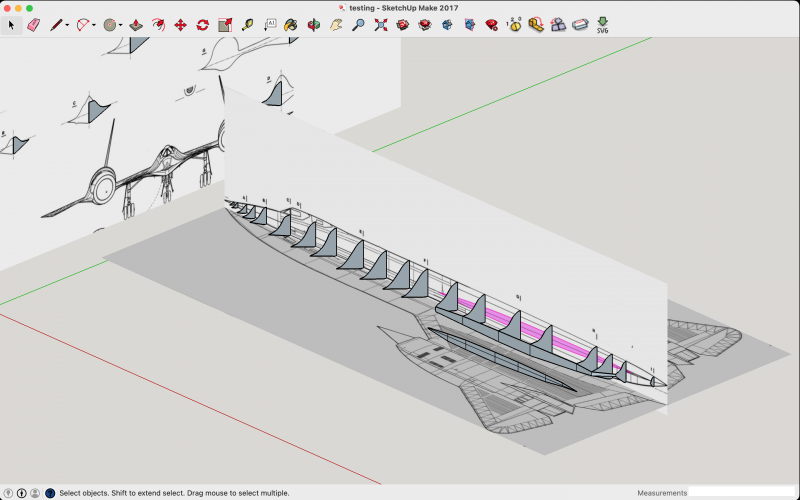
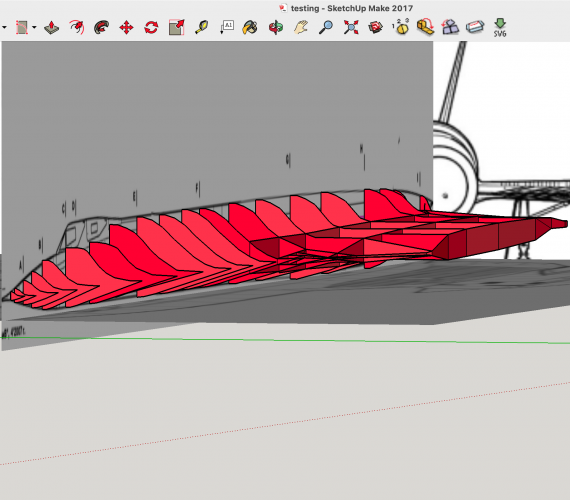
Oh also when I intersect the skeleton it always becomes an open face and loses color and just becomes lines....So until I figure it out I just screen shot it and scaled it in inkscape.....
View attachment 218527View attachment 218528
That looks great! I checked out the plugin and it works. It is pretty fast, the results are sometimes a bit weird, but all in all it is a good time saver. Thank you very much for the tip!
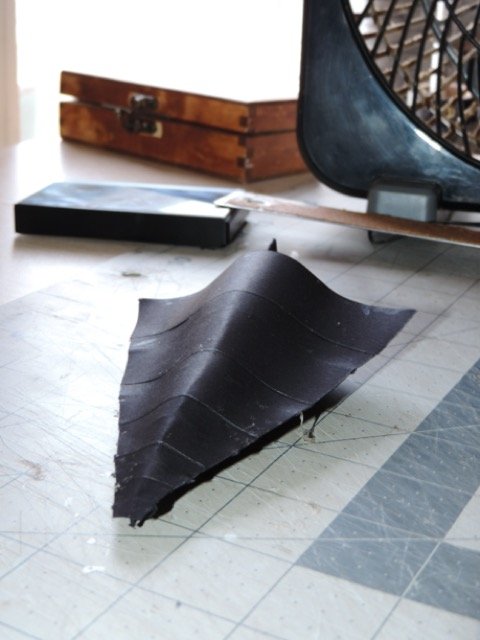
Pretty rough but the impeccable fit is just so new to me this is a HUGE PROJECT, but I will not stop this is just a tip in the nose, the scale is WAY to large rn, lol, but yeah this is it, I have to figure something about tabs, or something the glue lines are HORRIBLE!!!!! I heard about buying card for the sections, so I think Ill buy that soon too.
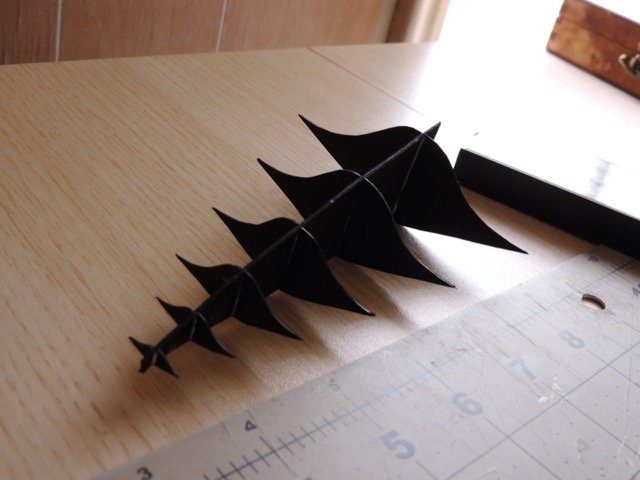
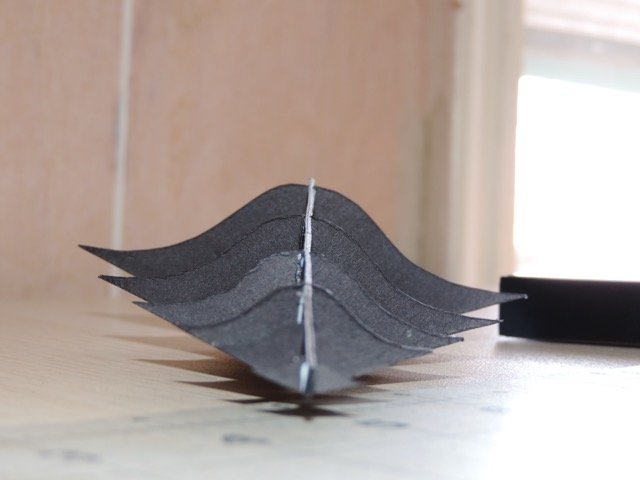
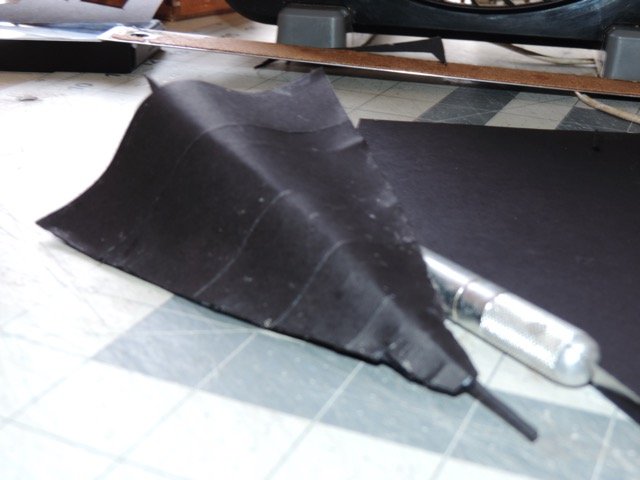
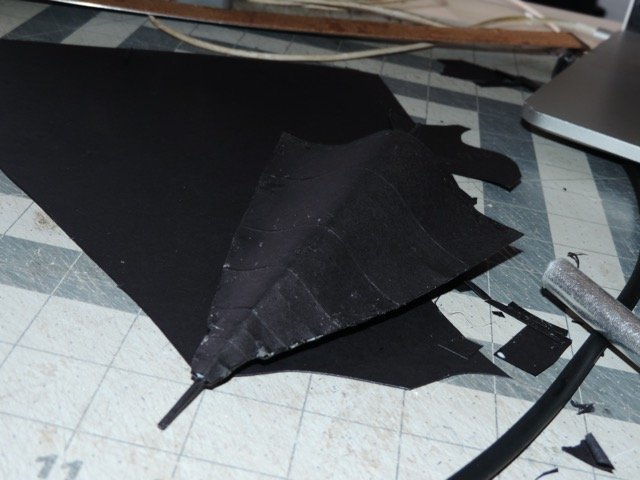


The blackbird I liked most was the old 1/48th scale YF-12, I took that kit and backdated it to be the M-21 mothership, found a resin 1/48th D-21 drone, and mated it to the top.
I love How big this one is, but to each his own. I couldn't find a place to display a 1/144th Blackbird where I live now...
I love How big this one is, but to each his own. I couldn't find a place to display a 1/144th Blackbird where I live now...
I'm no designer, but stick and tissue modeling tells me, get your cross sections, then your longitudinal, then support blocking, then skin.
Im glad to hear that I will proceed like that, but what is a longitudinal? Ive NEVER heard of that.I'm no designer, but stick and tissue modeling tells me, get your cross sections, then your longitudinal, then support blocking, then skin.
HOLY MOLY! You are really cutting through the felgercarb! And don't ask me what that means. 

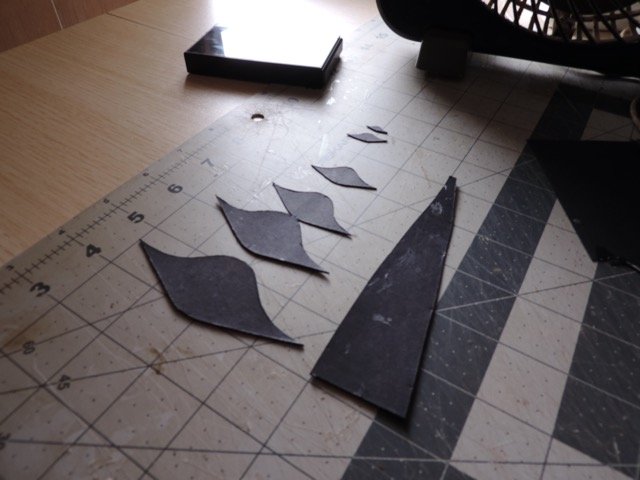
Please keep in mind that you have to compensate the skeleton parts for the paper thickness. They must be a tad smaller than the skin parts to prevent buckling. To do so use the offset tool and offset each skeleton part by the paper thickness. If you use 160 gsm paper that should be about 0.2 mm. If you use thicker paper / card use a bigger offset.

Please keep in mind that you have to compensate the skeleton parts for the paper thickness. They must be a tad smaller than the skin parts to prevent buckling. To do so use the offset tool and offset each skeleton part by the paper thickness. If you use 160 gsm paper that should be about 0.2 mm. If you use thicker paper / card use a bigger offset.
YES!!! I will remember to offset!HOLY MOLY! You are really cutting through the felgercarb! And don't ask me what that means.
View attachment 218693
Please keep in mind that you have to compensate the skeleton parts for the paper thickness. They must be a tad smaller than the skin parts to prevent buckling. To do so use the offset tool and offset each skeleton part by the paper thickness. If you use 160 gsm paper that should be about 0.2 mm. If you use thicker paper / card use a bigger offset.
Longitudinal is long ways, stick and tissue models the cross sections would have notches for longitudinal framing.Im glad to hear that I will proceed like that, but what is a longitudinal? Ive NEVER heard of that.
I SEE!!!Longitudinal is long ways, stick and tissue models the cross sections would have notches for longitudinal framing.
- Apr 5, 2013
- 13,525
- 9,598
- 228
How do you join 2 different faces.Below is something I have experimented when joining similar panels. It breaks up the surface. These parts are the flattened section of a Cessna 410 I was going to for someone before I realized I was "Casting Pearls unto swine".
View attachment 218727


