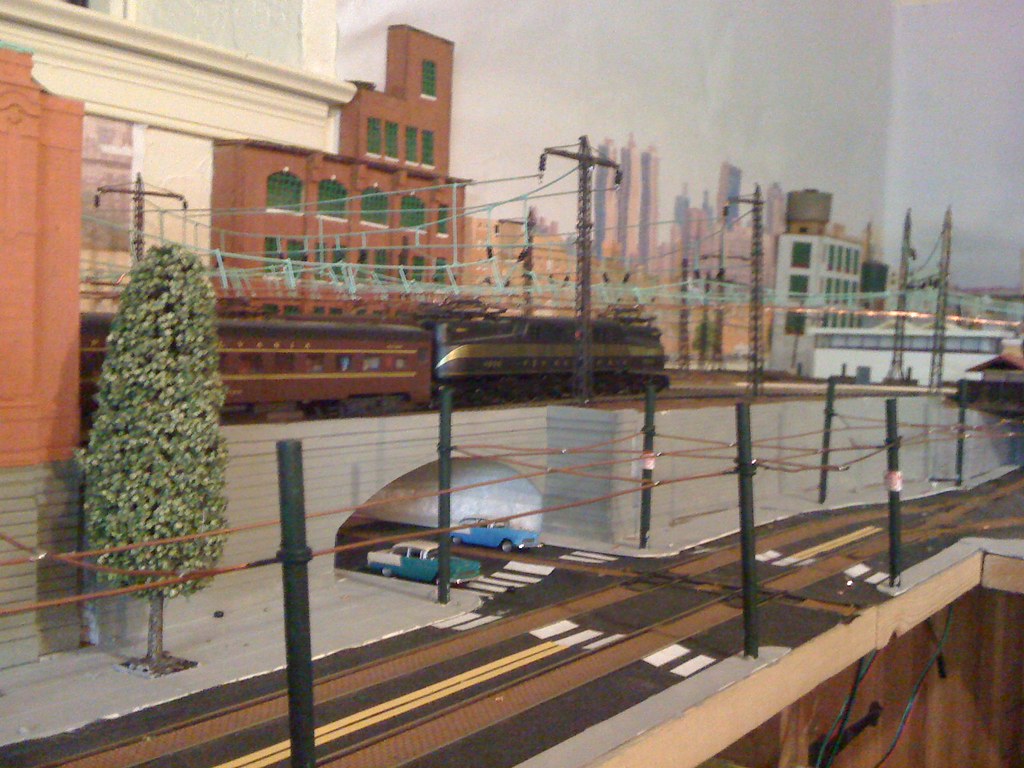
Well, i've begun work on my more realistic, super-detailed catenary. THIS is what i wanted to do for that contest, but could not.
I basically only have one pole mostly done, as it is TEDIOUS adding some of the details, mainly the grab iron ladders. The transmission arms are on, as are the insulators. All this pole will need is possibly a signal line, and it will need various braces, but these parts can wait until the overall Catenary structure is built to be installed. On Friday, i hope to begin a few more poles, so that i can roughly complete about three or four catenary bridges.
I basically started with a three foot piece of 5/32 brass H-column stock, and a pair of scale 13 foot long brass "A1" angles (smallest angles you can get from special shapes, i think). I went ahead and marked their location on the pole, which is a little lower in the case of the catenary along Perth Amboy, NJ, which is where i draw my inspiration from. As such, i am only adding one set of arms per pole, rather than two like on the Northeast Corridor. After carefully lining them up, i soldered the two angles back -to- back on the pole, and then pulled the tips together and soldered them as well.

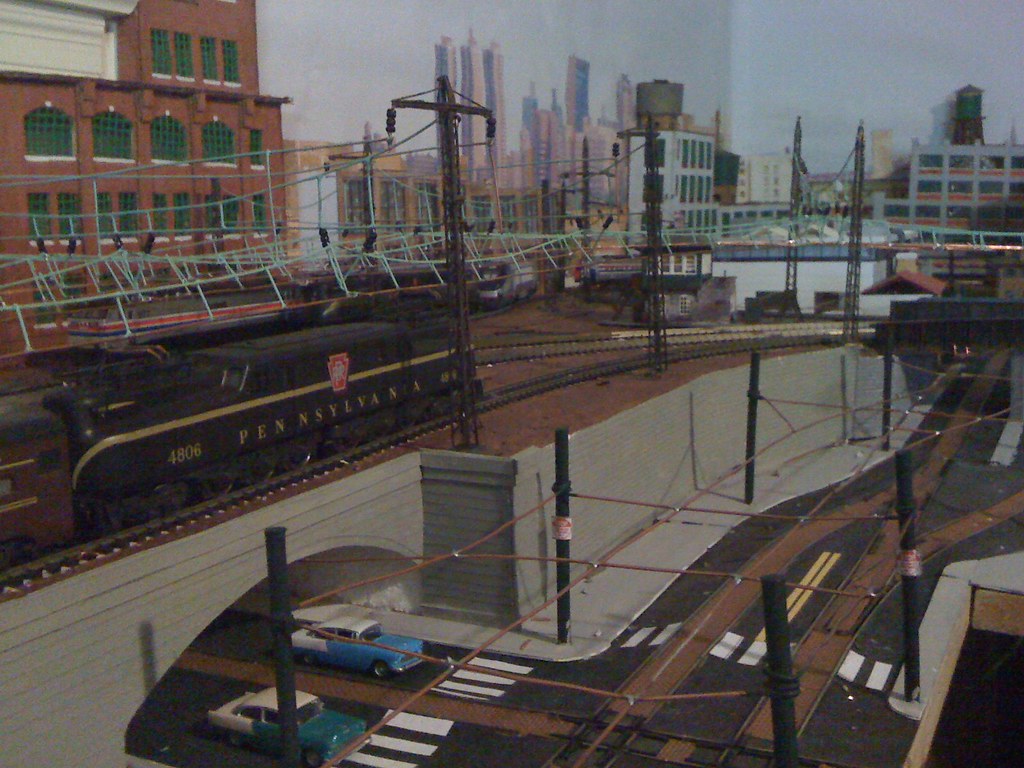
I then used a dremel drill press and a small high-speed cutter to make little dimples in the side of the pole for the support wires that hold each arm up. I soldered a length of wire into the dimple, and used flush cutters to cut the wire just as it reaches the tip of the transmission arms. I then soldered this loose end of the wires to the tips. I then put the pole into a grabber-stand (not sure what they are really called, roll with it! :roll: ), and put a VERY small right angle bend at the end of the wire. I then soldered this more or less in between the angle pieces. These wires are the transmission line hangers, and they will hold the insulators later. I cut each of these hangers a little longer than needed, so that when i installed the insulators later, i could be sure to have enough to make a hook on the bottom for the transmission lines themselves. I then cut off the excess.

Next, i began the most tedious part of pole construction i have encountered so far. Each pole, as i mention above, has a grab iron ladder. These ladders start just above the horizontal cross-brace (which is about 30 feet above the rails), and continue up to just below the highest transmission arm, if such a thing is present. These grab irons need to be cut and shaped to fit. I have no special jig to do this, so i literally sat here all day bending, cutting, and installing them. The one i built is also taller than normal to reach over the Highway bridges on my layout, so it took ALL DAY to cut, form, and CA the grabs in. It isn't hard, but it does take time.
When i finished this, I installed 11-disk insulators onto the transmission hangars. these are cut from the Tichy PRR Catenary Insulator parts. You will need to cut one petticoat (disk) from one of the castings (they are made of 4 petticoats each). Save this single petticoat, since it can be used for the signal power lines and other details later. Once i slid these on (they are pre-cored), i just bent a little right angle in the bottom, partly to keep the insulators from sliding off, and also so eventually a transmission line could be hung.
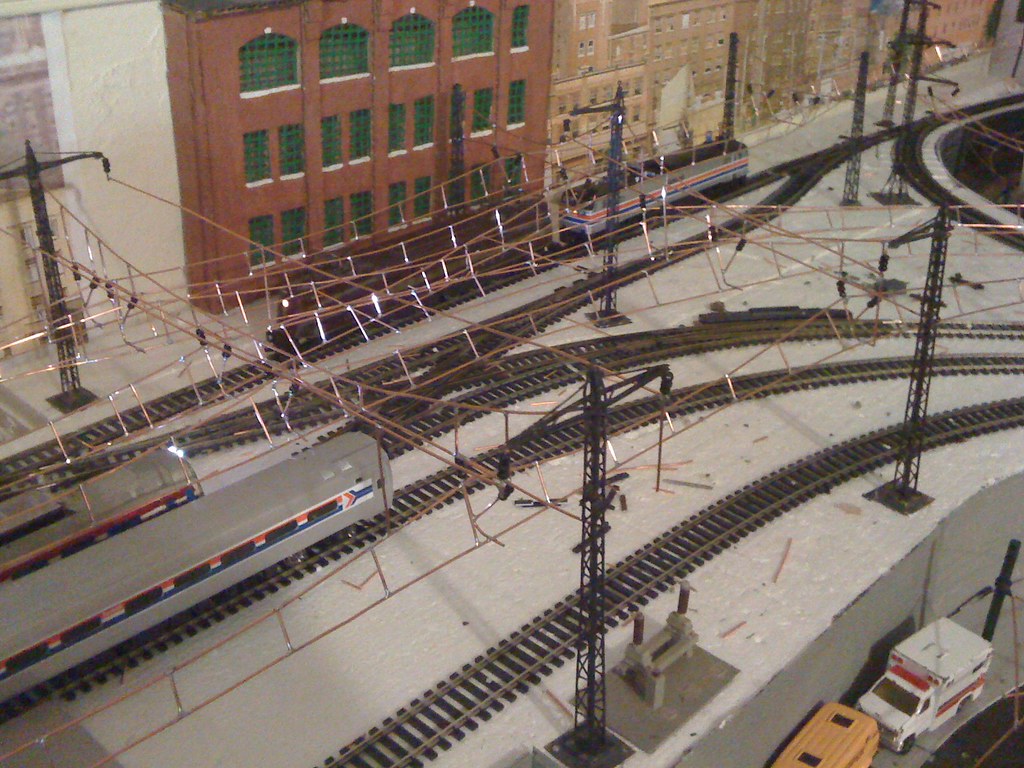
Finally, i made final measurements for the pole length. I started from the top, and made sure my pole was high enough for the transmission lines to reach the height requirement, while also reaching an inch under my bench work where they will be anchored in.
This project is going to take me a while. I'll update the thread when things get finished, or if I'm constructing something new, but there will likely be a long time of a lot of the same work being done before wires can be hung.


 i wish i read that sooner, i just bought a 140 watt Weller model from Home depot. that said, it seems to be working (and also replaces my dad's which stopped working...)