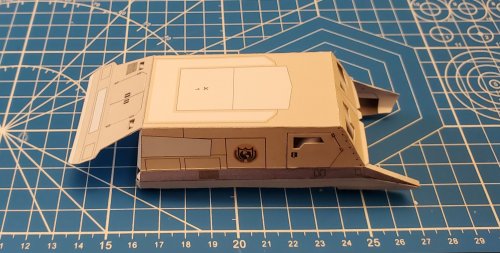
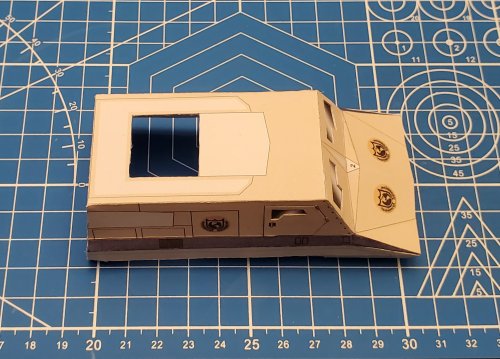
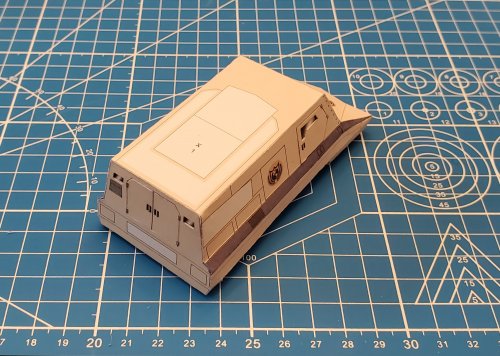
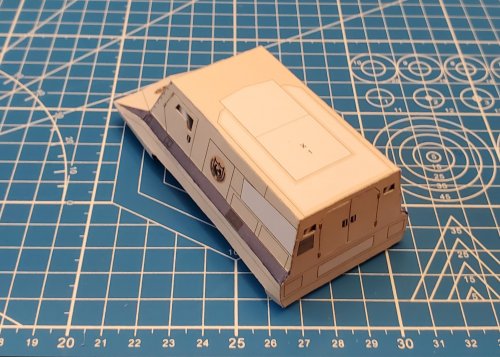
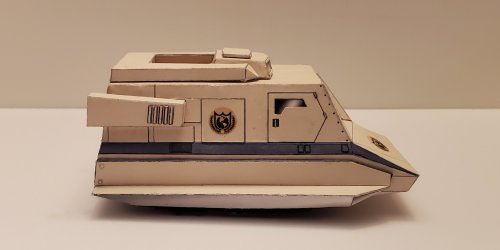
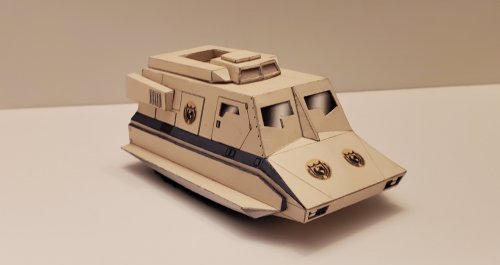
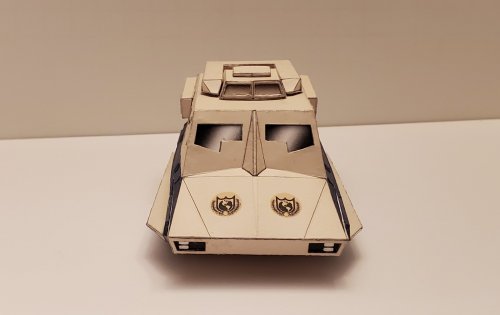
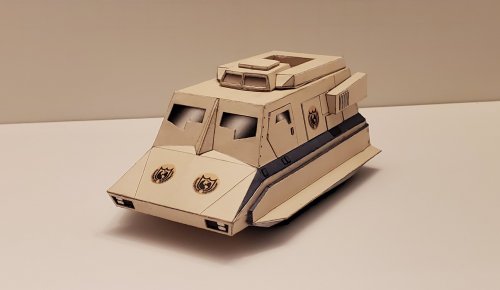
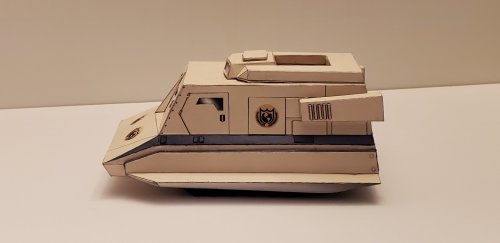
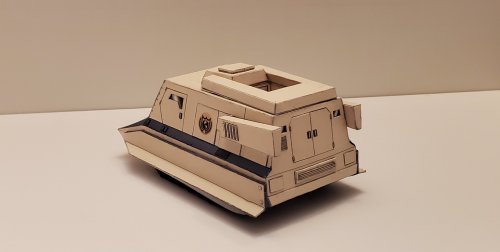
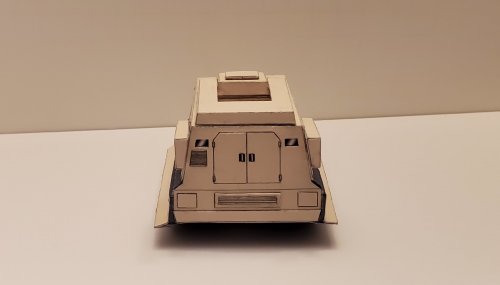
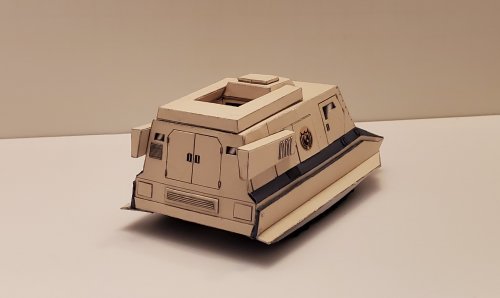
MK-II (unarmed) Land Rover from "BUCK ROGER in the 25th CENTURY" (1:50 scale)

Rhaven Blaack

!!!THE MAN BEHIND THE CURTAIN!!!
Staff member
Administrator
Moderator
Jun 12, 2009
12,541
9,932
228
Oregon
www.deviantart.com
Back in January of 2021, I built the MK-I (armed) Land Rover from "BUCK ROGER in the 25th CENTURY" in 1:50 scale.

This time I am building the MK-II (unarmed) Land Rover in 1:50 scale. This version was introduced in the episode "FLIGHT OF THE WAR WITCH".
Like the previous one, I will be augmenting all of the details and (attempting to) make this (as close to) screen accurate as possible.
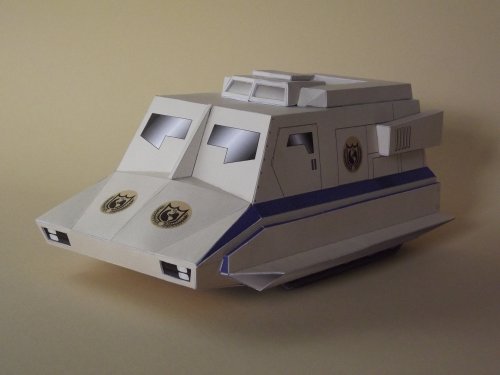
RoverMkII.jpg

So, at 1:50 scale all of the parts fit on just three pages. However, I have printed the parts sheet out three times (so that I have enough parts to add details and greebles) and split the sheets in half (which gives me six pages time three). With the (GREATLY APPRECIATED) hep of @Revell-Fan, there are several changes to the templates (i.e. a more detailed underside).
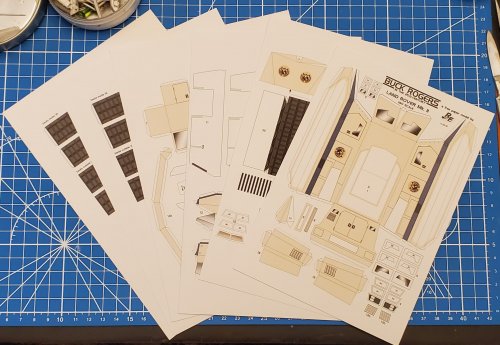
20210808_105130.jpg

I cut all of the doors out (and trimmed the so that there is a recessed line). I also recessed the widows and the black areas on either side of the handles for the doors. I then added a piece of cardstock where the doors go and placed the door back where they are suppose to be. The bottom section is set up for a full track assembly as well.
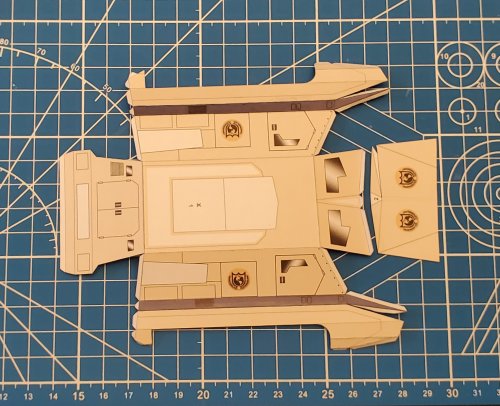
20210808_115935.jpg

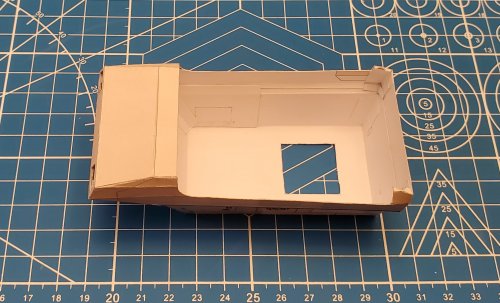
I started to form the outer shell.
20210808_150210.jpg

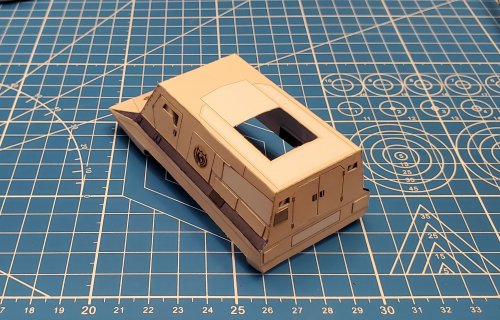
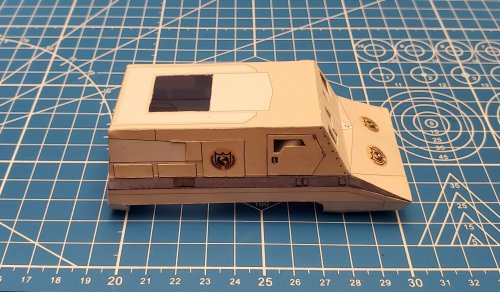
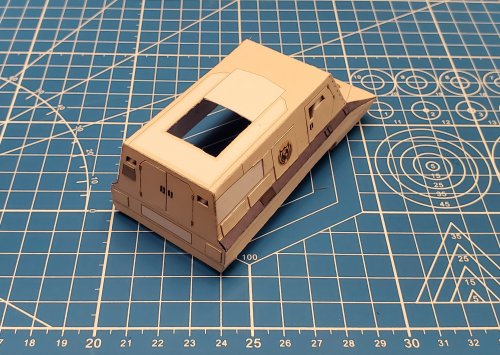
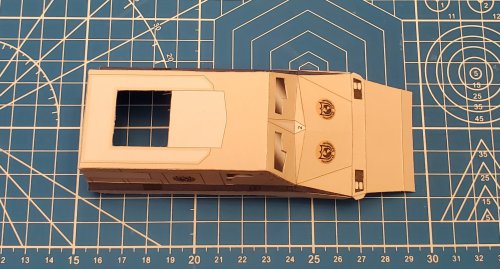
The outer shell is complete.
20210808_155006.jpg

20210808_154853.jpg

20210808_154902.jpg

I have also raised a few panels (including the vents).
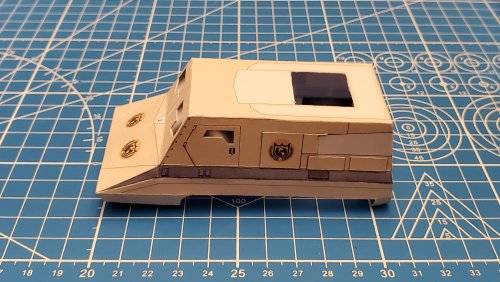
20210808_162416.jpg

20210808_162639.jpg

20210808_162955.jpg

20210808_215518.jpg

There is more to come! So please say tune to your local Earth Directorate broadcasting channels for more updates.
 

Rhaven Blaack

!!!THE MAN BEHIND THE CURTAIN!!!
Staff member
Administrator
Moderator
Jun 12, 2009
12,541
9,932
228
Oregon
www.deviantart.com
Thank you all!!!

As for the "blue", I think that between my computer and printer, the "blue" was slightly darkened and made a little bit on the "purple-ish" side. I compared it to the MK-I and it is the same (roughly). So, I am not going to worry about it.
 
  • Like
Reactions: mijob

Rhaven Blaack

!!!THE MAN BEHIND THE CURTAIN!!!
Staff member
Administrator
Moderator
Jun 12, 2009
12,541
9,932
228
Oregon
www.deviantart.com
It is time for another update! I am now moving on to the underside.

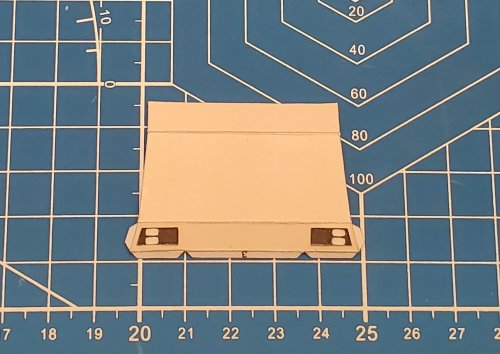
Here is the front underside panel with the lights. I have recessed the light panels and raised the lenses.
20210808_171039.jpg

The front underside panel is attached.
20210808_171232.jpg

20210808_171748.jpg

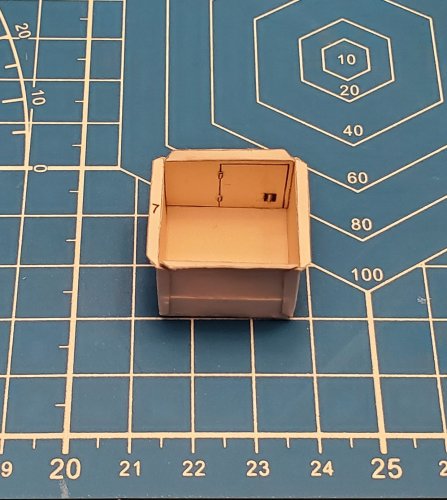
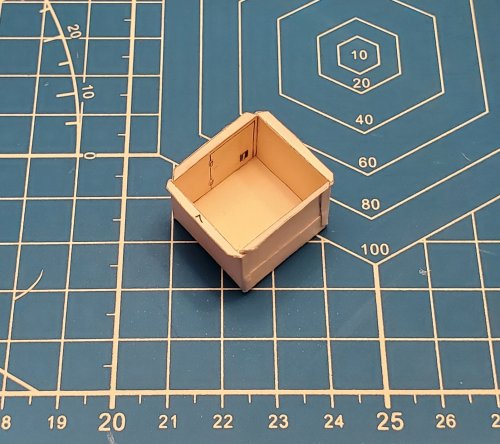
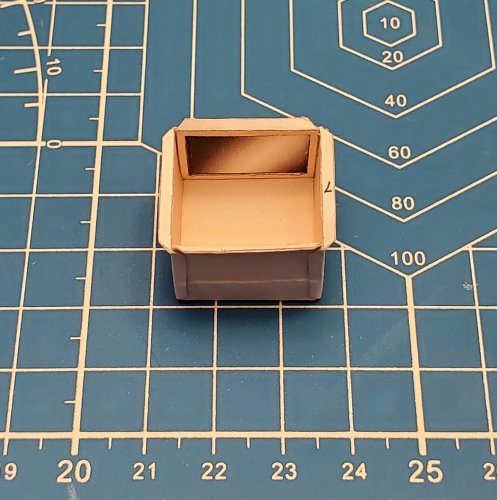
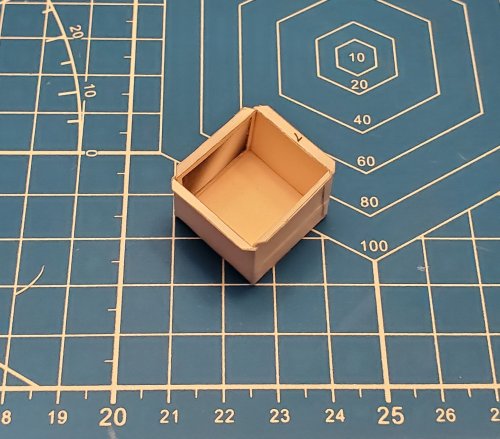
Here is the "Parade box" (where Buck and Wilma were standing as they approached the large sphere).
I have done the same thing with the in the box as I did with the other doors.
20210808_234321.jpg

20210808_234405.jpg

I recessed the "window".
20210808_234338.jpg

20210808_234351.jpg

The "Parade box" is in place. I added a few extra glue strips for added strength.
20210808_235807.jpg

20210808_235818.jpg

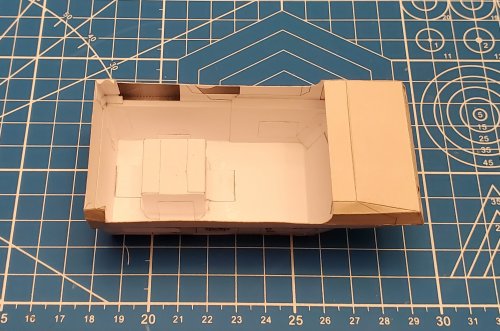
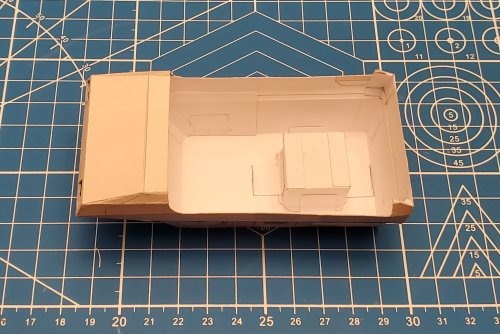
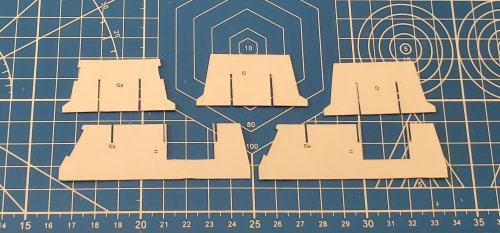
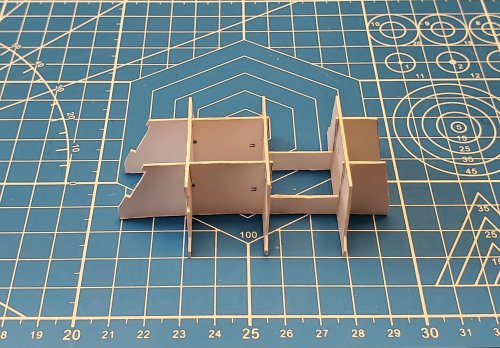
Here are the internal formers. They are laminated to (roughly) 1 mm thick.
20210810_133223.jpg

The internal formers are assembled.
20210810_142051.jpg

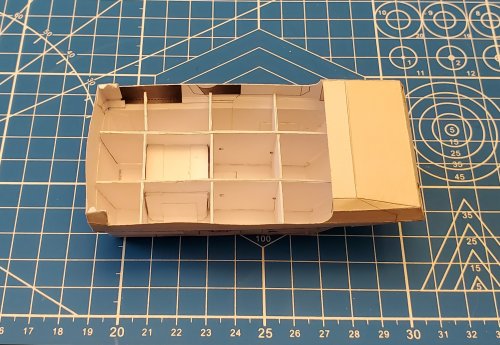
The internal formers are put in place.
20210810_142213.jpg

Here is the bottom plate.
20210810_142733.jpg

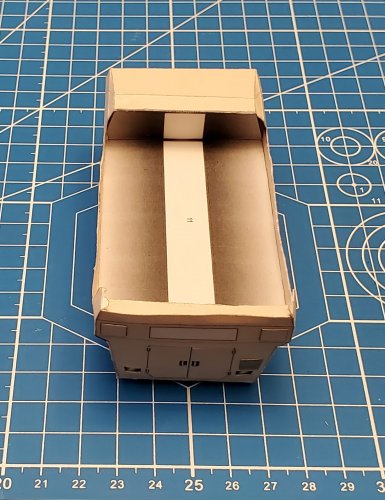
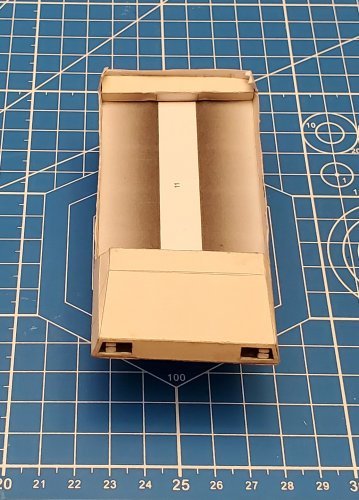
The bottom place is in place.
20210810_153911.jpg

20210810_155624.jpg

20210810_155639.jpg

There is more to come! So please say tune to your local Earth Directorate broadcasting channels for more updates.
 

Rhaven Blaack

!!!THE MAN BEHIND THE CURTAIN!!!
Staff member
Administrator
Moderator
Jun 12, 2009
12,541
9,932
228
Oregon
www.deviantart.com
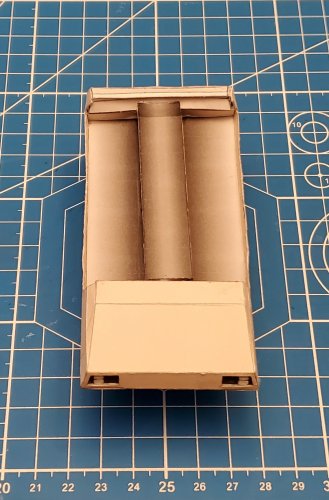
Moving on to the underside (i.e. the drive box and bumper).

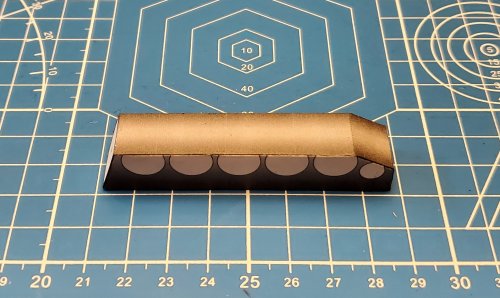
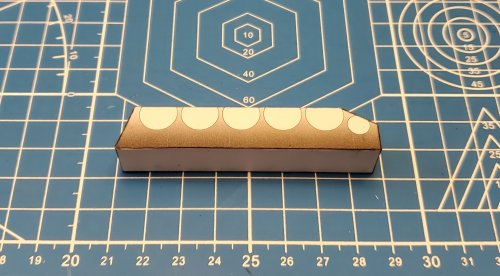
Here is the drive box.
20210810_160218.jpg

20210810_160236.jpg

@Revell-Fan had to design a new bumper for this vehicle.
20210810_190046.jpg

20210810_190057.jpg

Both the drive box and bumper are in place.
The drive box does fit very tight in the space. You might have to manipulate the parts a bit to get it to fit in. Just be careful and take your time.
20210811_080648.jpg

20210811_080705.jpg

20210811_080719.jpg

On to the track assembly.
Please say tune to your local Earth Directorate broadcasting channels for more updates.
 

Rhaven Blaack

!!!THE MAN BEHIND THE CURTAIN!!!
Staff member
Administrator
Moderator
Jun 12, 2009
12,541
9,932
228
Oregon
www.deviantart.com
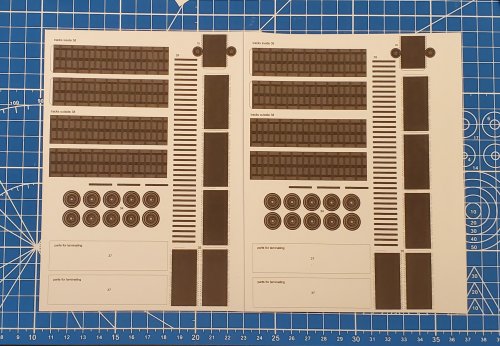
Here are is the track system.

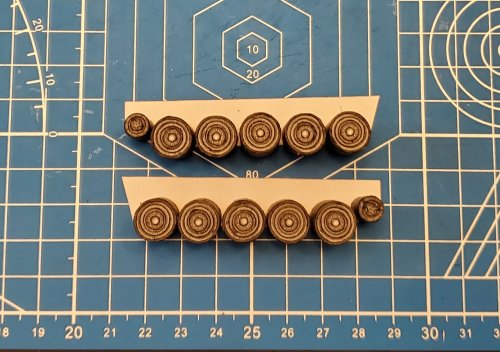
Here is the parts sheet for the wheels and tracks.
20210811_080934.jpg

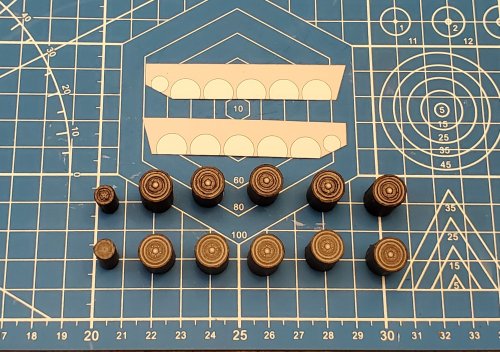
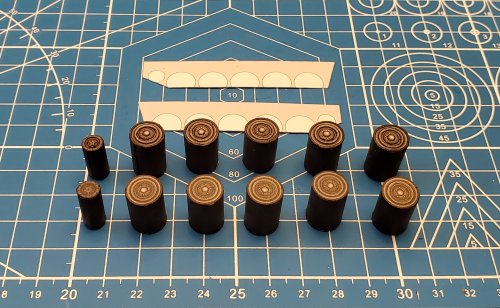
The wheels are complete. I only greebled the side that will be seen.
(In these photos, I have shown both sides for a comparison.)
20210811_162358.jpg

20210811_162404.jpg

The wheels are attached to the side panels.
20210811_163052.jpg

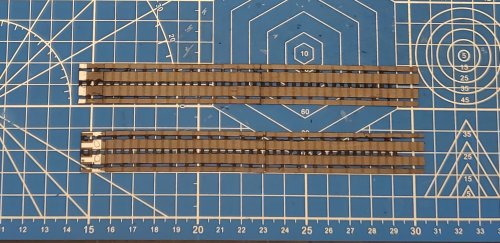
Here are the tracks. I have cut out the "null" areas for a more "realistic" look of the tracks.
20210813_210825.jpg

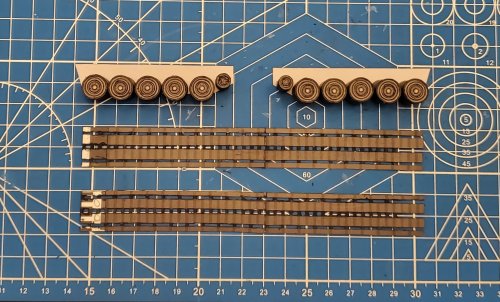
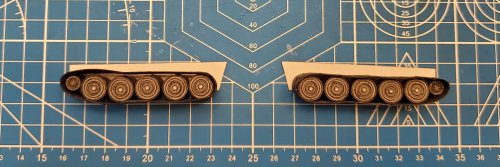
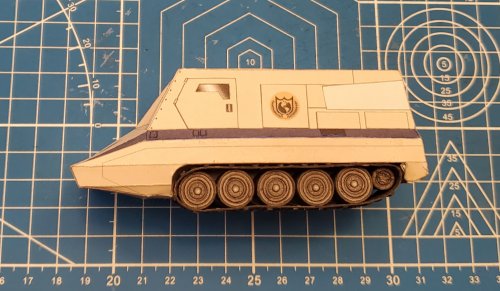
The tracks and wheels.
20210813_211022.jpg

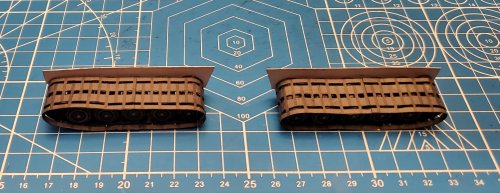
I wrapped the tracks around the wheels.
20210814_090413.jpg

20210814_090433.jpg

I added the track pads.
20210815_104118.jpg

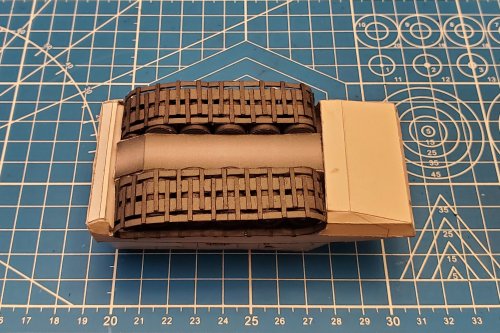
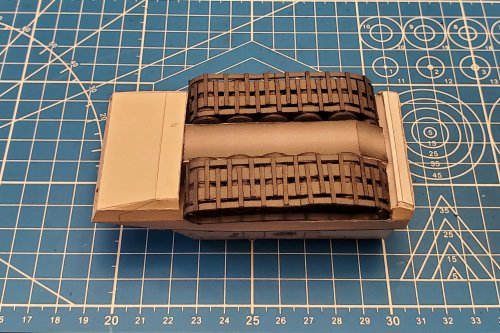
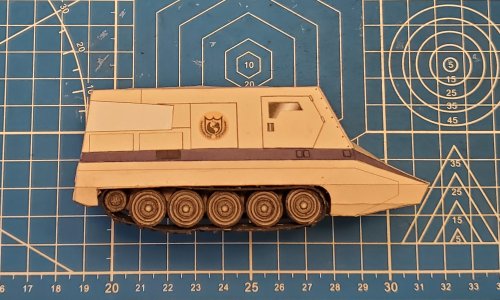
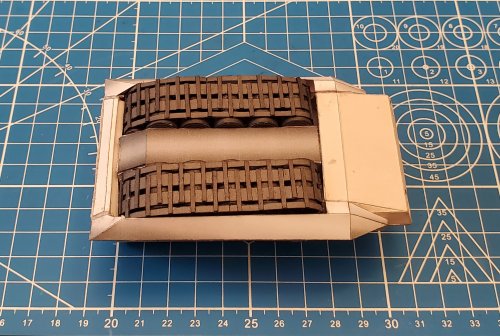
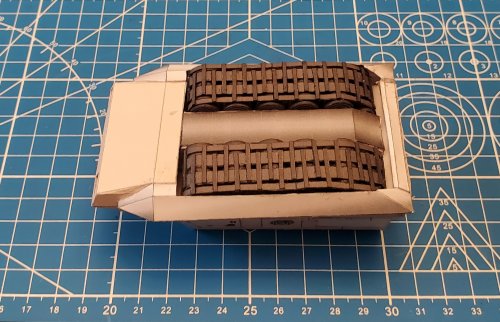
I attached the track assemblies to the drive box.
20210815_105230.jpg

20210815_105252.jpg

20210815_110303.jpg

20210815_110420.jpg

Now on to the side skirts (that cover the track assembly).
 

Rhaven Blaack

!!!THE MAN BEHIND THE CURTAIN!!!
Staff member
Administrator
Moderator
Jun 12, 2009
12,541
9,932
228
Oregon
www.deviantart.com
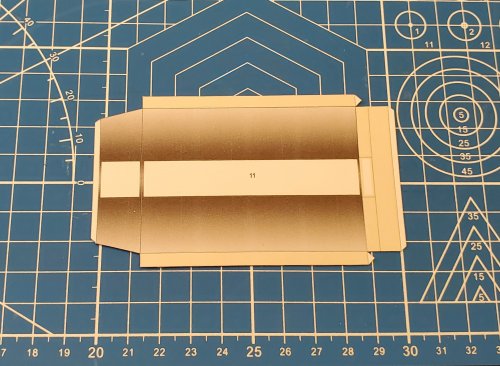
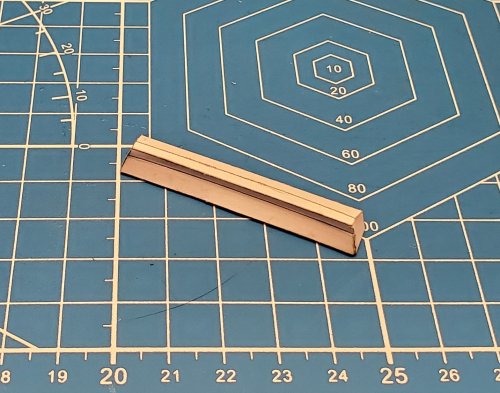
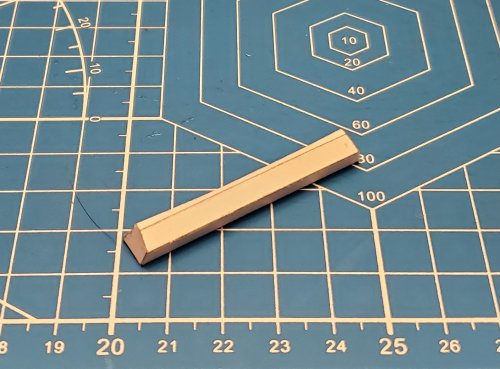
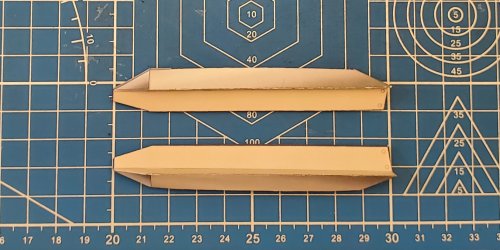
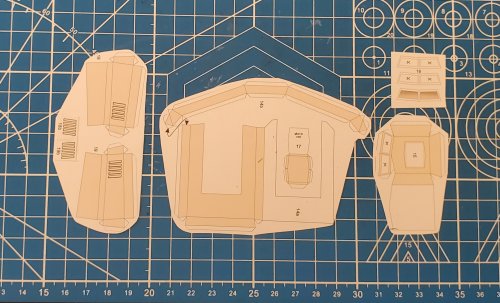
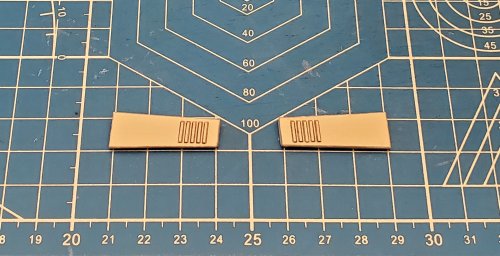
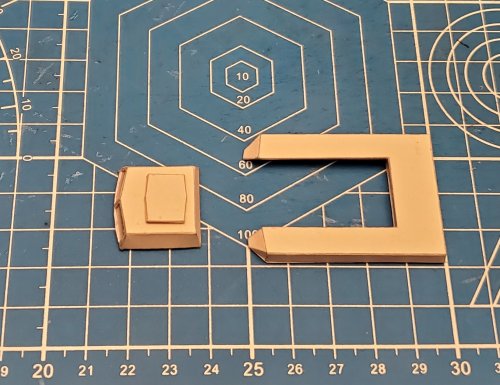
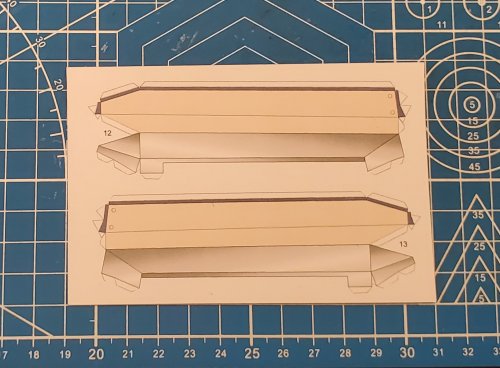
Here are the parts for the top of the roof components/"parade box" and the side components.


20210815_142547.jpg

The side components are assembled.
20210815_170117.jpg

The side components are attached.
20210815_202748.jpg

20210815_202815.jpg

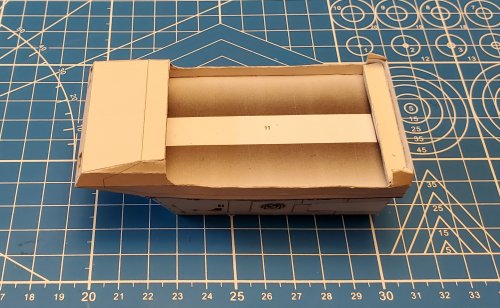
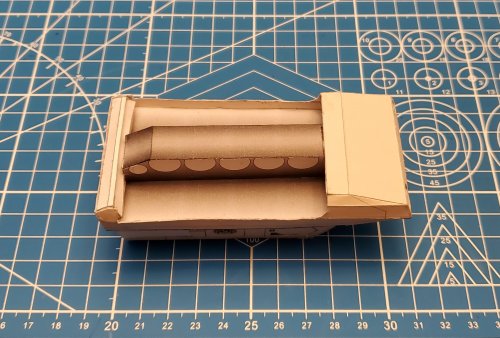
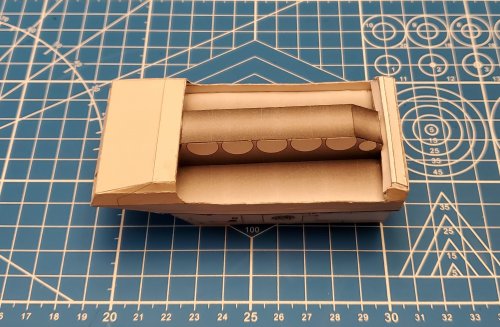
The roof components are assembled.
20210815_202859.jpg

The roof components are attached.
20210815_203803.jpg

20210815_203826.jpg

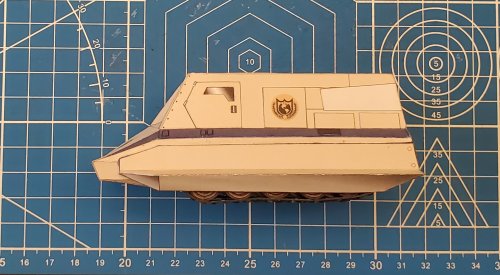
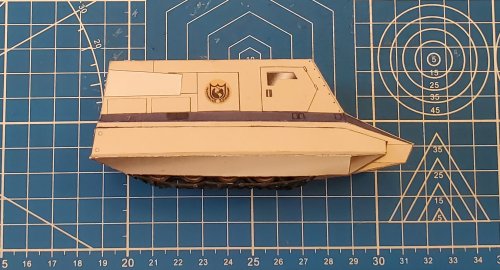
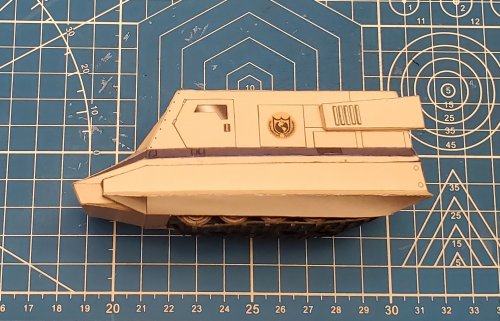
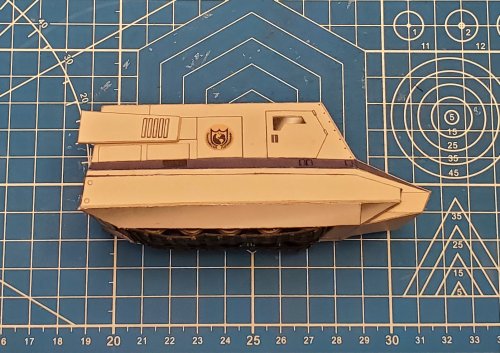
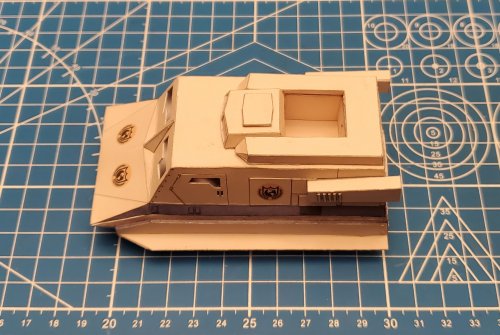
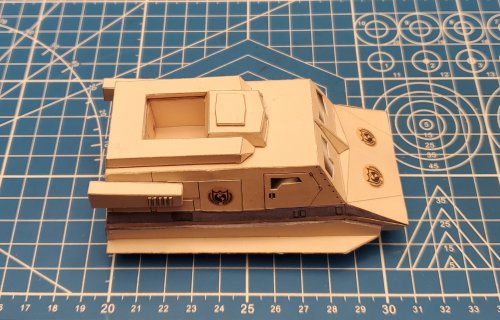
This project is complete!
20210815_203952.jpg

20210815_204006.jpg

20210815_204018.jpg

20210815_204026.jpg

20210815_204033.jpg

20210815_204039.jpg

20210815_204044.jpg

20210815_204049.jpg

Thank you for taking the time to view this thread. I hope that you enjoyed it.