For my next design, I'm taking a shot at asymmetry.....well....just the mild kind. Not the Blohm und Voss kind.
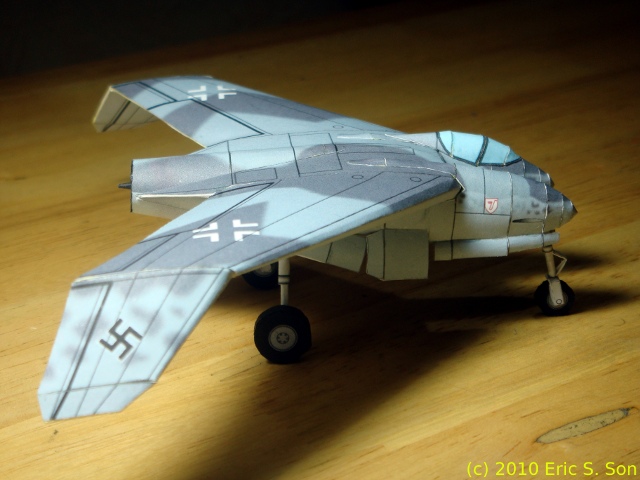
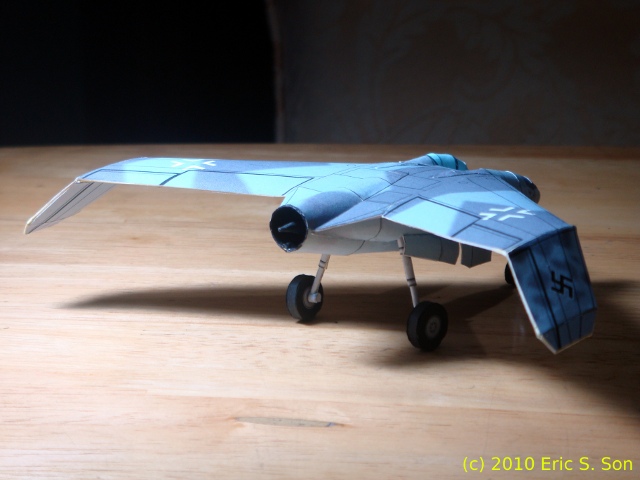
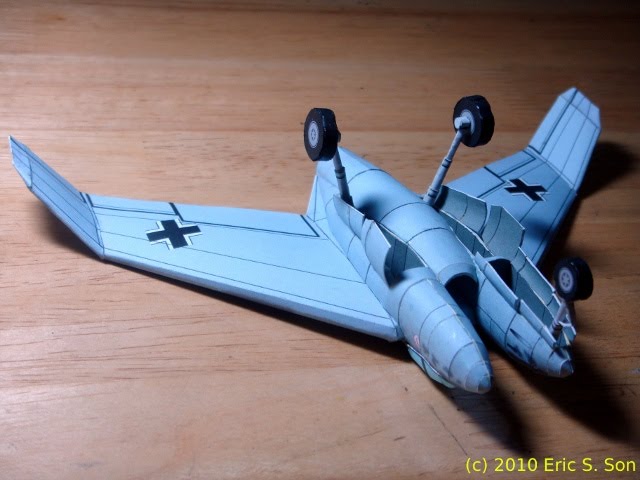
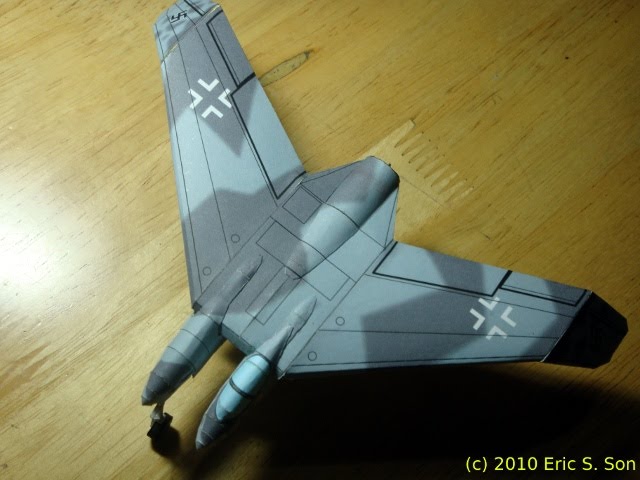
I picked the HE P.1078B.
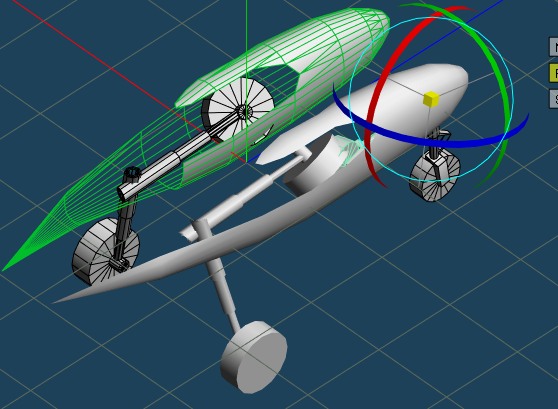
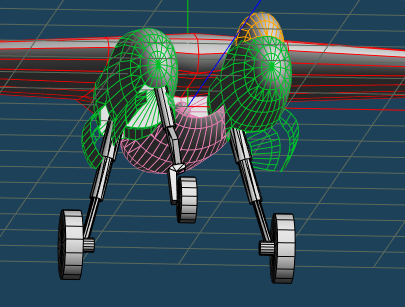
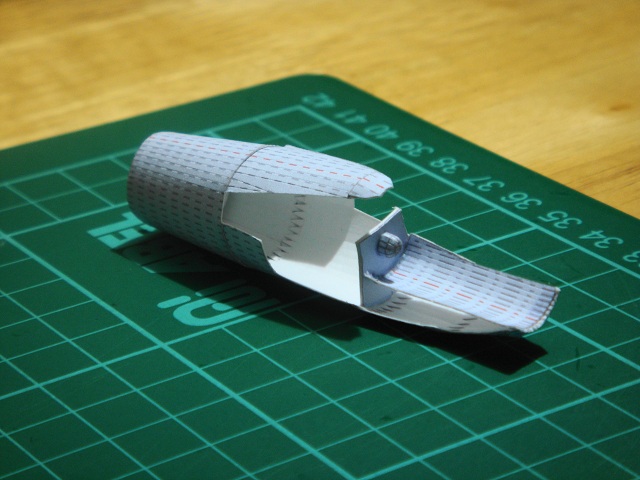
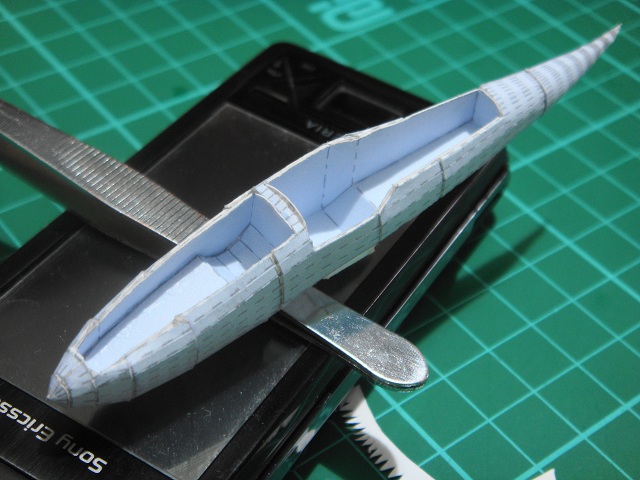
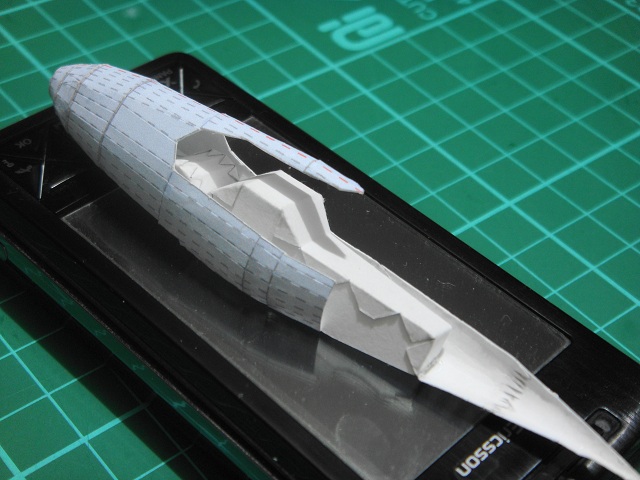
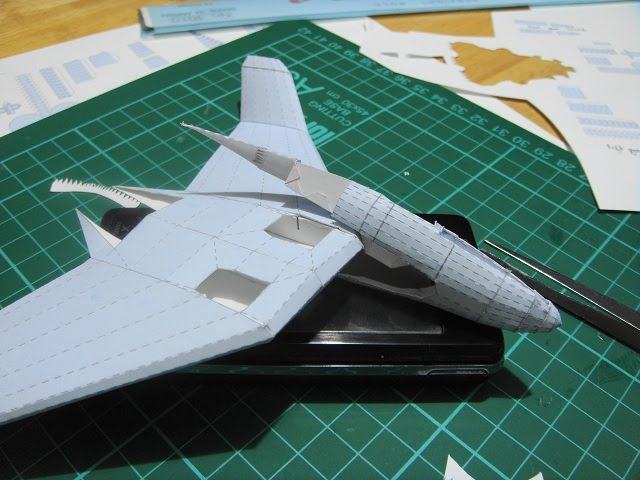
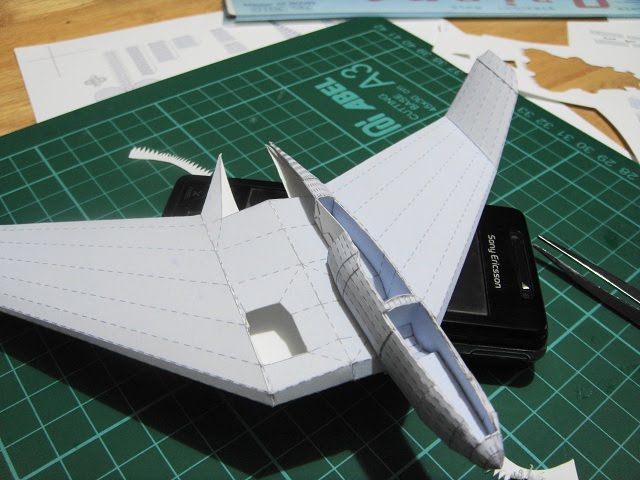
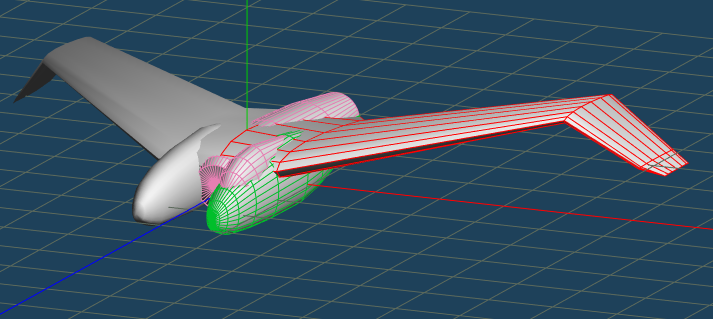
I initially tried to model the fuselage using the Spline/Catmull-Clark patch but it turned out looking like it was made out of clay. So I ditched that one and went back to the tried and tested method of starting with a cylinder, then shape it up by cutting segments then resizing each segment as I see fit. I did the same for the "pods" (pilot + weapons).
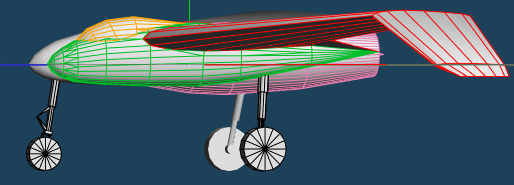
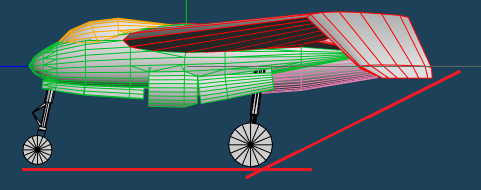
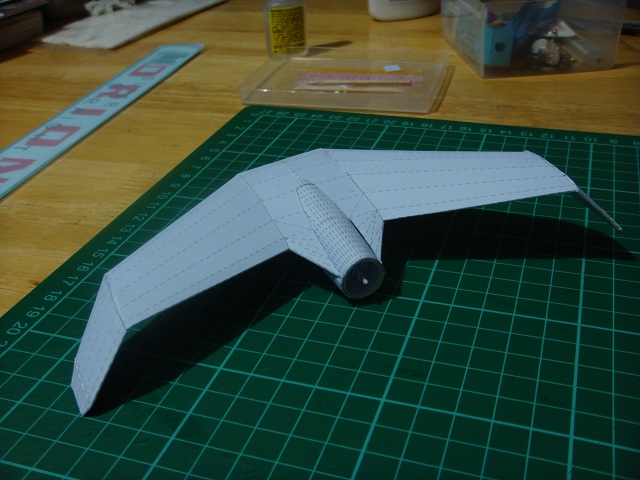
However, I found that the Spline/Catmull-Clark patch works very well for making the wings!
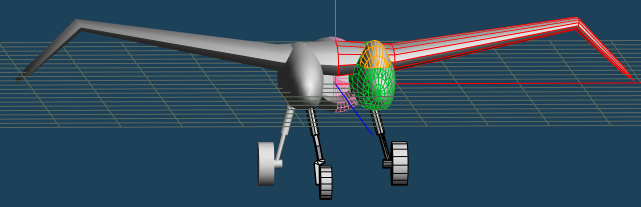
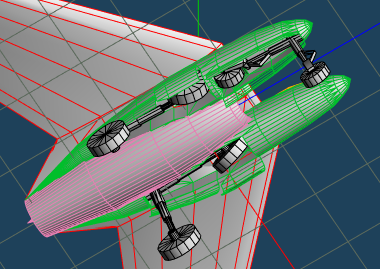
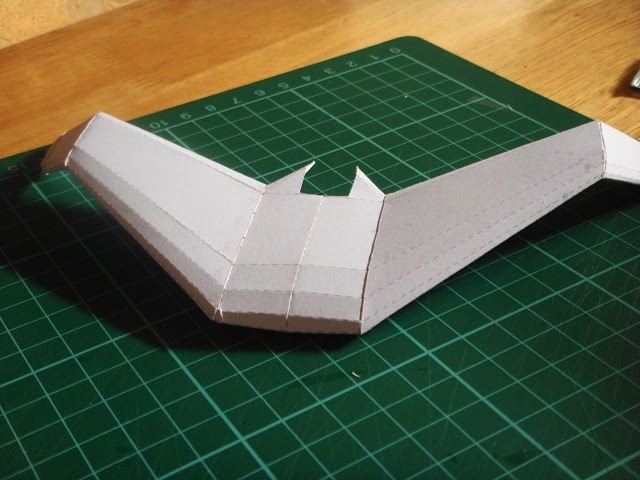
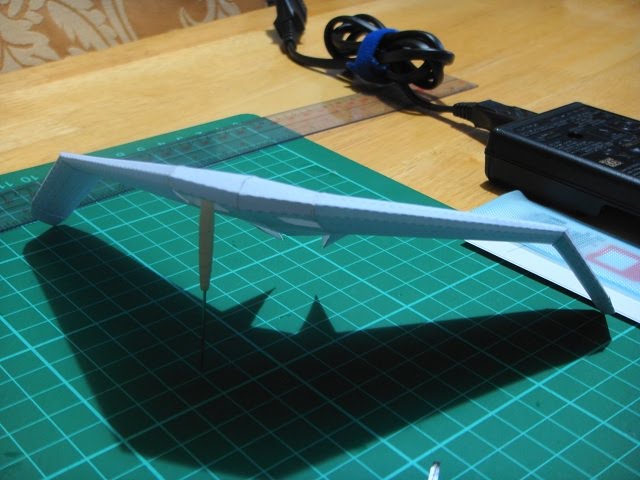
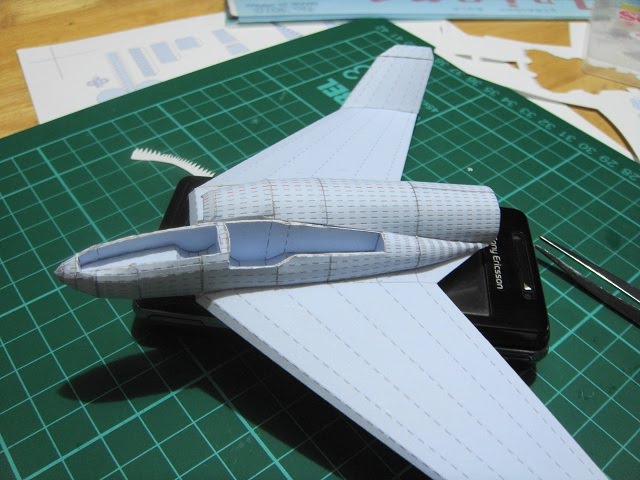
Anyway, I finished making the basic shapes that make up the aircraft. I'll stop here for now:
Next, I'll use the Boolean ops to piece them together.
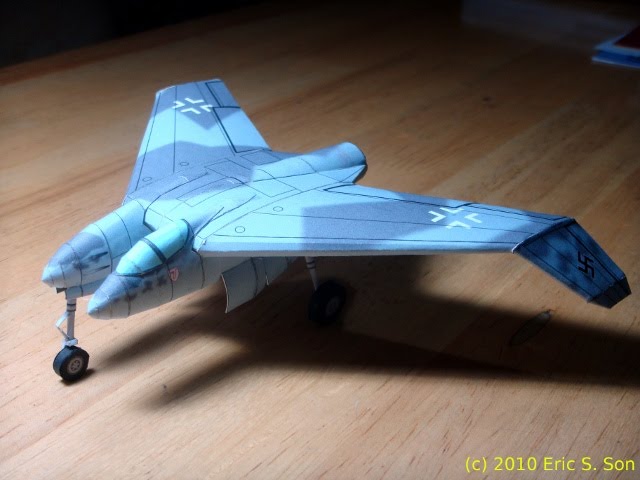
I picked the HE P.1078B.
I initially tried to model the fuselage using the Spline/Catmull-Clark patch but it turned out looking like it was made out of clay. So I ditched that one and went back to the tried and tested method of starting with a cylinder, then shape it up by cutting segments then resizing each segment as I see fit. I did the same for the "pods" (pilot + weapons).
However, I found that the Spline/Catmull-Clark patch works very well for making the wings!
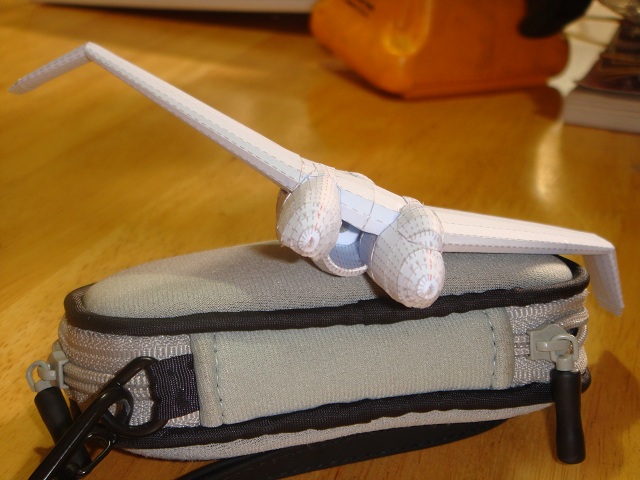
Anyway, I finished making the basic shapes that make up the aircraft. I'll stop here for now:
Next, I'll use the Boolean ops to piece them together.

")