Colonial Viper Car

Rhaven Blaack

!!!THE MAN BEHIND THE CURTAIN!!!
Staff member
Administrator
Moderator
Jun 12, 2009
12,525
9,907
228
Oregon
www.deviantart.com
Hello Ladies and gentlemen,

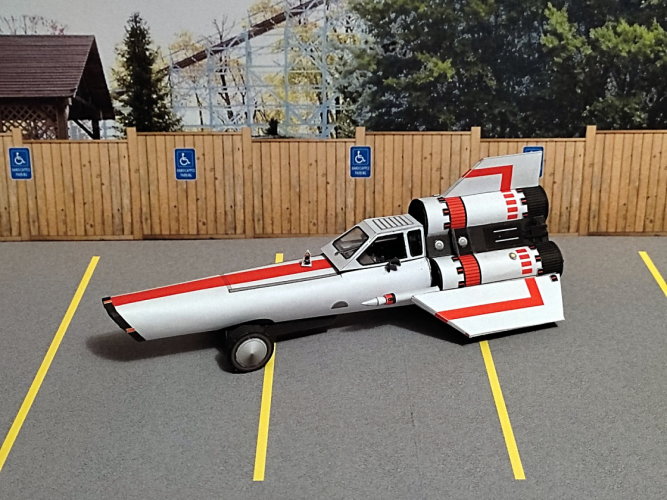
It is time for another fun project. This time, I am building the Colonial Viper car (designed @Revell-Fan for the 2021 Paper Jams).
If you are interested in trying your had at this model. you can find the template in the RESOURCE SECTION here: https://www.zealot.com/resources/colonial-viper-car.2404/
Viper Car.png

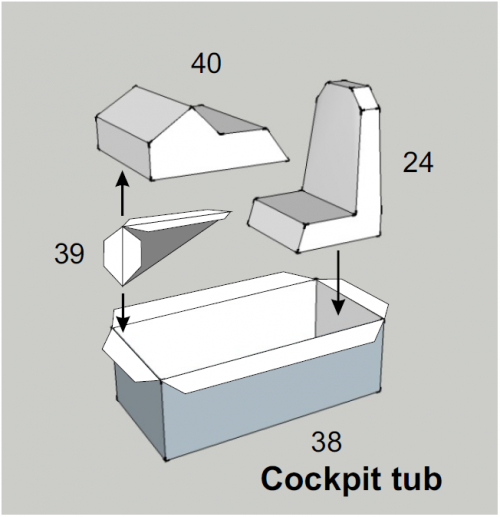
I am starting with the cockpit interior.
Cockpit Tube.png

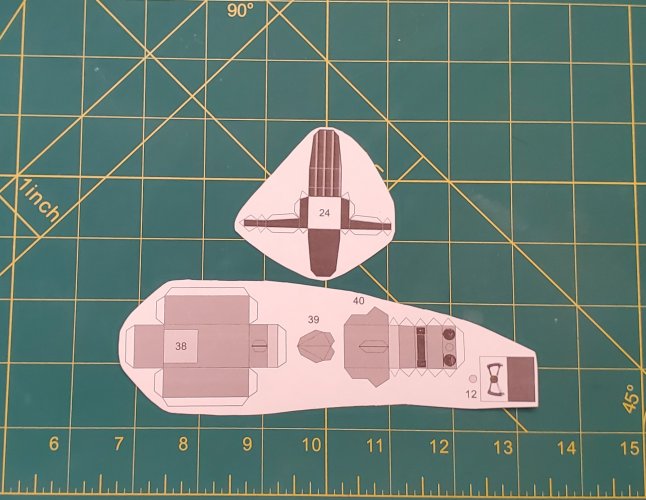
Here are the parts for the cockpit interior.
20220713_082559.jpg

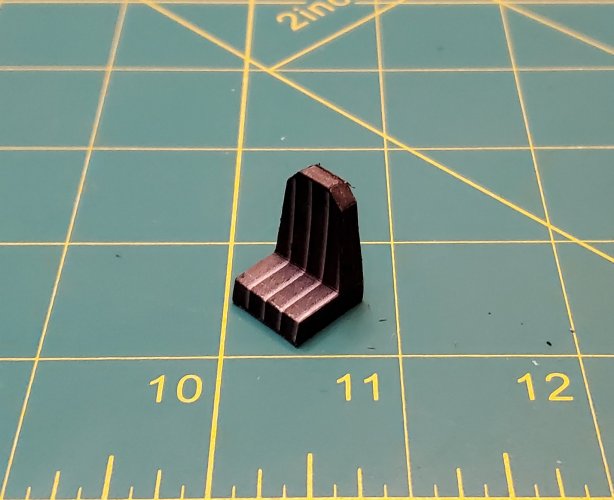
The seat is assembled.
20220713_084942.jpg

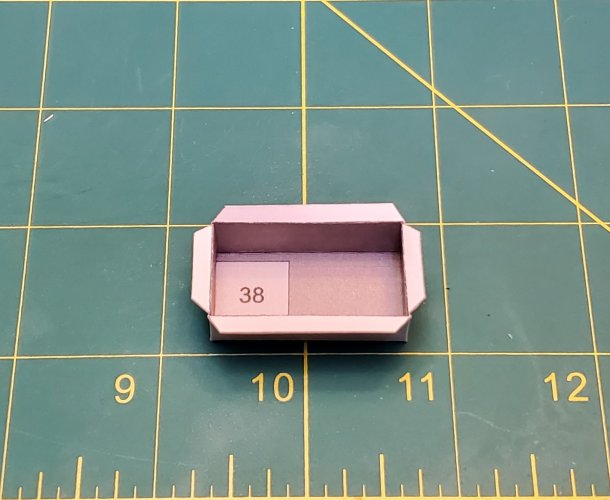
The tub is assembled.
20220713_090559.jpg

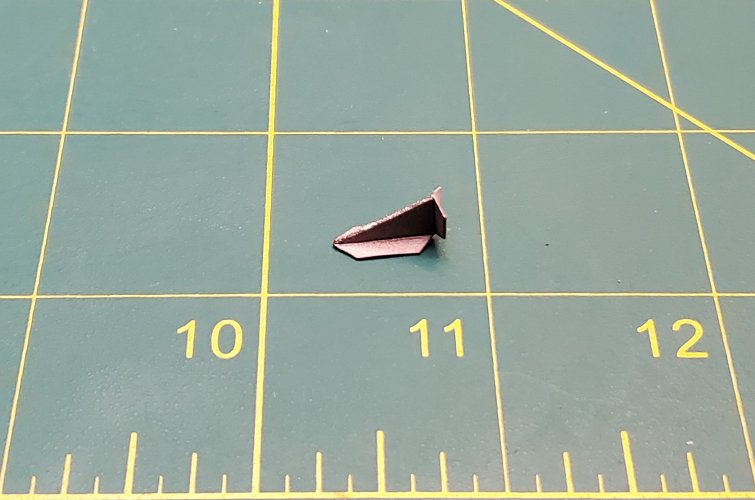
This is the brace for the dashboard console.
20220713_091056.jpg

The brace for the dashboard console is attached in place.
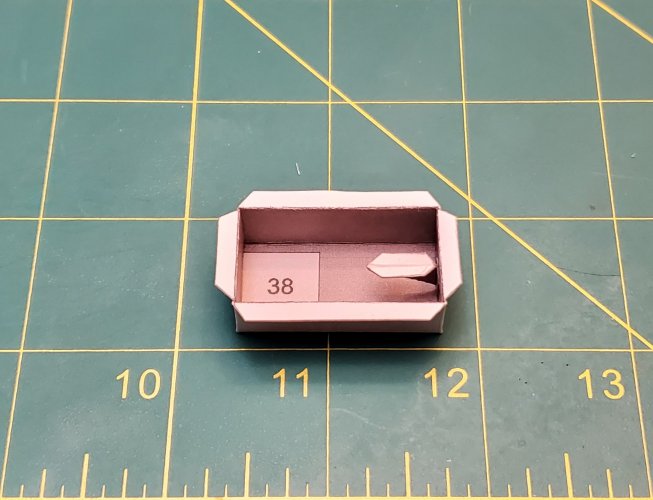
20220713_091213.jpg

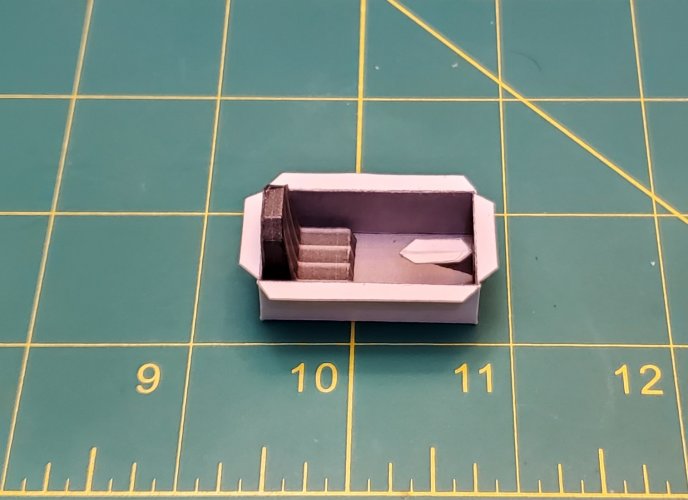
The seat is attached in place.
20220713_105409.jpg

The dashboard console is assembled. I raised the screens.
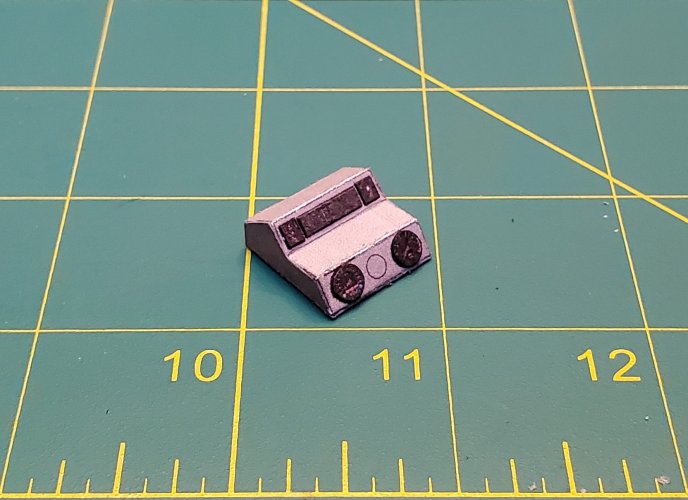
20220713_111146.jpg

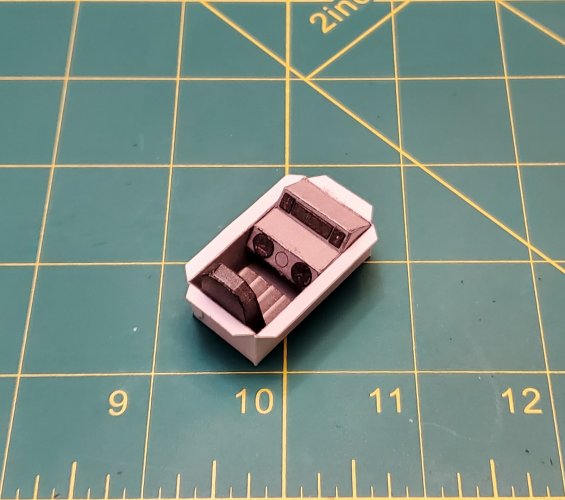
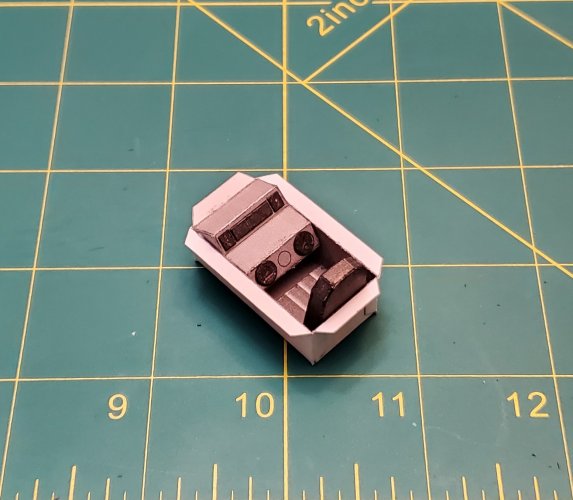
The dashboard console is attached in place.
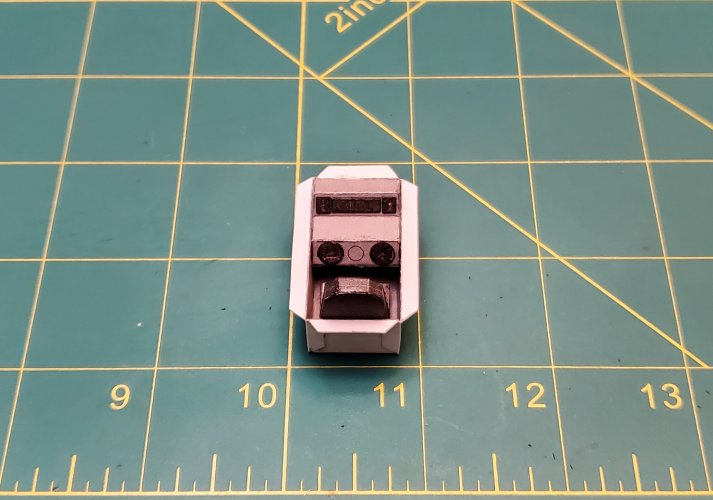
20220713_112049.jpg

20220713_112103.jpg

20220713_112118.jpg

The steering will is assembled. I raised the actual handles and the center medallion.
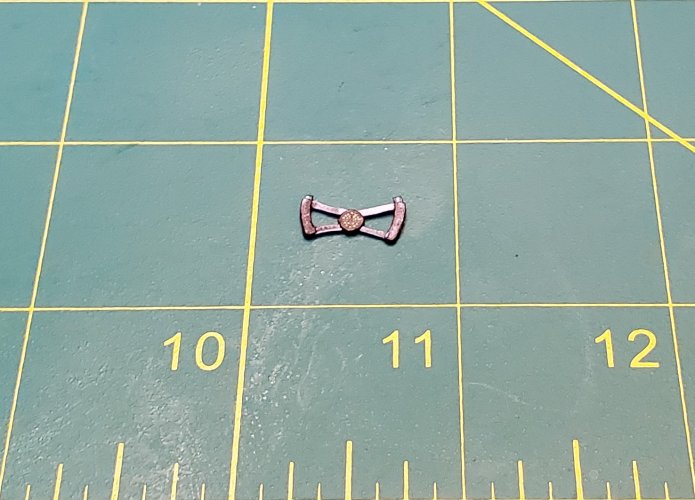
20220713_120122.jpg

The steering wheel post is attached in place.
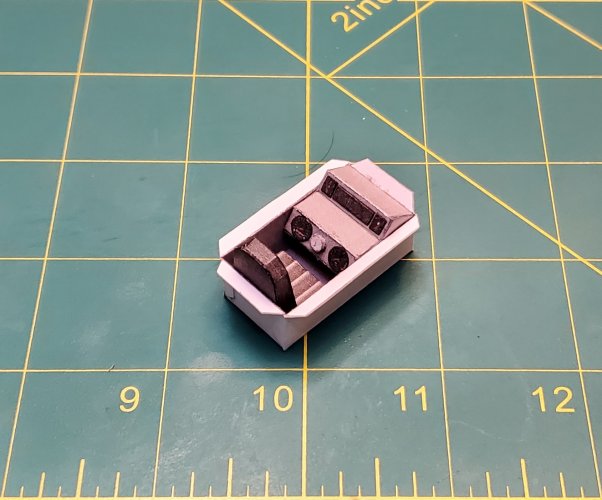
20220713_120820.jpg

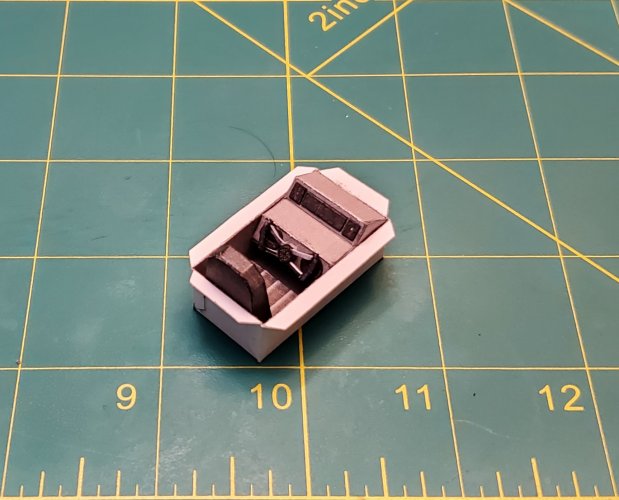
The steering wheel is attached in place.
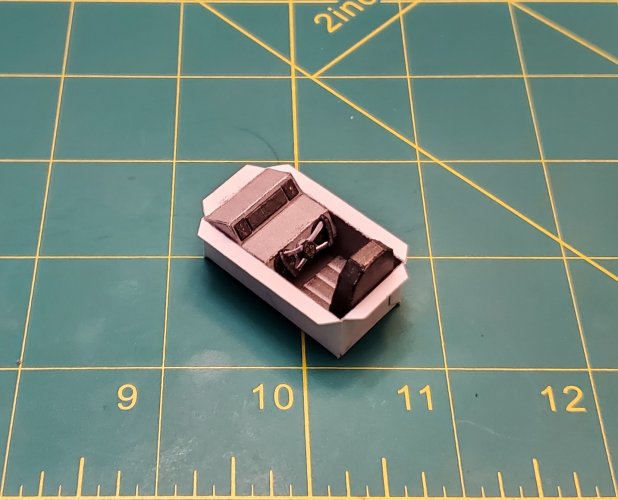
20220713_121025.jpg

20220713_121037.jpg

Please stay tunes to your local Colonial Broadcast network for further updates as they come in.
 

Rhaven Blaack

!!!THE MAN BEHIND THE CURTAIN!!!
Staff member
Administrator
Moderator
Jun 12, 2009
12,525
9,907
228
Oregon
www.deviantart.com
Now, moving on to the nose (front fuselage).

Here are the parts for the nose (front fuselage).
20220713_155214.jpg

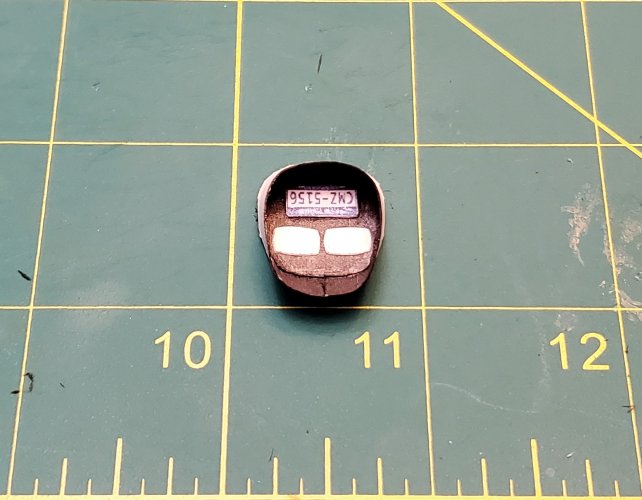
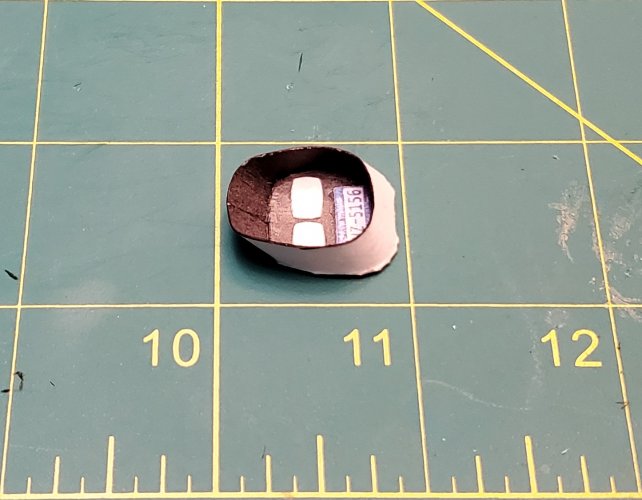
Here is the inner nose piece. I raised the license plate and the head light lenses.
20220713_194133.jpg

20220713_194147.jpg

20220713_194159.jpg

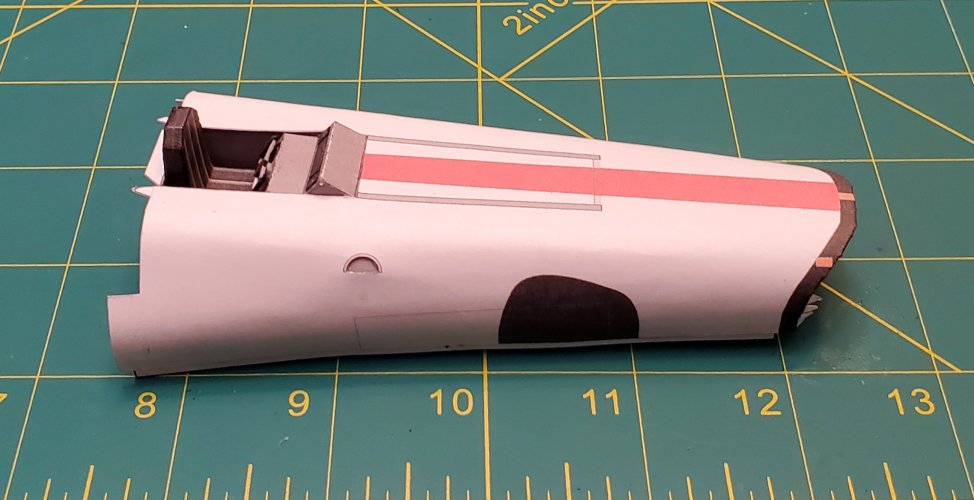
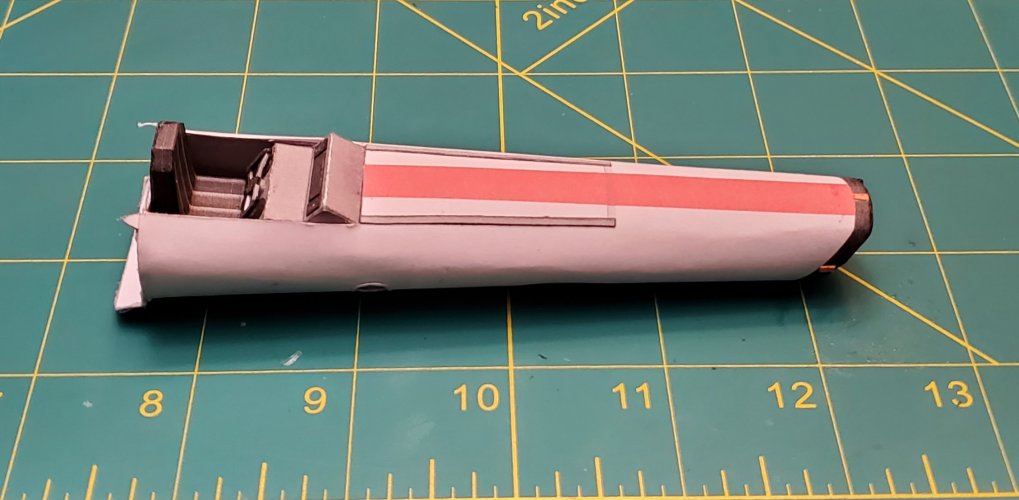
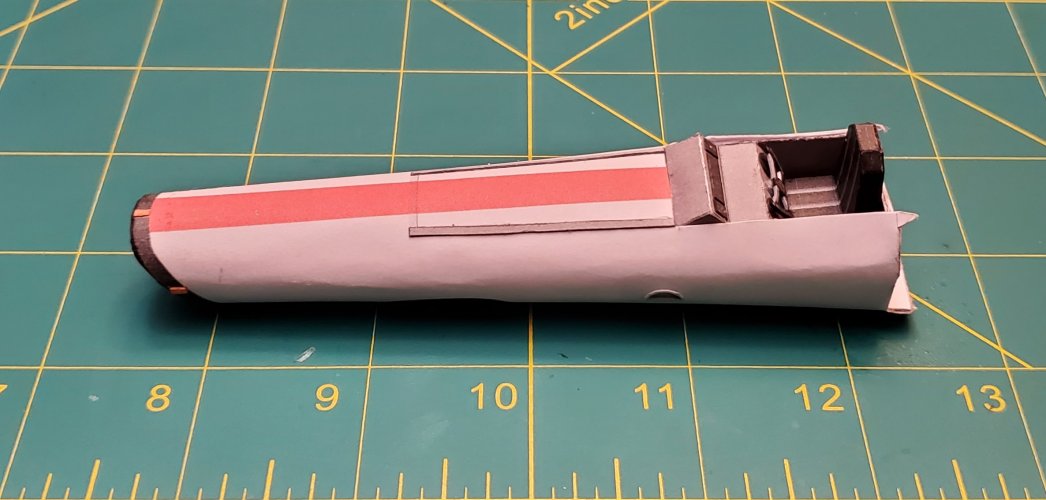
I attached the cockpit tub to the fuselage body and recessed the side steps.
20220713_203200.jpg

20220713_203220.jpg

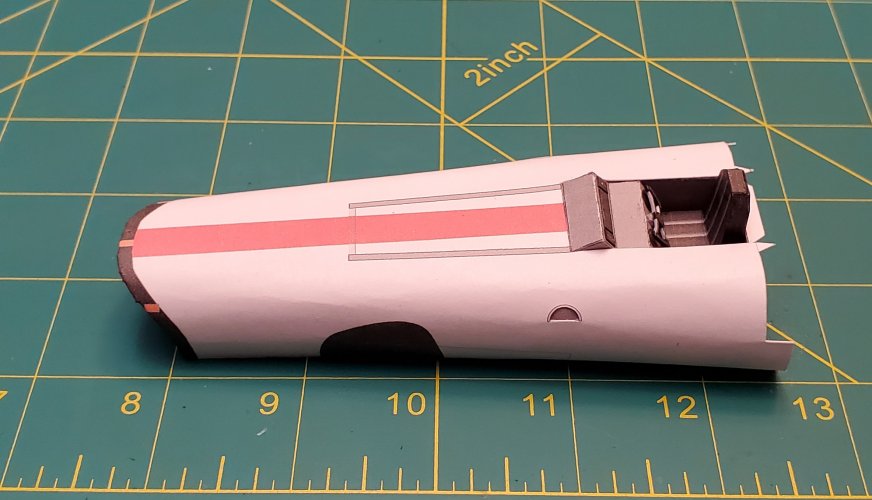
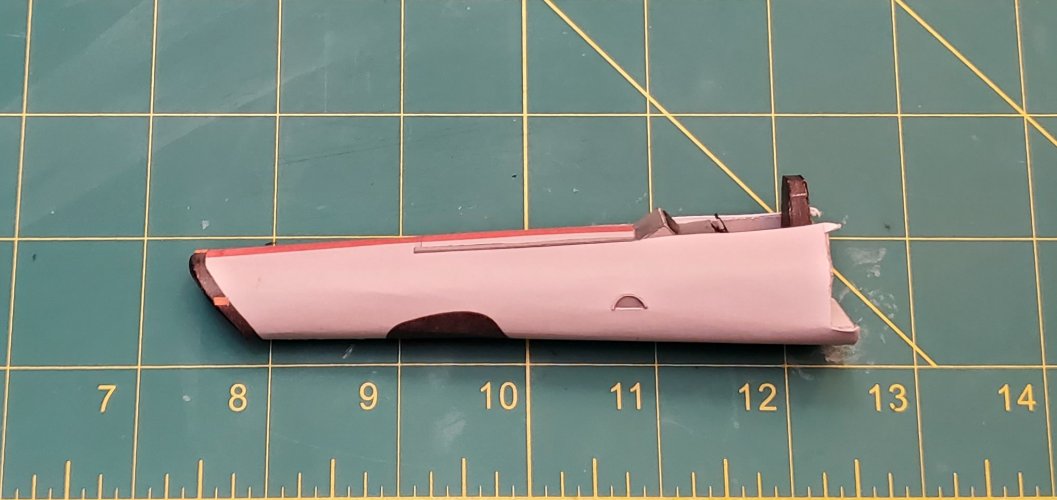
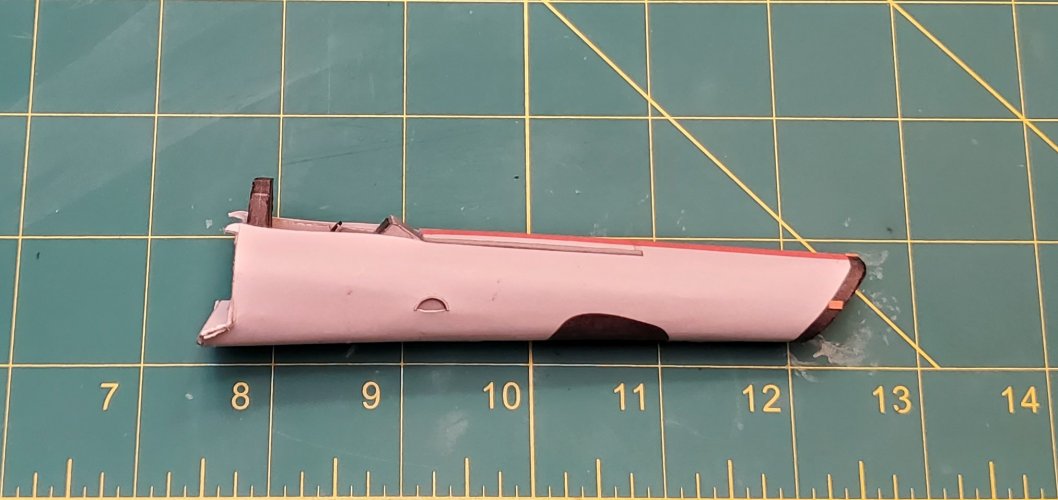
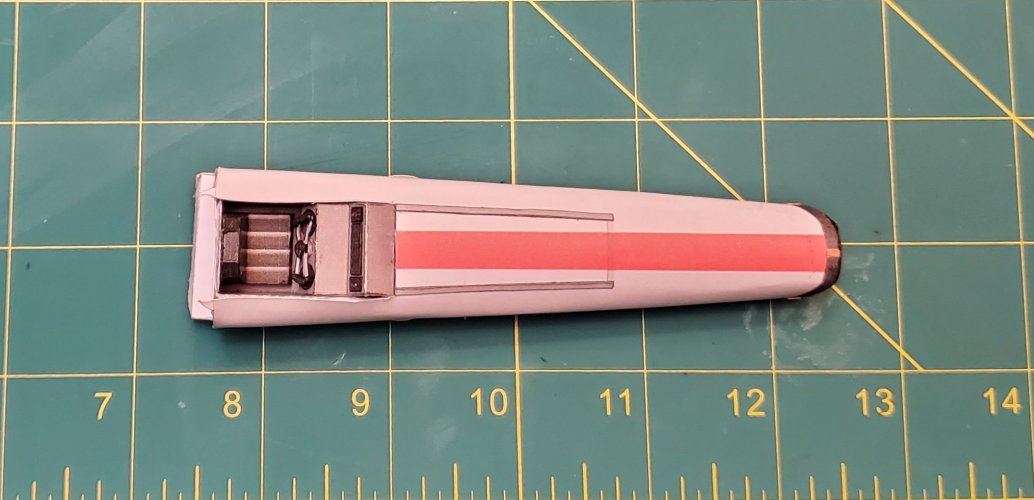
The fuselage is closed. The rear piece and the inner nose piece are attached in place. I also raised the three front orange lights, the cockpit canopy rails and the arch over the steps.
20220713_224405.jpg

20220713_224422.jpg

20220713_224442.jpg

20220713_224502.jpg

20220713_224522.jpg

Please stay tunes to your local Colonial Broadcast network for further updates as they come in.
 

Rhaven Blaack

!!!THE MAN BEHIND THE CURTAIN!!!
Staff member
Administrator
Moderator
Jun 12, 2009
12,525
9,907
228
Oregon
www.deviantart.com
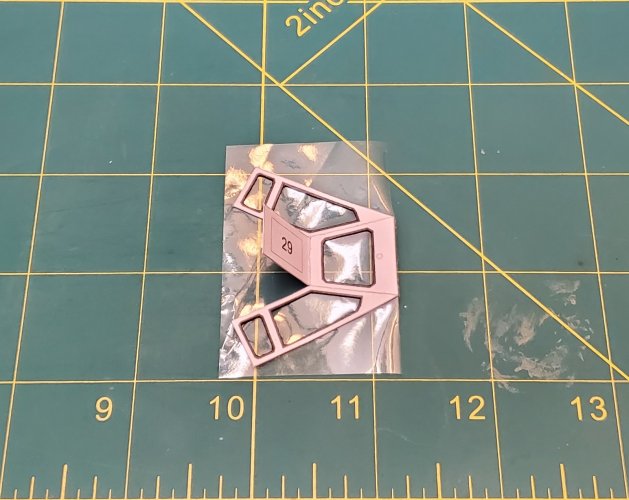
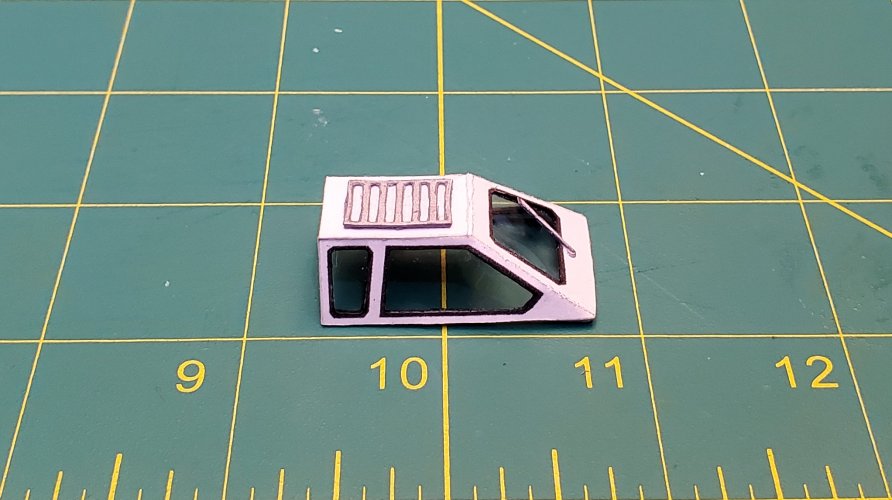
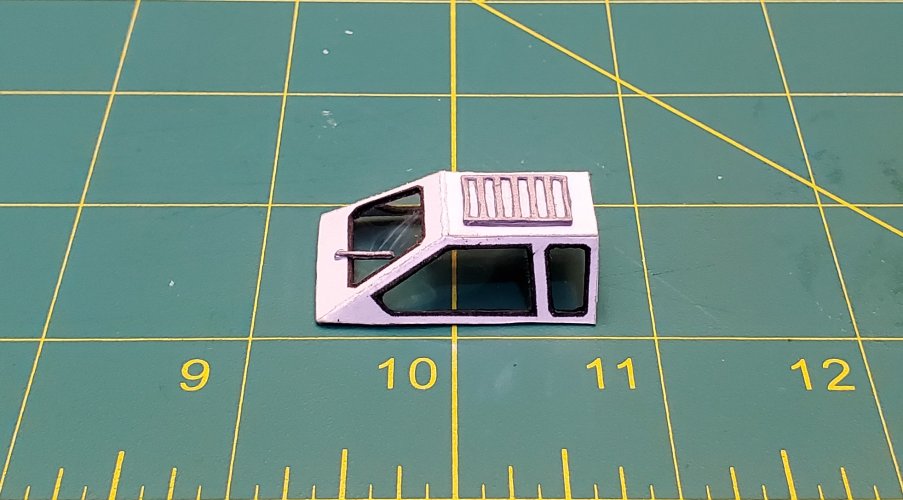
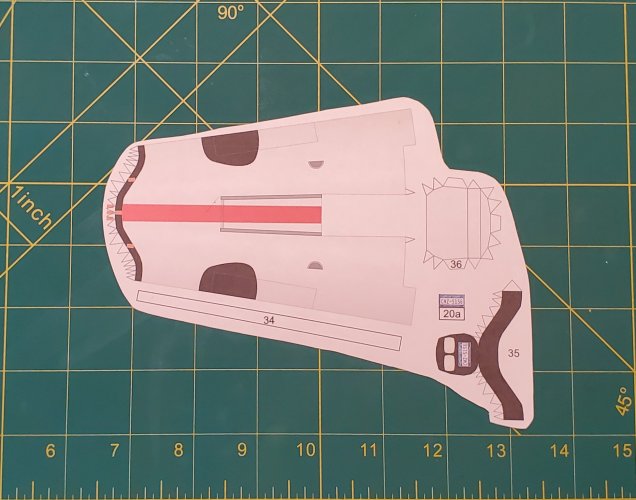
Moving on to the cockpit canopy. Since I want an "open" canopy, I had to work a little magic.

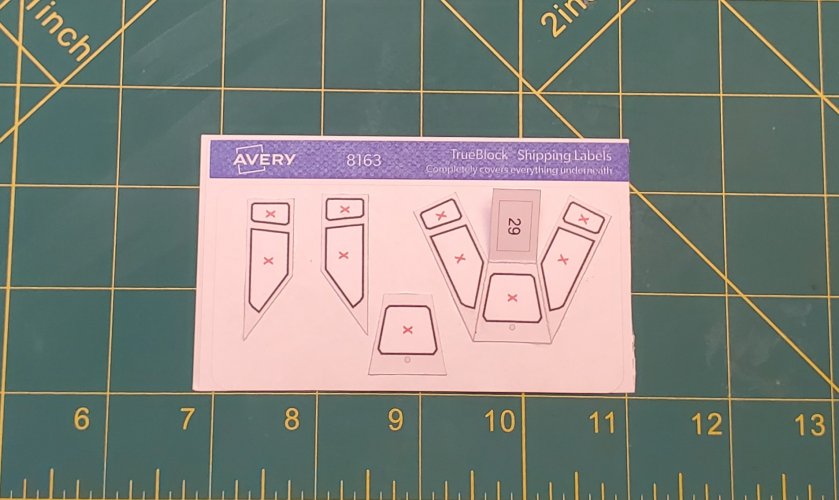
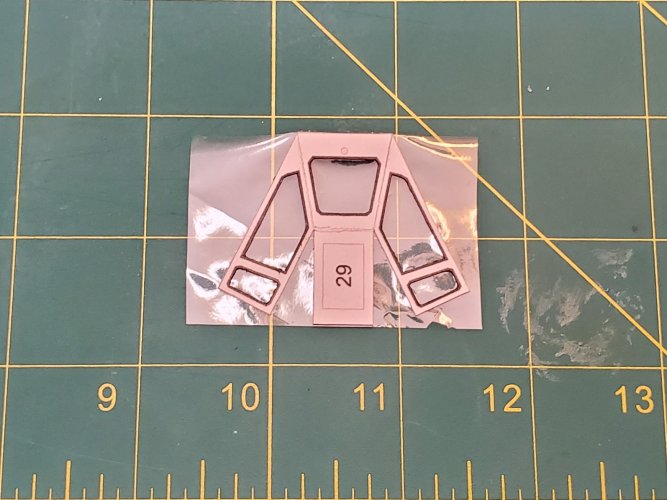
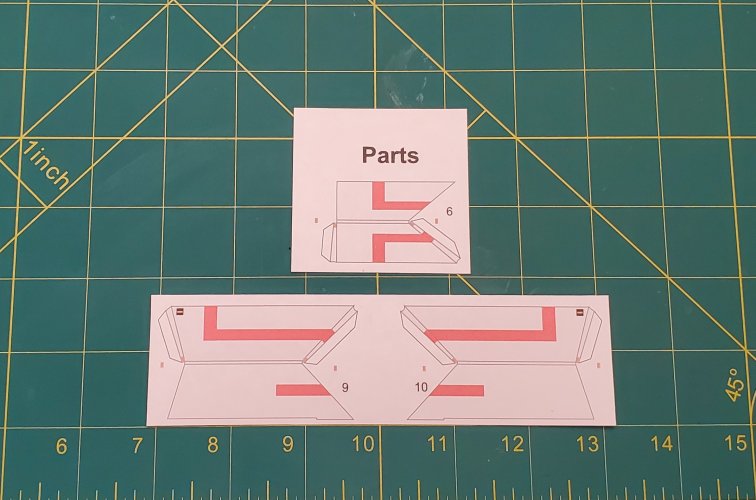
I layered two sets of canopy parts to (2" x 4") shipping labels. Wi the outside of the canopy, make certain that you DO NOT glue the roof of the canopy to the label (*NOTE* I will explain this later.).
20220714_083752.jpg

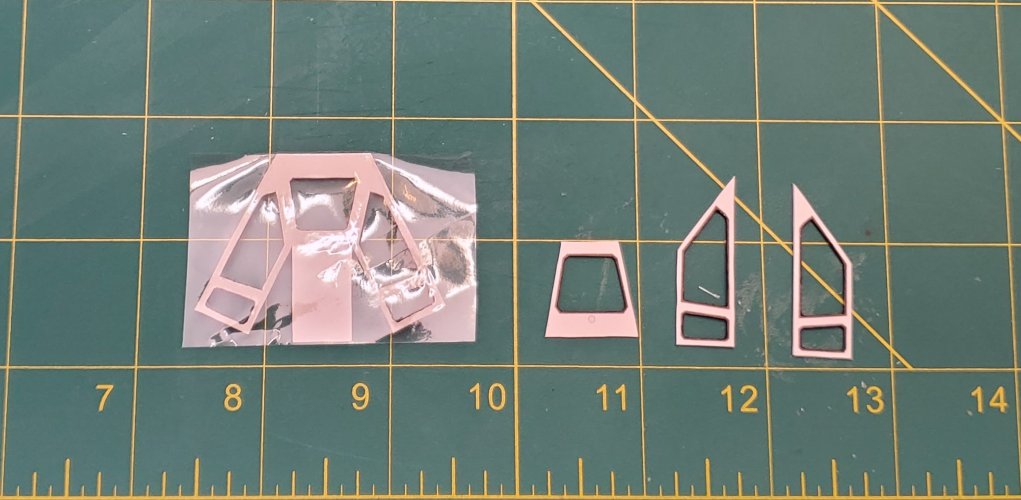
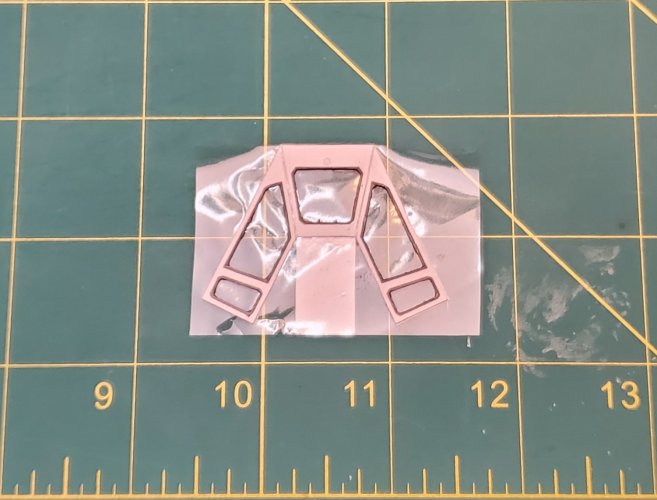
I cut the outside layer of the canopy, painted the inside edges of the windows, and attached it to the clear plastic.
20220714_091240.jpg

Make certain that the roof of the canopy is still not glued to anything.
20220714_091311.jpg

Here are the inside pieces for the canopy (the inside edges of the windows are painted) and the main part of the canopy.
20220714_093436.jpg

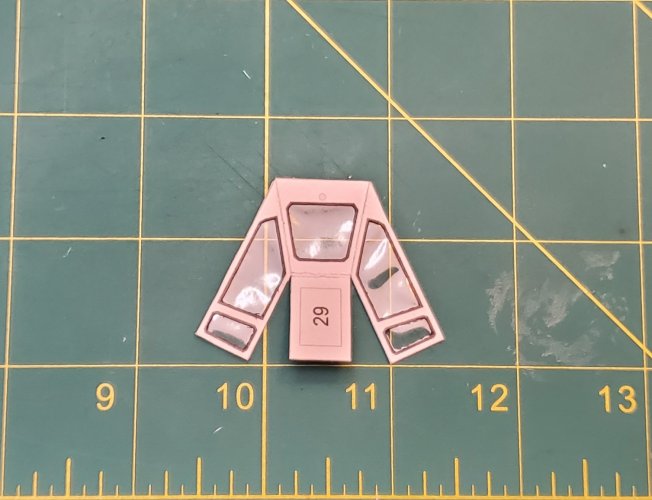
I carefully attached the inside pieces to the main part of the canopy (making certain that the edges of the windows lineup properly.
20220714_094412.jpg

I trim away all of the access plastic.
20220714_094638.jpg

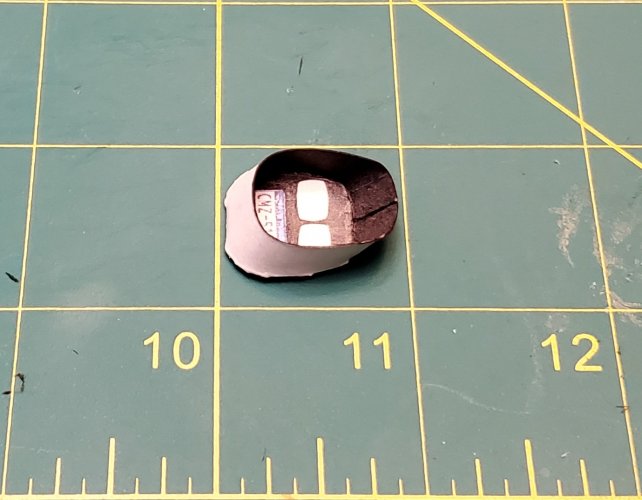
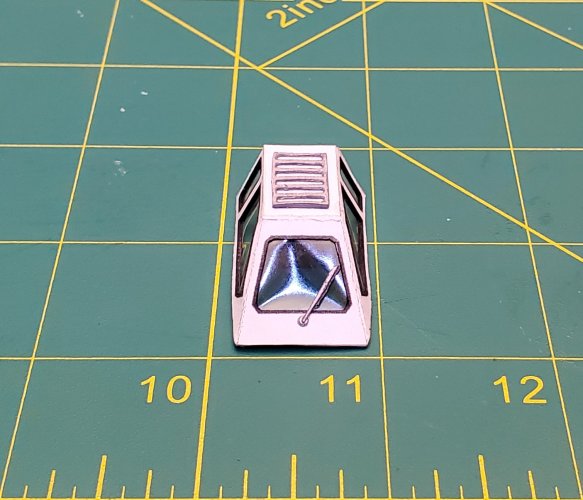
The canopy is formed and the rack and wiper are attached in place.
With the rack, I cut away the void areas and raised the bars. With windscreen wiper, I raised the gray wiper arm (to show depth).
20220714_120533.jpg

20220714_120545.jpg

20220714_120601.jpg

Please stay tunes to your local Colonial Broadcast network for further updates as they come in.
 

Rhaven Blaack

!!!THE MAN BEHIND THE CURTAIN!!!
Staff member
Administrator
Moderator
Jun 12, 2009
12,525
9,907
228
Oregon
www.deviantart.com
Now for the "tail and wings".
Here are the parts for the "tail and wings".
20220715_164759.jpg

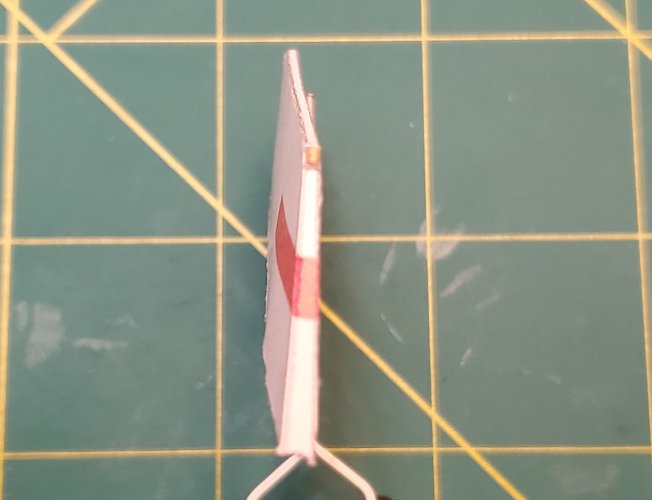
The "tail and wings" are assembled. I greebled the lights.
20220715_232829.jpg

Here is the "tail". On both the front and back lights, I raised the gray boarder around the light lens and raised the lens itself.
20220715_232844.jpg

20220715_232850.jpg

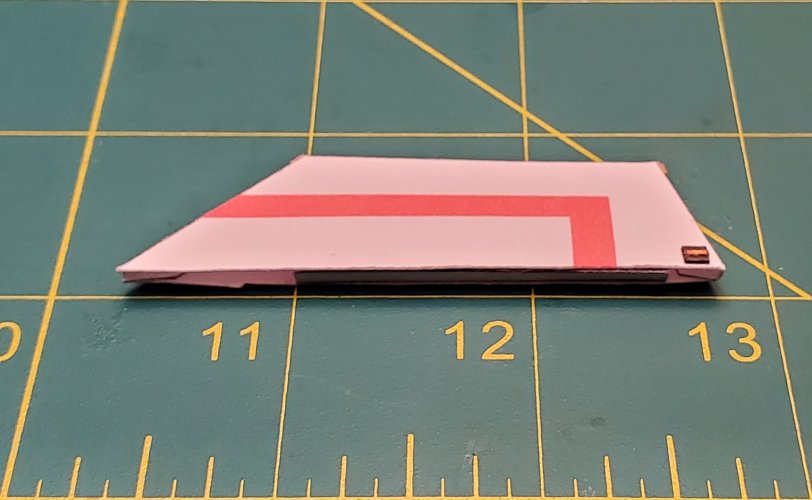
For lights on the wings, on both the front and back lights, I raised the gray boarder around the light lens and raised the lens itself.
20220715_232941.jpg

20220715_233040.jpg

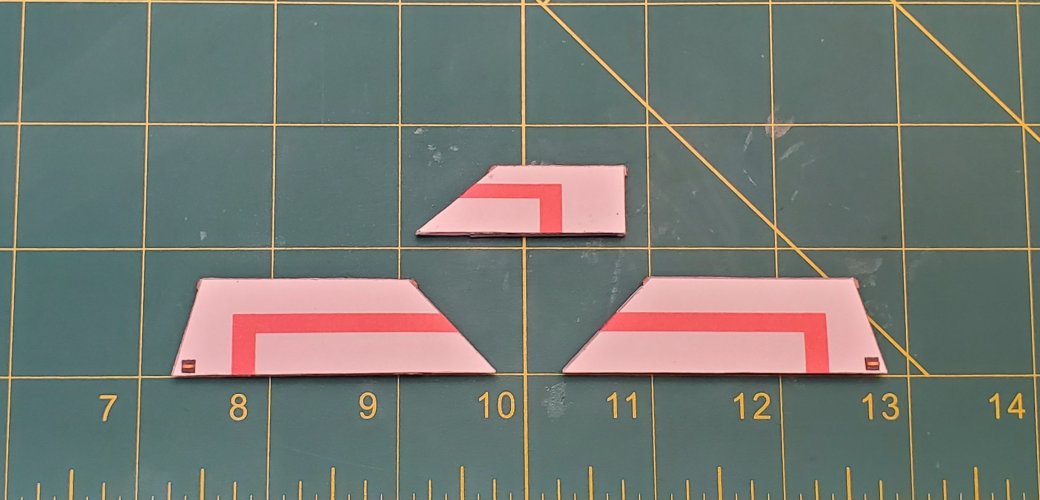
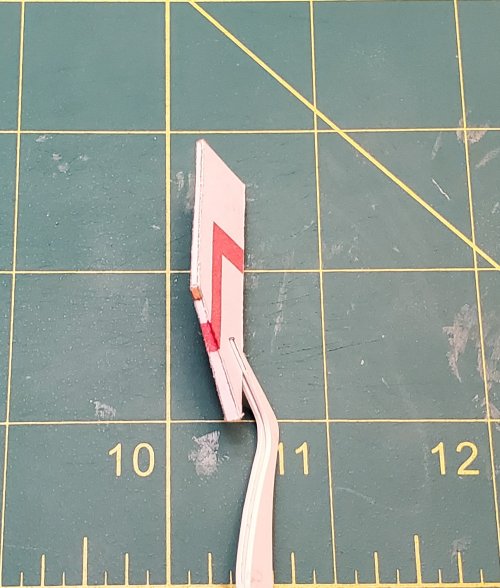
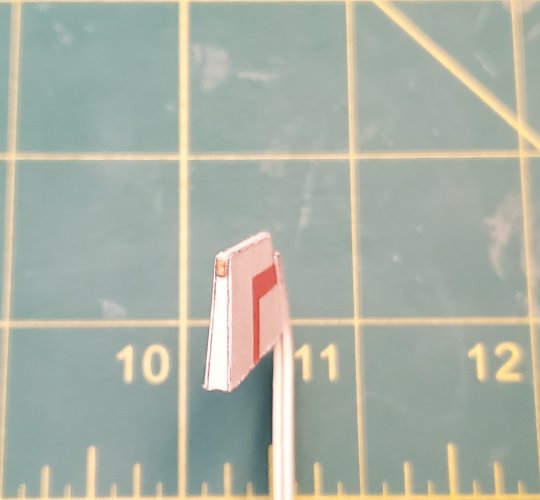
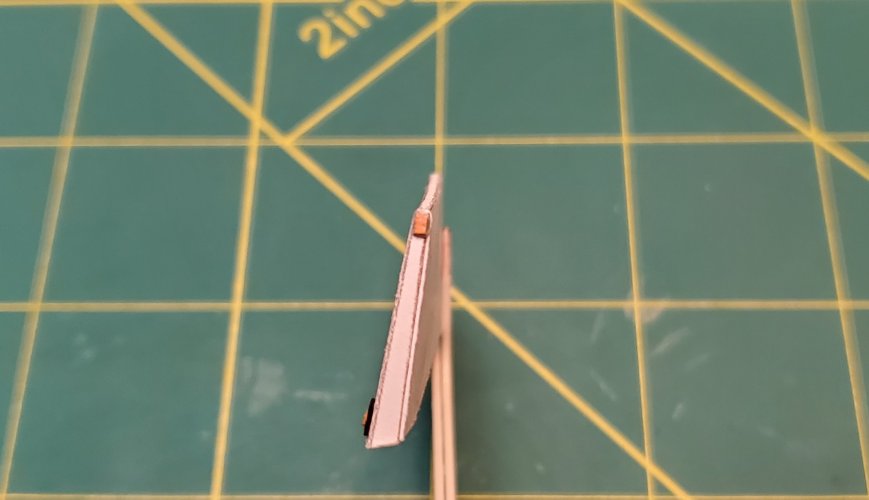
For the side light on the upper rear part of the wing, I raised the black boarder and raised the lens as well.
20220715_232858.jpg

Please stay tunes to your local Colonial Broadcast network for further updates as they come in.
 

Rhaven Blaack

!!!THE MAN BEHIND THE CURTAIN!!!
Staff member
Administrator
Moderator
Jun 12, 2009
12,525
9,907
228
Oregon
www.deviantart.com
Now for the "engines". The "engines" are straightforward and easy to build.

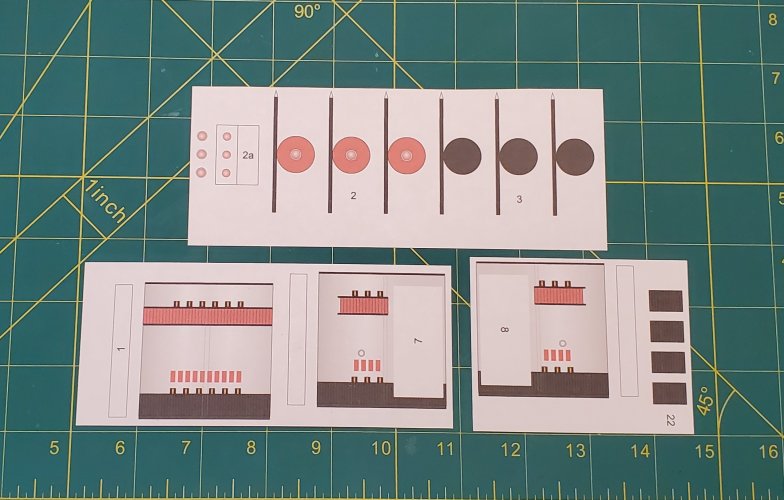
Here are the parts for the "engines".
20220716_122110.jpg

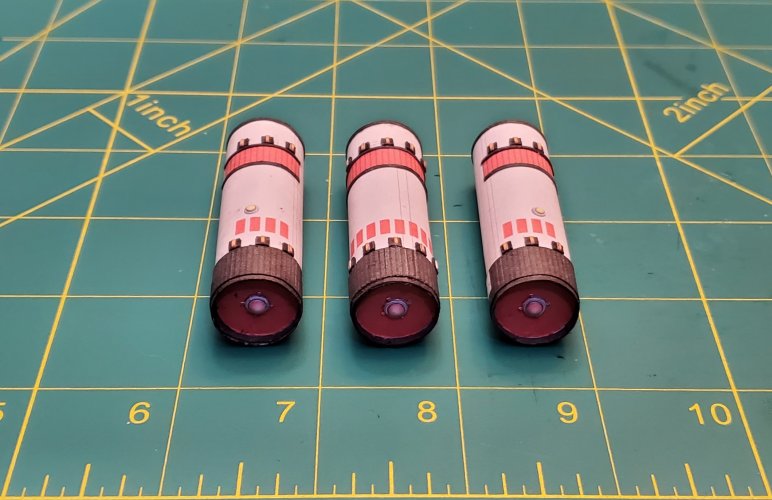
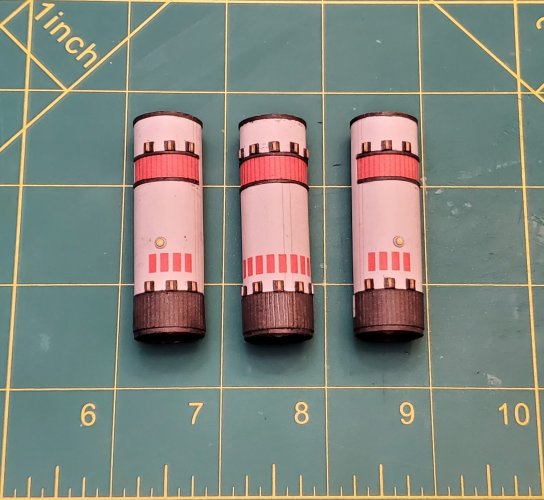
The "engines" are assembled. I raised the all of the greebling, and "domed" the lights.
20220717_222017.jpg

20220717_222032.jpg

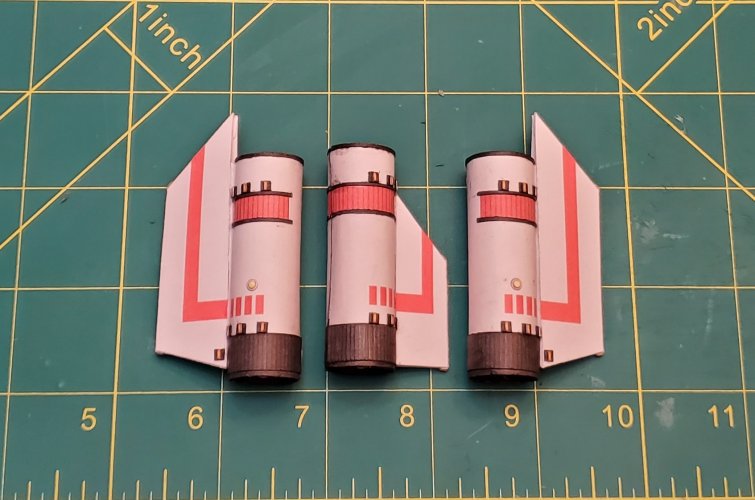
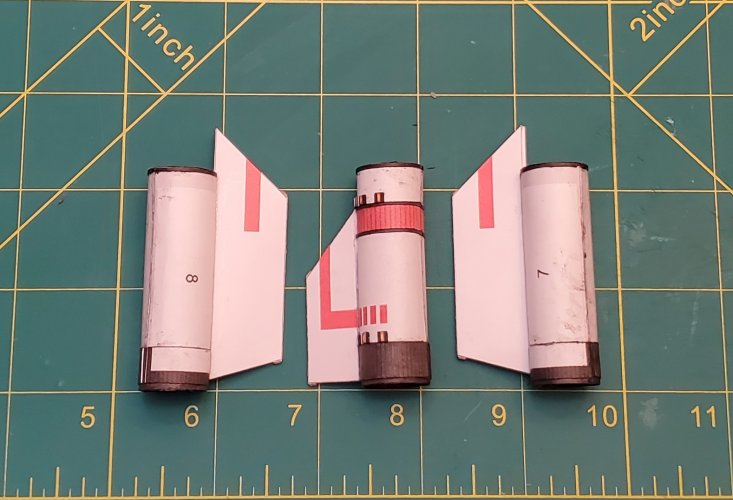
I attached the wings and tail to the "engines".
20220717_223643.jpg

20220717_223718.jpg

Please stay tunes to your local Colonial Broadcast network for further updates as they come in.
 

micahrogers

Moderator "Where am I, and how did I get here?"
Staff member
Moderator
Jul 12, 2012
3,772
4,639
113
Shannon GA
Great work, your cockpit canopy is great, transparency for paper models seems to be my downfall.