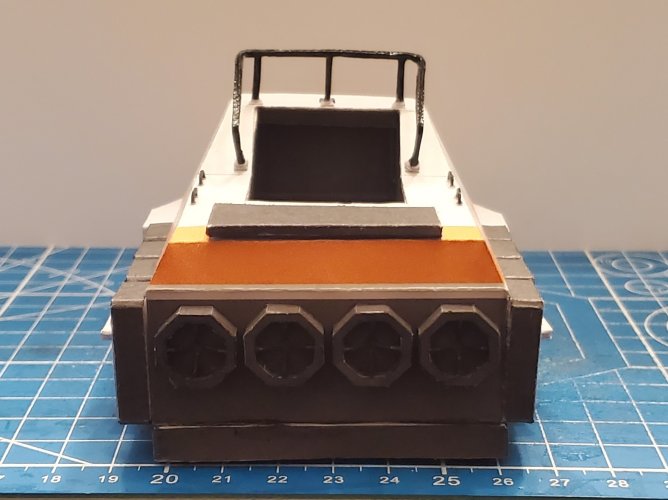
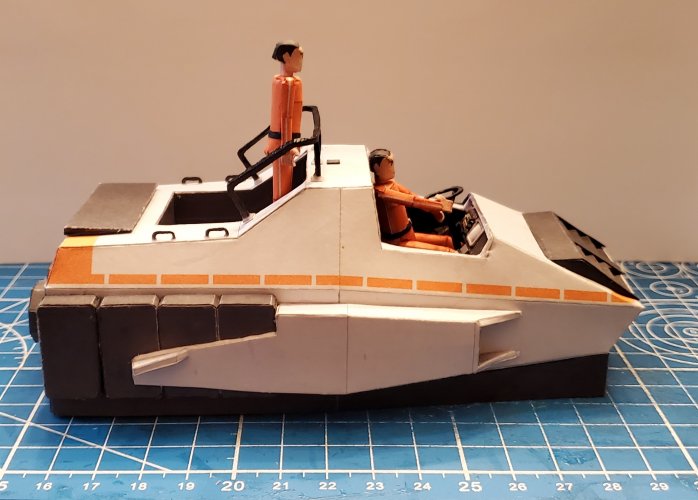
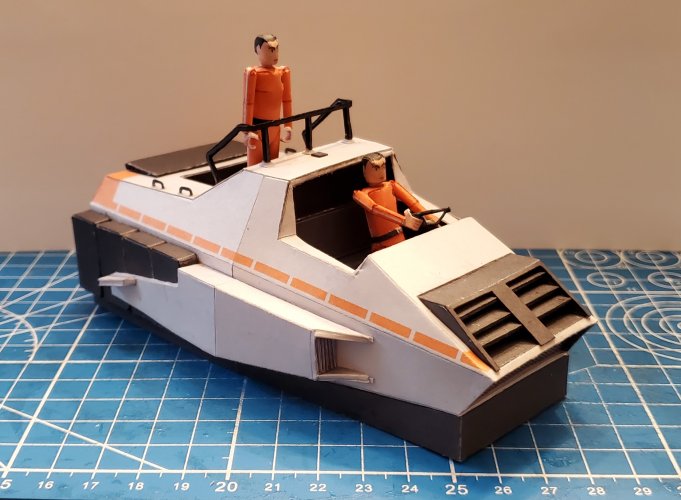
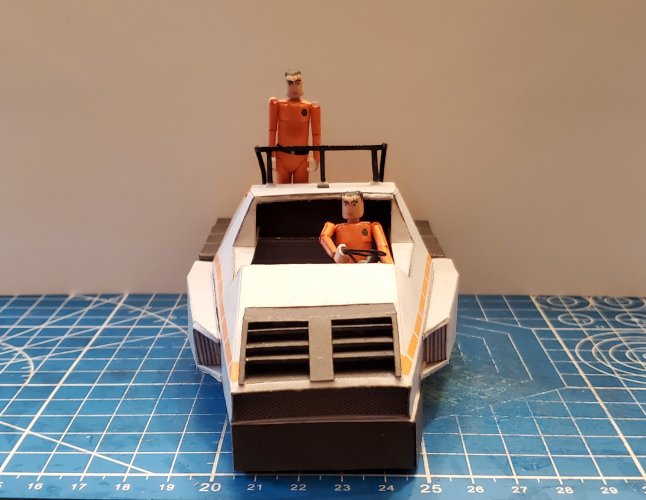
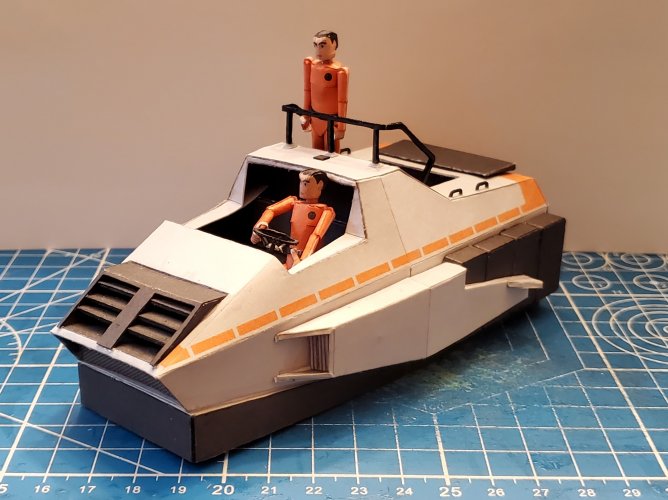
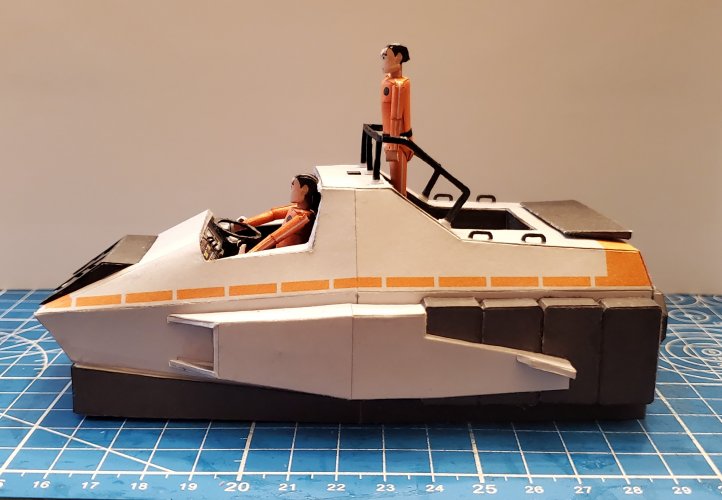
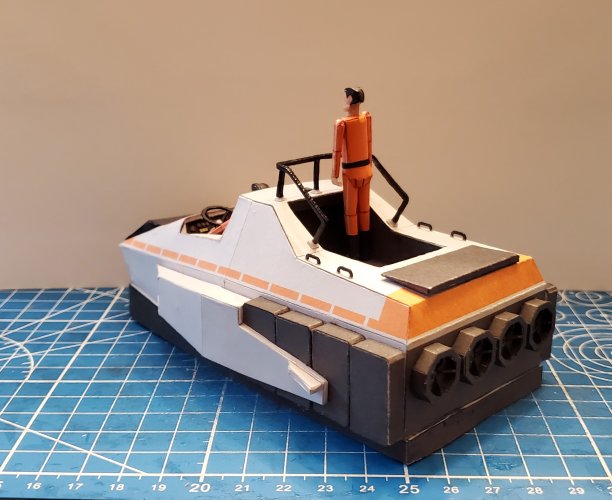
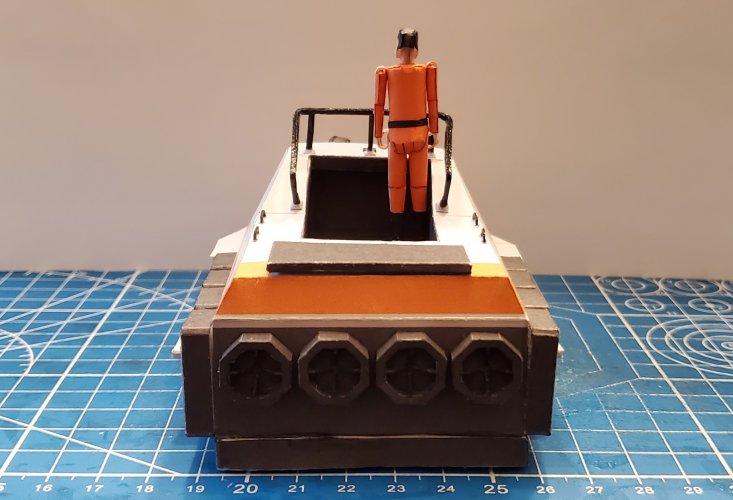
Battlestar Galactica/Buck Rogers Hover Vehicle
- Thread starter Rhaven Blaack
- Start date
You are using an out of date browser. It may not display this or other websites correctly.
You should upgrade or use an alternative browser.
You should upgrade or use an alternative browser.
- Apr 5, 2013
- 13,498
- 9,549
- 228
Perfect! The hover mechanism was highly inspired by another hover mobile from a favourite movie series featuring a time machine with style.  I thought, while we are at it, why not have some fun with the bottom. The Aston Martin was pretty "pale" on details there, so this one will get all the bells and whistles (even though you won't ever see it on display - unless you are placing it on a lifting platform or in a crash dio upside down
  ). BTW, please don't be alarmed by the lack of posts from me. I'm working on a new model for my Star Wars friend but since I don't know if he is a silent reader of this forum I don't want to spoil anything. In addition, it is pretty hot here which makes building a little bit complicated; I don't want to leave any stains on the model, so my building time depends on the current conditions here.
 ). BTW, please don't be alarmed by the lack of posts from me. I'm working on a new model for my Star Wars friend but since I don't know if he is a silent reader of this forum I don't want to spoil anything. In addition, it is pretty hot here which makes building a little bit complicated; I don't want to leave any stains on the model, so my building time depends on the current conditions here.
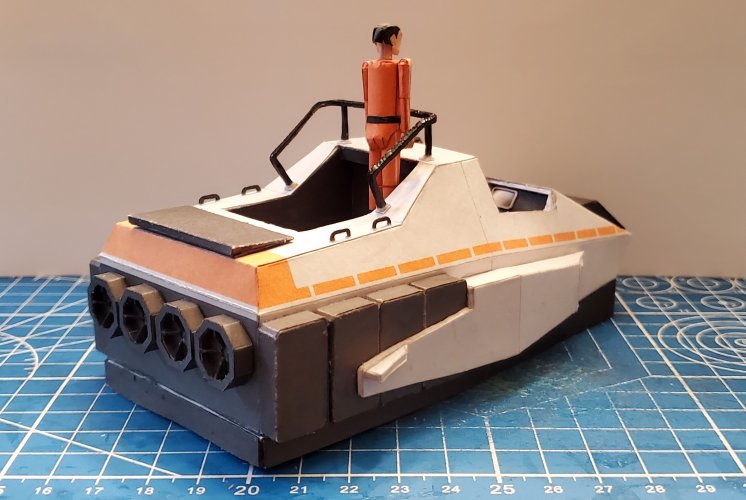
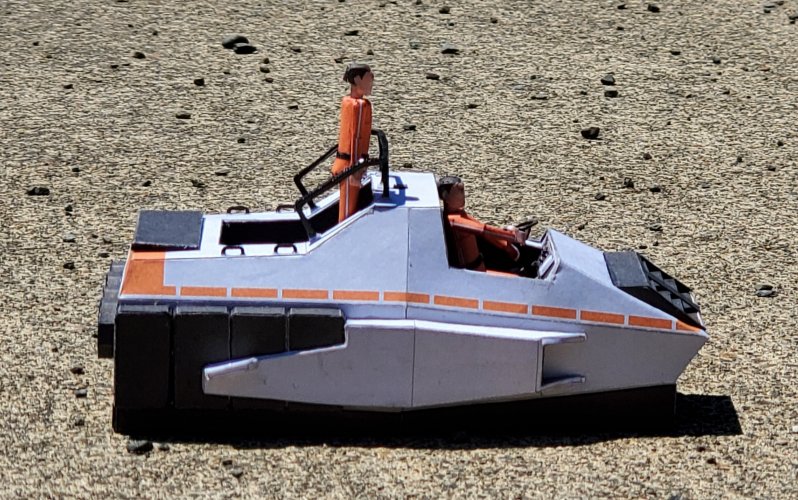
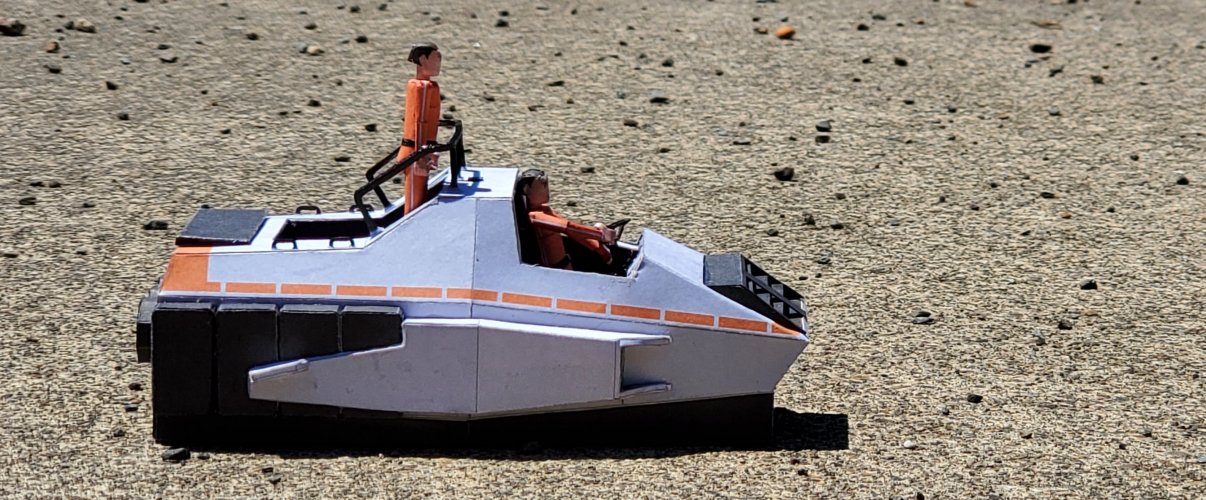
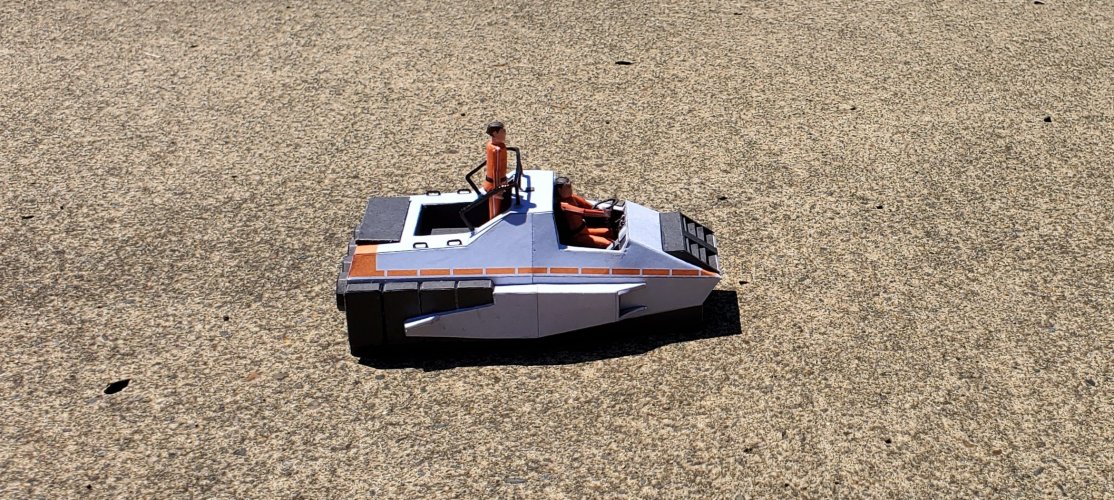
 I decided to add a couple of figures to the Hover Vehicle.
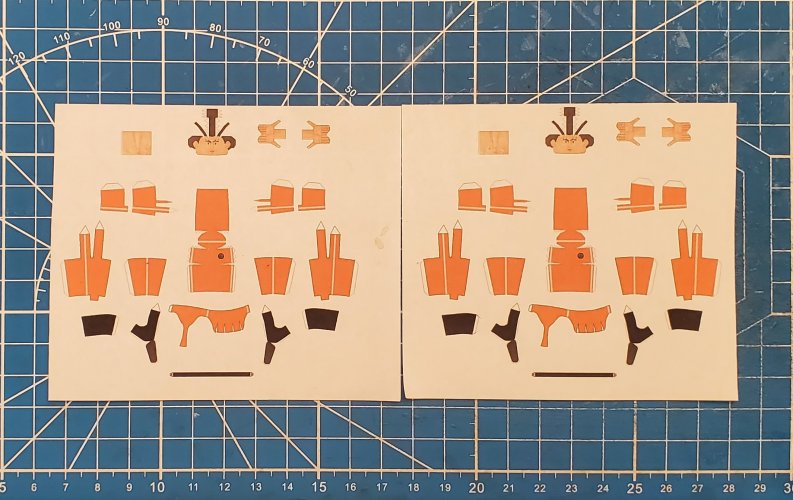
Here are the parts for the figures.
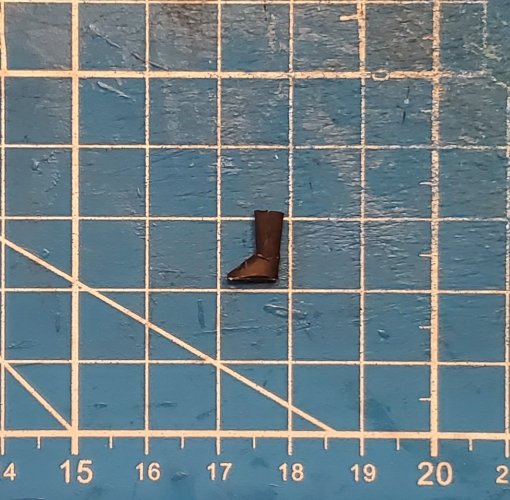
I like to start from the bottom, up (with the boots).
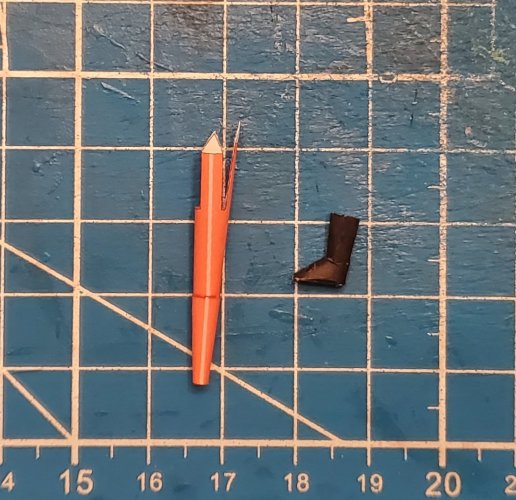
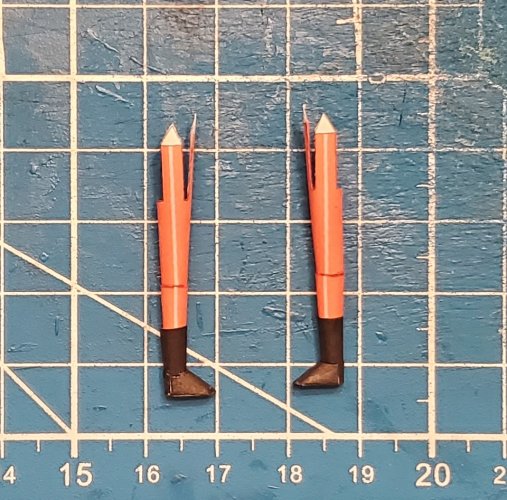
Here is the leg and boot.
The leg and boot are together.
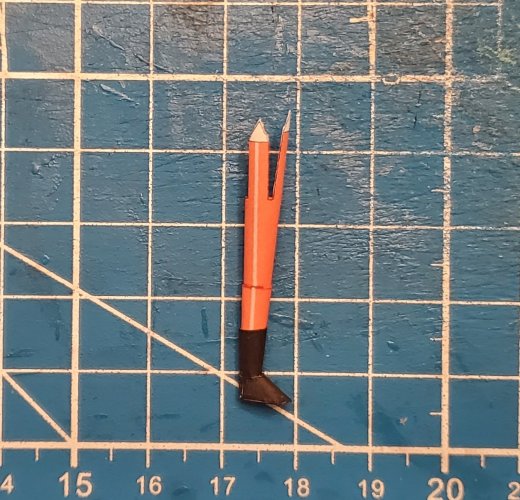
Both legs are assembled.
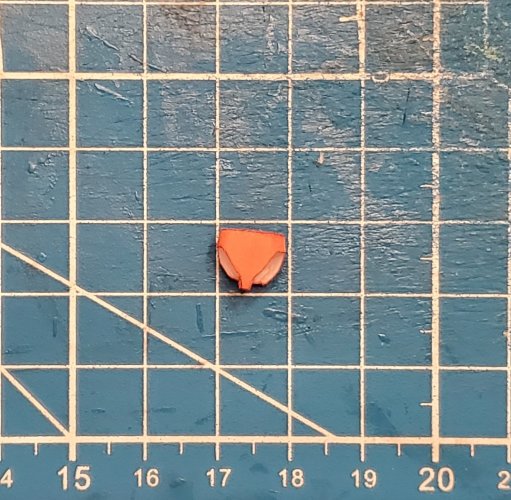
This is the pelvicpiece.
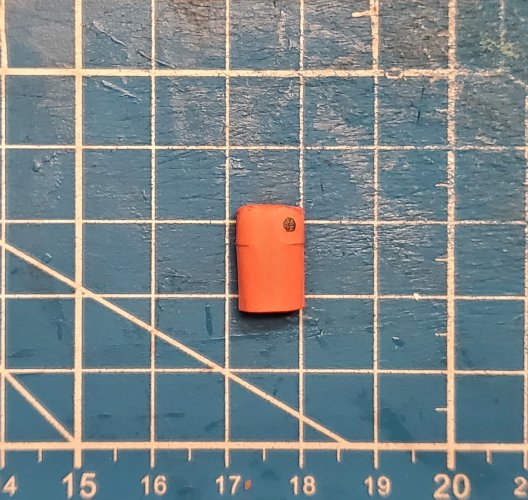
This is the torso piece.
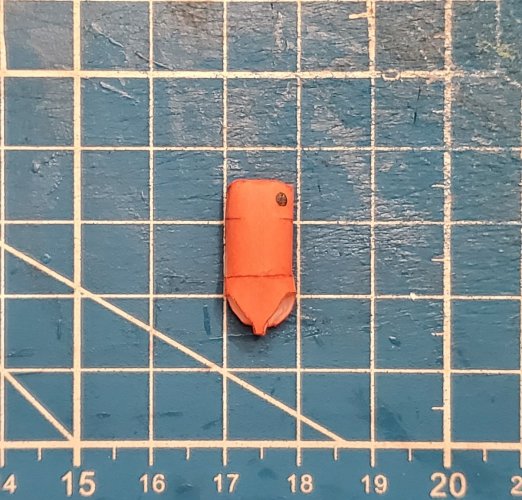
The torso and pelvic piece are connected.
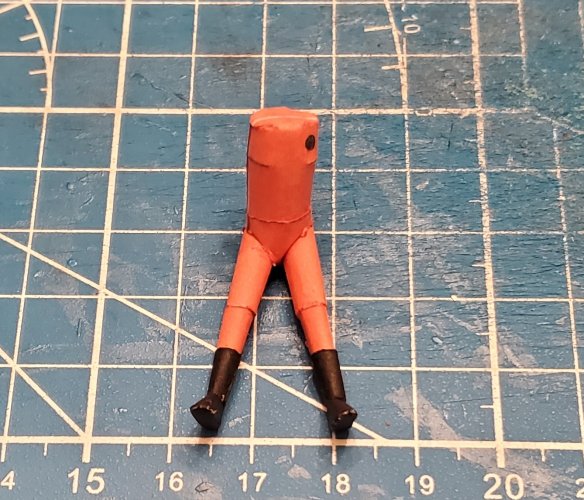
The legs are attached.
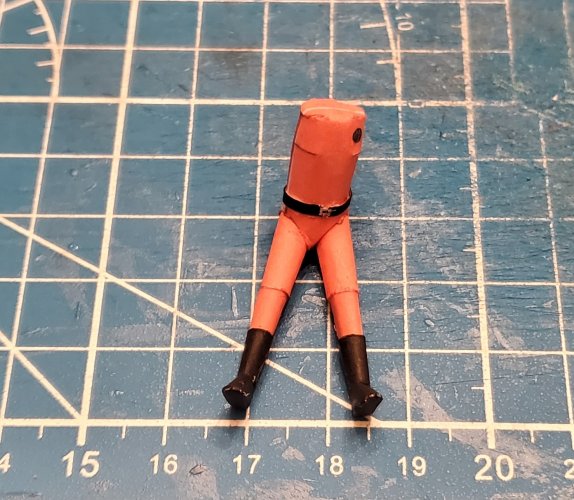
The belt is attached.
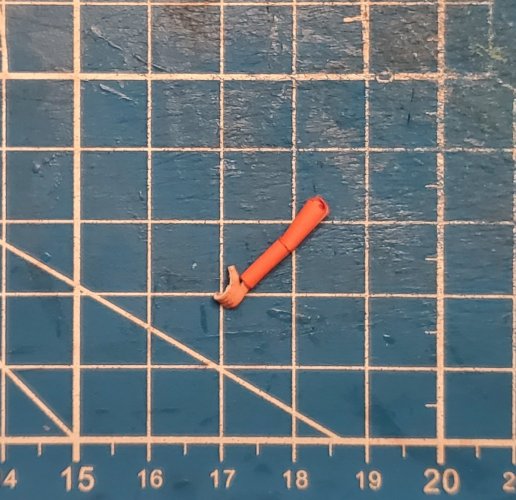
The right arm is assembled.
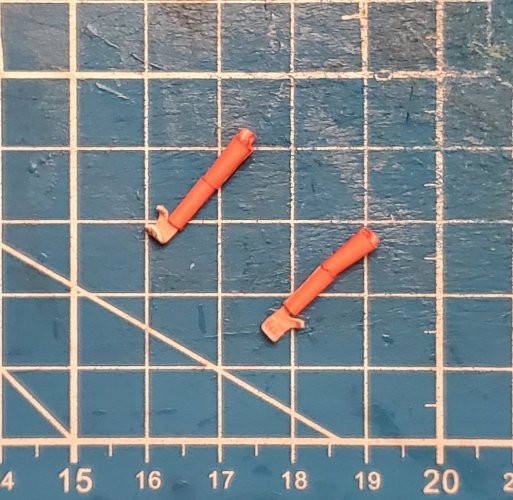
Both arms are assembled.
The arms are attached in place.
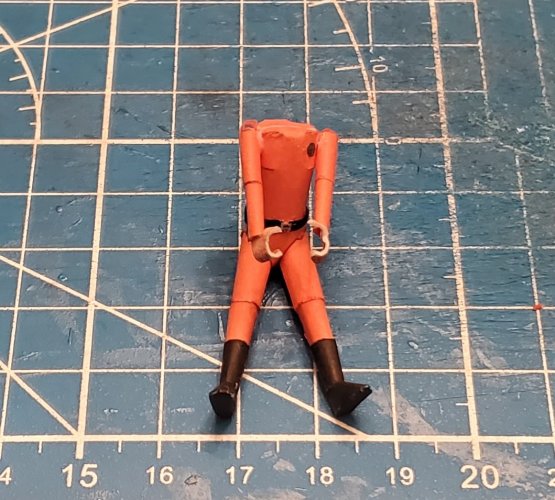
The head is assembled.
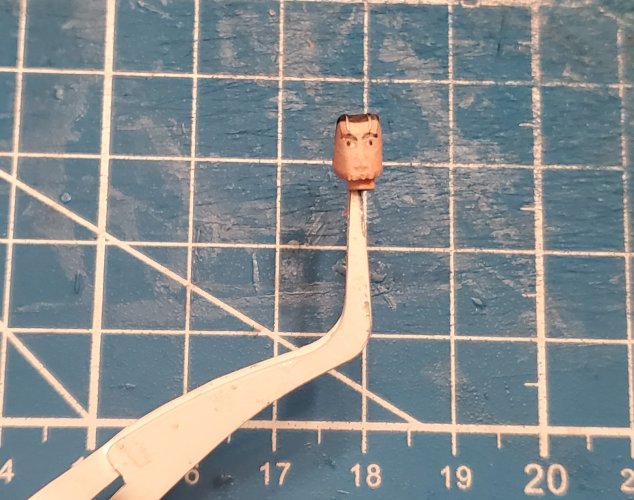
The head is attached in place. The figure is complete.
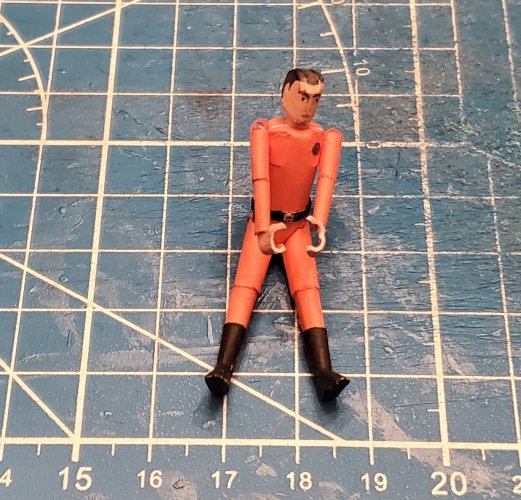
Here are the parts for the figures.

I like to start from the bottom, up (with the boots).

Here is the leg and boot.

The leg and boot are together.

Both legs are assembled.

This is the pelvicpiece.

This is the torso piece.

The torso and pelvic piece are connected.

The legs are attached.

The belt is attached.

The right arm is assembled.

Both arms are assembled.

The arms are attached in place.

The head is assembled.

The head is attached in place. The figure is complete.

The photo shoot with the figures is looking great. A fine well done job RB.
Thank you sir!!!The photo shoot with the figures is looking great. A fine well done job RB.
Both @Revell-Fan and I had a discussion about finishing this project as a whole. So, we are moving forward with it. Revell-Fan is currently working on the template. There are seven (7) different variants: Galactica-1980 (gray with an orange strip), (two (2) versions of) Paradeen (brown), Zeta (blue), Zeta (gold), (EDD) Earth Defense Directorate (bronze), and white.
I will be building all seven (7) versions. All of the builds will be posted in this thread. YES, I start off with rebuilding the G-80 version (again), I had given the first one that I built, to a friend.
Please stay tuned in to your local Colonial Broadcast Network as well as your local Earth Directorate broadcasting channels for more updates.
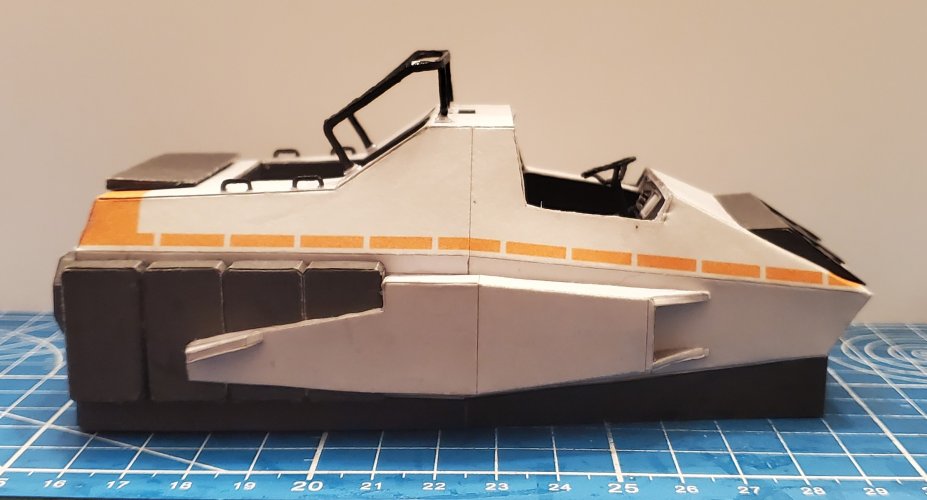
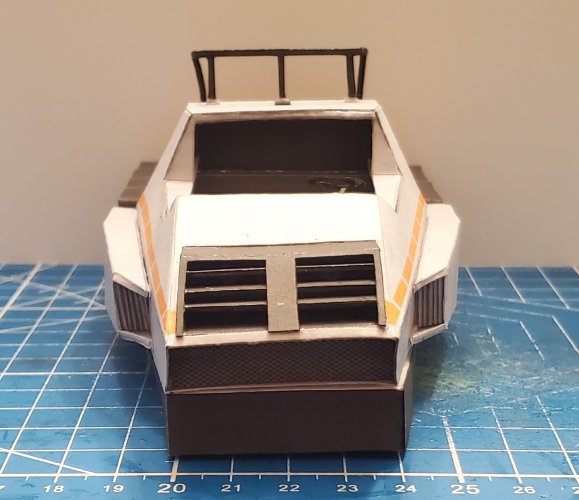
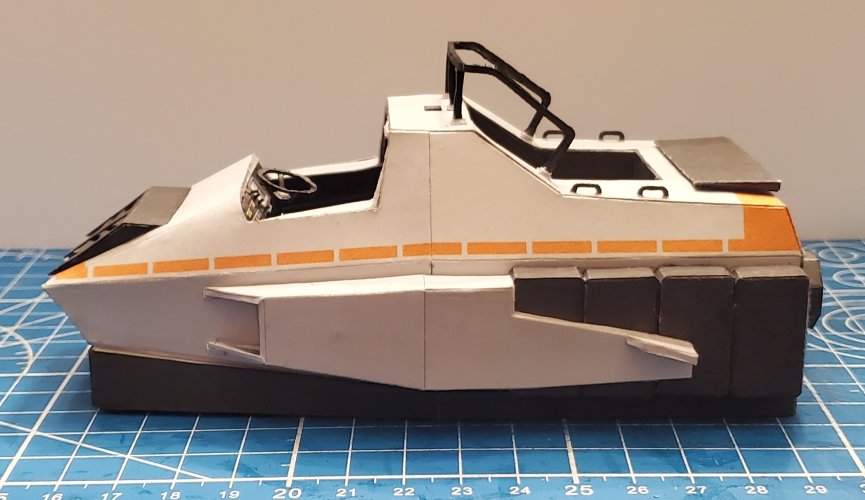
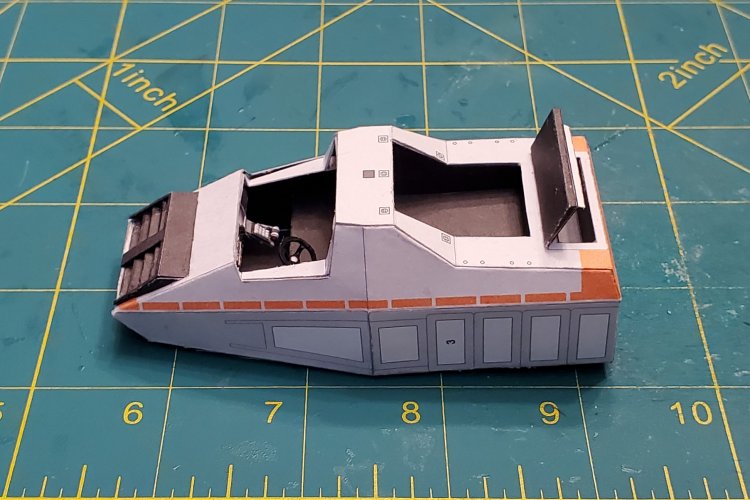
As mentioned in my last post, I am starting on the "G-80" (gray with orange stripe) version, first. Since I have already conducted a detailed build of this model earlier, this build (as well as the following builds of the different variants) will mostly focus featuring the different paint schemes that distinguish the different variants.
Here are the parts sheets.
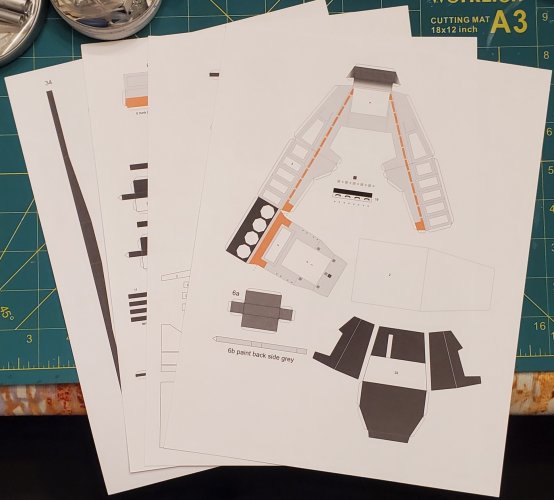
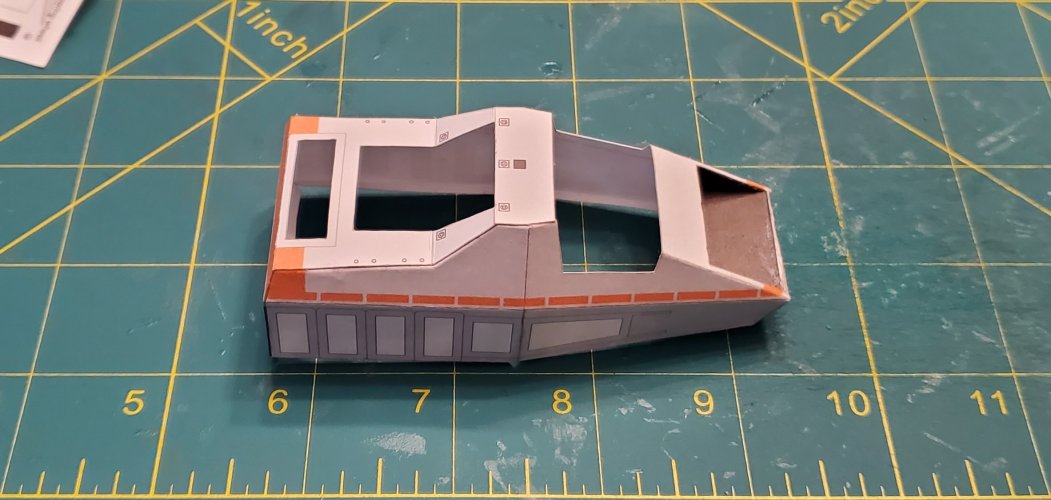
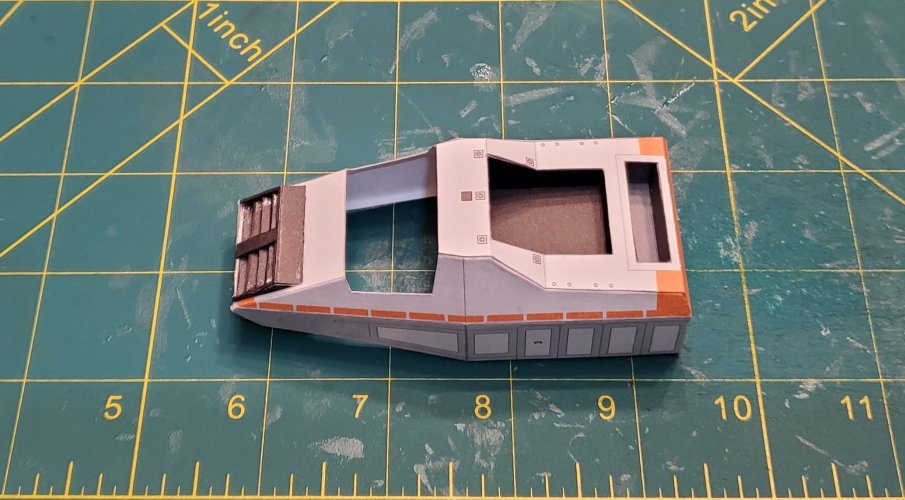
I assembled the main body.
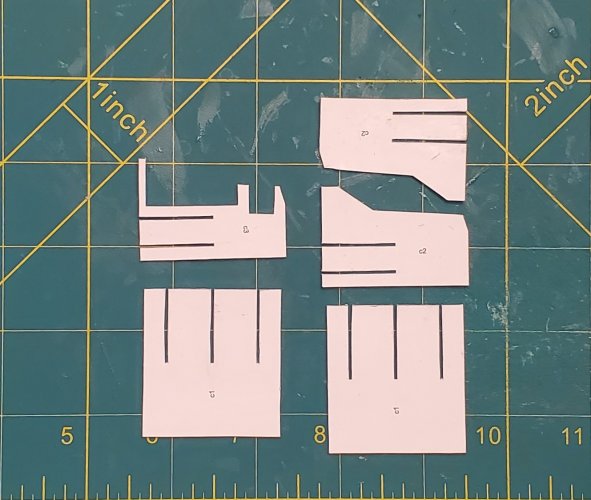
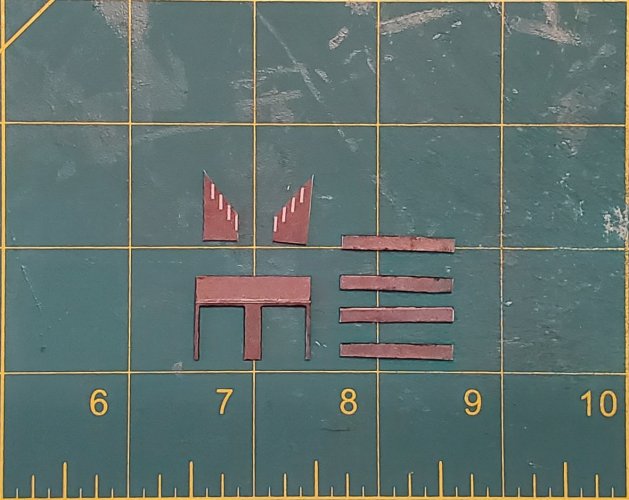
Here are the parts for the front louvred grill.
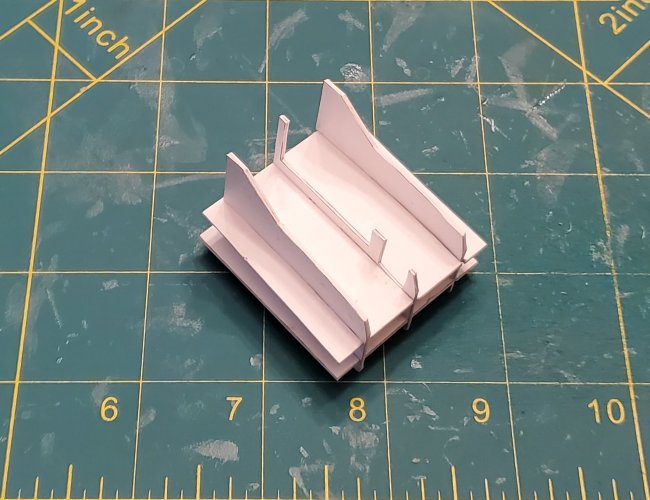
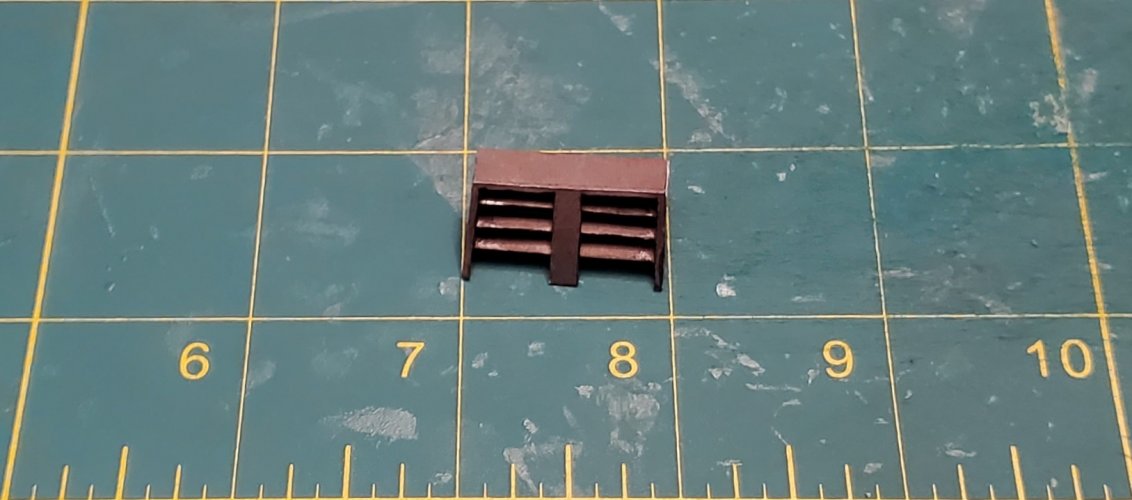
The front louvred grill is assembled.
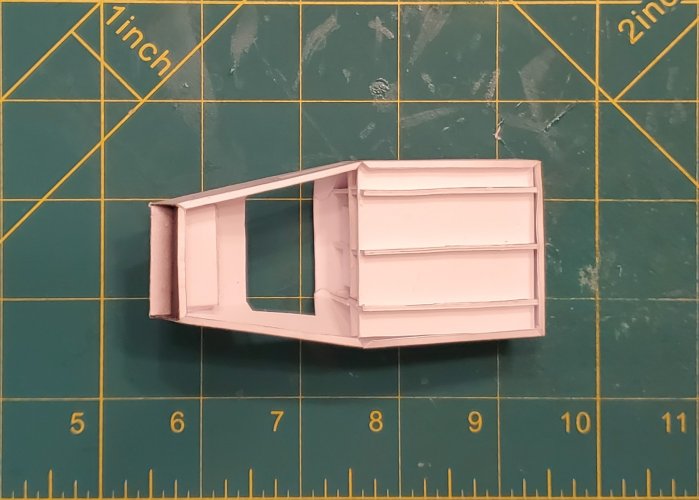
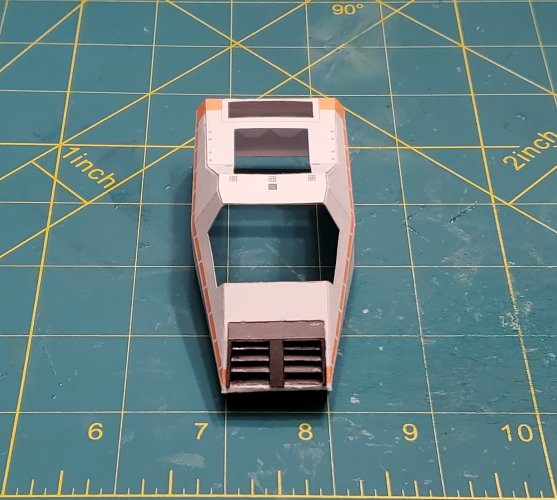
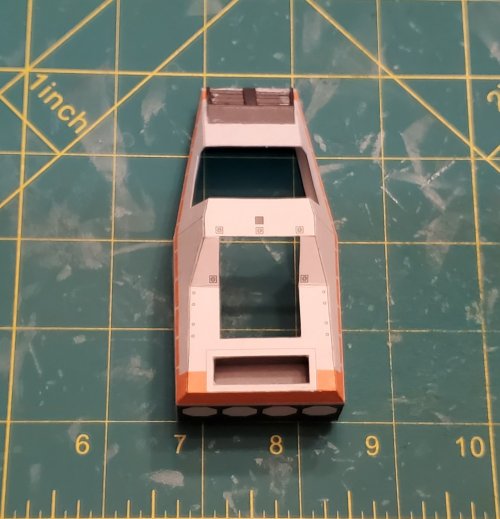
The front louvred grill is attached in place.
This is the part for the "trunk".
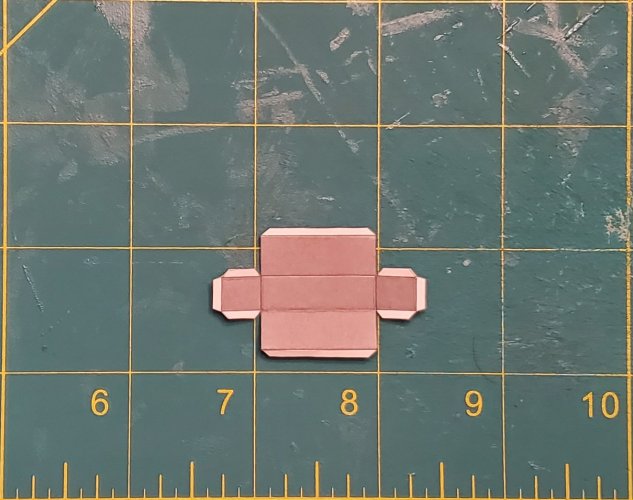
The trunk is assembled and attached in place.
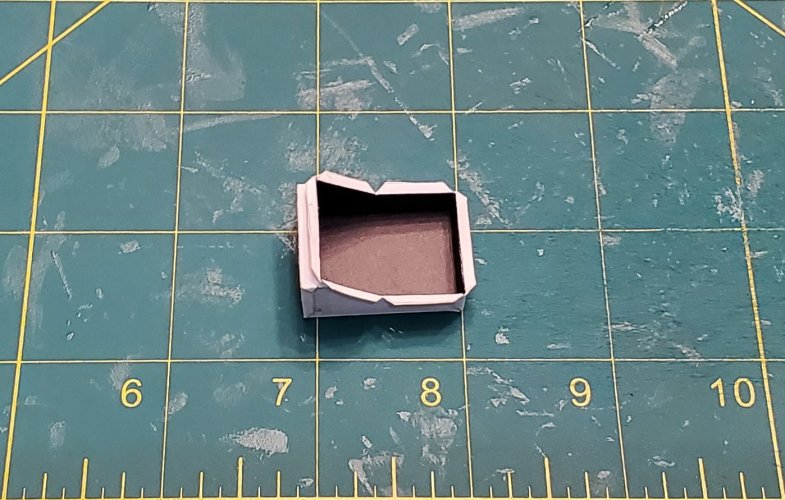
This is the main storage compartment
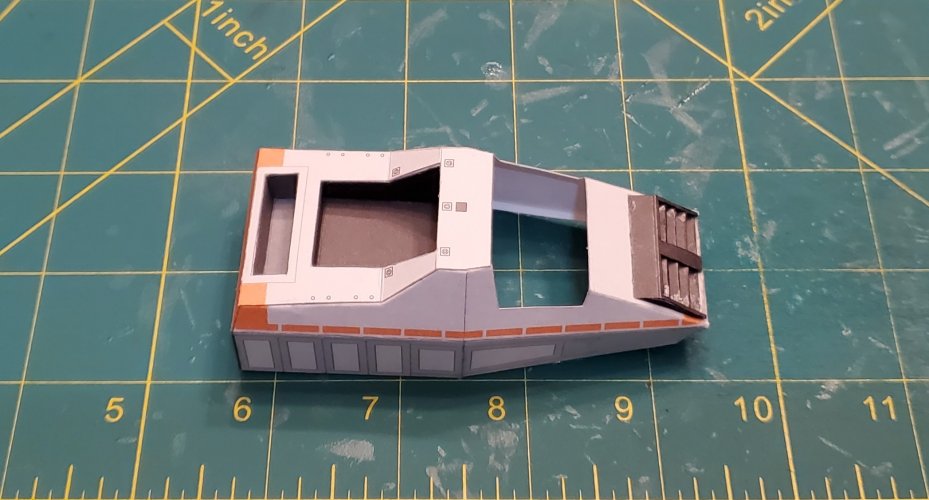
The main storage compartment is attached in place.
Please stay tuned in to your local Colonial Broadcast Network as well as your local Earth Directorate broadcasting channels for more updates.
Here are the parts sheets.

I assembled the main body.

Here are the parts for the front louvred grill.

The front louvred grill is assembled.

The front louvred grill is attached in place.

This is the part for the "trunk".

The trunk is assembled and attached in place.

This is the main storage compartment

The main storage compartment is attached in place.


Please stay tuned in to your local Colonial Broadcast Network as well as your local Earth Directorate broadcasting channels for more updates.
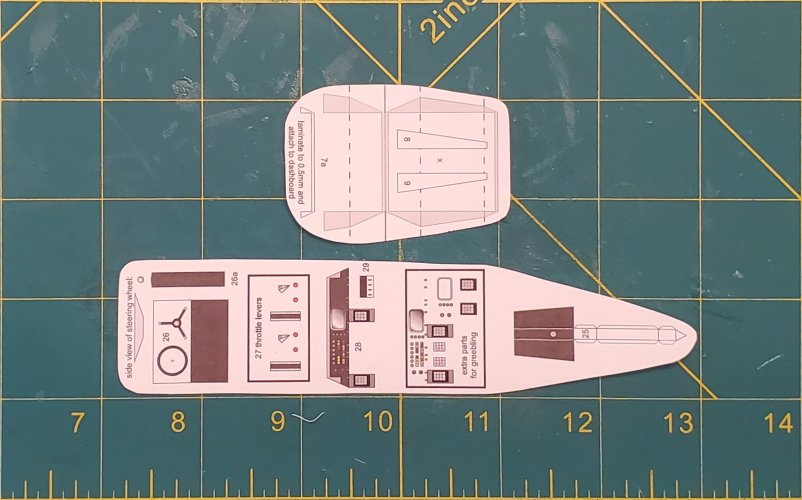
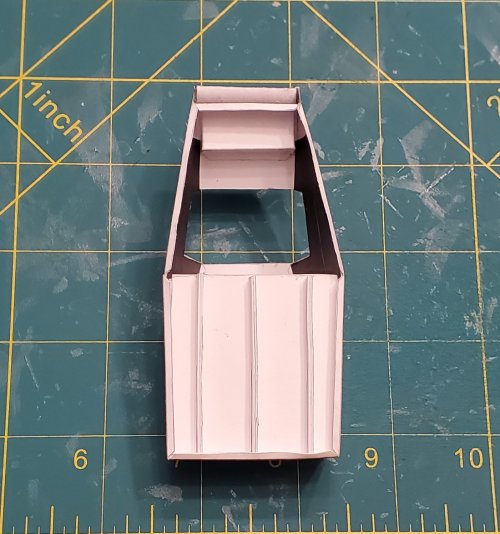
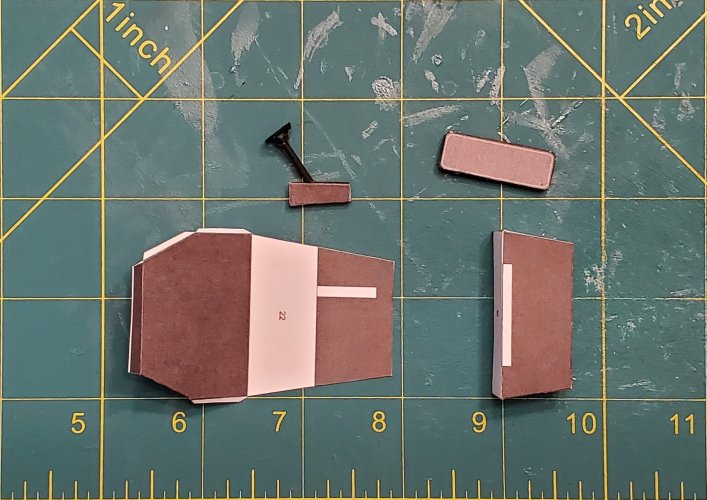
Here are the parts for the operator's cabin frame, control console, and steering wheel.
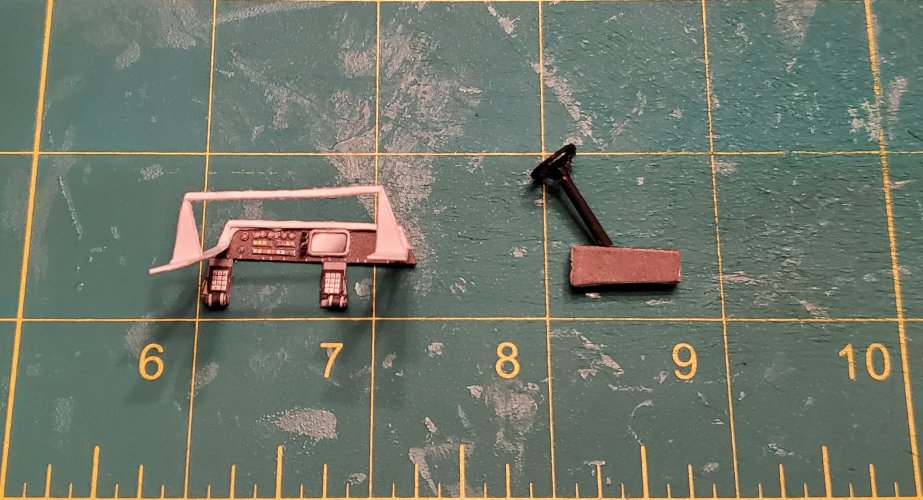
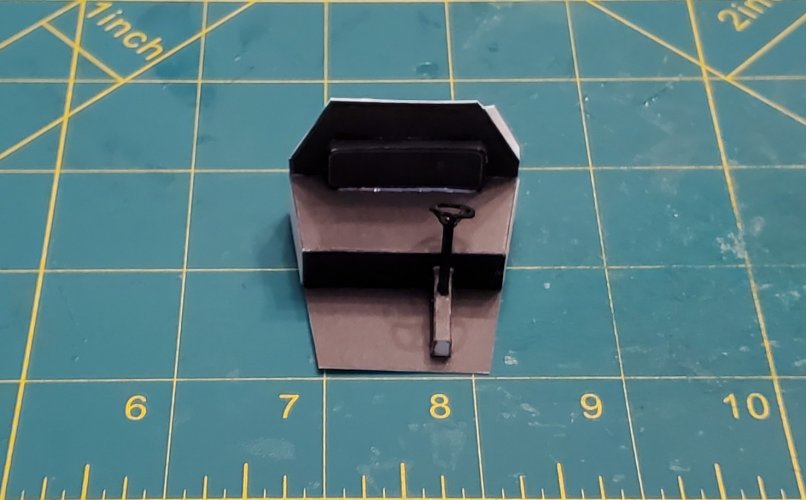
The operator's cabin frame, control console, and steering wheel are assembled.
The operator's cabin frame, control console is attached in place.
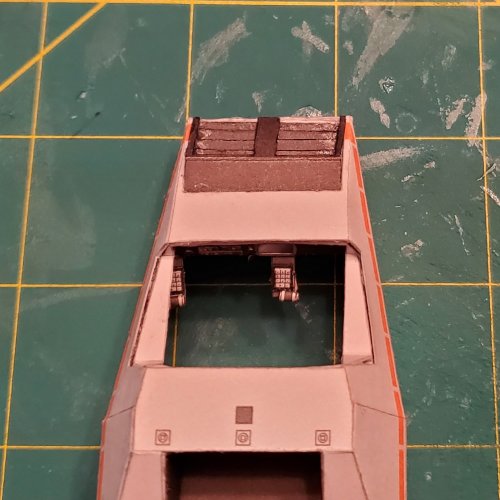
I inserted the interior side panels.
Now assembling the rest of the Operator's cabin interior.
The Operator's cabin interior is assembled.
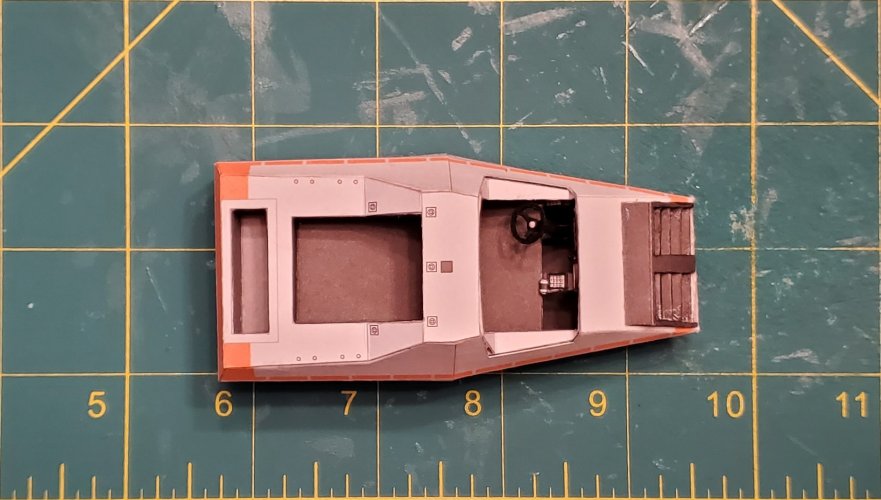
The Operator's cabin interior is put in place.
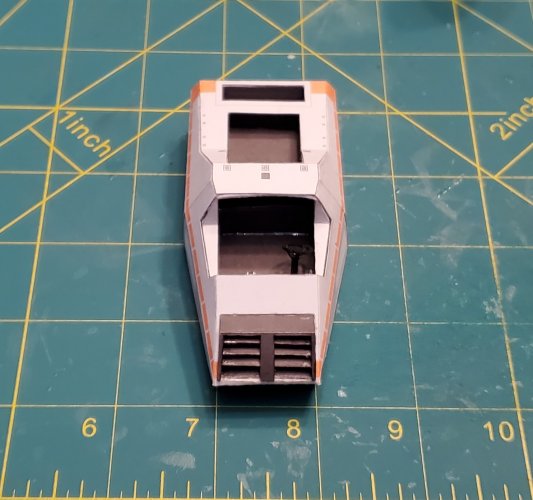
Please stay tuned in to your local Colonial Broadcast Network as well as your local Earth Directorate broadcasting channels for more updates.

The operator's cabin frame, control console, and steering wheel are assembled.

The operator's cabin frame, control console is attached in place.

I inserted the interior side panels.

Now assembling the rest of the Operator's cabin interior.

The Operator's cabin interior is assembled.

The Operator's cabin interior is put in place.


Please stay tuned in to your local Colonial Broadcast Network as well as your local Earth Directorate broadcasting channels for more updates.
@Revell-Fan and I were discussing ideas to improve the spoiler/trunk lid. This is the initial idea that I came up with and am presenting as a "proof-of-concept".
This the Spoiler/trunk lid and hinge & friction closier.
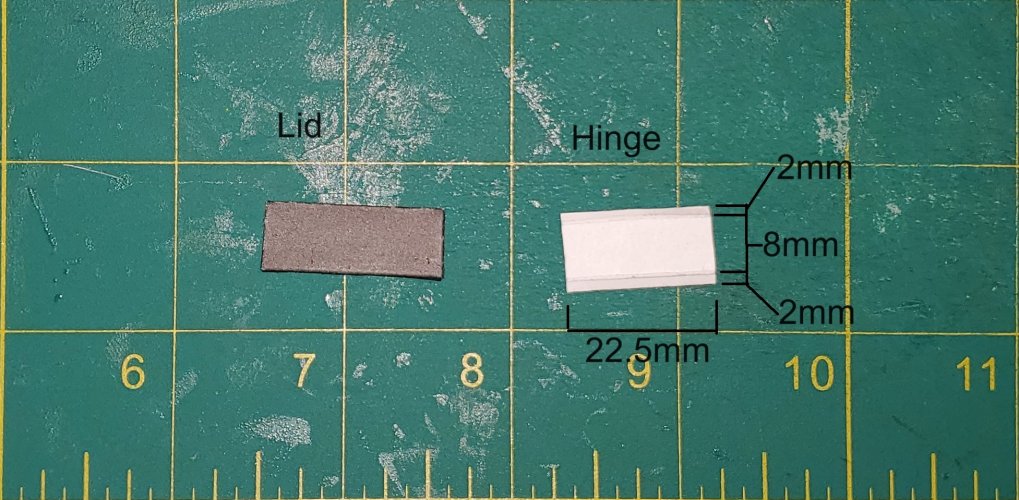
The Spoiler/trunk lid and hinge & friction closier are attached to one another.
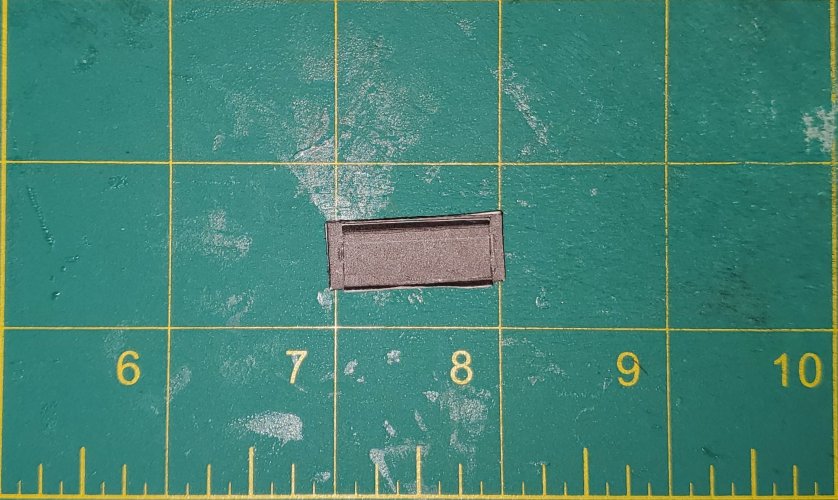
I cut a slot between the trunk and main cargo area.
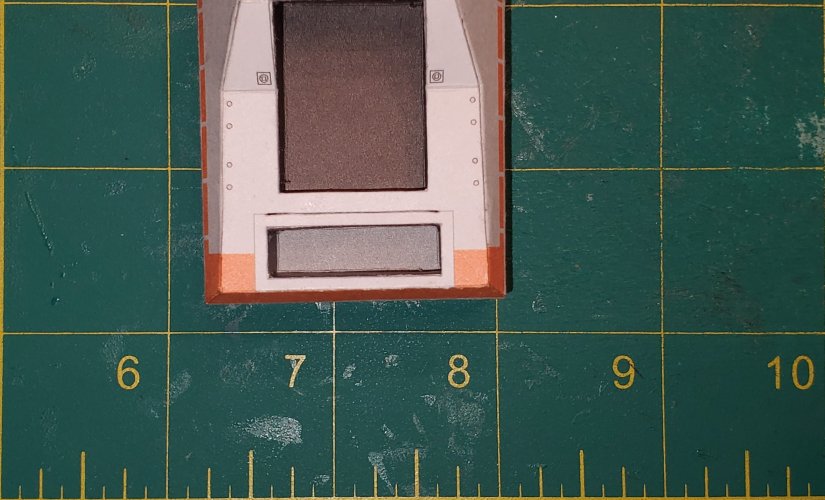
I slid the hinge piece in the slot. The Spoiler/trunk lid is now in place.
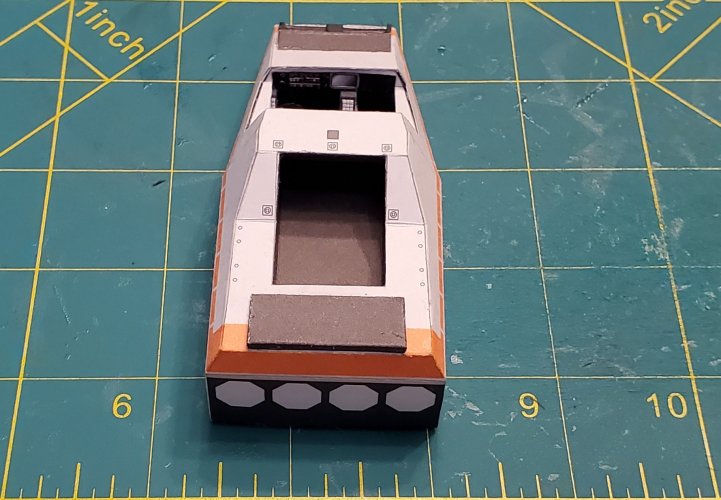
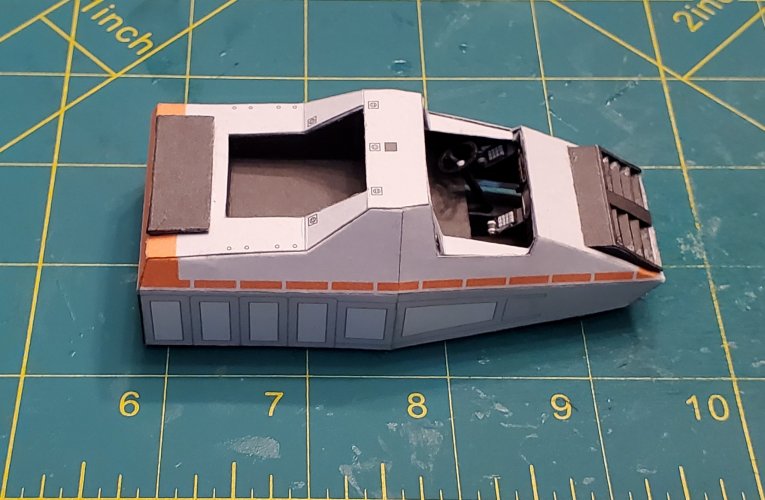
I added a little extra glue to hold the hinge tab in place.
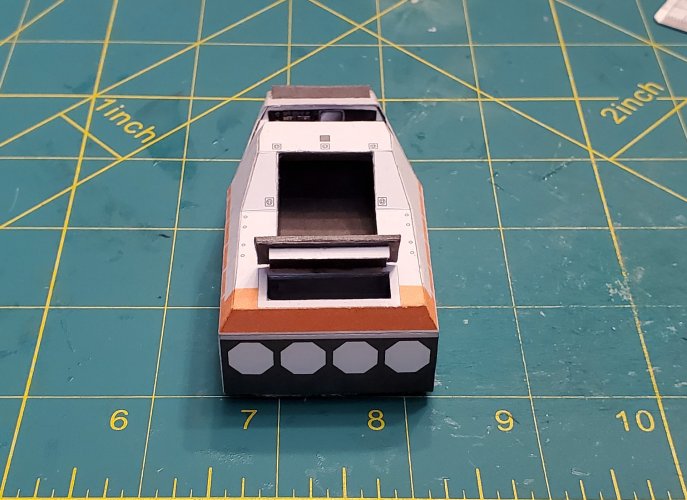
You can see that the Spoiler/trunk lid opens as well.
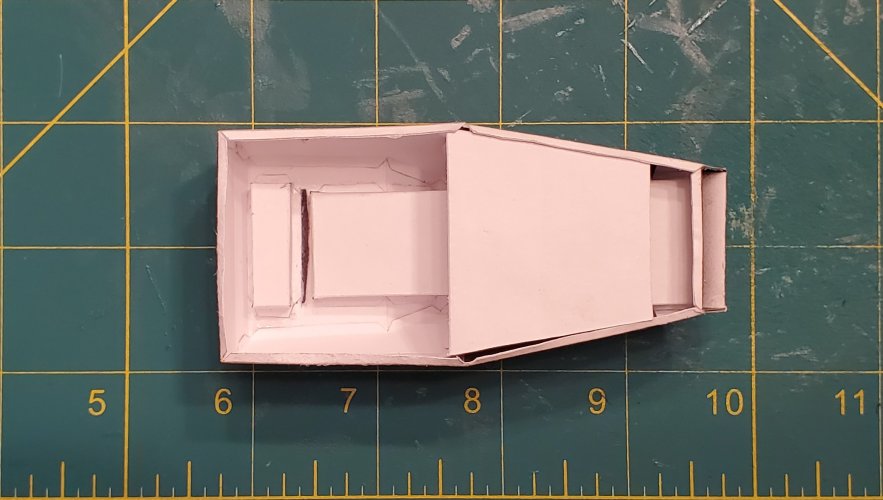
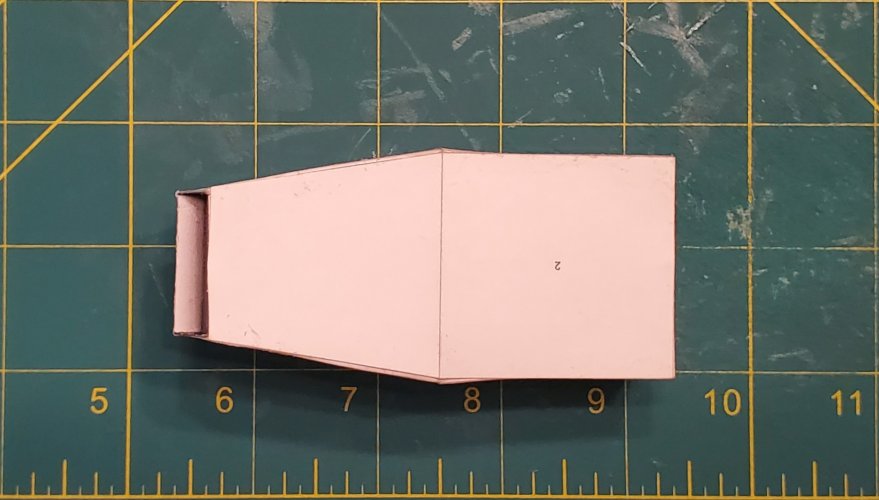
After replacing the internal formers, I attached the bottom plate
*NOTE* @Revell-Fan has made a more refined version of the Spoiler/trunk lid and hinge & friction closier, which I will be featuring in the next Hover Vehicle build that I conduct.
Please stay tuned in to your local Colonial Broadcast Network as well as your local Earth Directorate broadcasting channels for more updates.
This the Spoiler/trunk lid and hinge & friction closier.

The Spoiler/trunk lid and hinge & friction closier are attached to one another.

I cut a slot between the trunk and main cargo area.

I slid the hinge piece in the slot. The Spoiler/trunk lid is now in place.


I added a little extra glue to hold the hinge tab in place.

You can see that the Spoiler/trunk lid opens as well.


After replacing the internal formers, I attached the bottom plate

*NOTE* @Revell-Fan has made a more refined version of the Spoiler/trunk lid and hinge & friction closier, which I will be featuring in the next Hover Vehicle build that I conduct.
Please stay tuned in to your local Colonial Broadcast Network as well as your local Earth Directorate broadcasting channels for more updates.


