GODZILLA!
- Thread starter DAVESTAR
- Start date
You are using an out of date browser. It may not display this or other websites correctly.
You should upgrade or use an alternative browser.
You should upgrade or use an alternative browser.
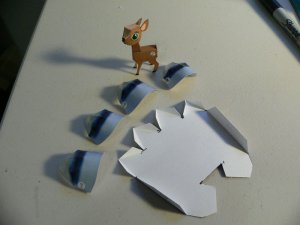
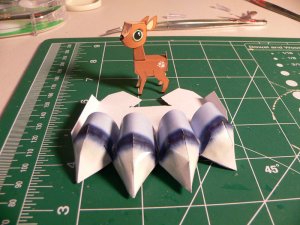
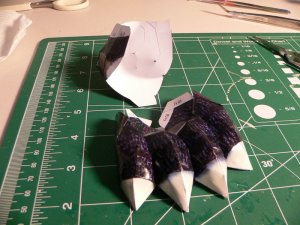
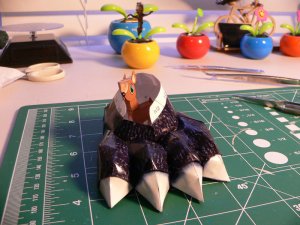
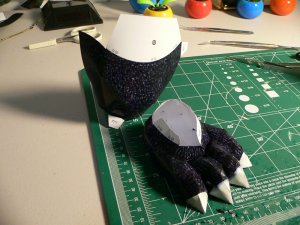
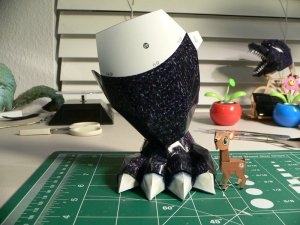
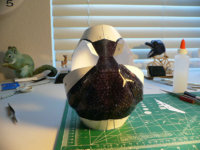
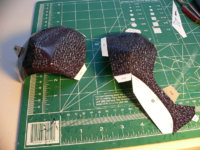
Pieces 32 and 33 attached Pieces 34 and 35 Pieces 34/35 and 36/37 ready to attach.
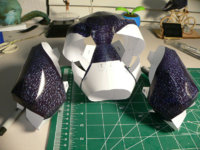
Some parts of this build are not designed to be fully glued down all around - some surfaces just sit on top of each other in layers.
This leaves some gaps that are difficult to "get to" to seal. I think adding tabs in a future build will help prevent this.


Some parts of this build are not designed to be fully glued down all around - some surfaces just sit on top of each other in layers.
This leaves some gaps that are difficult to "get to" to seal. I think adding tabs in a future build will help prevent this.
Yes that is correct freddyman. The bottom of his foot has 1999 on it so it was probably created before G2000 was released. I like the look of this series the most.
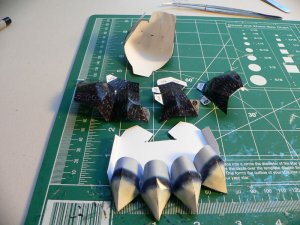
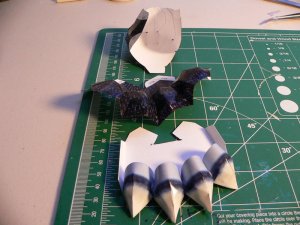
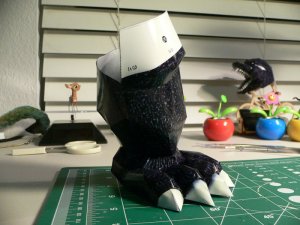
Here is the rest of the leg. Pieces 49 and 50...and assembled...
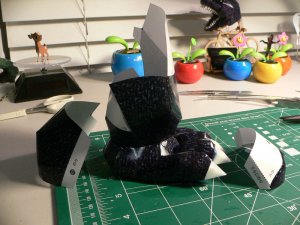
Now I'm off to do the other leg, relax I'll spare you the pictures of it.:snaphappy:
This will take a few days. It should be the same construction as the one above based
on the fact that it is not shown in the instructions and only the numbers 51 - 63 are shown with text I can't read but must say something like
"Assemble pieces 51 - 63 in the same way..."

Here is the rest of the leg. Pieces 49 and 50...and assembled...


Now I'm off to do the other leg, relax I'll spare you the pictures of it.:snaphappy:
This will take a few days. It should be the same construction as the one above based
on the fact that it is not shown in the instructions and only the numbers 51 - 63 are shown with text I can't read but must say something like
"Assemble pieces 51 - 63 in the same way..."

Cforrest900
Well-Known Member
Do you happen to know where one can purchase the book? I've looked around but CANNOT seem to find it ANYWHERE
Thanks CrimsonLine! Bambi is too nice to crush - I'll have to make a stunt double!
Cforrest900 - please see my fourth post in this thread...
Thanks for following along...
Cforrest900 - please see my fourth post in this thread...
Thanks for following along...
So now we have the other leg, pieces 51-63. I managed to warp the feet so they will not sit flat Guess he'll have to be standing on something...:nailbiting:
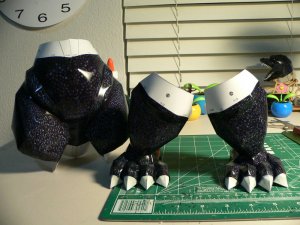
This is another angle so you can see how the parts fit. not all of the tabs appear to be designed to be glued together - but rather just overlap.
Since they just overlap there is some space between the pieces - so I went around the edges of the white areas and colored them in with the black marker - about 1/8 of an inch to ensure the white boarder would not show when assembled.
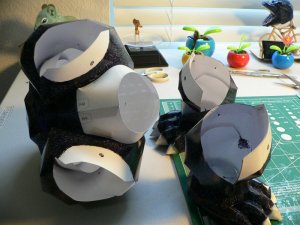
As you might be able to see in this shot, each leg is really held by one flat tab as shown with the blue circle. The red stars show the other "tabs" that are curved and really are not glue-able.
To get around this I glued the edges where the parts met the best I could- otherwise lifting the model would result in the legs dangling by one tab. If it looks like what I glued will not suffice, it will be easy enough to glue some strips of paper across the "seams" on the inside of the model.
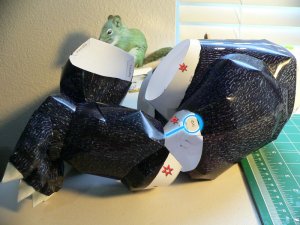
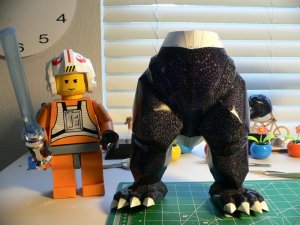
And assembled. Special guest included for size reference.
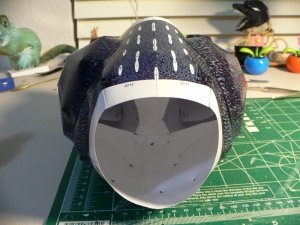
Here is a view from the top going along the back where the dorsal fins will be located. If I was a "master" I'd cut some wiring holes now and put some blue LEDs in there since the final fins do not close completely at the top - and add a sound module for the roar of course...and a nice paper craft base...and a solar turntable... but back to my reality...:coldfeet:
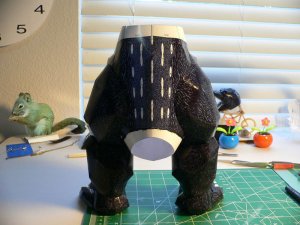
And standing from the back..
More to come...

This is another angle so you can see how the parts fit. not all of the tabs appear to be designed to be glued together - but rather just overlap.
Since they just overlap there is some space between the pieces - so I went around the edges of the white areas and colored them in with the black marker - about 1/8 of an inch to ensure the white boarder would not show when assembled.

As you might be able to see in this shot, each leg is really held by one flat tab as shown with the blue circle. The red stars show the other "tabs" that are curved and really are not glue-able.
To get around this I glued the edges where the parts met the best I could- otherwise lifting the model would result in the legs dangling by one tab. If it looks like what I glued will not suffice, it will be easy enough to glue some strips of paper across the "seams" on the inside of the model.

And assembled. Special guest included for size reference.

Here is a view from the top going along the back where the dorsal fins will be located. If I was a "master" I'd cut some wiring holes now and put some blue LEDs in there since the final fins do not close completely at the top - and add a sound module for the roar of course...and a nice paper craft base...and a solar turntable... but back to my reality...:coldfeet:

And standing from the back..

More to come...
Cforrest900
Well-Known Member
Thanks Cforrest900!
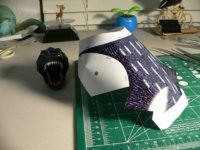
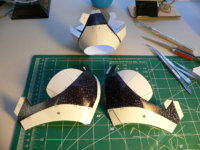
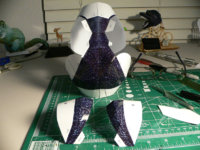
Here we have pieces 64 and 65 (torso) partly assembled and piece 66 (chest center) ready for attachment.
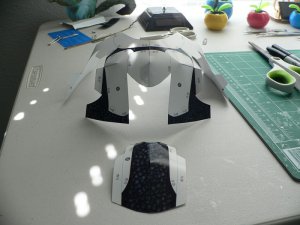
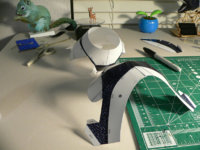
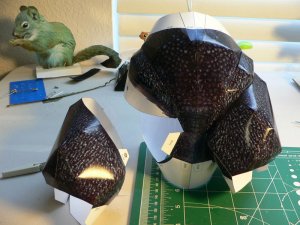
Pieces 64-66 (torso/chest) assembled with pieces 67 and 68 (shoulders)ready for attachment.
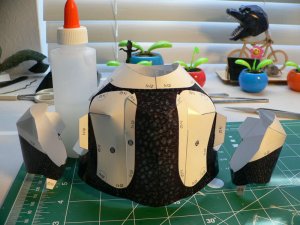
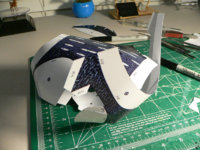
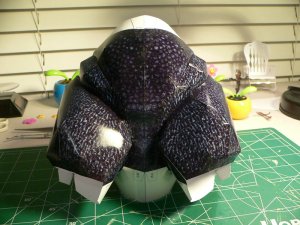
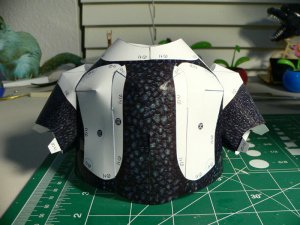
Pieces 64-68 (torso and shoulders)assembled - view from front and back.
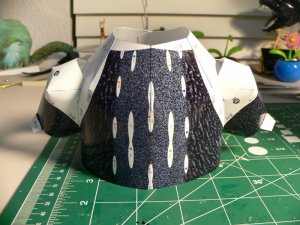
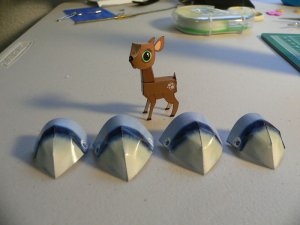
Pieces 69 and 70 (pecs) ready to attach - but the instructions show that the torso should be attached to the bottom half first.
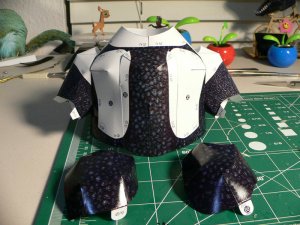
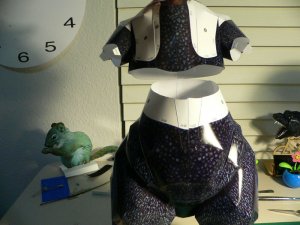
And as you can see in the last picture there are no flat tabs for gluing the two pieces together - just the edge of the parts will be touching.
I feel more surface area will be needed to hold the body together if he is going to be fighting anything soon. I'll add additional support inside by gluing strips across both parts all around.
I may hold off attaching the torso and finish the arms first so I can put my fingers through the bottom to help position and hold parts together. I may not be able to do that for the neck, just need to cut the parts out and see how they will fit. All of the white areas will have to be outlined in black (at least 1/8 inch) to prevent the white from showing where parts just slightly overlap and are not glued.
Arms are next...
Here we have pieces 64 and 65 (torso) partly assembled and piece 66 (chest center) ready for attachment.

Pieces 64-66 (torso/chest) assembled with pieces 67 and 68 (shoulders)ready for attachment.

Pieces 64-68 (torso and shoulders)assembled - view from front and back.


Pieces 69 and 70 (pecs) ready to attach - but the instructions show that the torso should be attached to the bottom half first.


And as you can see in the last picture there are no flat tabs for gluing the two pieces together - just the edge of the parts will be touching.
I feel more surface area will be needed to hold the body together if he is going to be fighting anything soon. I'll add additional support inside by gluing strips across both parts all around.
I may hold off attaching the torso and finish the arms first so I can put my fingers through the bottom to help position and hold parts together. I may not be able to do that for the neck, just need to cut the parts out and see how they will fit. All of the white areas will have to be outlined in black (at least 1/8 inch) to prevent the white from showing where parts just slightly overlap and are not glued.
Arms are next...


