have no fear, tis I, your local friendly question asker lol
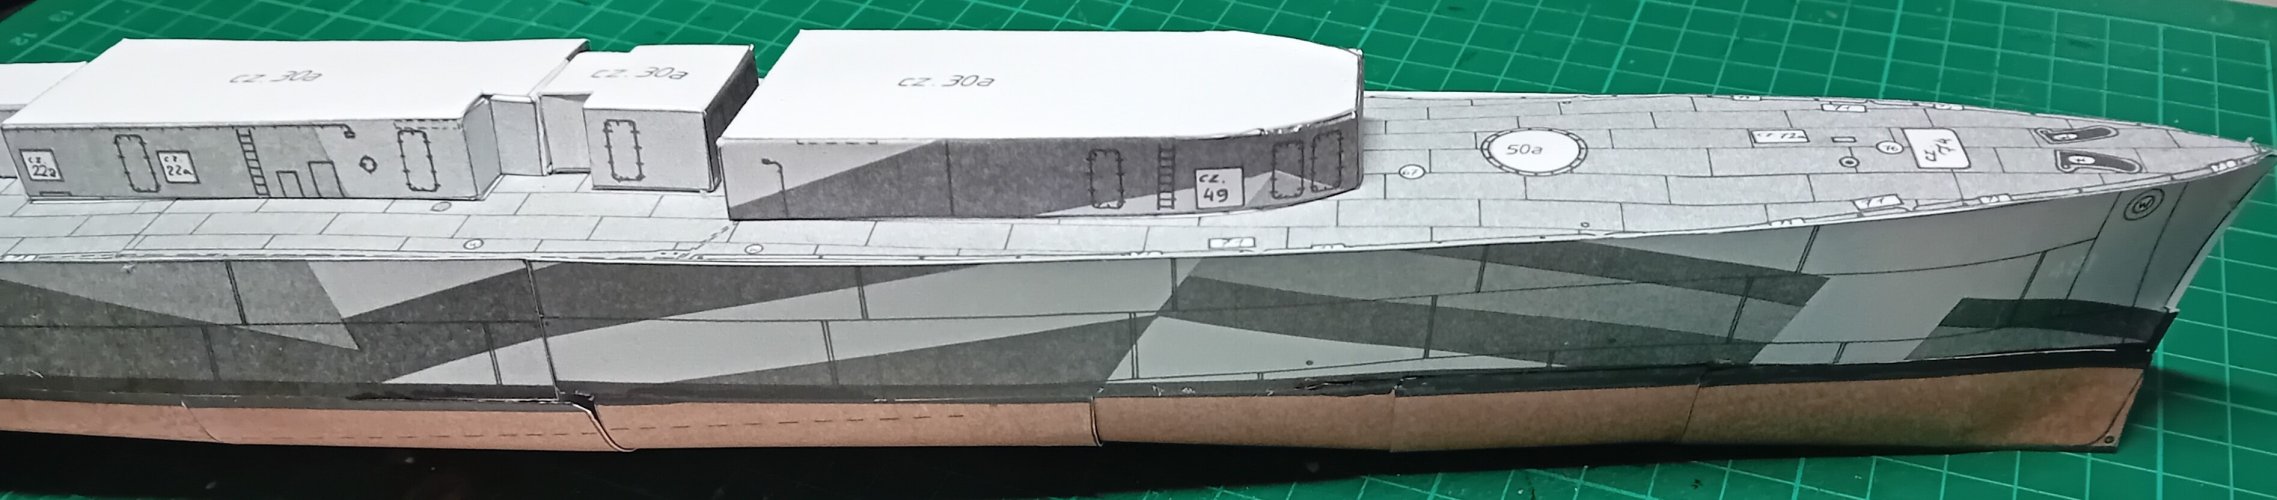
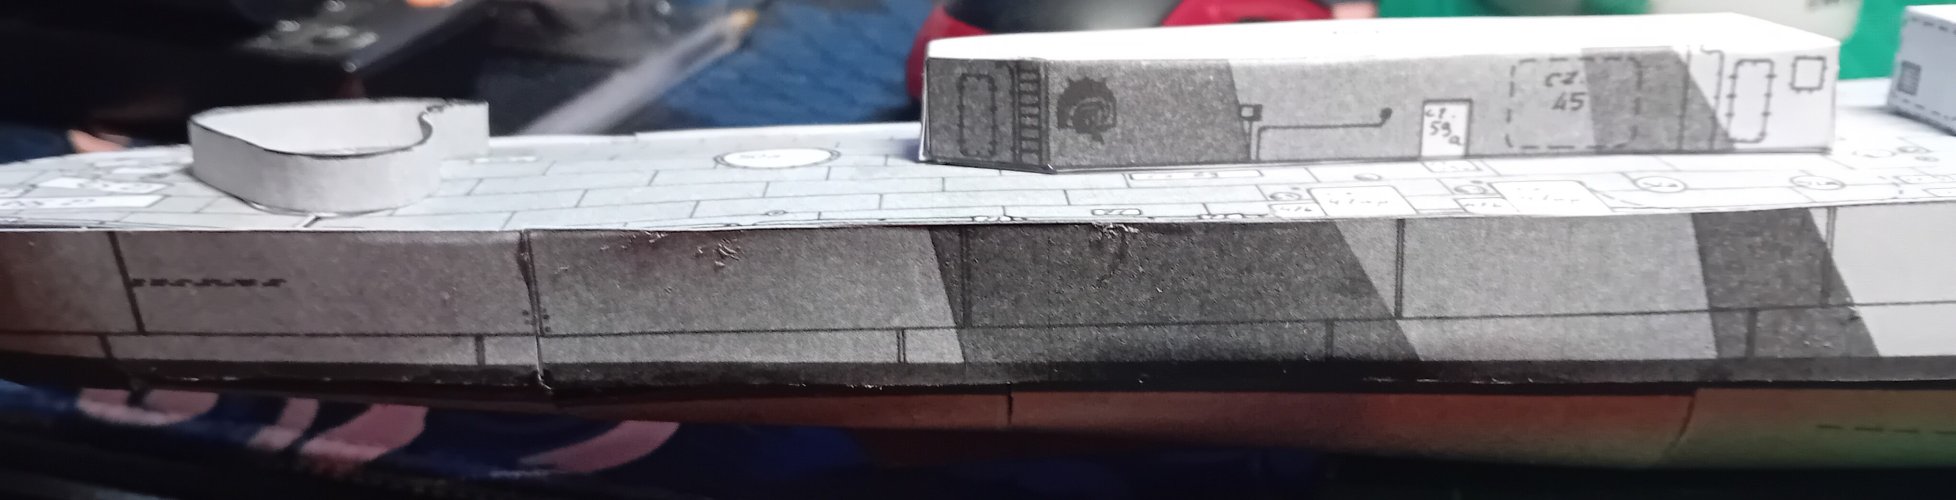
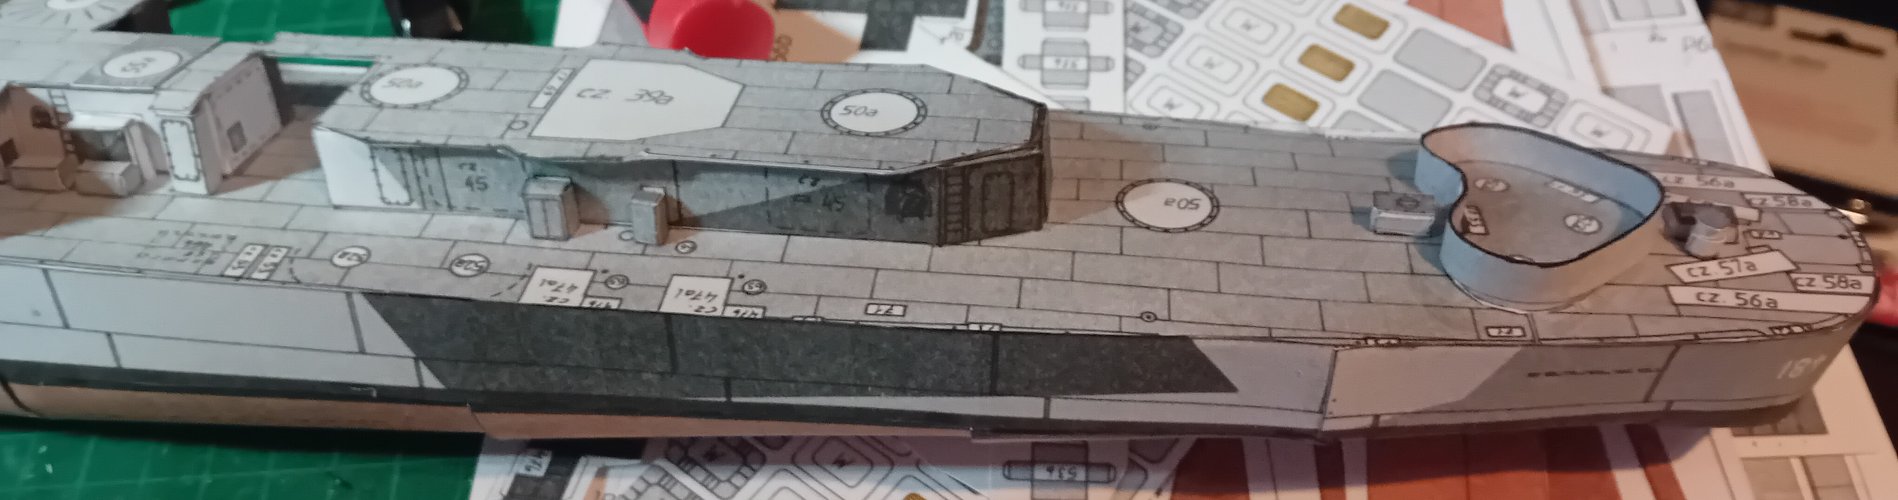
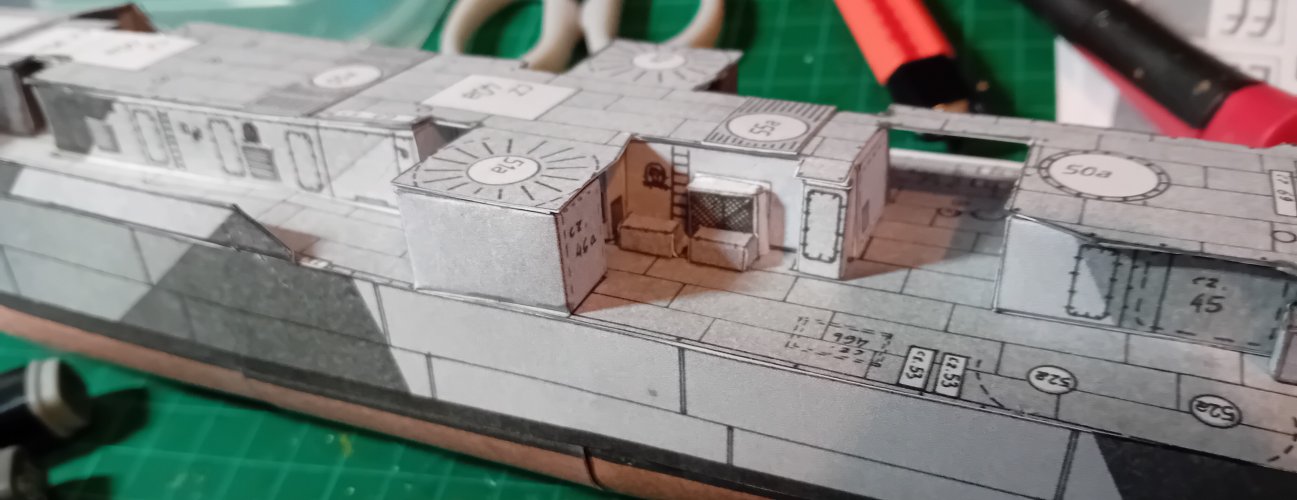
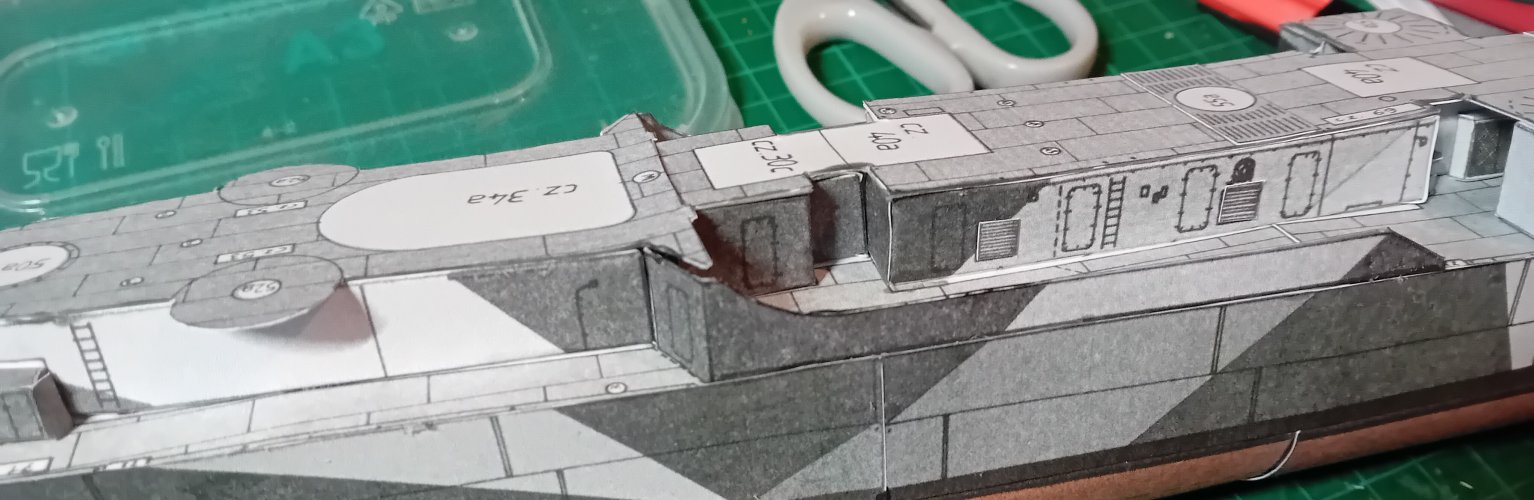
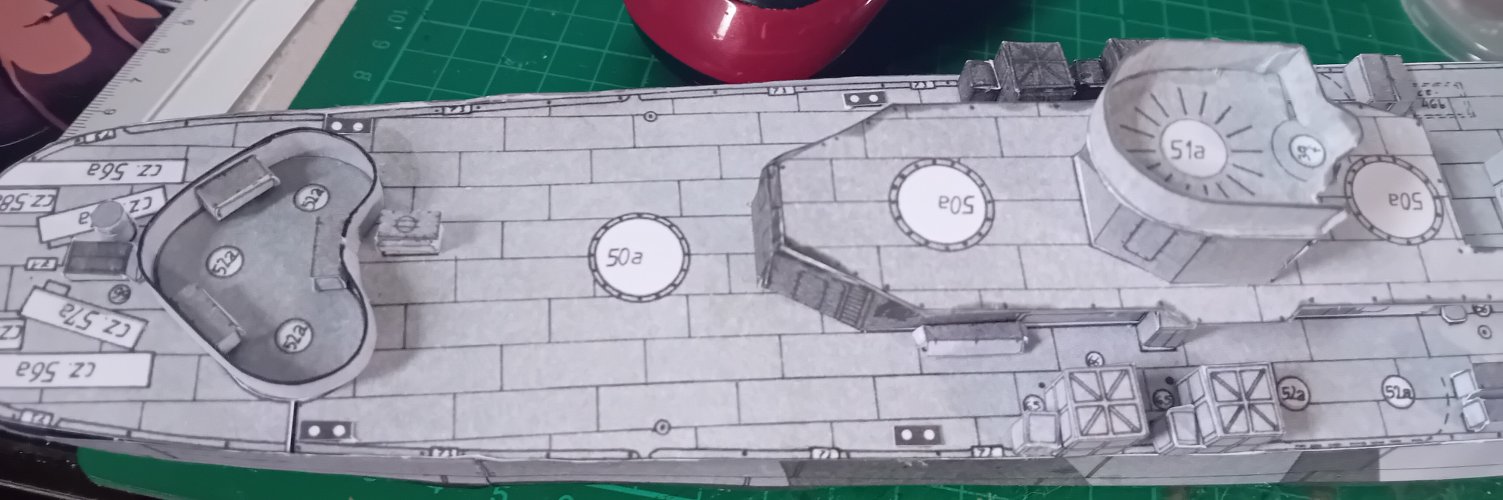
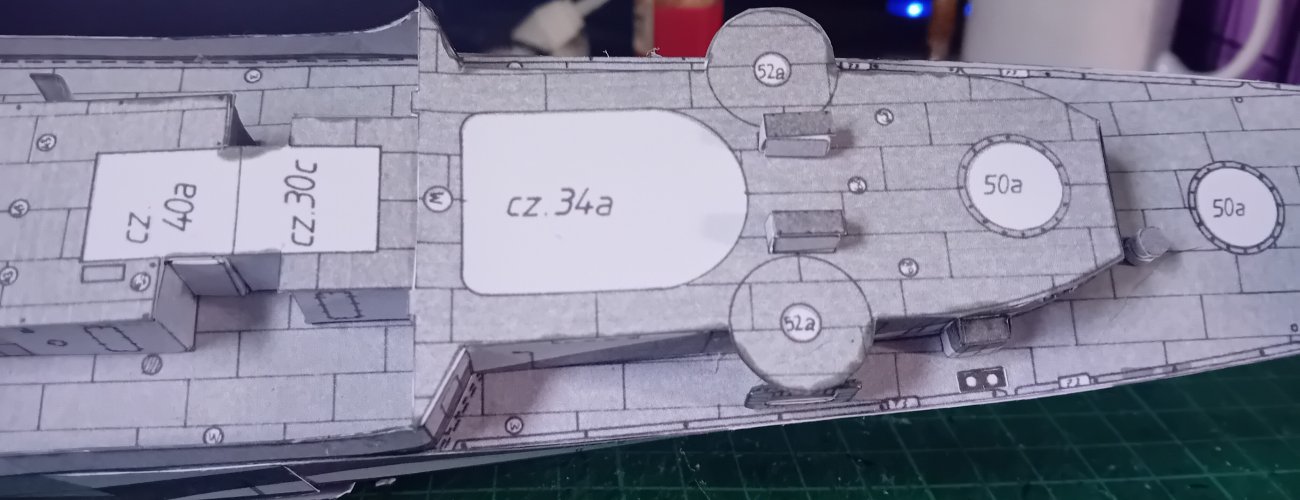
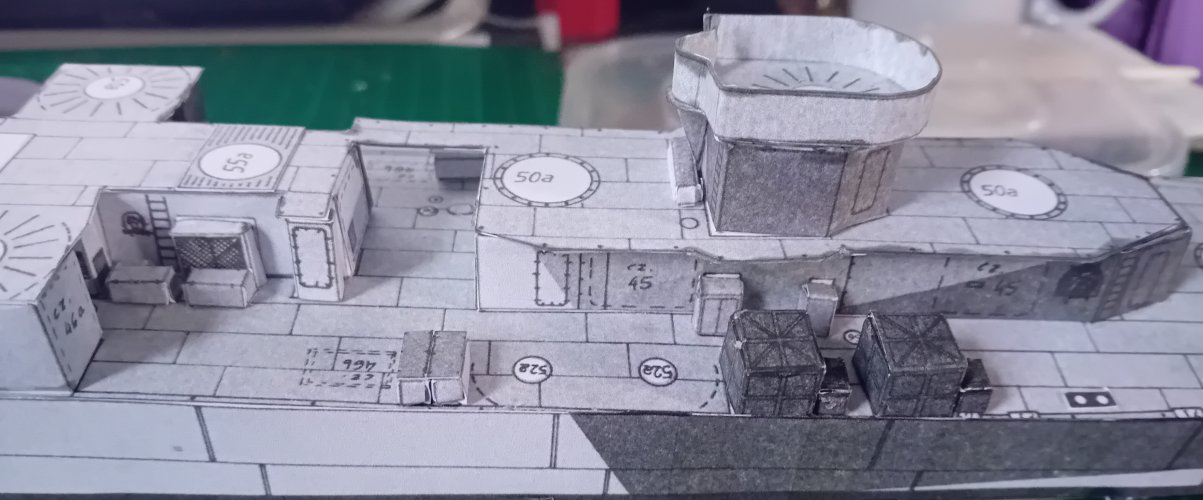
So i know im pottering away at my Titan project, but as you know, being at a distinct disadvantage of being male, i thought one project, pfff no way and have started a 1:200 destroyer/minesweeper that was featured in the 'Greyhound' movie - USS Leutze. Ive done mainly scifi and have acquired a range of different subjects so decided to have a go at this one - ill get some pics of my progress asap - my question is this:
For those of you whove built papercraft ships - do you do the detailing such as railings etc - and if so what dyou use? Ive done plastic kit ships before so have used the P.E (photo etch) detailing parts but didnt know if there were any tips for making detail parts of your own - P.E can be quite expensive and these days its alot - more so this is my first papercraft ship so i wanted to stick to that side of things more if possible. I know things like cables etc will be cotton/thread etc, my question is more for those 'fine detail' metal parts such as railings, pillars, barrels for AA guns etc
Cheers all
Az
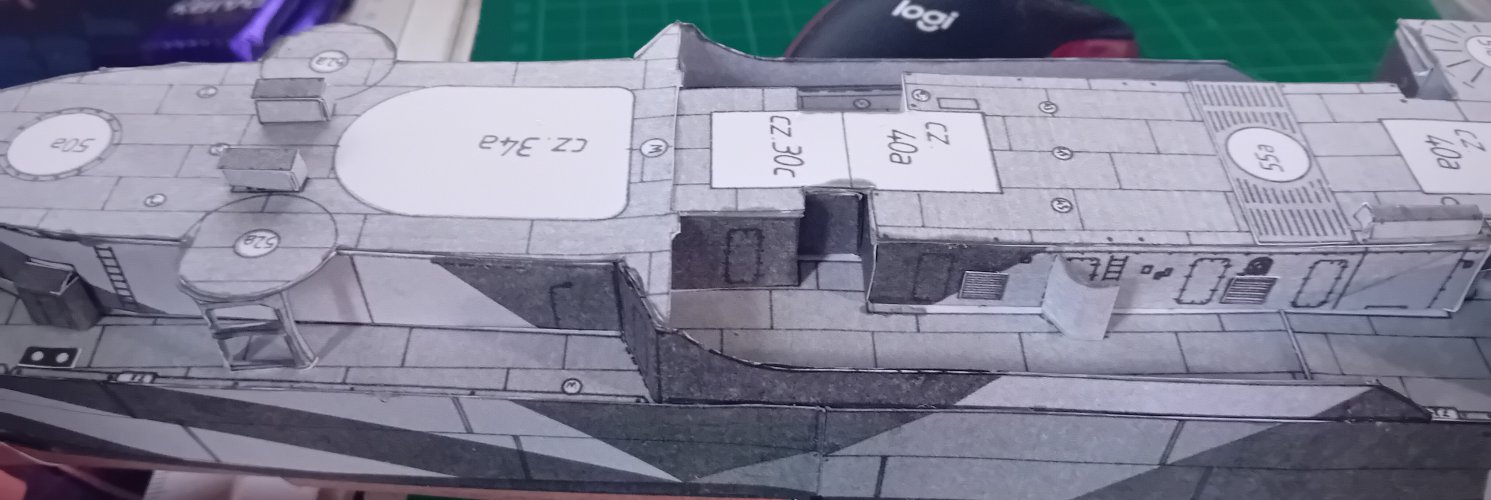
pics to follow