Tie Interceptor by Uhu02

snake7

Well-Known Member
Dec 13, 2004
437
1,218
93
47
Israel
Hi to all
I'm new in this section,. though mine main interest is to build armor vehicles specifically from WWII. But in between large-few-years builds I like to build something small and fast, to "rest" :)
I really like Star Wars Movies and universe, so this my easy building theme.
I've already built Scout Trooper on 74-Z Speeder Bike by Julius Perdana.
Now my pick went on famous Uhu02 designer and his Tie Interceptor.
I choose this model, because i think it looks interesting and also because I wanted to take a challenge to build sphere from paper, which I never did before.
The design of the model is excellent, and I really liked his solutions for challenging assemblies.

Unintentionally, I started to build this model without noticing that mijob designing an updated version. But I decided to continue the assembling and, in the future, to build the updated one.

You can read about this kind of Star Wars space craft here, but I assume you already know what I'm talking about ;)

I truly don't know what the scale of this model is, but I saw on one site that it is 1:32, closer to aircraft models scale, so let's suppose it is.
Because it is a free model, I downloaded all the shееts in PDF format and printed it in art studio on 160-180 gsm matt paper.
I was worried at first that it is to flexible but eventually the assembling went well, and I don't have any issues with paper by now.


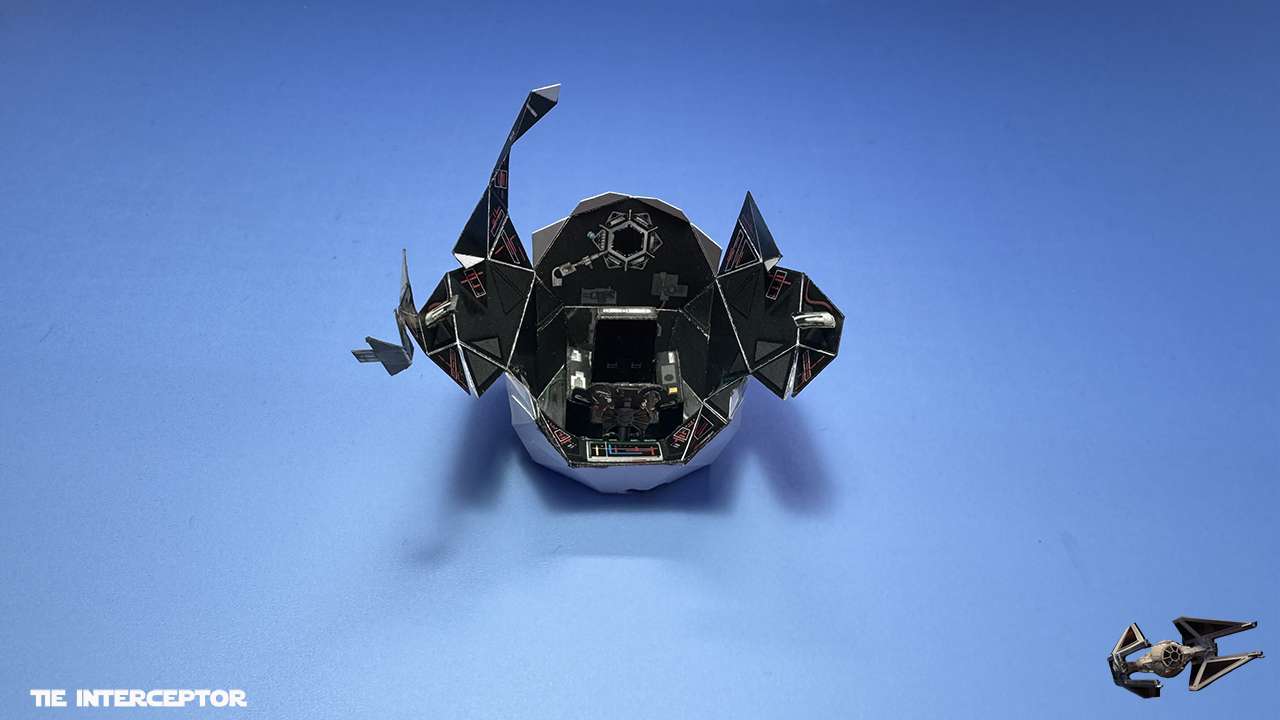
Like in aircraft, the start is a cockpit.

Cockpit cage and pilot seat with controls stick.
This is new style of assembling for me, so it was interesting.
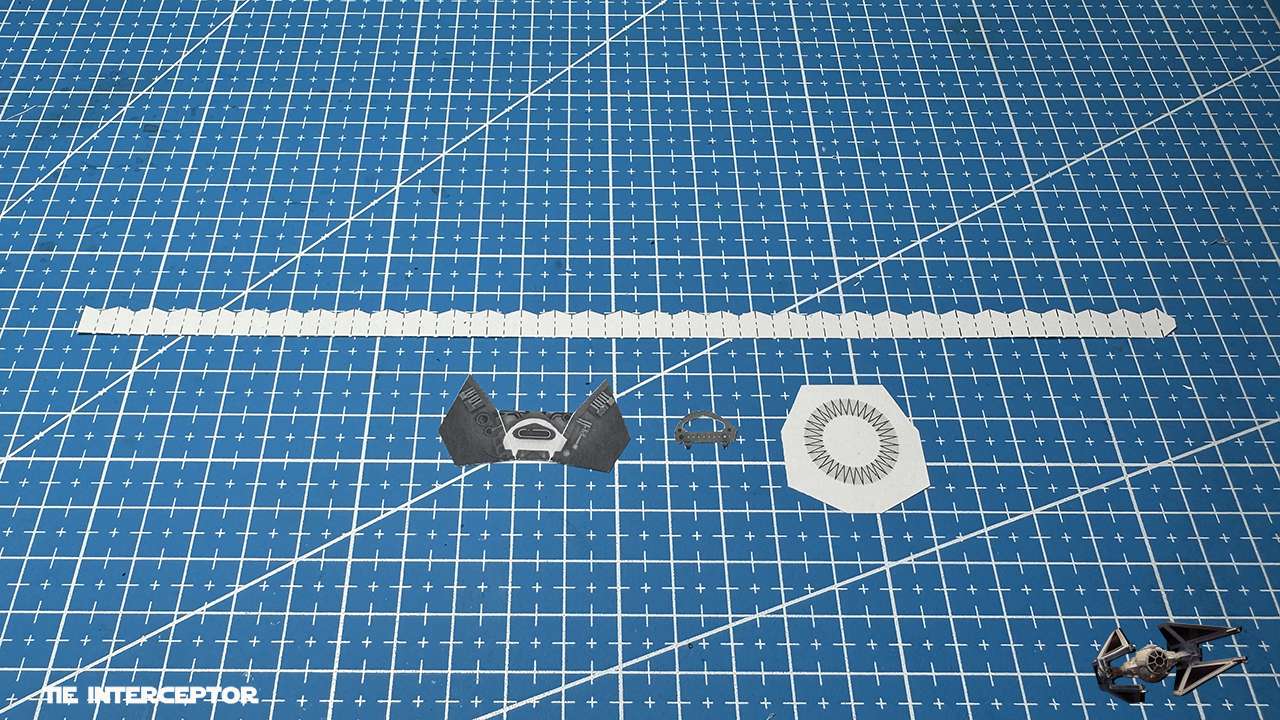
Picture with cut parts was lost with old phone, so here are parts from PDF.

EzHty2.jpg


v7qUXq.jpg


NzoVva.jpg


vyqZjA.jpg


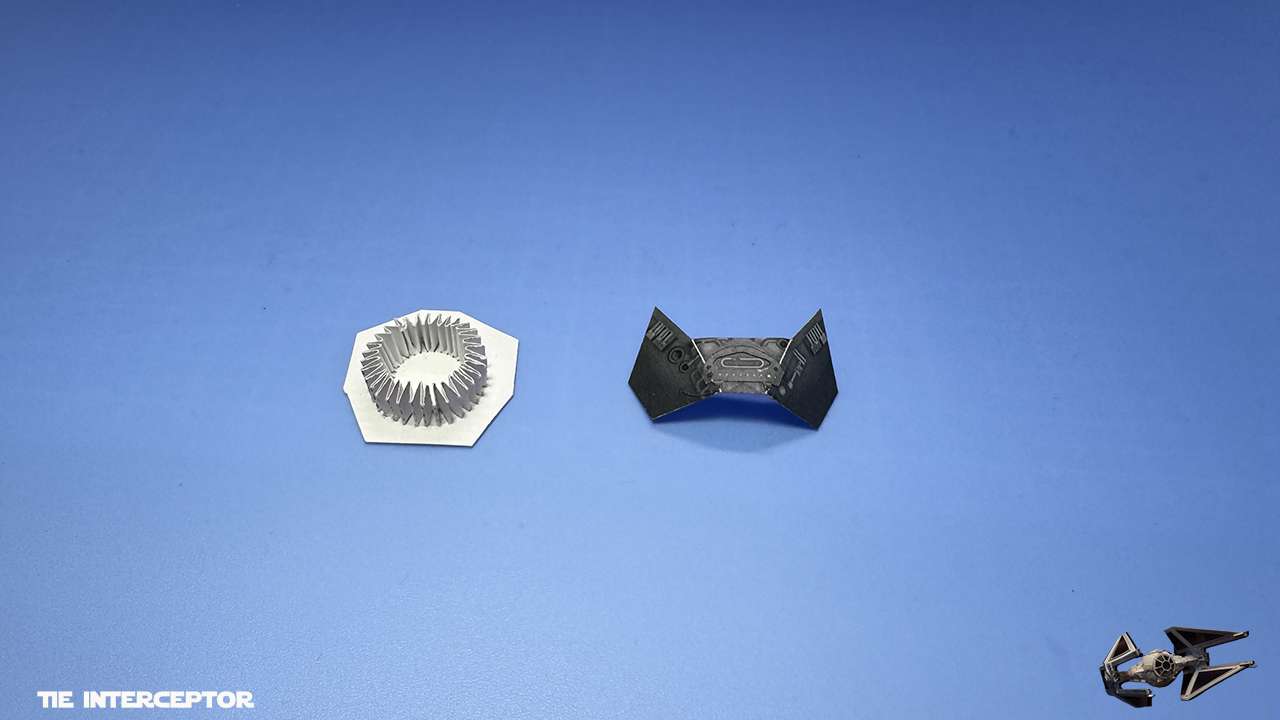
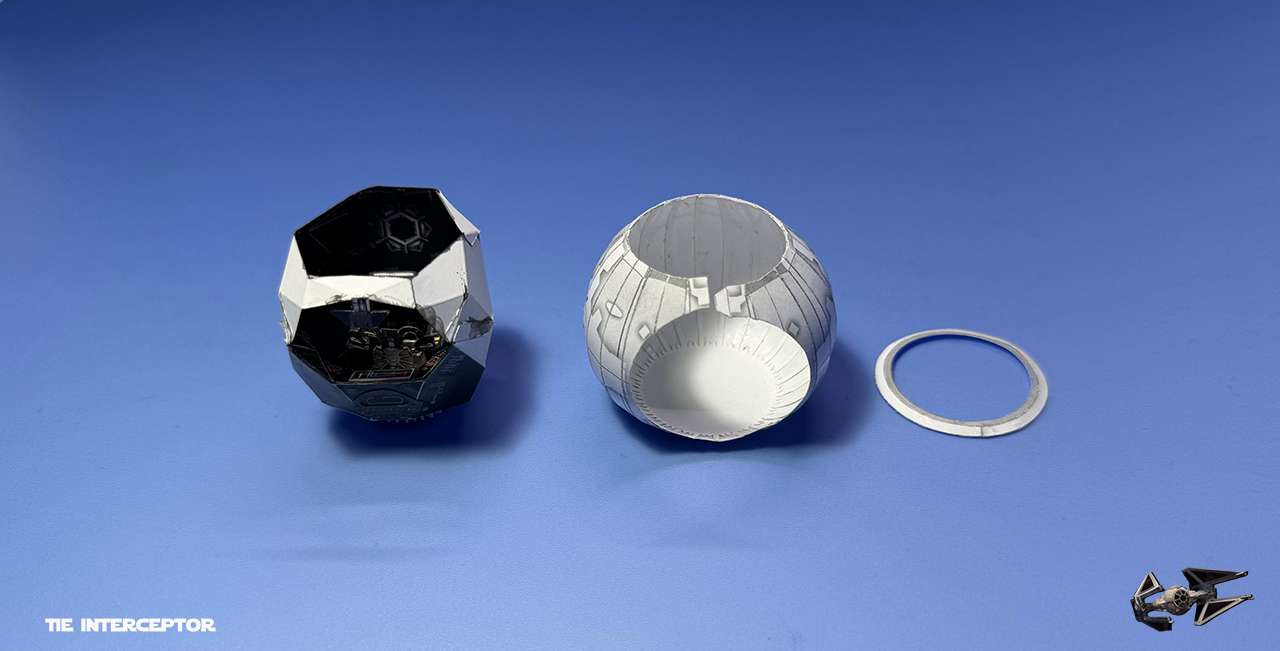
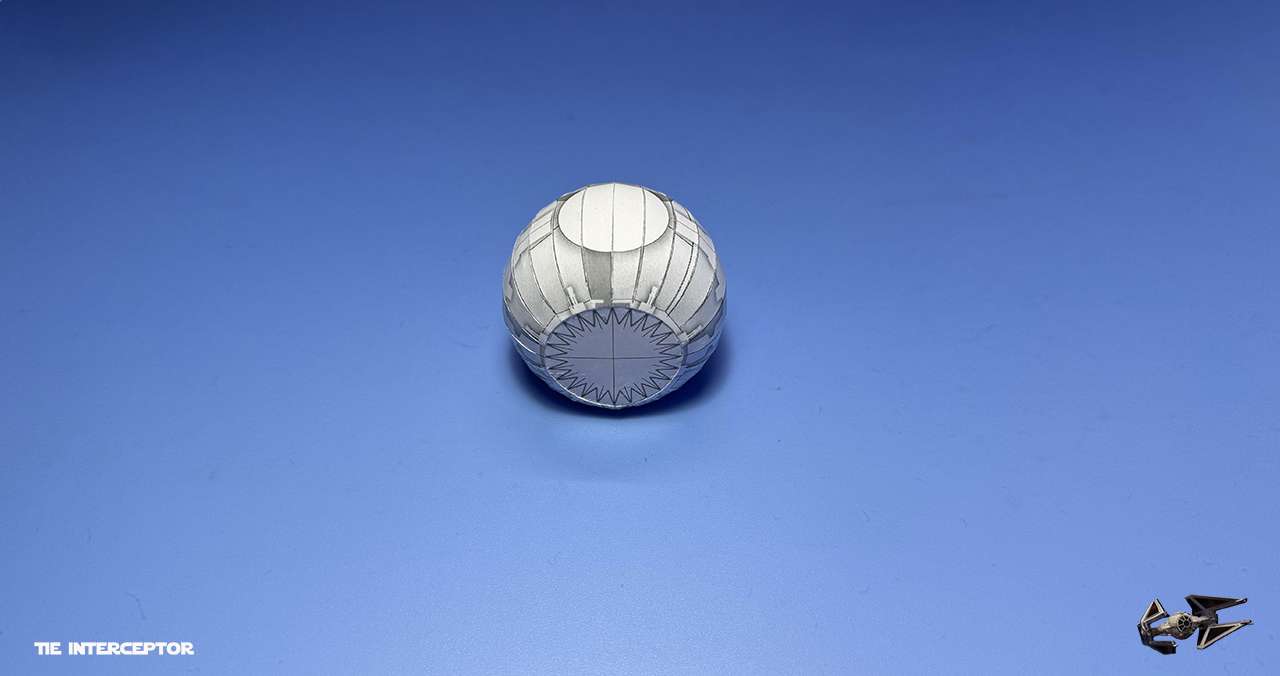
Control panel and base of a cockpit. This was one of interesting solutions by Uhu02. You do a round harmonic like strip with sloped edges, so later it will seat well on a spherical surface... genius!

MVGZBB.jpg


1VVF1A.jpg


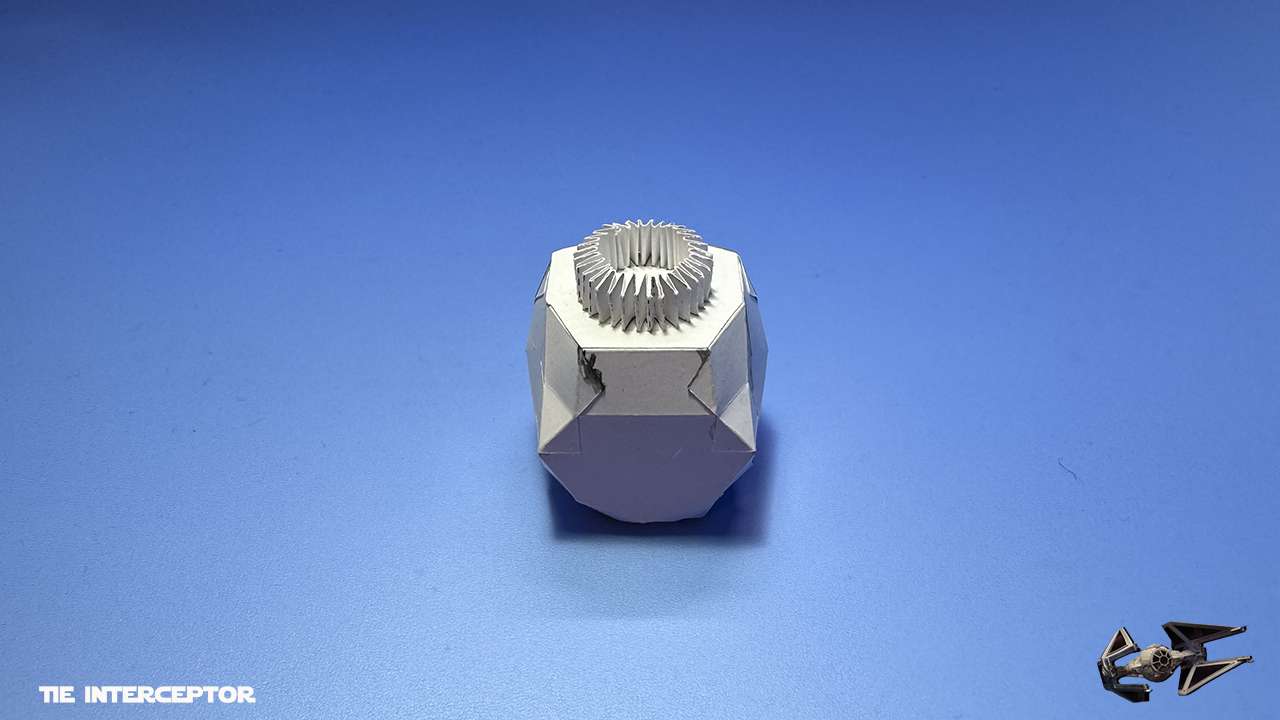
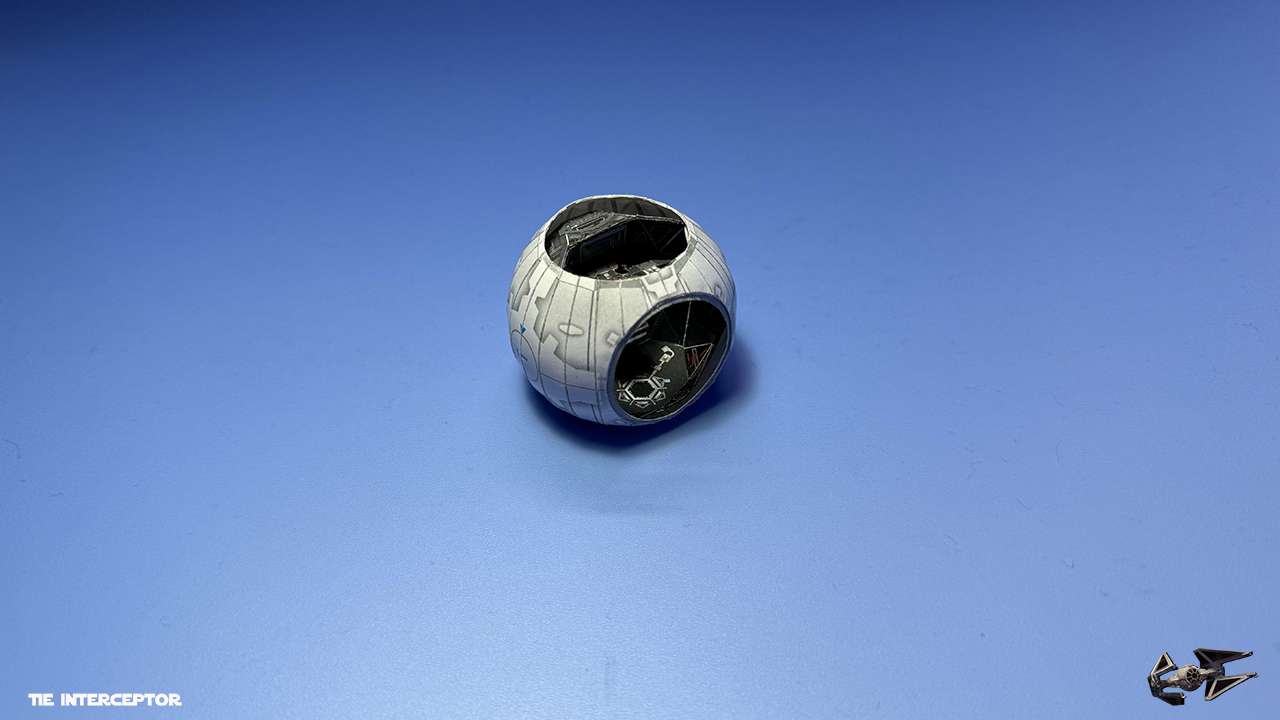
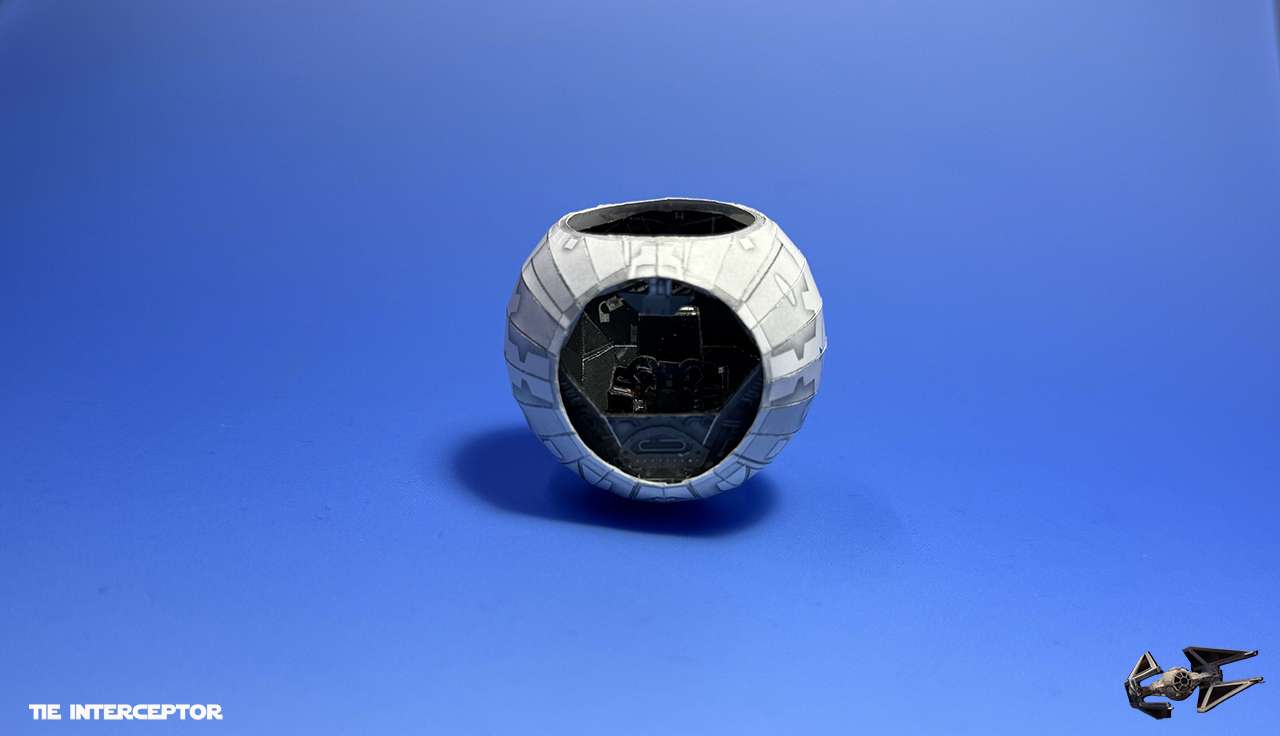
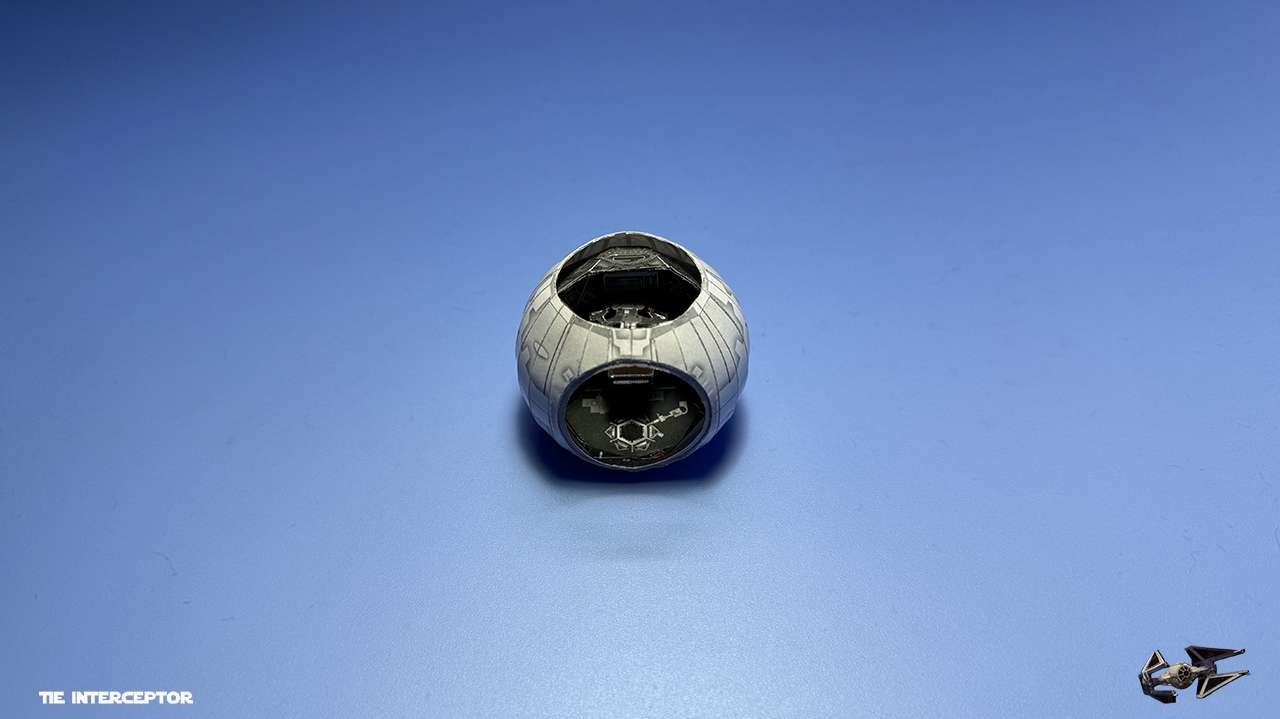
And cockpit closed and ready!

jpaKpL.jpg


1elvS1.jpg


pZHylA.jpg
 
Last edited:
Looks GREAT! The old Uhu02 kit is nice in it's own rite, and that's why @mijob chose it as a starting point.

I'll be watching this one.
 
  • Like
Reactions: mijob
Great to see you building this model, looking forward to follow the rest of your thread.

This was my first star wars project. After my last raptor build I have looked closely to the Interceptor studio model vs Uhu model. Yes its a very detailed kit but not close to the studiomodel. Thats why I updated the kit and add some new parts to it.
 
Last edited:
Great to see you building this model, looking forward to follow the rest of your thread.

This was my first star wars project. After my last raptor build I have looked closely to the Interceptor studio model vs Uhu model. Yes its a very detailed kit but not close to the studiomodel. Thats why I updated the kit and add some new parts to it.
Thanks. When I decide on next model from Uhu02, I definitely will look first if you upgraded it
 
  • Like
Reactions: mijob
Thank you for warm feedback!

Next step was the most interesting and challenging part for me - the sphere!
I never built such thing and was keen to see how it would go.
Uhu02 found excellent solution to put this sphere together - inner connecting strips on a base circle

oDVhs4.jpg


So, basically you glue sphere shell on a strips base, and this is the starting point. You must do it very carefully and align strips exactly between petals.
I chose to glue one side of each strip to corresponding sphere petal and after this glue petal to petal.
You leave sphere open, until cockpit inserted inside.

NoOzlr.jpg


After it is done, you put top ring inside, close the sphere and glue the ring.
I liked the result, and this was fun experience :)

itldah.jpg


pucbsp.jpg


8w9UJC.jpg


jzUJrP.jpg


15qFBM.jpg
 
Last edited:
Your sphere is looking great. My spheres did look like a pumkim thats why I searched for away to get a better rounded sphere that would be easier to build. But your sphere is looking so good, again great work.
 
  • Like
Reactions: snake7
Your sphere is looking great. My spheres did look like a pumkim thats why I searched for away to get a better rounded sphere that would be easier to build. But your sphere is looking so good, again great work.
Thank you mijob. Really appreciate your master feedback :)
 
  • Like
Reactions: mijob
Hello snake7,

welcome back.
I agree with mijob, your sphere came out really great.
I have not done a sphere from UHU so far, just had a try on the big one from Discovery but that one did not go well.
May be i try one someday.

Please continue :)
 
  • Like
Reactions: snake7 and mijob
I must agree, Great work and a beautiful cockpit sphere. :bowdown:

This should be a nice diversion from your multi year builds.
:rolllaughing:
 
  • Haha
Reactions: snake7
I absolutely LOVE your pictures! I don't have a good light source and have to rely heavily on the flash of my cam which often results in very crappy pictures for the instructions. Yours have industrial quality. What is your set-up?
 
  • Like
Reactions: snake7
I absolutely LOVE your pictures! I don't have a good light source and have to rely heavily on the flash of my cam which often results in very crappy pictures for the instructions. Yours have industrial quality. What is your set-up?

Many years ago I purchased foldable photo studio from Modahaus. It's made of some kind of polymeric material with variety of color backdrops. And I use Ikea Forsa lamp with powerful 9-watt white led bulb. This is the one I use for assembling and also for shotting pictures. Camera is just a smartphone one. And in any circumstances no flash! :noteeth: Postprocessing in Photoshop (just to add watermarks and cut and downsize the pictures)
Here, I found some pictures from back when i introduced this kit as part of my tools

51401500.jpg

38852421.jpg

95641430.jpg
 
Last edited:
Great work with the sphere, not easy thing to assemble to look as good as yours.

I must say I dont like uhu sphere because its petals do not match panel lines so it gives away too easily it is paper model. Mojib (as well as Ninjatoes/Loefn) corrected that perfectly with his updated tie sphere. One can argue that such a sphere is not that round, witch is not by ist nature, but when assembled with all the hatches and details it looks as it should.

And you can do that extra step with both versions and use waterforming to round it to prfection :)
 
Top and bottom hatches
Characterized by edge-to-edge gluing and lamination

Bottom one is fuel system and laser compartment access

iXOdA5.jpg


For making round form i started to use some tools from Ali. Very convenient

LdNMJH.jpg


sAp4Ae.jpg


IZ8yfM.jpg


Upper hatch is for ingress/egress access
Window imitation was made by clear plastic packaging from our kitchen. It was thin and fit well

VcaxjL.jpg


Though I made holding ring, eventually I decided to glue hatch shut close, because it contributed to right shape and overall stiffness. Also, with ring hatch door didn't sit flush and tight on the sphere. And by the way, door hatch opened on hinge and that wasn't designed here

0rA6Ib.jpg


ZmpRkt.jpg


WT6AED.jpg


iU7iip.jpg


qVdOCm.jpg
i made my own hinge for the hatch using a piece of paper clip. took a bit to figure out but it worked..