The best laid plans of....
I understand about the whole “first layout” experience. My first free-standing, semi-permanent layout was weeks in development and research once I ‘negotiated building permits’ to construct it in a spare bedroom within the detailed constraints outlined by my roommates at the time.
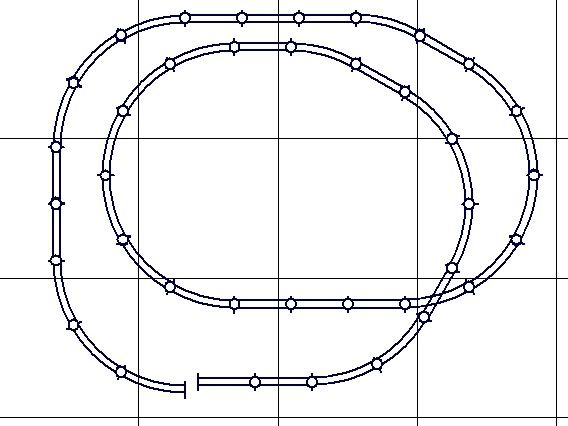
After designing various configurations ranging from just two loops to complex switching, bridges, water falls, entire villages with harbors, boats, ships, cranes… Gah! Planning it alone was a great deal of fun even though I knew I lacked the space or money to do a tenth of the things I could envision. Finally I hit on a plan and then began the whole “What should I use for sub-roadbed, roadbed and track?”
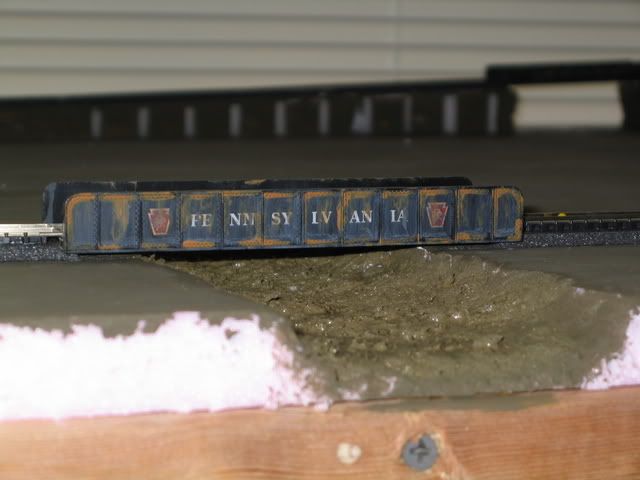
Turning to magazines, books and two local clubs in search of answers, I spotted this neat idea for a sub-roadbed – thin strips of wood mounted on risers that would form more natural turns. Since I had access to a band-saw and lots of scrap lumber, I whole heartedly began making 36 inch long, 1 inch wide by 1/8 inch thick strips of pine.
I then carefully assembled a surprising large number of the evenly spaced and leveled strips into a 6 foot long straight section with beautiful, gracefully flowing curves at both ends. I decided to test my creation with some cork roadbed and a piece of Flex-Track. Success! Silent, flowing, a work of art to behold!
Taking my new Atlas #8 Turnout out of the box, I began mitering in wood strips to support the first of numerous turnouts. I then got out the Atlas Switch Engine and looked at it with all the plastic, wires and brass fittings… This would not do, not on “My Railroad!” and so I was back to researching for a ‘better, more elegant way’.
Another week of digging around for information and ideas and I am thinking “automated, remote controlled switches… Yes, that is what I want!” I finally find one in a local Hobby Shop. It looks well made, will hide inconspicuously under the bench work and even if someone looks underneath, it looks pretty nice even with little wires sticking out of it. So I buy it and bring it back to “My Railroad” that evening.
It is finally Saturday morning, free time at last, and I am reading the instructions for my brand new shiny green “Tortoise Slow Motion Switch Machine”. Easy to mount and wire – check. Accepts DCC control – check. All the parts are in the box – check. ‘Clearance required for proper operation’… Oops!
Well, I can put in piano wire instead of the supplied wire but that is really pushing the torque limits on the Tortoise’s engine and does not solve the height problem below the risers in various “do not even think about putting anything near this spot” issues with my roommates… Bottom line - I had to rip out all my nice woodwork and start over to be able to operate “My Railroad” with the Tortoise Switch Engines.
The wood strips were not the only casualties of that first attempt – I still have the Walther’s Engine House with a Turn Table sitting in storage along with a few other structures that were a lot of fun to build but just did not fit in the space provided. So maybe it is time to set the Inclines aside for a little while or try to trade them in for the “Starter’s Set”, after all, are we not doing this for fun and entertainment?