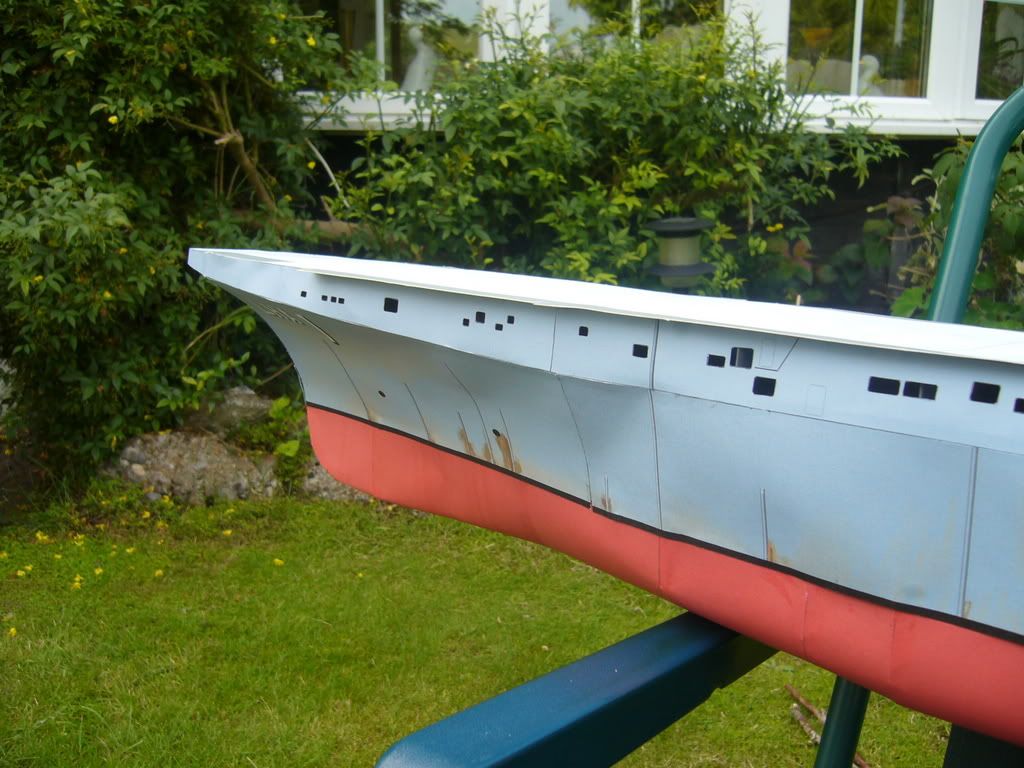
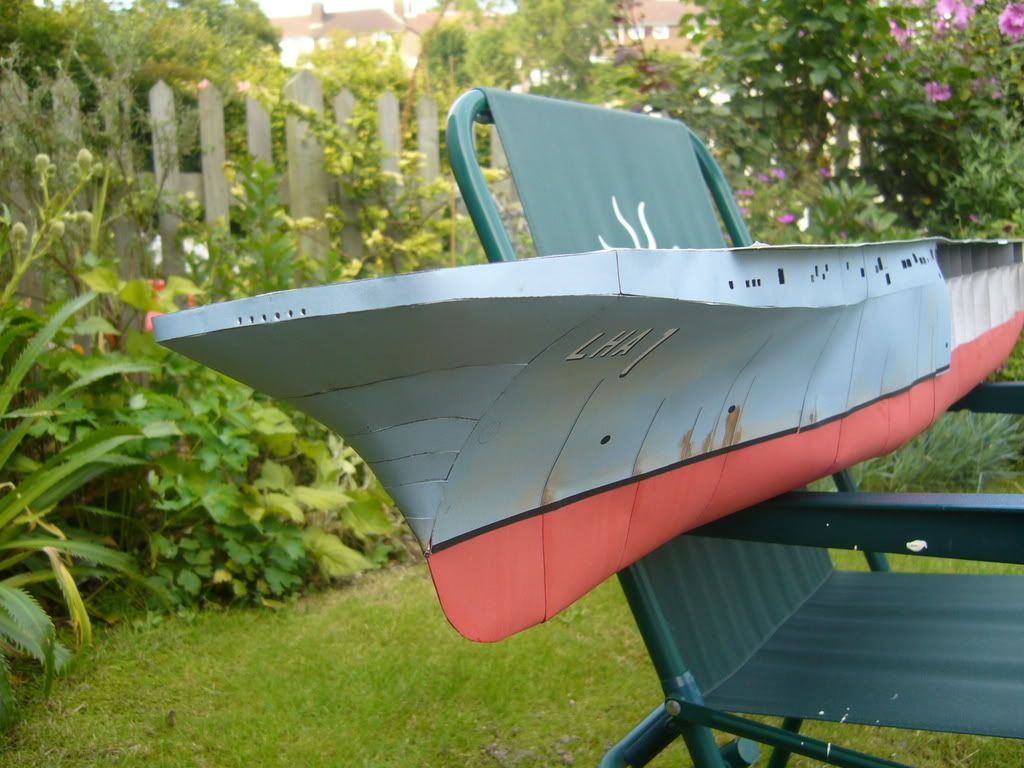
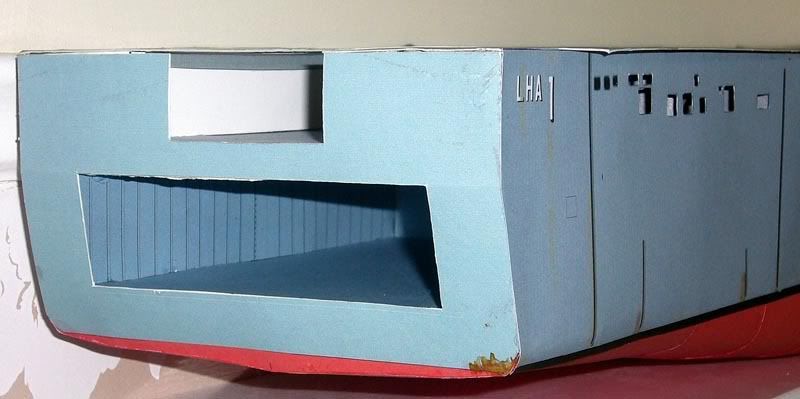
Heck barry, if both sides are the same on the ship............. it is possible for them to rust the same.............sign1
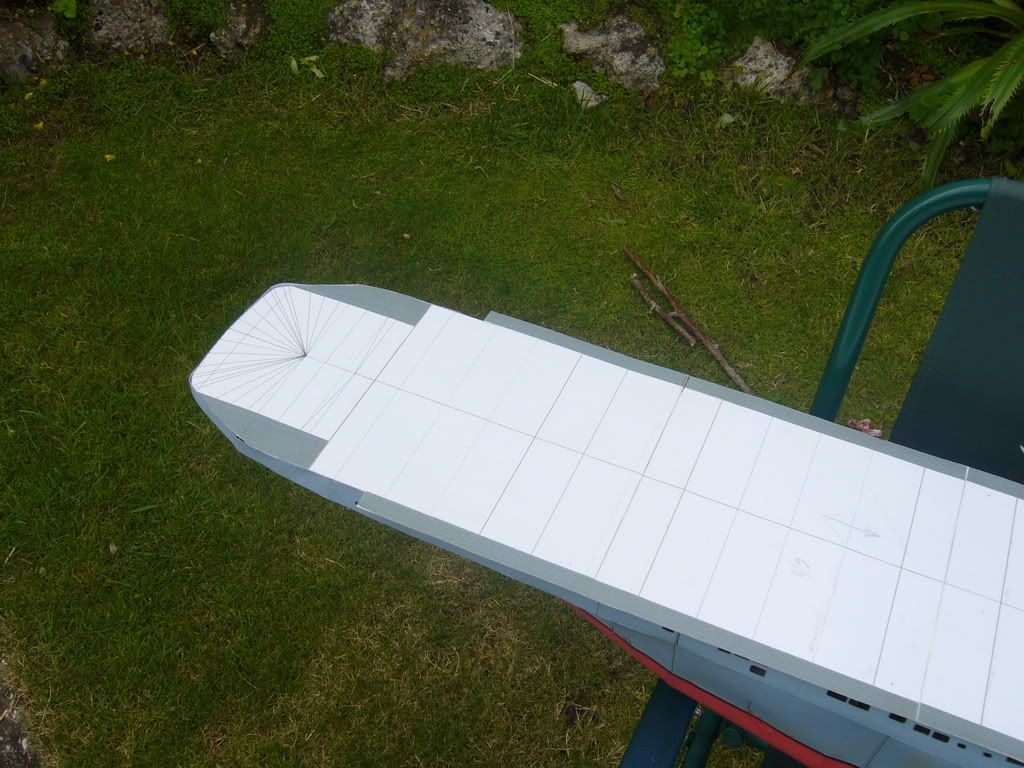
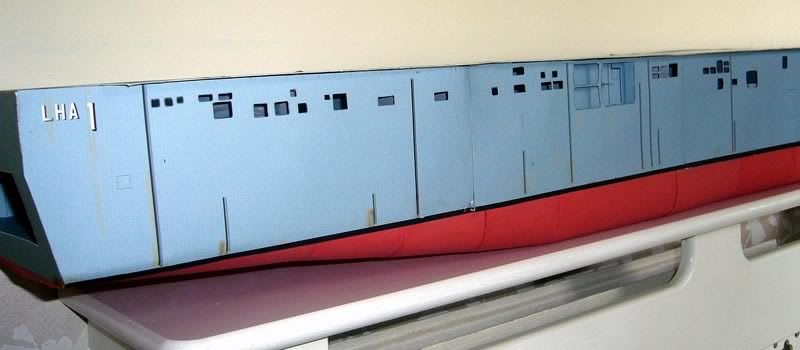
I'd leave it until you got the skins finished, then look at it and see how it looks. If you don't like it you can always change it later.
john
I'd leave it until you got the skins finished, then look at it and see how it looks. If you don't like it you can always change it later.
john
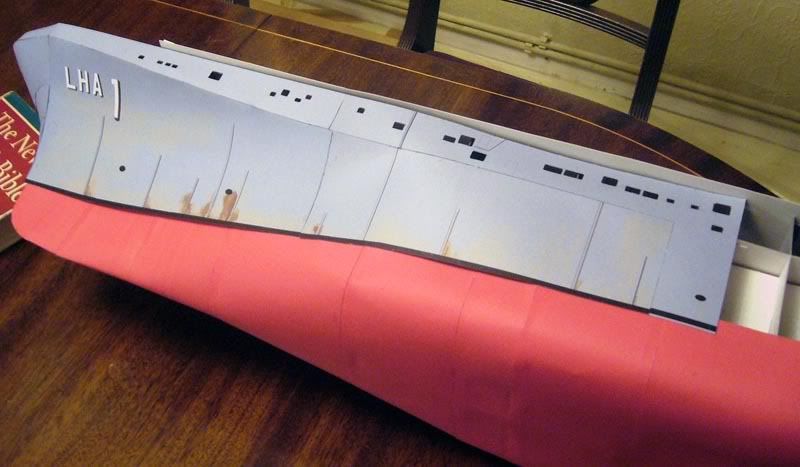

") at least not on my watch. Sure, maybe some staining from the crud in the water coming out of the pipes but never rust.
at least not on my watch. Sure, maybe some staining from the crud in the water coming out of the pipes but never rust.