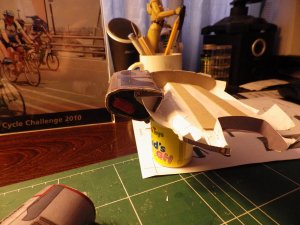
USS Defiant (DS9) 1:400 scale (finally...)

Cybergrinder

Member Extraordinaire
Jun 24, 2014
2,385
3,992
113
48
Johannesburg, South Africa
Ok, I've talked about it allot and finally have started building the Defiant!

Before anything more is said,

Huge thanks to Revell-fan, who helped me countless times in the unfold, cleanup and general design of the model.

Thanks also to ThunderChild, for kind permission to use his supports from the "Micro" :) version of the same ship.

I sourced the model from filefront.com (starfleet command 3) and was labelled 9of9Defiant. I tried to mail the creator for permission but the mail bounced. :(

Now, I'm not the best with Sketchup (in fact, I think I swear at it more...), so please be gracious, I know there are some overlaps on the unfold.

I'm going to upload to the resource section once I'm happy with the overall build

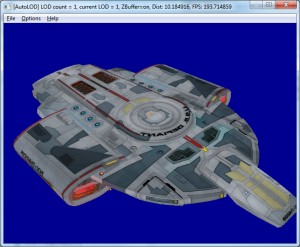
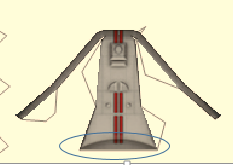
So without further ado; here's some pics of the model in Taldren model viewer
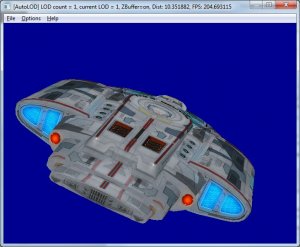
defiant rear.jpg defiant top.png

And the reference pics for the additional detail (aka greebles)

USS_Defiant_firing_phaser_cannons - top greebles.jpg Defiant_USS_Defiant05.jpg uss-defiant-nx-74205.jpg

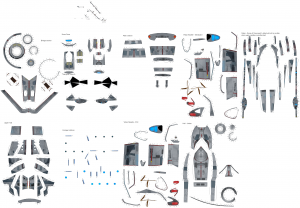
And, the unfold it's self!

USS defiant.png

It comes to 11 pages, with greebles and supports. Now, where did I put those pictures of the build....
 

Revell-Fan

Co-Administrator
Staff member
Administrator
Moderator
Aug 1, 2009
11,595
12,338
228
Vreden
I don't need to follow this thread because I already know that the result will be gorgeous. :cool:


****


Naw, come on, just kiddin'! I'll BE following this one! :D:D:D:):):):D:D:D

If you need some help to get rid of the intersections in SketchUp, just PM me! ;)
 

Cybergrinder

Member Extraordinaire
Jun 24, 2014
2,385
3,992
113
48
Johannesburg, South Africa
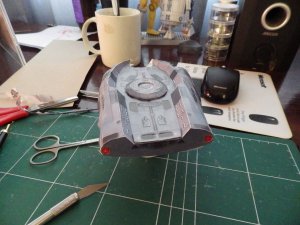
So, I found the build pictures :)

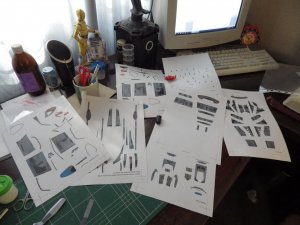
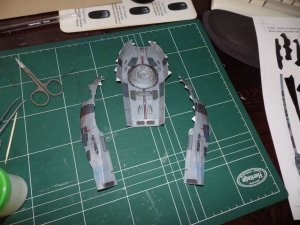
Here's a very messy shot of the pages

IMGP0580.JPG

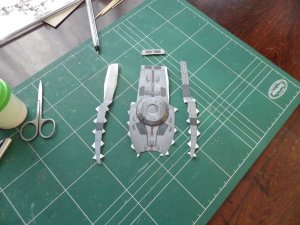
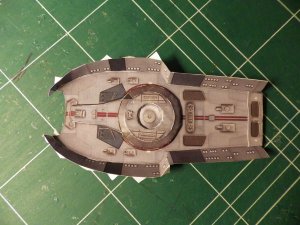
I started on the underside of the hull and hit the first overlap/double issue. The "dome" that is below the bridge appears on the flat sections and has parts for the proper build. I decided to build over (& not cut out) the "flat" section, primarily from a strength perspective.

Bottom of the hull greebled and the dome assesmbled and glued in place

IMGP0579.JPG
As you can see, the vents/radiators/grill thingies are also duplicated at the back of the hull, again I'm going to glue directly on for strength. I do need to add tabs to the "pop-up" piece that will be glued on.

As you can see as well, the wife's manicure scissors are still in a "borrowed" status ;)
 

Cybergrinder

Member Extraordinaire
Jun 24, 2014
2,385
3,992
113
48
Johannesburg, South Africa
I agree Zathros, it's kind of like the "middle-child" of the star trek ships (it's there, but no one really gives it any attention), always overlooked for the Enterprise (all versions) Voyager & the Klingon ships. It got even harder after Zosho's download links have gone :( I regret not downloading it when I had the chance.
 

Revell-Fan

Co-Administrator
Staff member
Administrator
Moderator
Aug 1, 2009
11,595
12,338
228
Vreden
I fully agree. Great start, CG! :)

BTW, what's that R2 on your desk? Is it from the SF papercraft gallery?
 
  • Like
Reactions: Cybergrinder

Cybergrinder

Member Extraordinaire
Jun 24, 2014
2,385
3,992
113
48
Johannesburg, South Africa
Yup, R2 is from the SF paper gallery, 3PO is Uhu02's model. I think I've built this R2 about 4 times! it was one of the first I built (being an easy build) then I left it on my desk at work. Beeg mistake as everyone played with him after I left for the day & needless to say, he got messed up very quickly. :(

I then built one for a friend, didn't learn form my mistake & built another one for the desk at work (different department, I thought they were better) who also got trashed. Version 4 was build at home & stayed with his counterpart. :)

hehe, did anyone notice the lego 80's astronaut? :) (my old stuff that the kids are now playing with, please note I did not say which kids.... ;))
 
Last edited:
  • Like
Reactions: vipers7

Cybergrinder

Member Extraordinaire
Jun 24, 2014
2,385
3,992
113
48
Johannesburg, South Africa
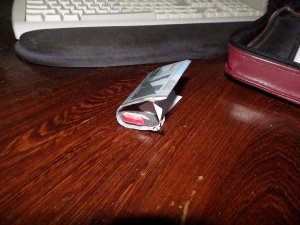
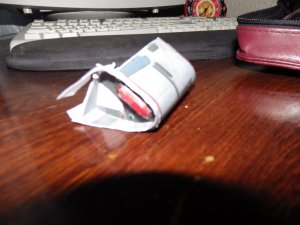
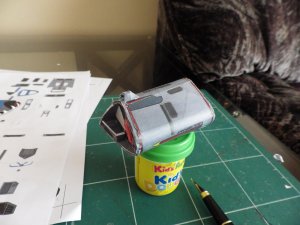
Ok, I worked on the sides/bottom of the hull over the weekend;

Got the inner panels and the detail that runs from the "dome" to the nose attached. Slight overlap here, but I just cut the curve away.

nose.png

There we go!

IMGP0598.JPG

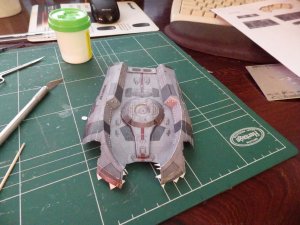
Next came the sides that curve up to the upper hull.

IMGP0599.JPG

All going pretty straight forward so far...

IMGP0608.JPG

I added the panel with the impulse engines just to get a bit of shape to the hull

IMGP0609.JPG

So, there we go for now, will start on the upper hull when I get chance :)
 

Revell-Fan

Co-Administrator
Staff member
Administrator
Moderator
Aug 1, 2009
11,595
12,338
228
Vreden
WOW! This is a great update!!! :) One suggestion: If you work with thin rims (up to 1 mm) it might be easier to laminate the part to a piece of card till it has the desired thickness and to attach the rim to the edge of the card (or to skip the rim and paint the edge with water colours or pencils). ;)
 
  • Like
Reactions: vipers7

Cybergrinder

Member Extraordinaire
Jun 24, 2014
2,385
3,992
113
48
Johannesburg, South Africa
Thanks for the tip RF, will bear it in mind :) I was going over the unfold & I think the warp nacelles are "closed" (i.e.: once complete there will be no open sides). I think I might do these next & cut into the hull (very carefully, of course) to get them to fit...

Let's see what happens over the weekend!
 

Revell-Fan

Co-Administrator
Staff member
Administrator
Moderator
Aug 1, 2009
11,595
12,338
228
Vreden
So in other words, you are designing the nacelles as boxes. Good idea; that will make them very stable. :)
 

Cybergrinder

Member Extraordinaire
Jun 24, 2014
2,385
3,992
113
48
Johannesburg, South Africa
;) Of course, this now means that all the supports that I had ready are more or less useless now. :( ah, well, back to the drawing board (literally) ! ( My teacher would be proud! 21 years out of school I still remember!) :vulcan:
 
  • Like
Reactions: Revell-Fan

Cybergrinder

Member Extraordinaire
Jun 24, 2014
2,385
3,992
113
48
Johannesburg, South Africa
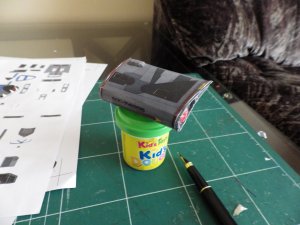
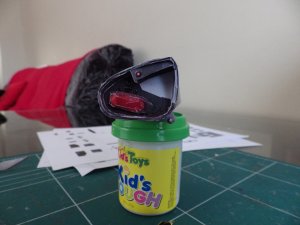
It was a busy weekend and I didn't get much done, but...

IMGP0610.JPG
IMGP0611.JPG
Starboard warp nacelle! (only the front) and yes, I should have had the flash off :( (sorry, really bad pics)

I'm not completely happy with the way the "bussard collectors" came out.:banghead:

The dilema I face now is how to get this attached to the hull once complete. The white you see is where the hull overlaps. I need to keep the curve of the hull and join the nacelle. Some interesting "surgery lies ahead....
 

Cybergrinder

Member Extraordinaire
Jun 24, 2014
2,385
3,992
113
48
Johannesburg, South Africa
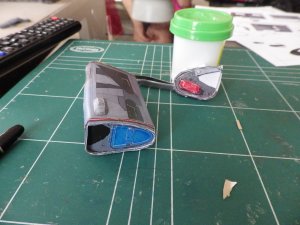
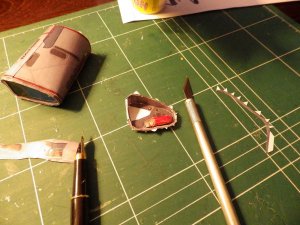
Ok, so had to rework the starboard nacelle a bit, but here it is;

The edges are a bit rough at the front, that's were the re-work happened, also didn't feel like rebuilding the warp nacelle form scratch (this a beta build, after all...;))

IMGP0615.JPG

IMGP0614.JPG IMGP0613.JPG

IMGP0612.JPG
So there's the starboard one, almost done with the port one;

IMGP0616.JPG
And I just had to try a test fit :)

IMGP0617.JPG
 

Cybergrinder

Member Extraordinaire
Jun 24, 2014
2,385
3,992
113
48
Johannesburg, South Africa
Thanks DC, it should be around 21-22cm in length. I used the Voyager that I recently completed as reference.

That model turned out to be 43cm. I then referenced the two ships in Memory Alpha with has Voyager at 340m and Defiant at 170m.