S
Soaring
-TR-1 HAZEL GUNDAM GUIDE
By: ******* ********* -Soaring-
Log 1-
Alright, so this is the FINAL time I will make a guide for TR-1 Hazel. I never really did finish one...But I promise, this one for sure! So please, be patient with me,ideas, helpful tips, and addons would be a great help to this. Like my previous failed guides, I'll hopefully go into AS MUCH DETAIL as I possibly can. I'd also really appreciate it if at least one person participates and follows the guide by posting pictures of their own WIP. Just anyone from the crowd.....
To start off, let's cover what you should get for this Model.
Materials:
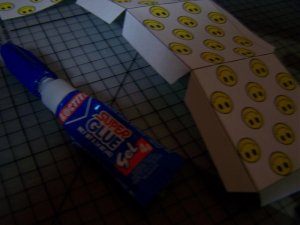
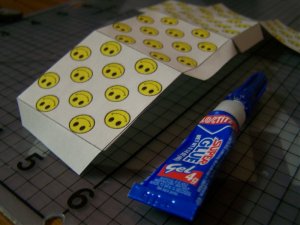
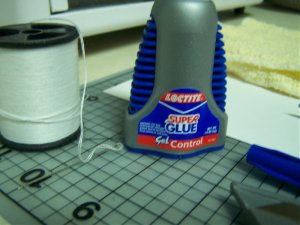
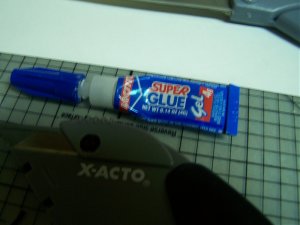
-Loctite Super Glue Gel Control (3)
-Loctite Super Glue Gel Control Gel Squeeze (2)
--------------------Total Glue Amount: Estimating 13 Dollars
-20-40 pages of Cardstock
--------------------Total Cardstock Amount: Estimating:2-3 Dollars
Colored, Black Ink (2)
--------------------Total Ink Amount Estimating: 80 Dollars
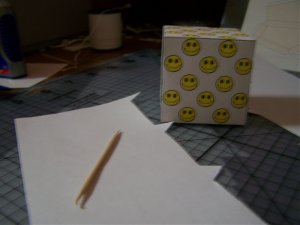
Toothpicks
Cutting Mat
Scissors
X-acto
needle
Plastic Baggy
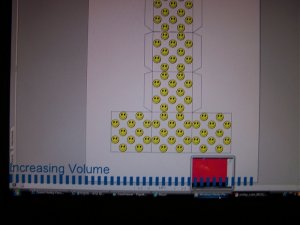
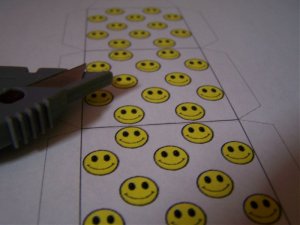
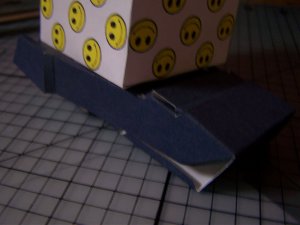
SMILEY CUBE!
--------------------Total depending on Brands, 15 Dollars
Soft Cutting mat (Pricless)
Time : 2 hours a day (Pricless)
Total amount which will be used: 111 Dollars give or take a few.
Now remember, you can still reuse most of the materials, so you won't be going into a waste. Plus, you'll end up with a FANTASTIC Model in which you can pose and display!
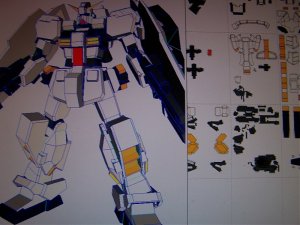
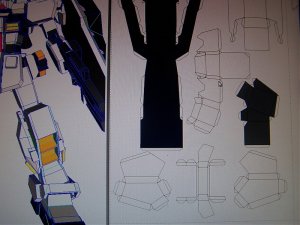
Programs:
Pepakura
Pepakura Designer
Paint.NET
Pepakura for viewing, pepkura designer for fitting your needs, and Paint.NET for when I -Hopefully get his permission- To release the joints.
In Conclusion: Expect in the next posts to basically be numerous paragraphs upon paragraphs, and mostly posts made by me. I'll try my best to reword my context to fit everyone's needs so this can be understandable. I hope you have a wonderful time, and enjoy the guide.

By: ******* ********* -Soaring-
Log 1-
Alright, so this is the FINAL time I will make a guide for TR-1 Hazel. I never really did finish one...But I promise, this one for sure! So please, be patient with me,ideas, helpful tips, and addons would be a great help to this. Like my previous failed guides, I'll hopefully go into AS MUCH DETAIL as I possibly can. I'd also really appreciate it if at least one person participates and follows the guide by posting pictures of their own WIP. Just anyone from the crowd.....
To start off, let's cover what you should get for this Model.
Materials:
-Loctite Super Glue Gel Control (3)
-Loctite Super Glue Gel Control Gel Squeeze (2)
--------------------Total Glue Amount: Estimating 13 Dollars
-20-40 pages of Cardstock
--------------------Total Cardstock Amount: Estimating:2-3 Dollars
Colored, Black Ink (2)
--------------------Total Ink Amount Estimating: 80 Dollars
Toothpicks
Cutting Mat
Scissors
X-acto
needle
Plastic Baggy
SMILEY CUBE!
--------------------Total depending on Brands, 15 Dollars
Soft Cutting mat (Pricless)
Time : 2 hours a day (Pricless)
Total amount which will be used: 111 Dollars give or take a few.
Now remember, you can still reuse most of the materials, so you won't be going into a waste. Plus, you'll end up with a FANTASTIC Model in which you can pose and display!
Programs:
Pepakura
Pepakura Designer
Paint.NET
Pepakura for viewing, pepkura designer for fitting your needs, and Paint.NET for when I -Hopefully get his permission- To release the joints.
In Conclusion: Expect in the next posts to basically be numerous paragraphs upon paragraphs, and mostly posts made by me. I'll try my best to reword my context to fit everyone's needs so this can be understandable. I hope you have a wonderful time, and enjoy the guide.

 However, you may go faster than me...