Strange what you think out when you can't sleep. I thought this would be a quick build, but as usual, things don't go according to plan.
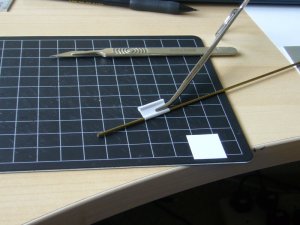
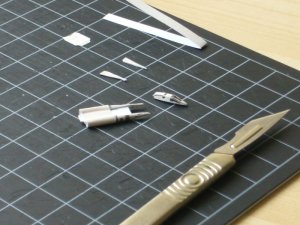
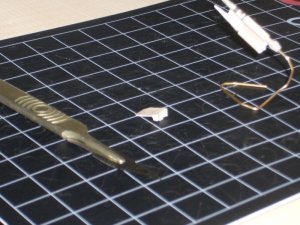
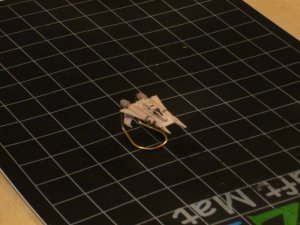
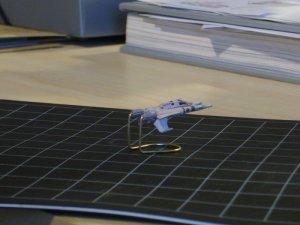
Here is progress so far
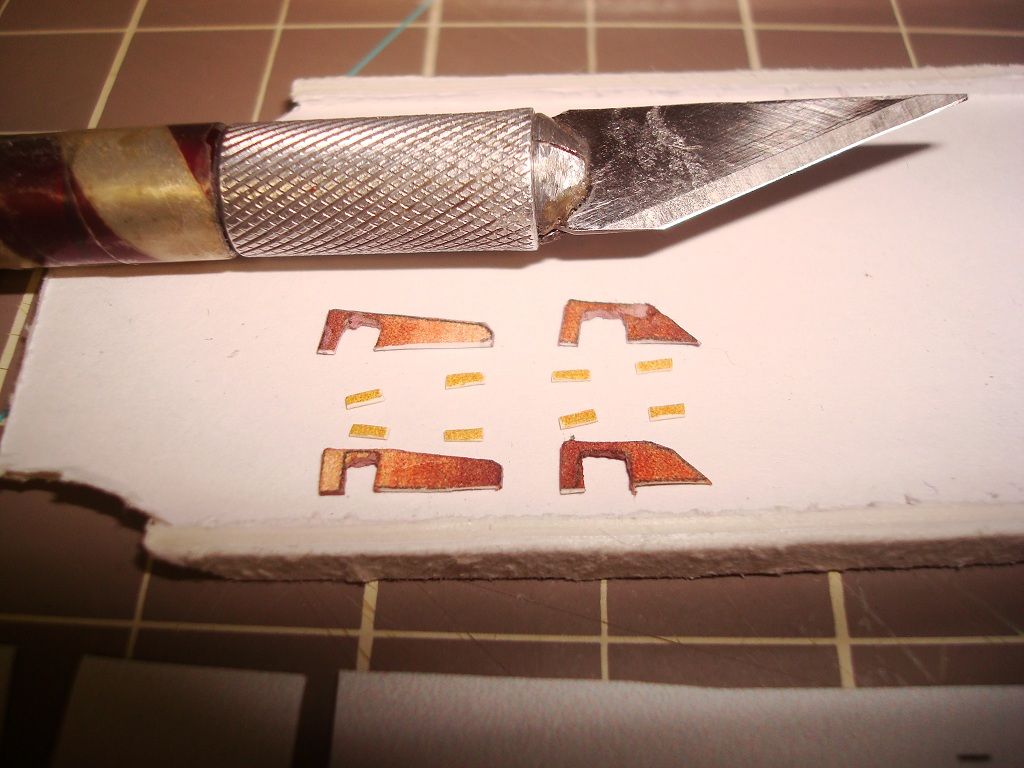
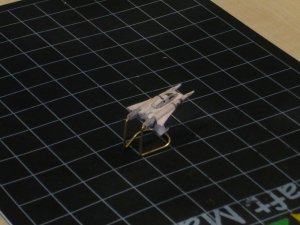
I reckon it will be about 10% the size of standard one, so 1:320
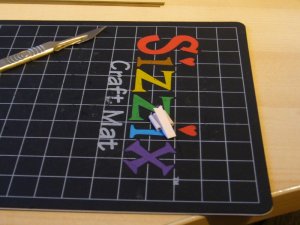
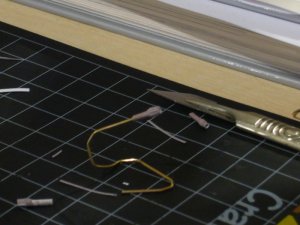
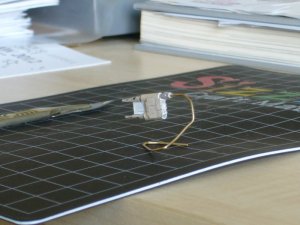
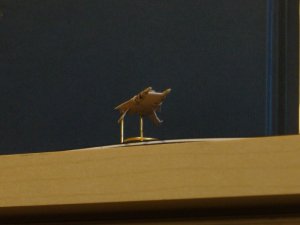
Here is progress so far
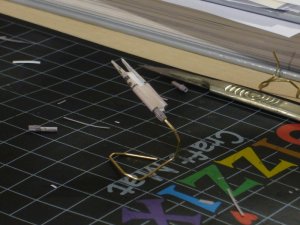
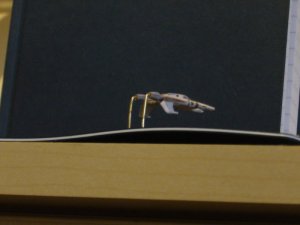
I reckon it will be about 10% the size of standard one, so 1:320