

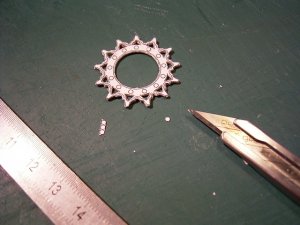
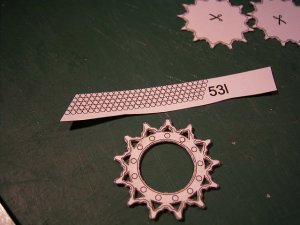
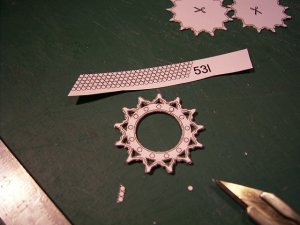
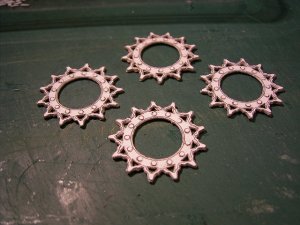
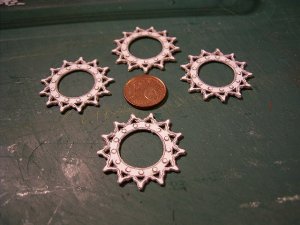
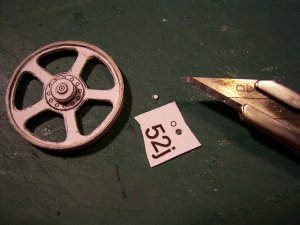
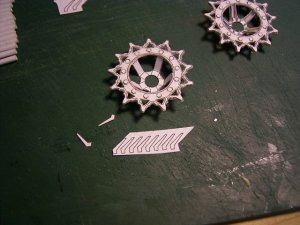
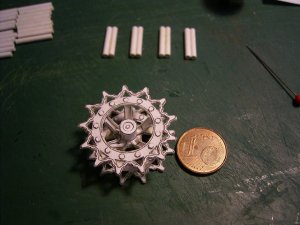
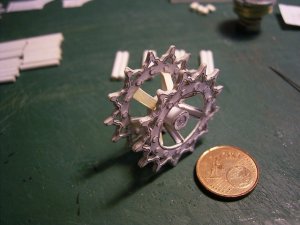
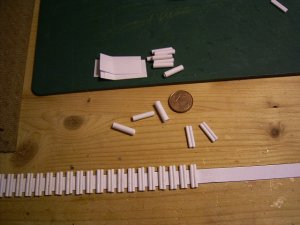
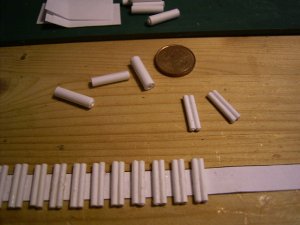
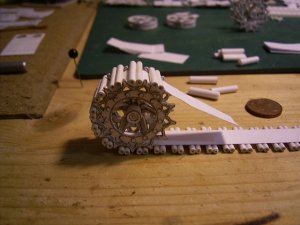
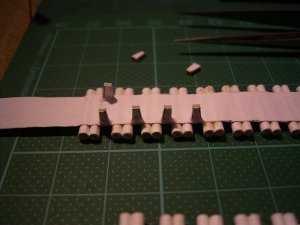
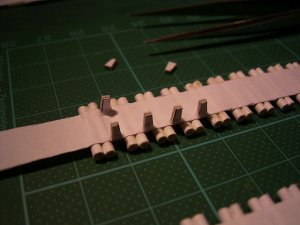
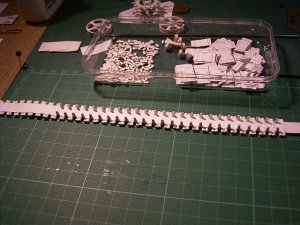
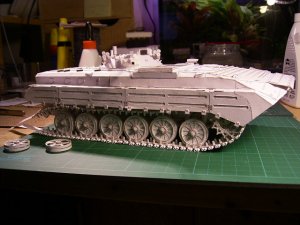
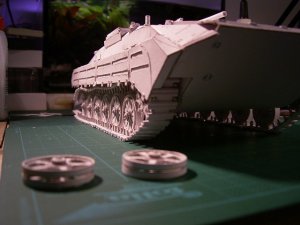
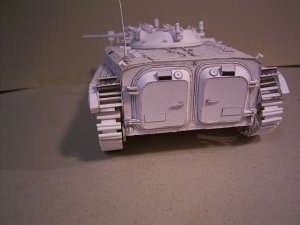
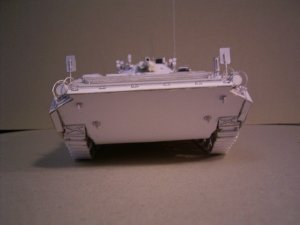
and more , starting reconstruction of the track, as original parts wasn't able to be handled by me.
The BMP-1 Puma- Project
- Thread starter gmeyer1962
- Start date
You are using an out of date browser. It may not display this or other websites correctly.
You should upgrade or use an alternative browser.
You should upgrade or use an alternative browser.
- Status
- Not open for further replies.

Keep on ur work, it's very good.
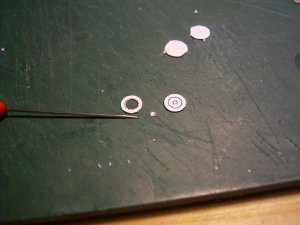
About 0,8 mm holes... did u think about a drill? I got a lot of them with different sizes from 0,1 mm to the highest u can think. It's a pain i can't lend it 2 u. :mrgreen:
Regards
About 0,8 mm holes... did u think about a drill? I got a lot of them with different sizes from 0,1 mm to the highest u can think. It's a pain i can't lend it 2 u. :mrgreen:
Regards
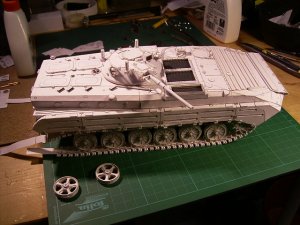
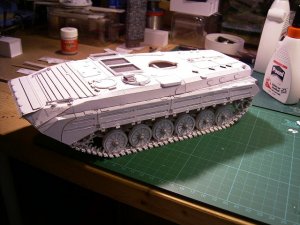
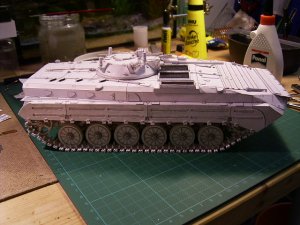
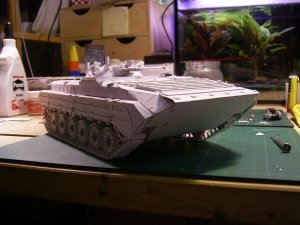
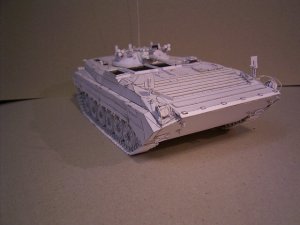
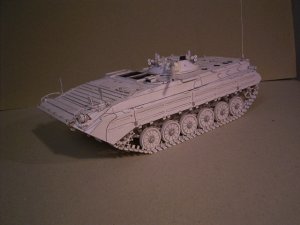
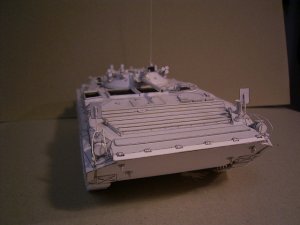
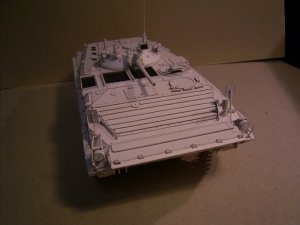
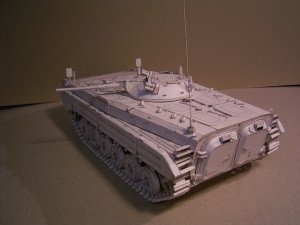
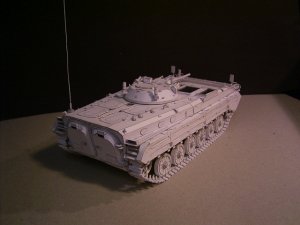
i guess next week i can finish this adventure.
some small parts like reflectors and driving mirrors need to be installed.
antenna still missing and so on.
but the hard part is done.
stay tuned .... hahahahaha
best regrads to all people which was
watching this thread.
GM
some small parts like reflectors and driving mirrors need to be installed.
antenna still missing and so on.
but the hard part is done.
stay tuned .... hahahahaha
best regrads to all people which was
watching this thread.
GM


gmeyer1962
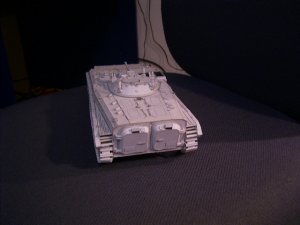
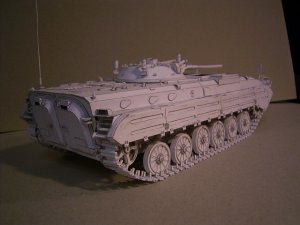
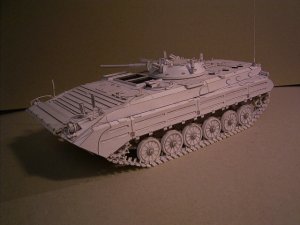
First off... INSANE. THAT IS CRAZY DETAIL.
How do you do it? LOTS OF PATIENCE AND TIME
Second question and I am REALLY new to this. What is that thick stuff you build with?
It looks like card board it is so thick.
Last newbie question is how to you print on that thick stuff? Or do you glue it on it after you print it out?
Thanks.
And in case I was not clear. WOW. I want to play with that Tank. I can pictures the treads going round and the suspension bucking as it rolls over a small field stone wall.
")
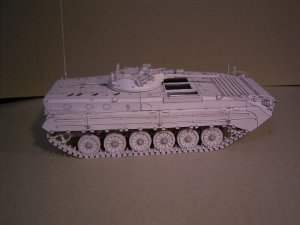
I salute your perseverance, patience and perfection...
Amazing details and damn neat model.
Can't find a single flaw..... congrats on your achievement...
Amazing details and damn neat model.
Can't find a single flaw..... congrats on your achievement...
- Status
- Not open for further replies.