Star Trek: Voyager:- Dinaal Hospital Ship - micro build log

linweseregon

Senior Member
Nov 23, 2013
269
505
123
Scotland
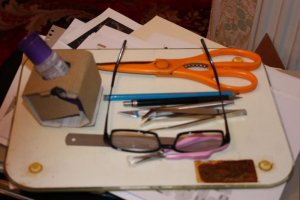
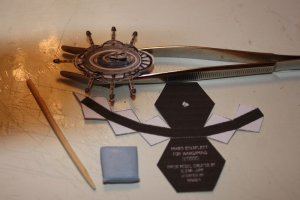
I'm not able to build models from scratch - yet! - so I have to cheat like h@*l. I suppose I'll start with my kit: scissors, large; scissors, small; pencil x2; tweezers x2; reading glasses, magnification x2 1/2; metal ruler; modelling knife; glass chopping board.
009.JPG
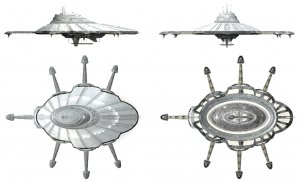
If I don't have a pattern to work from Drex Files come in very handy. Starting with this:-
dinaal-hospital-views.jpg
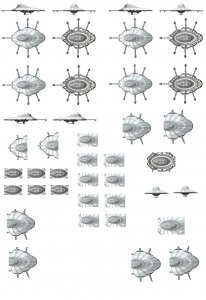
I copy and paste the whole thing at least twice (to get a base to work from), then copy and paste smaller sections (to build up layers) and stretch/elongate other sections (to allow for curved surfaces). The result is something like this:-
Dinaal Hospital Ship.jpg
That's phase 1; now it's time to start cutting!
 

linweseregon

Senior Member
Nov 23, 2013
269
505
123
Scotland
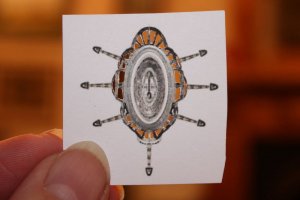
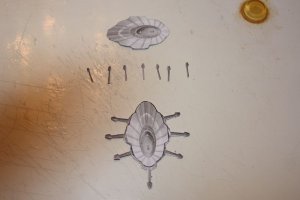
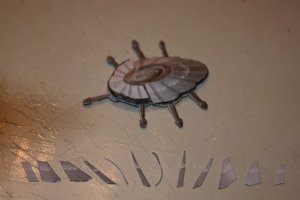
This one is proving to be exactly as fiddly as I thought it would be! I wasn't sure what the underside looked like and decided that there would be gaps between frames:-
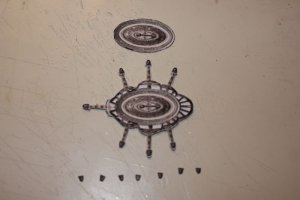
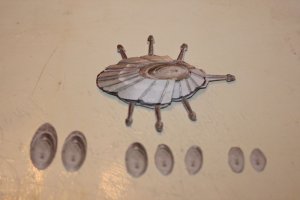
002.JPG Then came the really fiddly bit - cutting around the arms while maintaining sections that are only 1/2mm thick. After that I cut out the outline for the top view and glued them together. I found that double thickness wasn't enough for some parts:-
003.JPG
006.JPG This gave me a base suitable to start building outwards from.
End of Phase 2.
 

linweseregon

Senior Member
Nov 23, 2013
269
505
123
Scotland
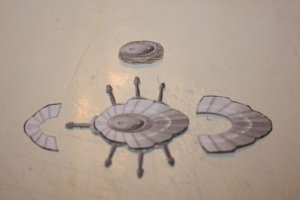
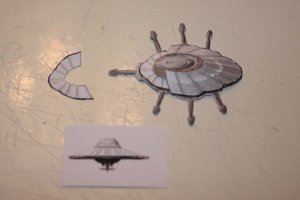
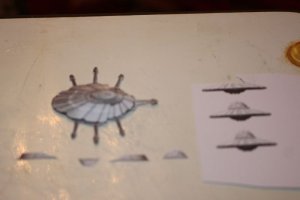
I cut round the plan view of the topmost section and glued it to a piece of balsa wood in order to keep a firm centre. From this I added the stretched curved sections:-
007.JPG The front section was almost perfectly judged and only required a bit of trimming at it's rear. I fitted 'bulkheads' to it before attaching the rear curve.
010.JPG The rear curve was a bit short, but I decided to live with that rather than printing another sheet - I'm a tree-hugger at heart.Adding panels to the domes brought it back to edge anyway:-
012.JPG I thought that layering the top section might work and allowed a double thickness for the base, triple thickness for the middle and double thickness for the top, with a single thickness for the semi-circle near it's front:-
013.JPG End of phase 3.
 

Rhaven Blaack

!!!THE MAN BEHIND THE CURTAIN!!!
Staff member
Administrator
Moderator
Jun 12, 2009
12,493
9,857
228
Oregon
www.deviantart.com
I really would not call this "CHEATING". It is just another way of building the model of something that you want.
What you are doing, looks really good. I like the layering technique to get the effect that you want.
KEEP UP THE GREAT WORK!!!
 

linweseregon

Senior Member
Nov 23, 2013
269
505
123
Scotland
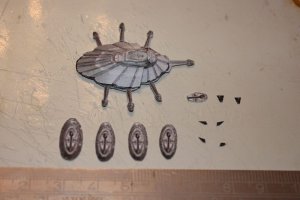
Layering the top section didn't work out as well as I expected and I had to do a 'wrap round' (sorry about the lack of focus):-
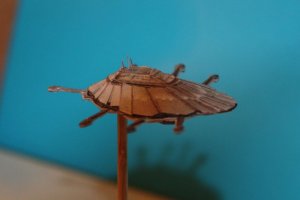
002.JPG That done I moved to the bottom section. Layering sections from the underside view worked this time and I'm pleased with the result. I used the end elevation from the Drex File for the parts that jut down - double thickness for the platform support and triple thickness for the two bits at the front:-
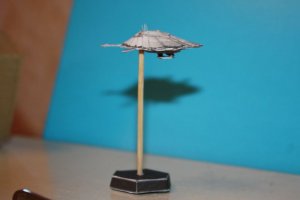
003.JPG I use 'Glen-Jupp-adapted-by-Rawen' bases, with a dod (Scottish technical term ;-) ) of Blu-Tac to add stability, and a cocktail stick trimmed to taste:-
005.JPG
A finishing touch of three teeny, toty, wee antennae and I'm done. The triangular projections from the bottom of the ends of the arms were just too small for me, so I omitted them. Et viola!
007.JPG 009.JPG
One 42mm or 1 5/8" Dinaal Hospital Ship ready for take off :).
 
Last edited:

ShadowHawk141

Member
Jan 15, 2013
167
1
16
Netherlands
Wow just wow.

When I'm greebling my models I make small parts and it go crazy when I do that for more then an hour so I'll have to switch to bigger parts then.
What you do (I read your other threads to) is simply amazing.
My son (he's 10) thinks your models are so cool, he asked me if I could make some of those for him.......eeerh nope ? :eek::)

Cheers,
Elko
 

linweseregon

Senior Member
Nov 23, 2013
269
505
123
Scotland
Hi Elko,
Thank-you so much :). I'm glad your wee boy liked them as well - that made me grin! They're not particularly hard to build - the main bother is having 5 dogs one of which has a habit of turning my parts and waste clippings into a roomful of confetti ;-)
 

spaceagent-9

Right Hand Man and Confidant
Moderator
Jul 10, 2013
3,104
3,473
143
62
pheonix
that is really a good job. in fact I have never seen a better job on a model that small, except this one guy ....sidewinder, check out his gallery, he did some great small stuff too.
 

zathros

*****SENIOR ADMINISTRATOR*****
Staff member
Administrator
Moderator
Apr 5, 2013
13,499
9,551
228
This is not cheating at all. This is how 3D printers work, and is an excellent method for making compound curves. Fine workmanship and an excellent example of this technique! I can't wait to see what else you come up with! Awesome! You could make some awesome Brooches with that technique, tie clips too!!
 

Uyraell

Newbie
Mar 23, 2011
38
4
8
NZ
You achieve very fine work and clearly ( I've looked at your other threads, and blog) have very good skills in such small scale modelling.
I truly admire what you've achieved, and hope to emulate it some day.

Excellent work! Well Done!.

Kind and Respectful Regards, Uyraell.