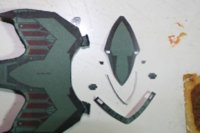
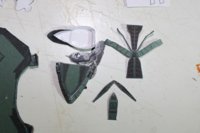
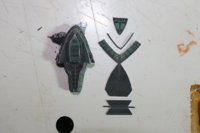
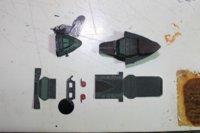
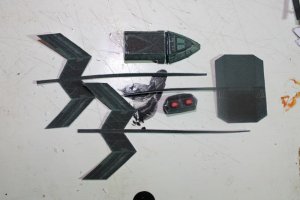
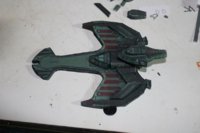
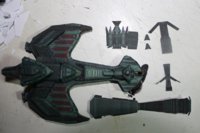
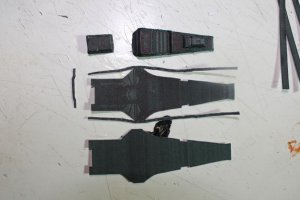
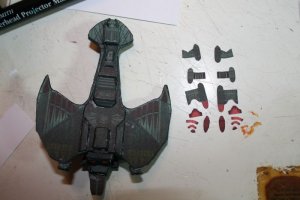
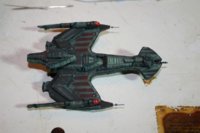
I've just found some detailed reference pics for a negh'var, so I now know where the mystery pieces go  . Unfortunately, the impulse boosters should have been connected to those 'T' pieces rather than directly to the hull so it's just as well that I printed extras of the design
  .
.
Star Trek TNG:- "All Good Things" Diorama - micro build log
- Thread starter linweseregon
- Start date
You are using an out of date browser. It may not display this or other websites correctly.
You should upgrade or use an alternative browser.
You should upgrade or use an alternative browser.
I am a total numpty!!! I had a look in the Klingon files on my flash drive while I was checking for Jim's TAS tug and there were the instructions!  Things should progress a wee bit quicker now - lol.
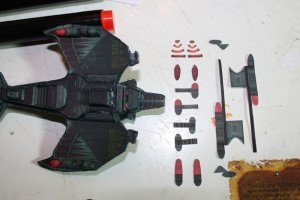
I've now attached the impulse boosters properly and then I cut some parts for the hangar deck:-
I'm back into fiddly territory - the bevel is ~0.5mm thick and I'm having to use my fingernails to fold the protruding wee boxes (the schematics don't tell us what they are...). With the front triangle built I moved to the rear of the deck:-
and joined it along with the lower section I'd already built, before cutting the pieces for the front of the crew quarters:-
I'm doing my edge colouring after gluing the pieces together as the PVA combines with the ink in the green pen I'm using and causes it to leech very badly.
I've joined up the front of the crew quarters and cut the parts for the rear:-
I then connected both halves and cut the base and wing chevron sections:-
The instructions are given from the top working down to the superstructure; I prefer working out from the superstructure to avoid having lots of modules lying around waiting to be connected, especially when they're so small that a breath can blow them away .
.
I then connected both halves and cut the base and wing chevron sections:-
The instructions are given from the top working down to the superstructure; I prefer working out from the superstructure to avoid having lots of modules lying around waiting to be connected, especially when they're so small that a breath can blow them away
@linweseregon, If you were to use watercolours and a thin brush (with a light brush stroke) to paint the edges, you will not get leeching of colour in parts.
If you use straight watercolour paints, it is best if you mix the colour you want first. Let it dry out (into a cake). Then dip your brush in water and then rub the wet brush on the colour cake to pick up the paint you need.
You can still use PVA glue (which is the same kind of glue that I use as well) without any problems.
This is the technique that I use and I get good results every time.
With all the modules for the rear of the dorsal side built I could then connect them all and join them to the superstructure:-
The modules for the front had previously been built (before I rediscovered the instructions) and were also connected. I then started cutting parts for the ventral side:-
Once again the instructions are working from the outside in, so I have more modules lying around waiting for their base:-
The modules for the front had previously been built (before I rediscovered the instructions) and were also connected. I then started cutting parts for the ventral side:-
Once again the instructions are working from the outside in, so I have more modules lying around waiting for their base:-
I joined all the parts for the lower nacelle and attached the nacelles to the underside. Work was then begun on the upper halves of the nacelles:-
With the front sections joined up, I cut the parts for the rear sections:-
This is a very time-consuming build due to all the tiny modules that have to be separately built because of their different widths. Wulf111's attention to detail is superb, although I have omitted quite a few pieces as they are pretty much redundant when building the model this small.
this is great! I am getting a great over view and can now go review wulf111's thread for the details! you are doing a supreme job building this and at micro size, again im very impressed with what I am seeing!
Remember, the Ent D is flying in a 90° angle towards and right through the Klingons... 
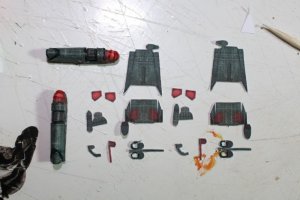
I joined the parts for the rear of the upper nacelles, connected the halves and fixed them to the wings. I then tried to make tubes of the parts for the disruptors and failed miserably! Instead I decided to use wire with the larger diameter parts wrapped around them:-
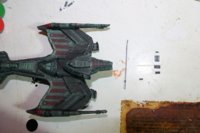
The version of negh'var used in "All Good Things" doesn't have any more attachments on the underside so one page of parts was redundant. The almost finished negh'var (voodieh, I believe) looks like this:-
This is the one which will be blown up by the Ent-D. The other one has a fibre optic filament threaded through it's centre and the parts for the forward disruptor have been wrapped around this filament. I'll also be adding extra detailing in the form of raised panels on a few sections - I didn't feel that it was really necessary to add this detailing to the one that's going to be destroyed .
.
The version of negh'var used in "All Good Things" doesn't have any more attachments on the underside so one page of parts was redundant. The almost finished negh'var (voodieh, I believe) looks like this:-
This is the one which will be blown up by the Ent-D. The other one has a fibre optic filament threaded through it's centre and the parts for the forward disruptor have been wrapped around this filament. I'll also be adding extra detailing in the form of raised panels on a few sections - I didn't feel that it was really necessary to add this detailing to the one that's going to be destroyed
I hope they will be enhancing the scene on the BluRay release and show the Klingon ship REALLY exploding with much debris flying everywhere.  Maybe they'll be using this thread as a model..!


