PzKpwf II Luchs 1:25 Wak

Status
Not open for further replies.

lriera

Member
Aug 28, 2007
183
0
16
70
Barcelona - Spain
Hi Johnny,

For some days I thought that you had left the tanks for the planes, thankfully you continue here. :thumb: But I have nothing against the planes.
 

josve

Senior Member
Oct 21, 2005
620
579
111
61
Odda Norway
I build the tank at work,so it's nothing to worry about if I'm not posting in some days or weeks :) I have a lot of time off!


Today I finished the roadwheels.


I had 3 more swingarms to make on the left side.I have reinforced the hollow tube construction with a 3mm wooden rod to be sure they can stand the handeling without breaking.....


I also made a part.....


I dont know what this part is, but it belongs to the rear part of the right mudguard.I guess it's some kind of tool,maybe a donkraft or something.
 

josve

Senior Member
Oct 21, 2005
620
579
111
61
Odda Norway
Got the swingarms done today!


I put the roadwheels loosely on


Some minor adjustments are needed,but I wait with that until the tracks are ready to go in :)

Overview
 

josve

Senior Member
Oct 21, 2005
620
579
111
61
Odda Norway
The rear wheels was a bit complicated construction containing a lot of parts.
And since I know you all loves wheels,just as me!! I made a step by step report....

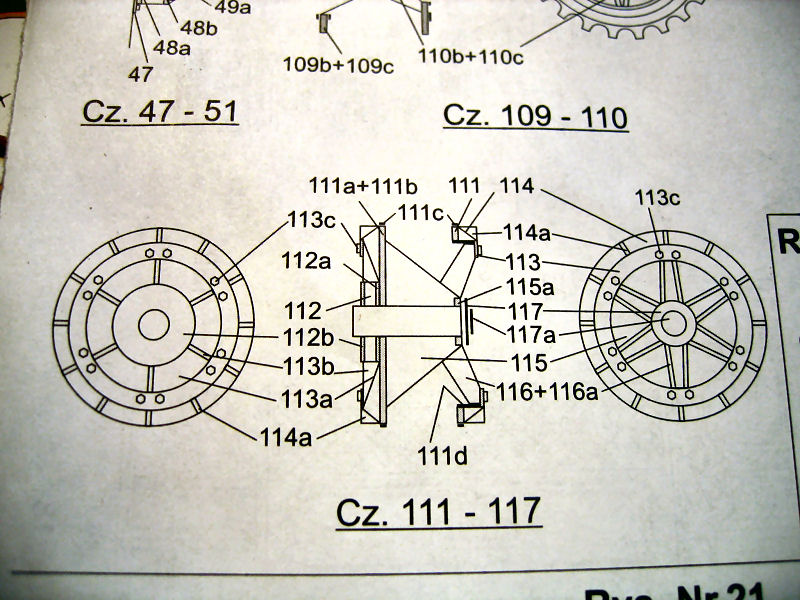
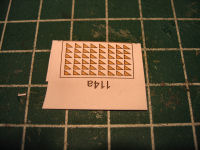
First lets take a look at the drawing.Ans as we can see it's a lot of parts involved.


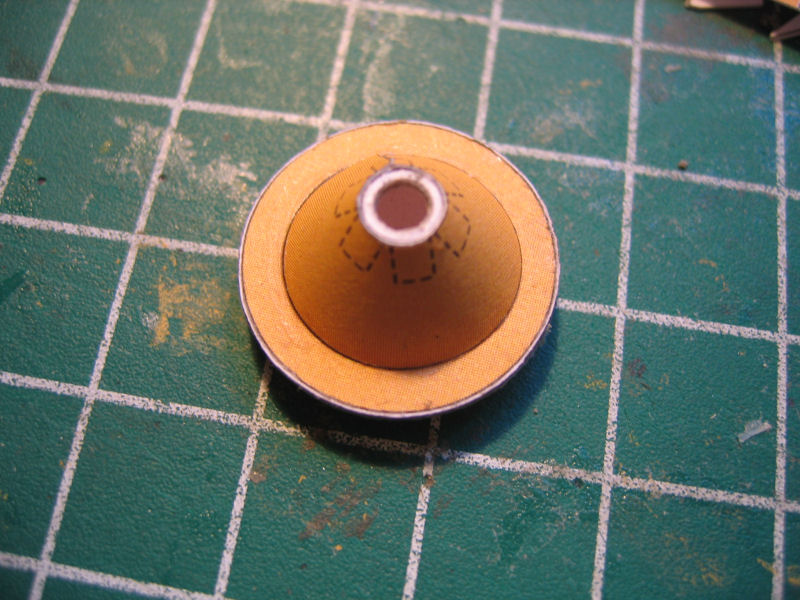
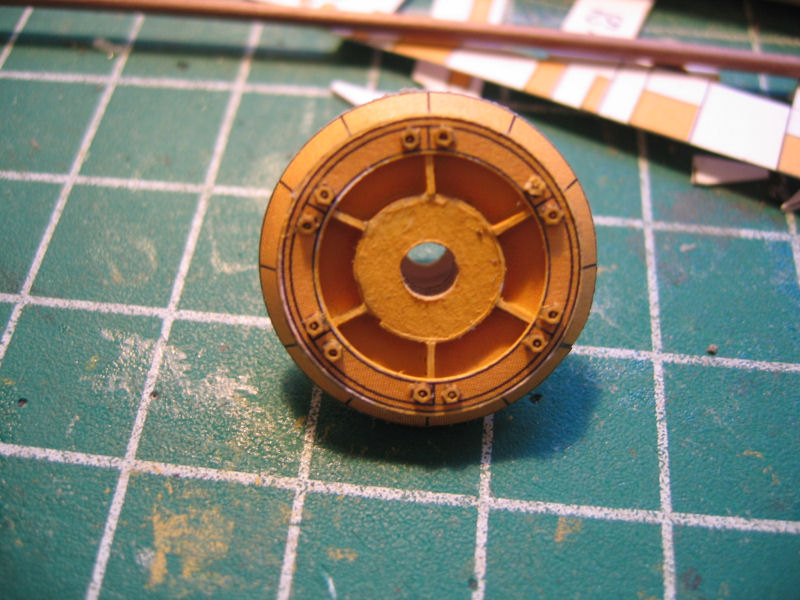
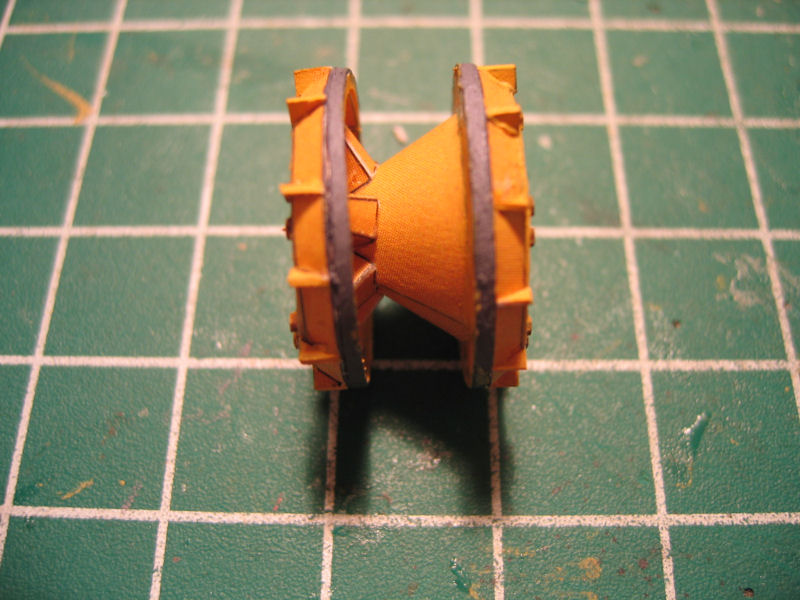
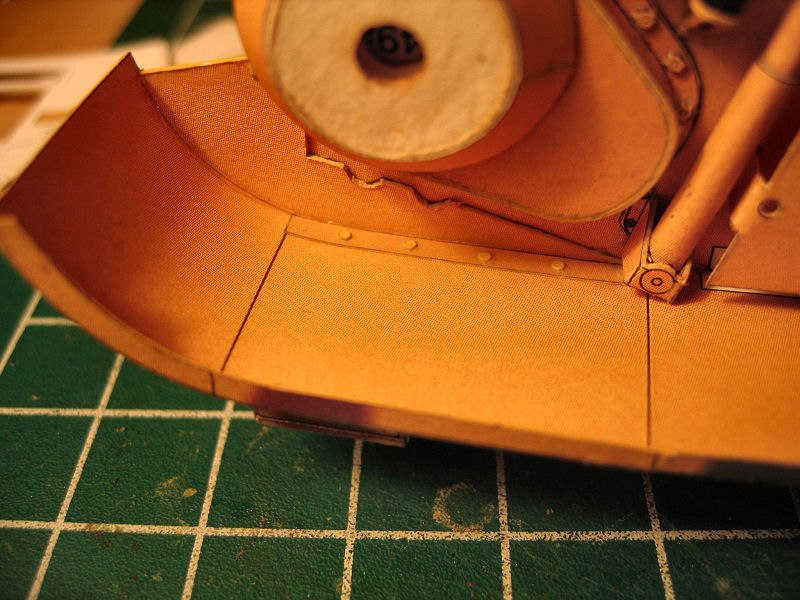
First step was to make the rear side.It was made of a 0,5mm bottom plate,a center hub, and two coned pieces coned each way.

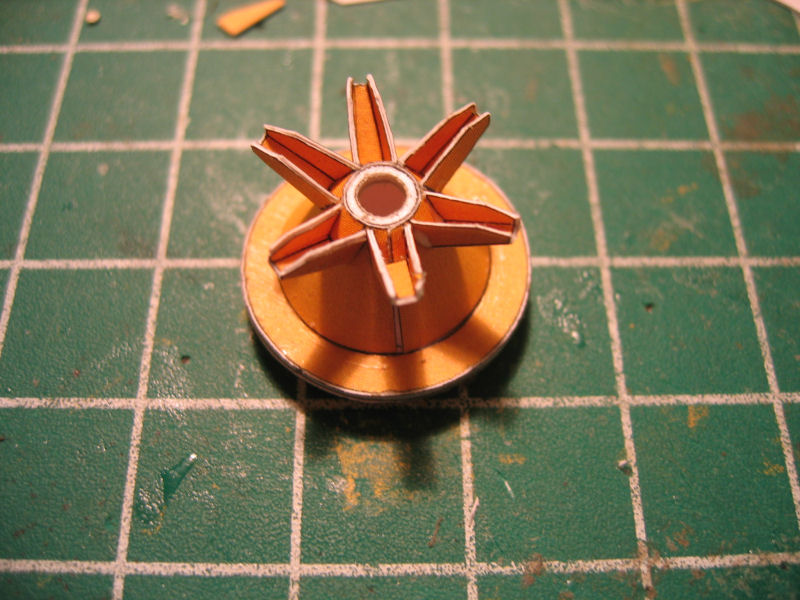
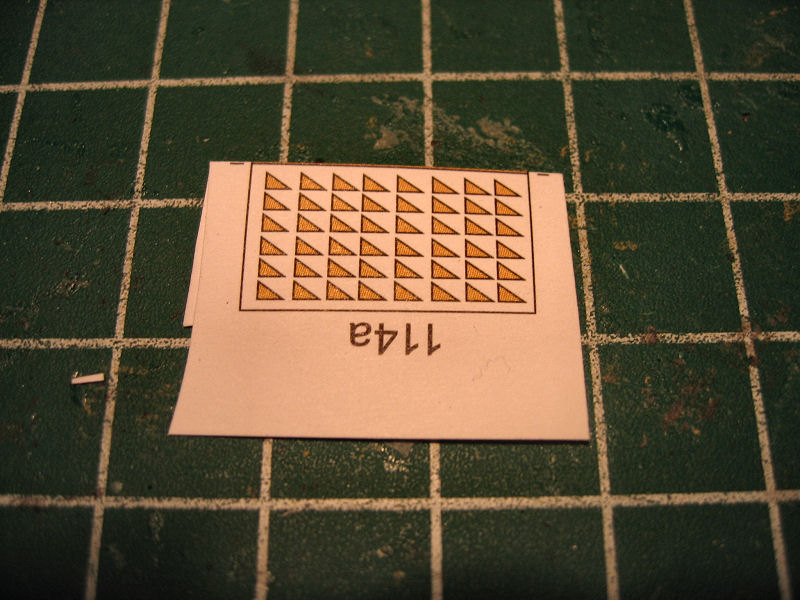
The triangles was glued to the lower cone and the hub.

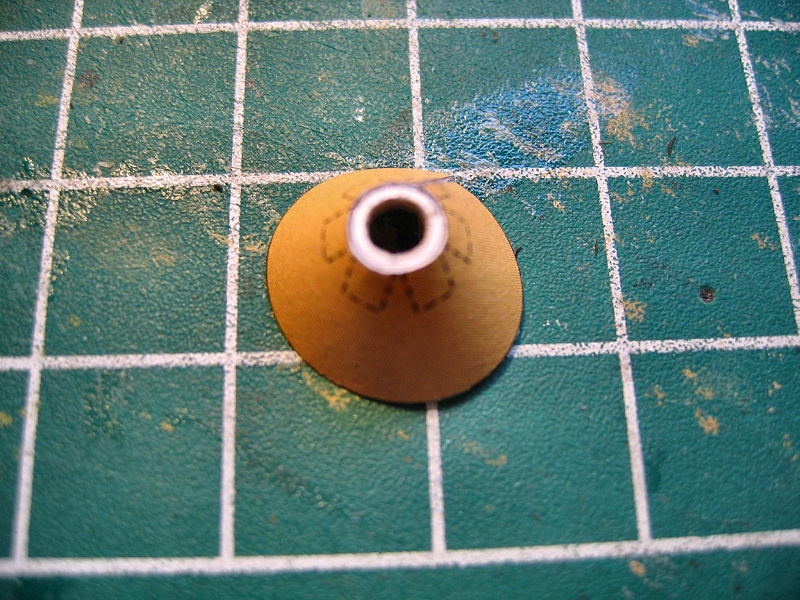
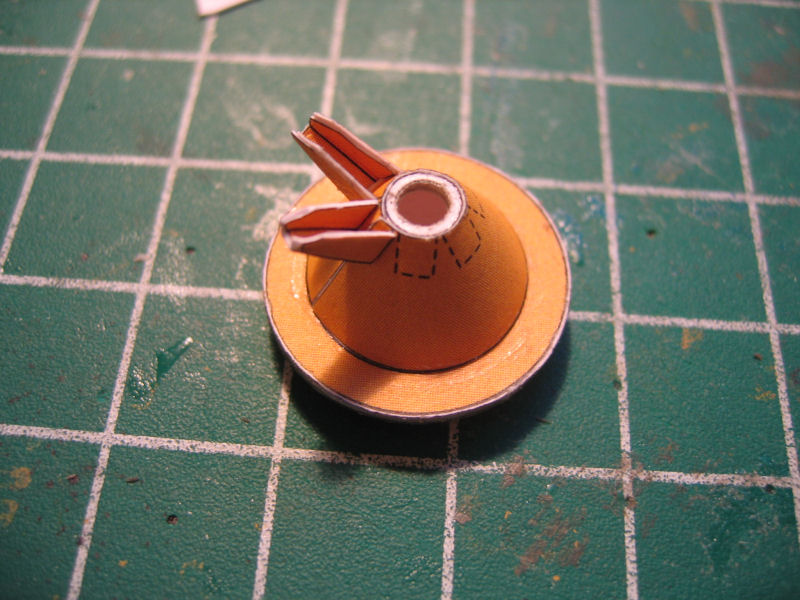
Then I made the cone for the front side arrangement


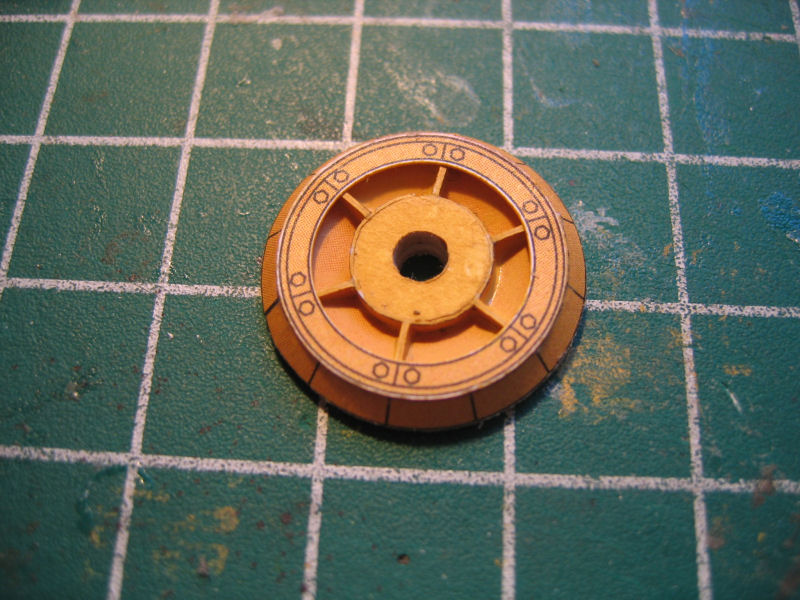
Then I added the ring with the nuts to the rear side.


The cone was glued to the front side


And the nuts was added to the rear side


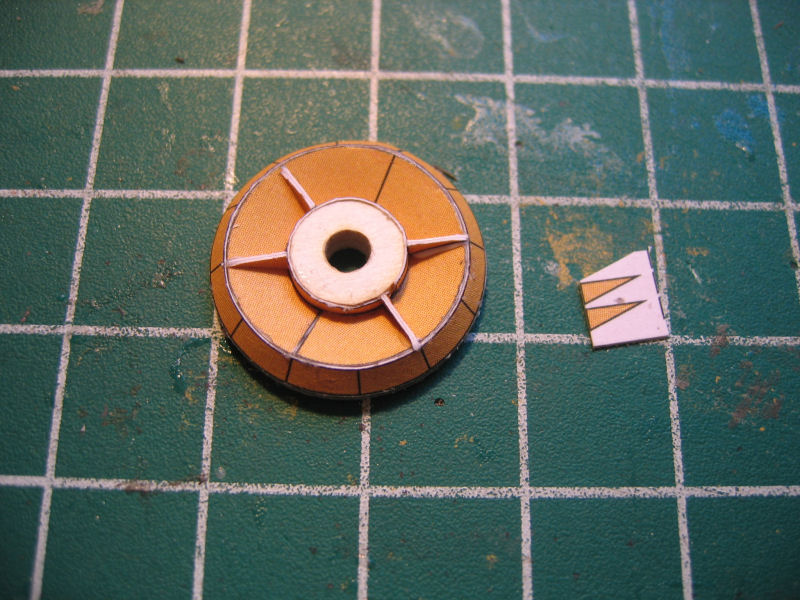
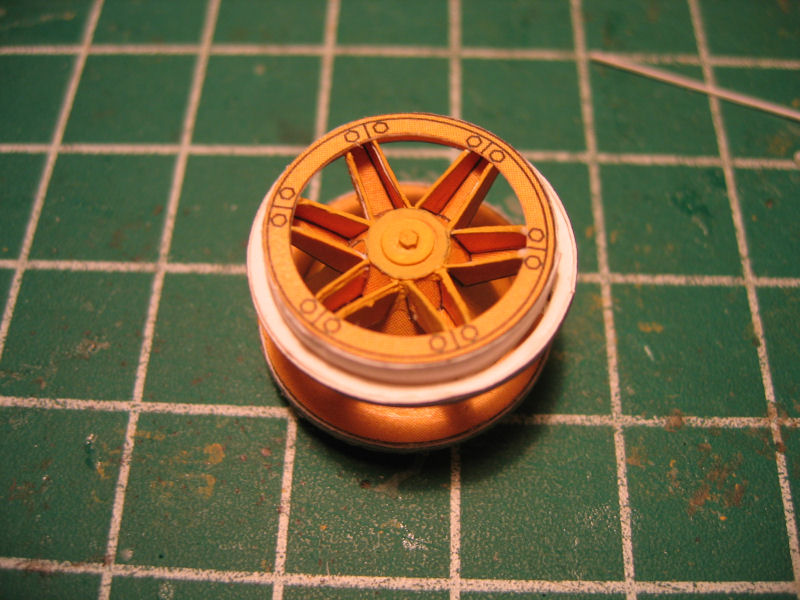
So came the time to add the supporters for the outer ring on the front side


All 6 supporters added


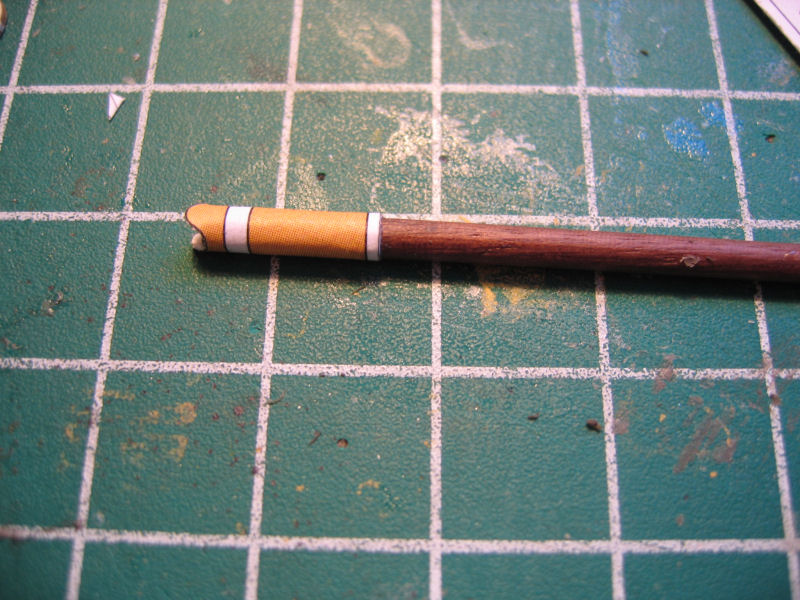
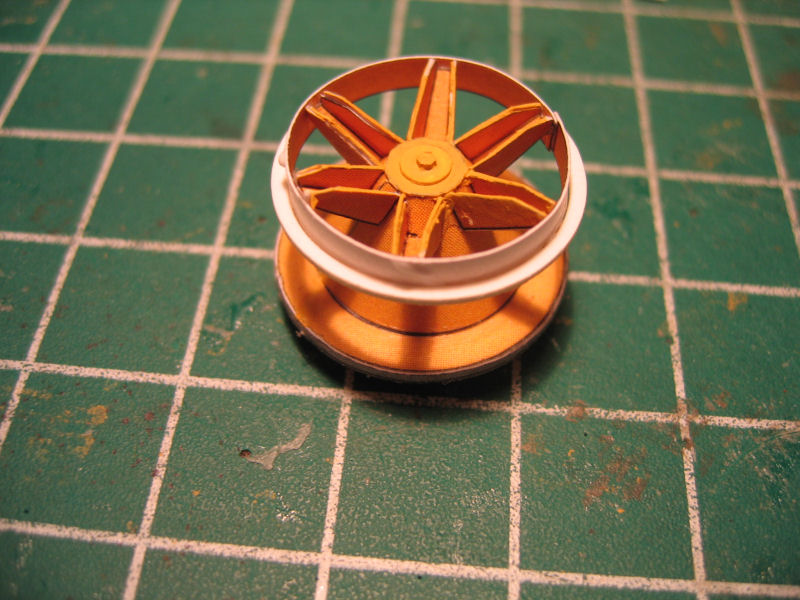
Then I had to put on the paperstrip and the ring to hold the coned front part in place


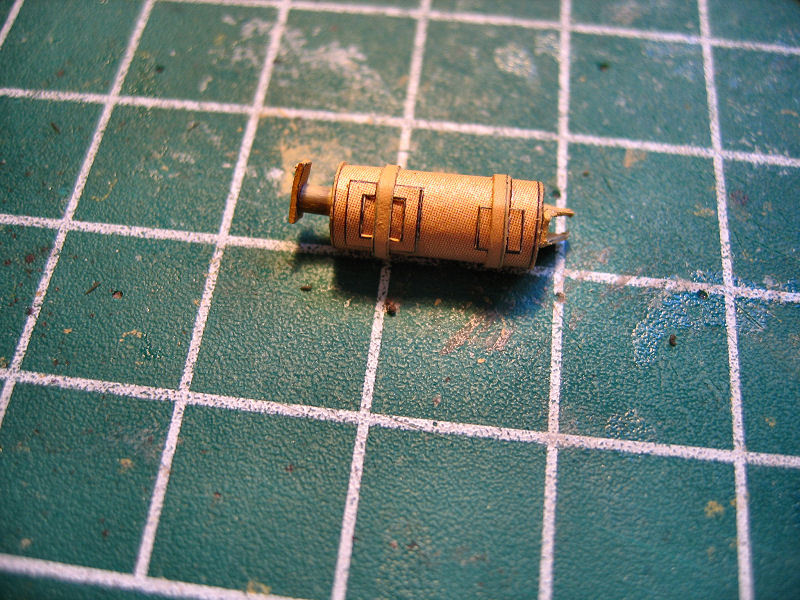
The outer part was added to get the distance from the rear ring correct for the dimesnsion on the outer coned part.


The coned outer ring is in place


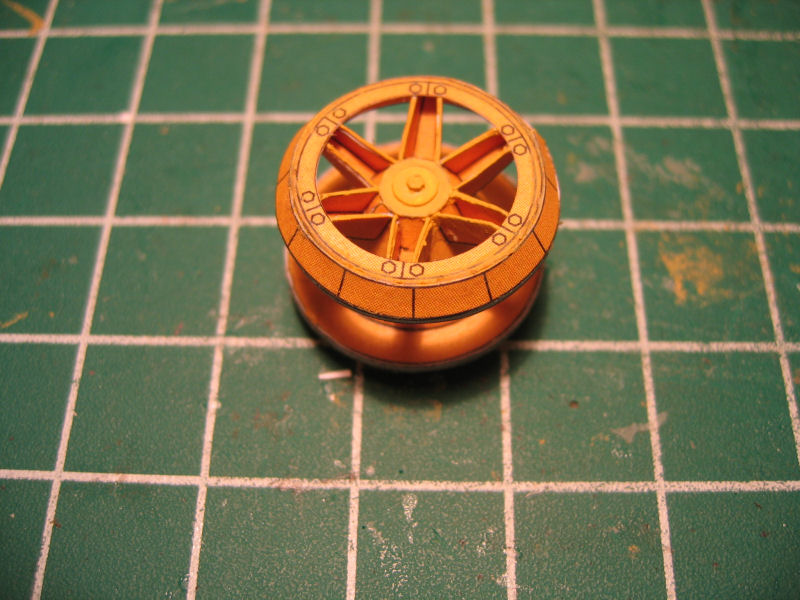
A lot of tiny triangles was to be added to the outer coned sides


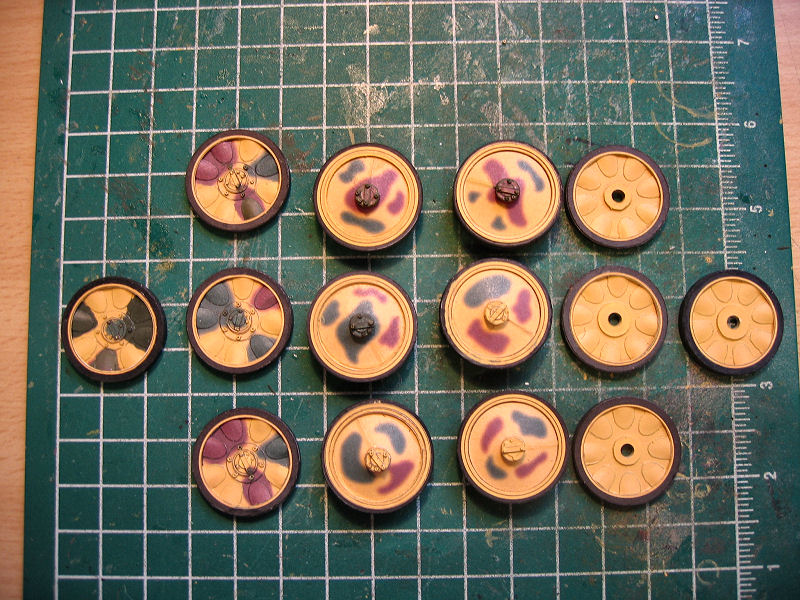
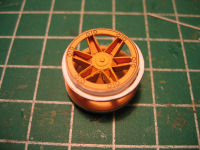
And when all triangles and nuts are added we have a wheel


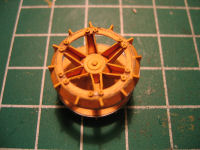
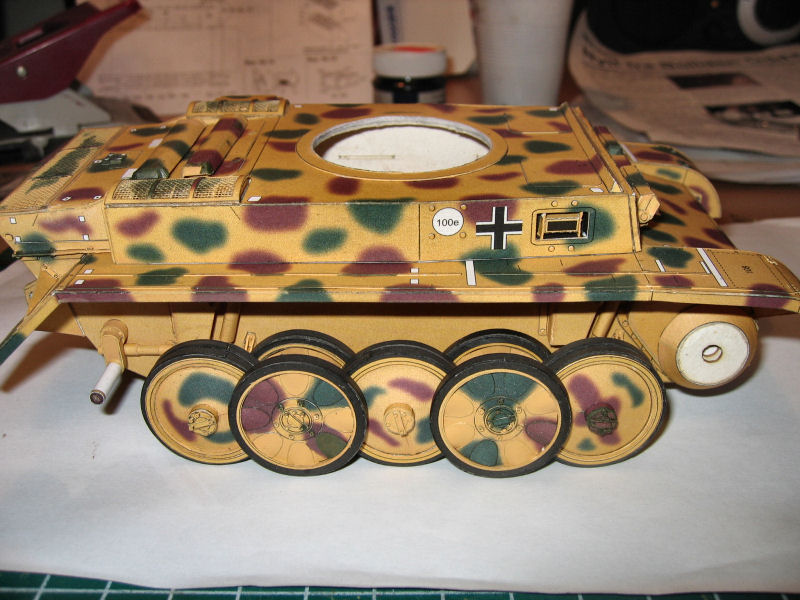
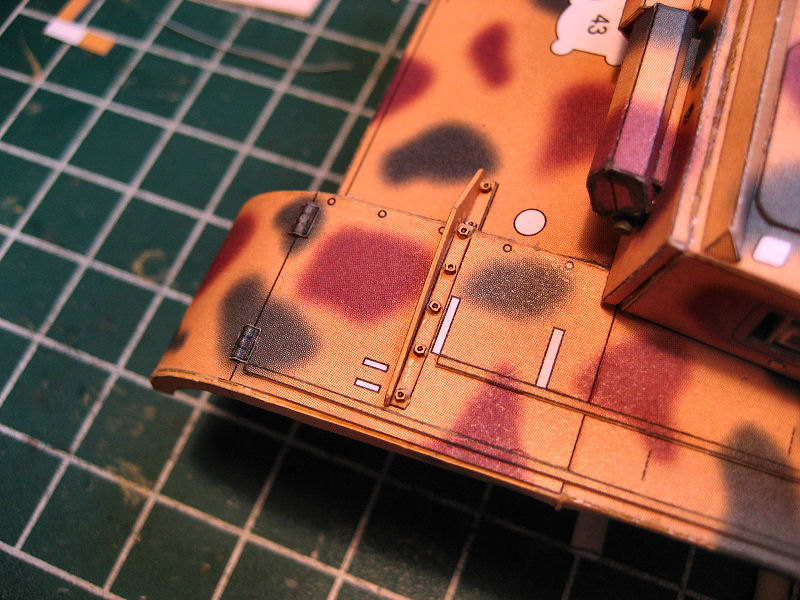
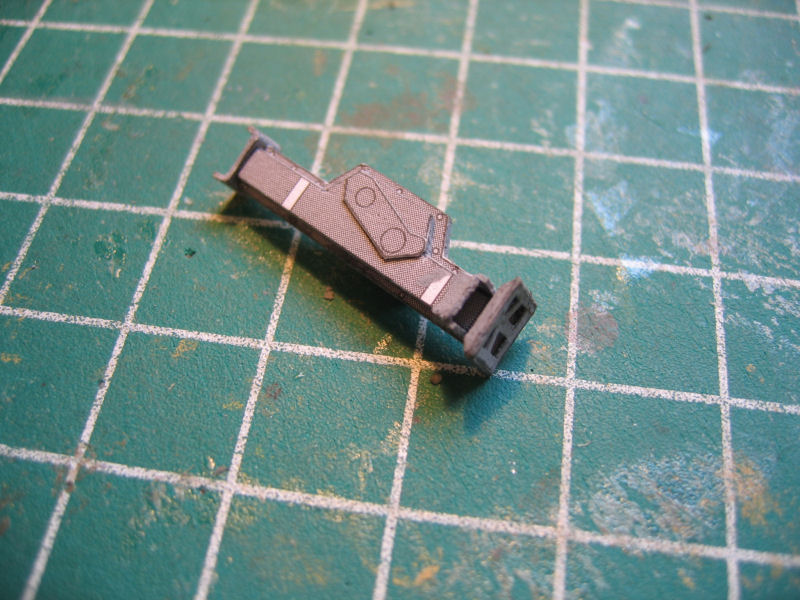
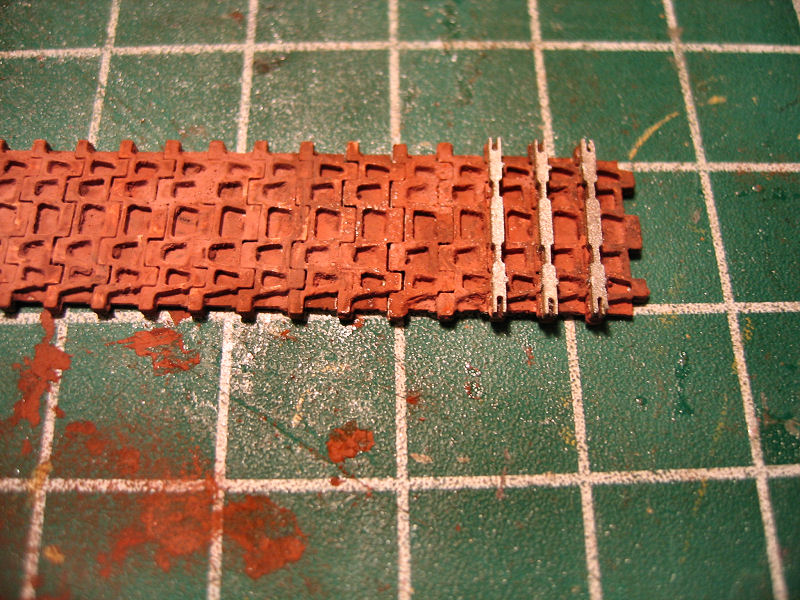
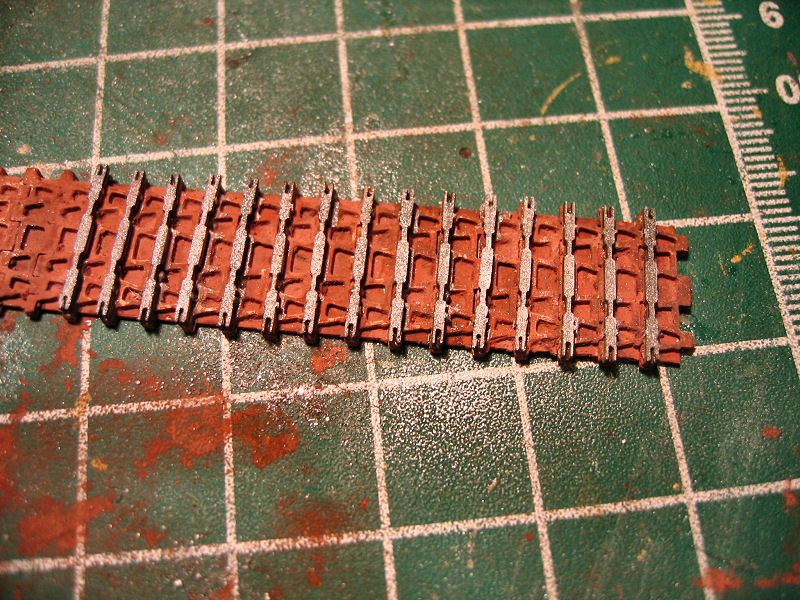
I painted the part that will be in contact with the tracks with "polished steel" paint


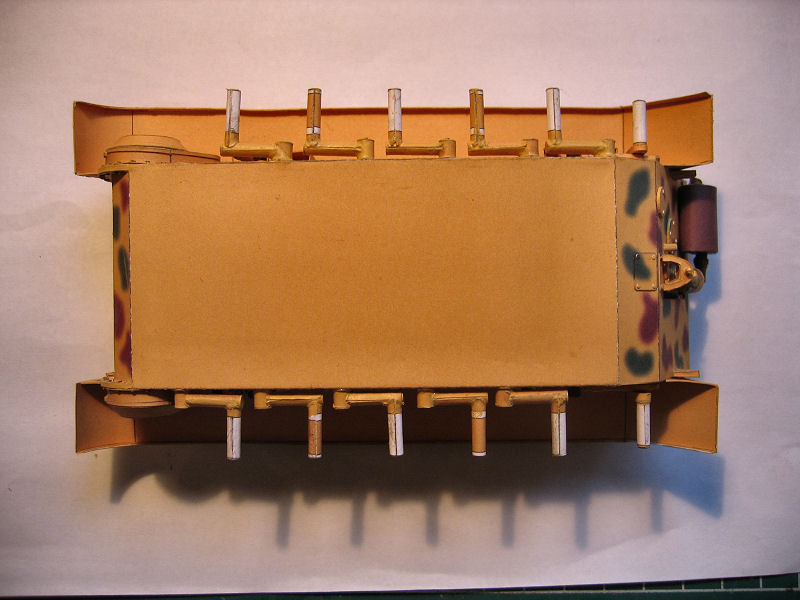
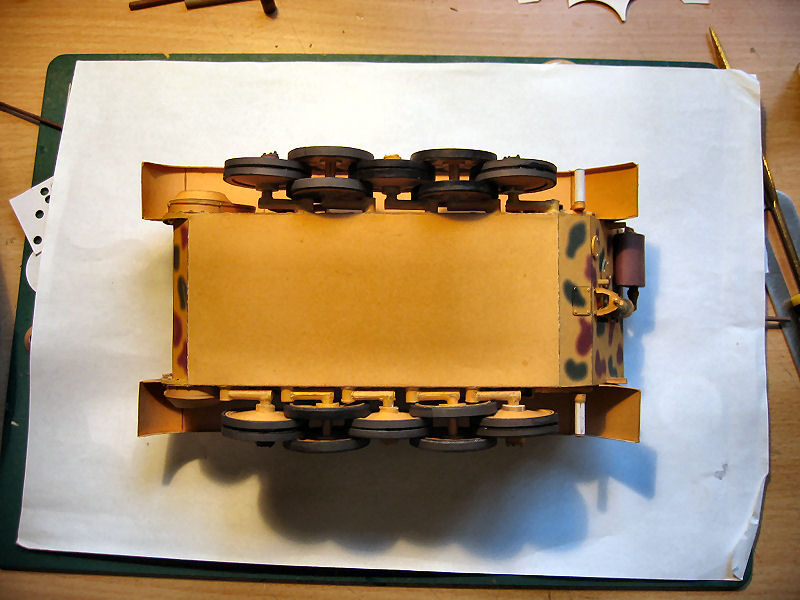
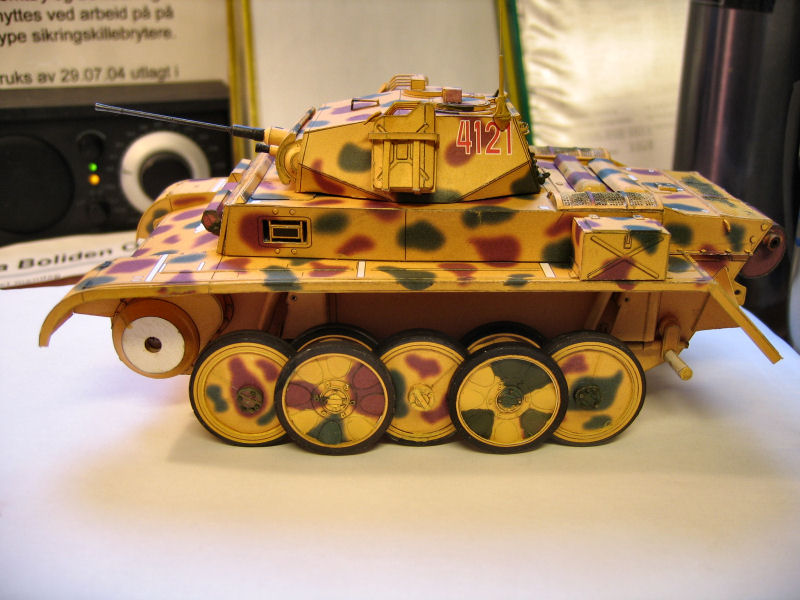
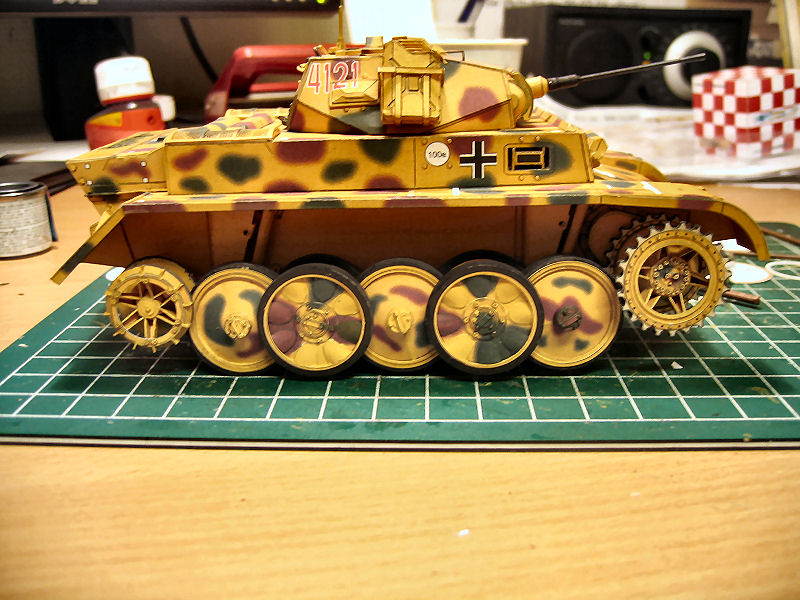
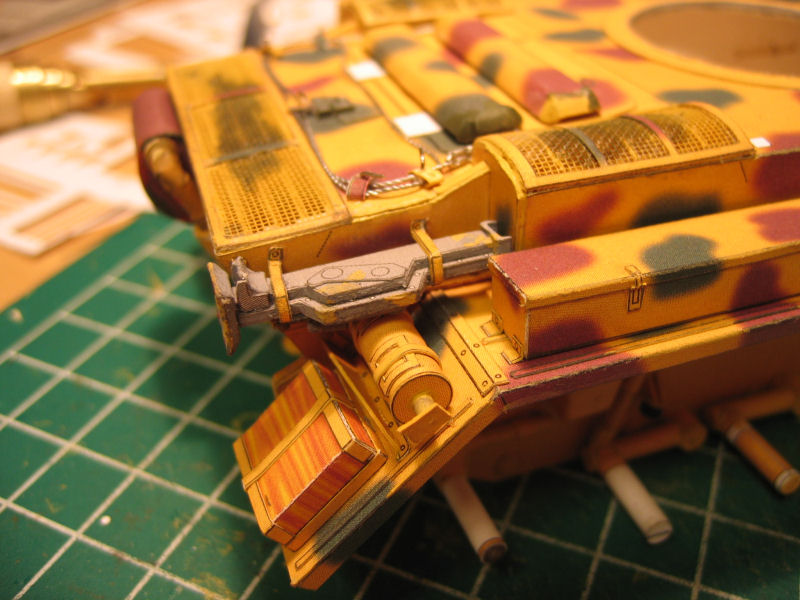
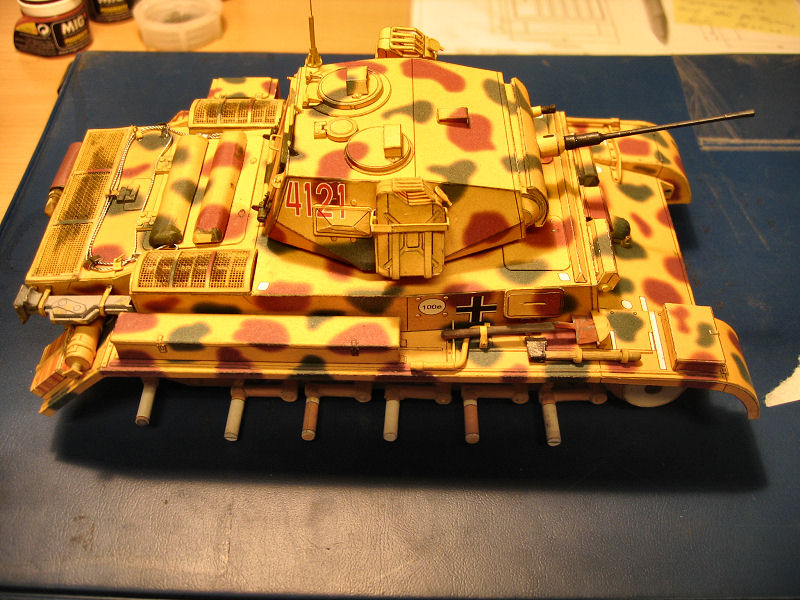
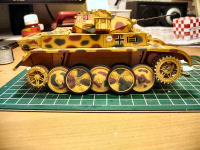
The wheels put loosely on for an impression of how it will look.
 

josve

Senior Member
Oct 21, 2005
620
579
111
61
Odda Norway
Making some details here and there.

First it's the antenna.


Then a stiffener for the mudguard


And last I did one of the headlights.
 

loadmat

New Member
Oct 25, 2007
14
0
6
Wonderful Work! I really appreciate the detail of WAK kits. I am converting a really old T-54 kit to a Turan 4 - I used paper towel and glue rubbed on to give the turret a cast texture. I Like the detail that you've done on the wheels - I am now inspired to start tackling those rascals on the Turan 4 - Thanks
 

josve

Senior Member
Oct 21, 2005
620
579
111
61
Odda Norway
Thanks Loadmat!!

The jack


Placed where it belongs


Two hooks on the rear mudguard


Another box on the front part of the left mudguard


And the arrangement for the spare tracklinks
 
C

cgutzmer

Looking awesome Johnny! Little details are making the build POP as usual :)
 

josve

Senior Member
Oct 21, 2005
620
579
111
61
Odda Norway
Thanks Chris!!

Some more details made tonight.

The tow wire
The wire is real o,5mm steel wire


Another box on the rear of the left mudguard


The showel


And some strips under the front mudguards
 

josve

Senior Member
Oct 21, 2005
620
579
111
61
Odda Norway
Working on the detailing really takes some time...
Here is what I got done last nightshift.

Some of the tools and one of the visors


A bulbe on the "Hood"


Some tools on the opposite side


I got the last hinges at the rear end in place, and painted the holders for the wire


Overview
 
C

cgutzmer

SUper - its that atention to detail that really makes your work shine!
 

josve

Senior Member
Oct 21, 2005
620
579
111
61
Odda Norway
Thanks for your nice words Chris!!

Had to take a break from details......and do some trackwork :)

Here we see the diferent parts of the tracks.


I put together half a side and applied a combo of panzergrey and rust to the links.I will add some more polished metal on the pattern later.
 

josve

Senior Member
Oct 21, 2005
620
579
111
61
Odda Norway
I had a really lazy shift last night.....

I did a try to apply some polished metal on the tracks.
Here you can see I have started. But I wonder if it's enough or does it look completely out of line?? My lousy color vision prevents me very effective in things like this where I just have to guess what I'm doing....


KCStephens

Member
Sep 18, 2007
83
0
16
57
York, PA
Johnny,
I agree with everyone so far that your tracks look great.

Just a quick question - What are you using to color them with? It looks like some type of powder - Could you please explain. Also, do you seal it in with a matte spray after it's applied?

Thanks
Kevin
 
Status
Not open for further replies.