Allright folks...im a little late getting this official thread started...but I was a day into this project when I made a fatal cut that cost me the whole project...so I had to start again. But enough with the excuses....lets get to the scratchbuilding.
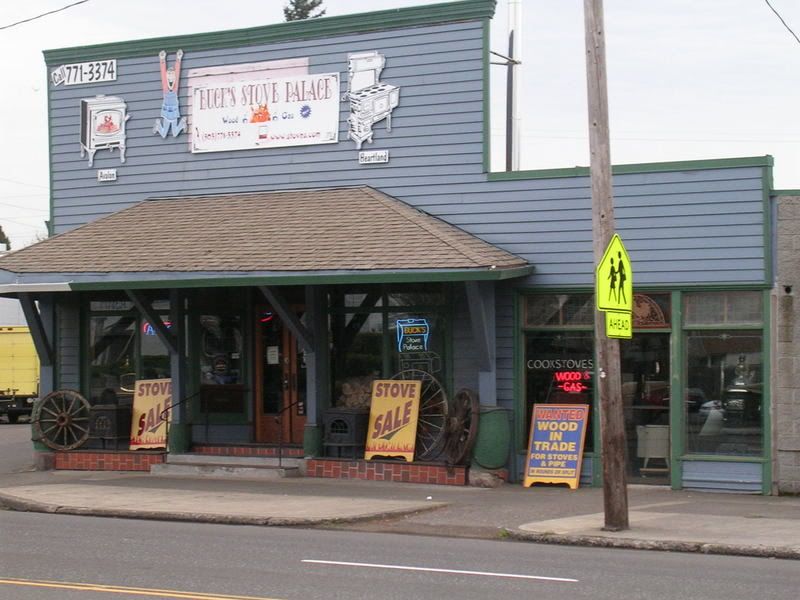
The place im going to model is called "Bucks Stove Palace" which is a really neat lookin building I found here in Portland OR. The structure itself interested me, with its large store front, awning, and roof lines. As well as the sheer size of the building.
Here are a few pics of the building.
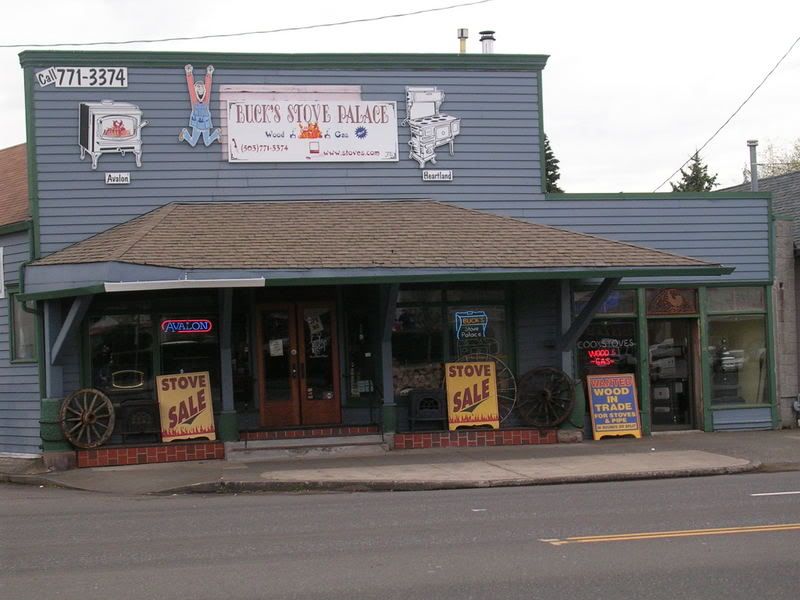
Front of building
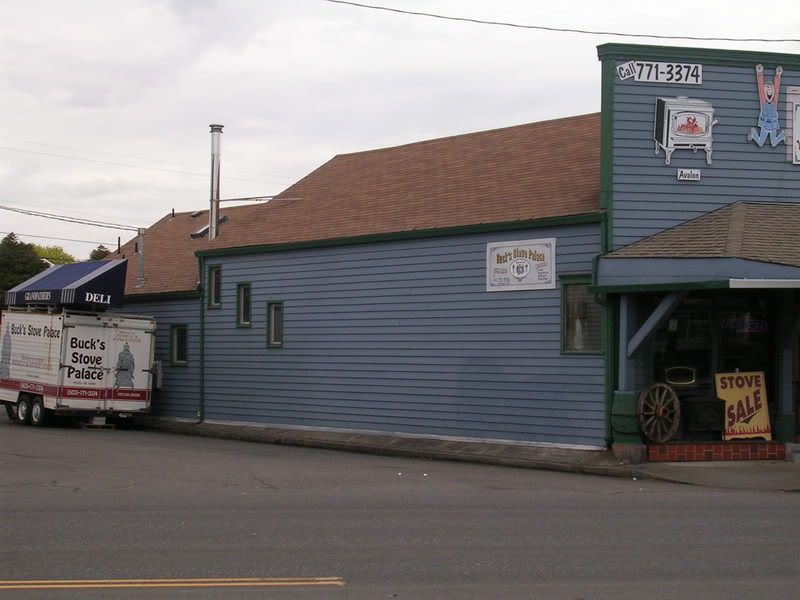
Side of the building
One more.
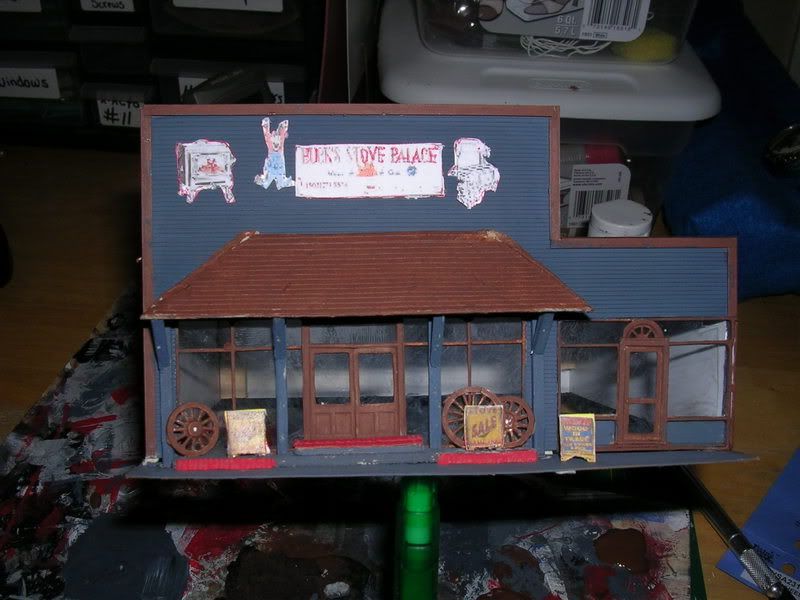
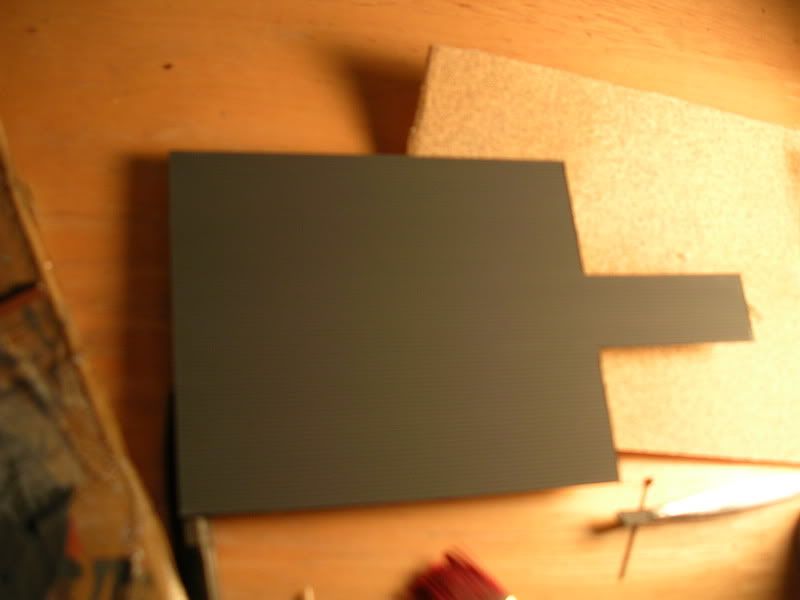
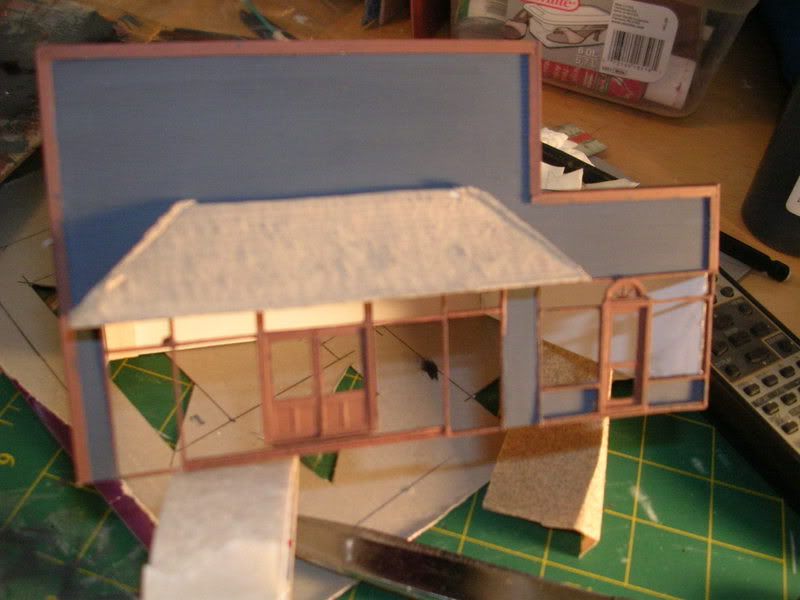
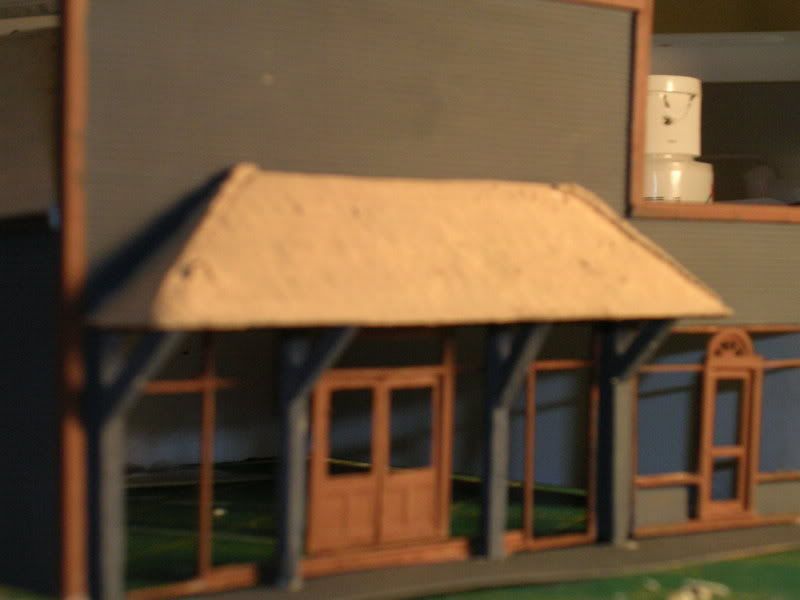
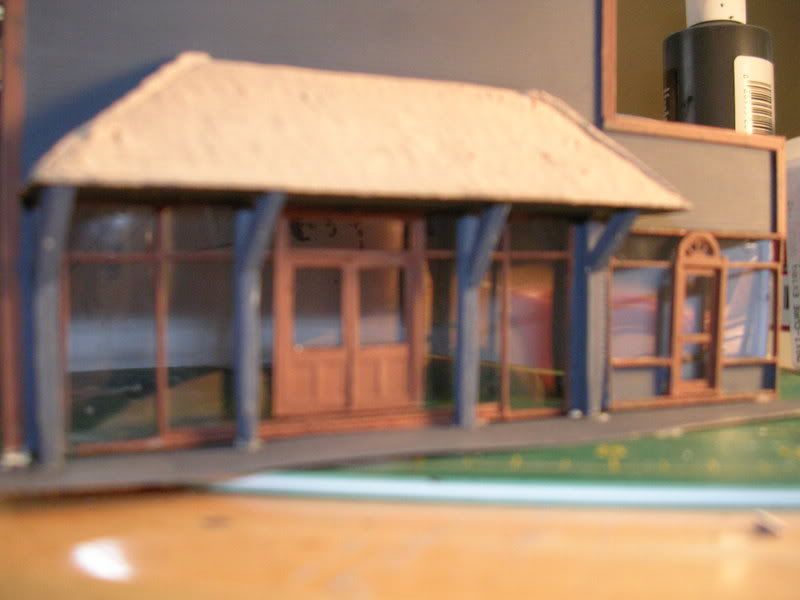
So I began with the front entryway...and cut it as one single piece.
The I modified a couple of Grandt Line doors to match the doors on the building. I then combined them with the window panes I made from scale lumber. Finally...after some painting, I added them to my front piece.
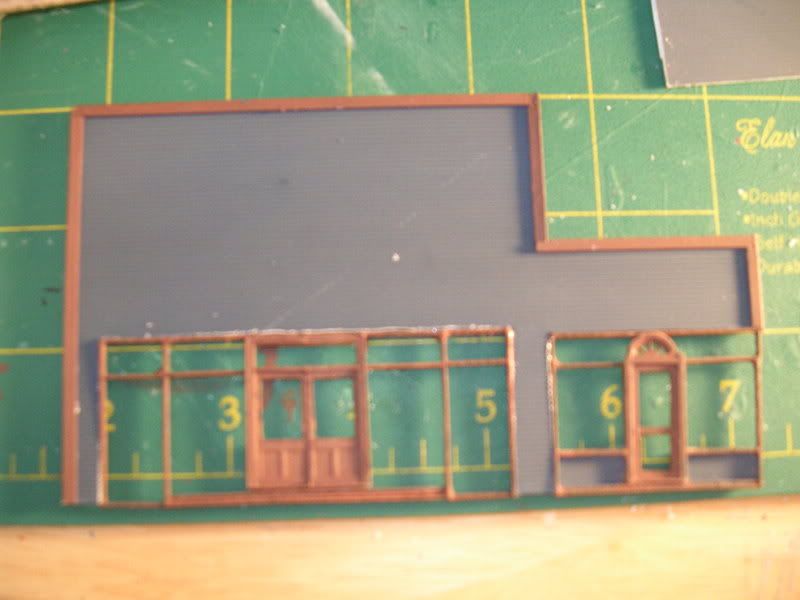
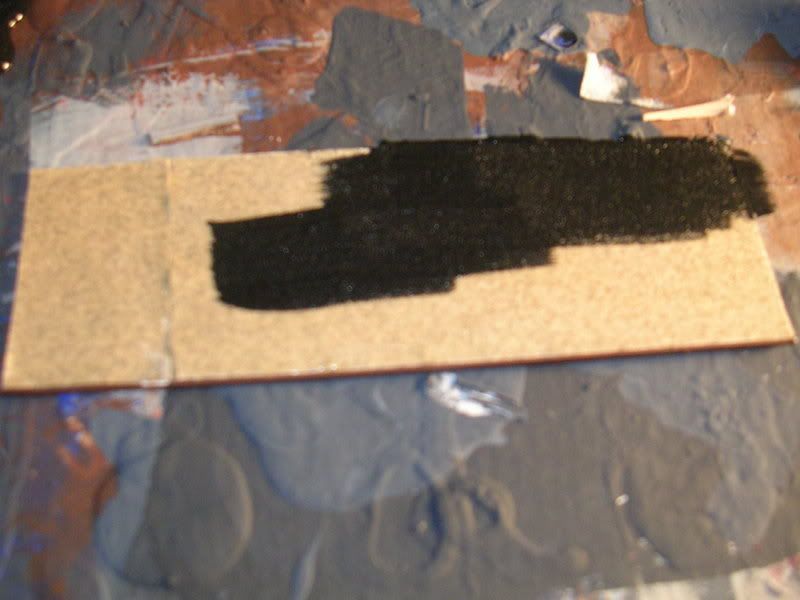
I used right angle pieces for the molding of the building.
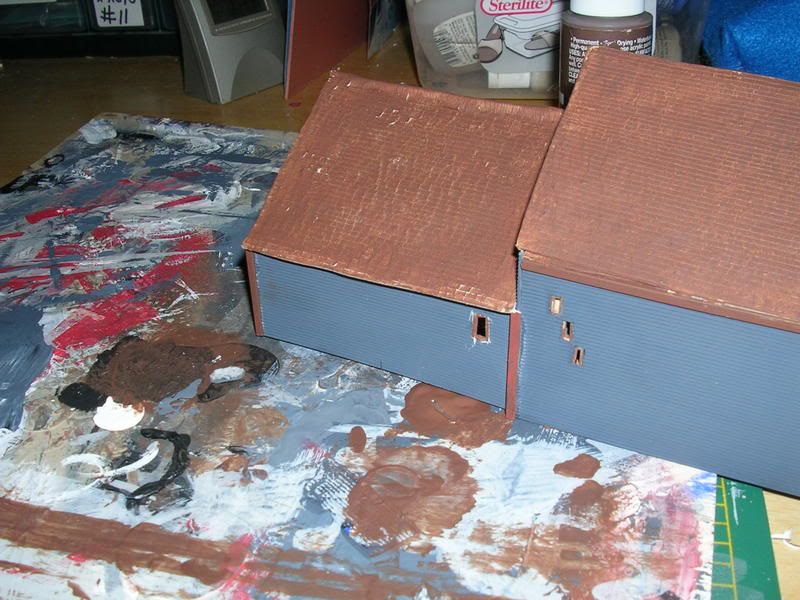
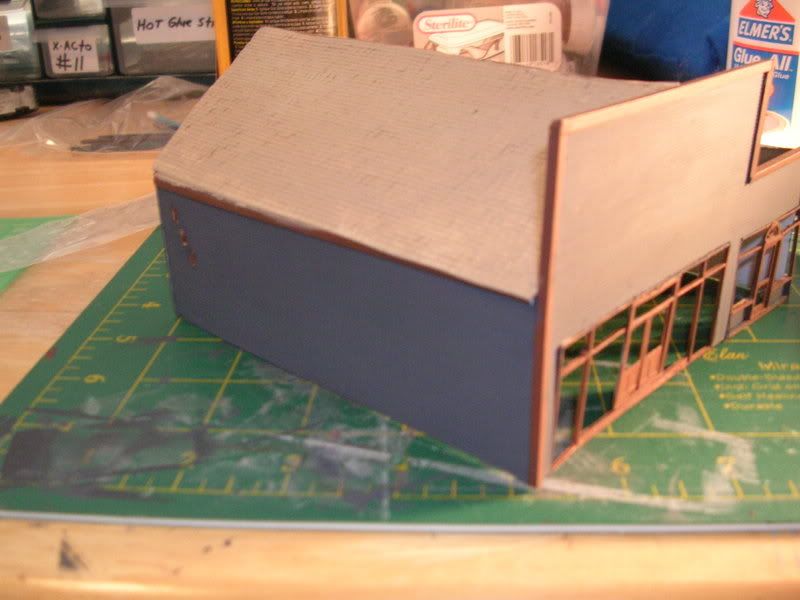
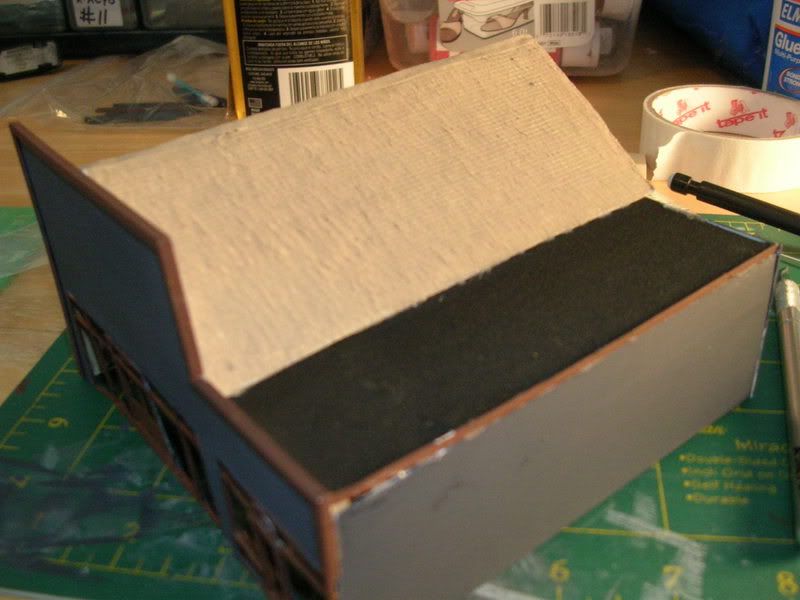
Finally I cut the other three pieces of the primary structure and fastened them together making sure to include roof lines.
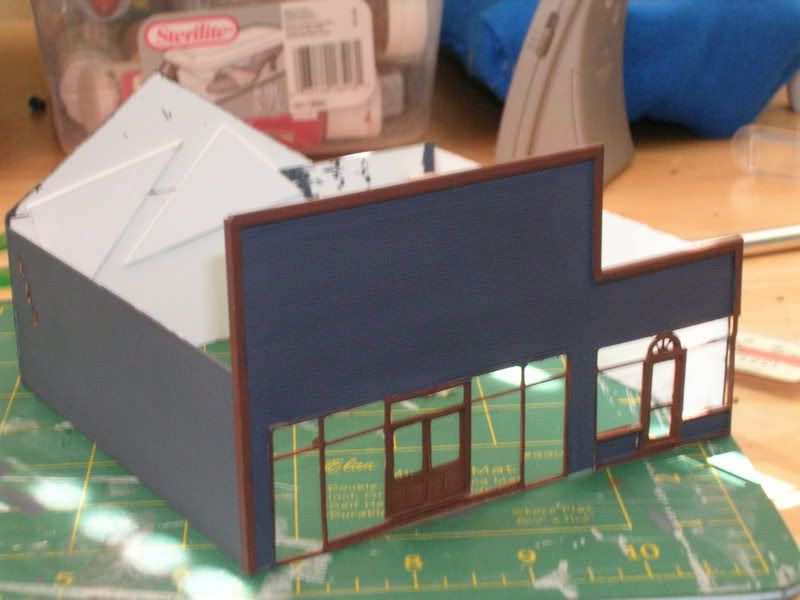
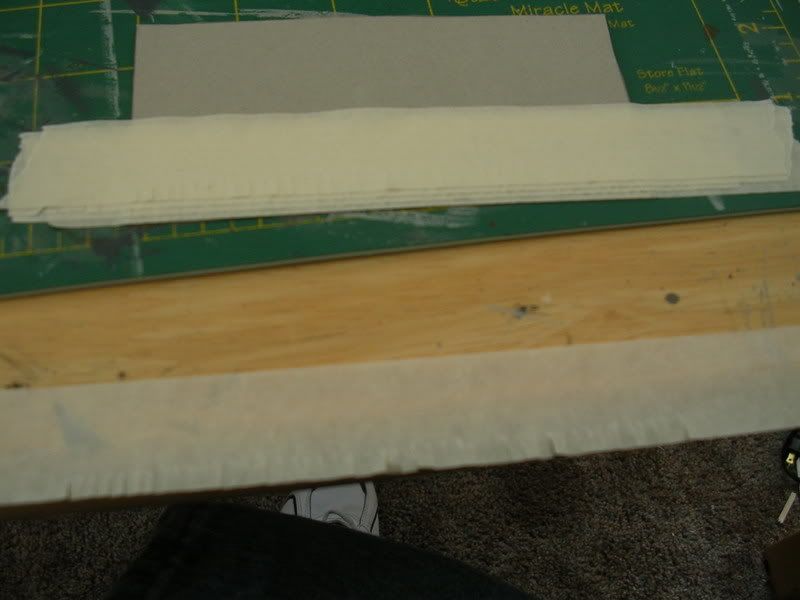
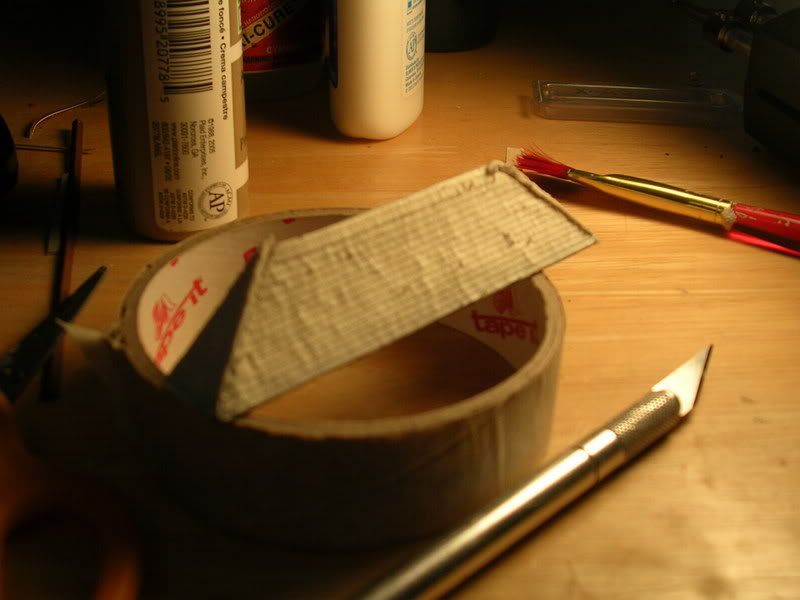
And now begins my tedious "Masking tape shingles" technique. Its tedious,....but I love the results.
Thats about all ive accomplished today....its lookin ruff now...but the end product should be great!
The place im going to model is called "Bucks Stove Palace" which is a really neat lookin building I found here in Portland OR. The structure itself interested me, with its large store front, awning, and roof lines. As well as the sheer size of the building.
Here are a few pics of the building.
Front of building
Side of the building
One more.
So I began with the front entryway...and cut it as one single piece.
The I modified a couple of Grandt Line doors to match the doors on the building. I then combined them with the window panes I made from scale lumber. Finally...after some painting, I added them to my front piece.
I used right angle pieces for the molding of the building.
Finally I cut the other three pieces of the primary structure and fastened them together making sure to include roof lines.
And now begins my tedious "Masking tape shingles" technique. Its tedious,....but I love the results.
Thats about all ive accomplished today....its lookin ruff now...but the end product should be great!
")