Great work!!!!
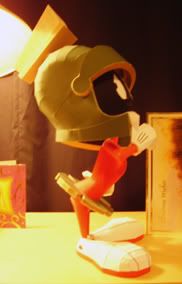
I love the marvin... I have until a model of resin of him..... his work this being very good!!!.....
I love the marvin... I have until a model of resin of him..... his work this being very good!!!.....
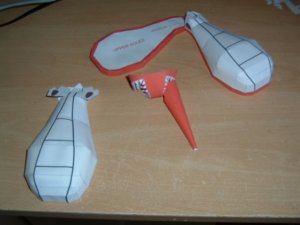
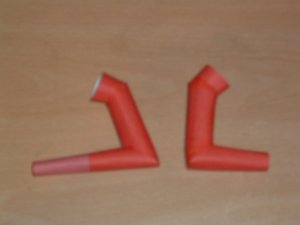
paulhbell said:one shoe finished. second shoe nearly finished and started on legs.
paulhbell said:one shoe finished. second shoe nearly finished and started on legs.
")
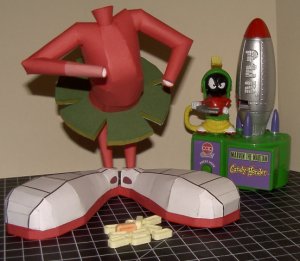
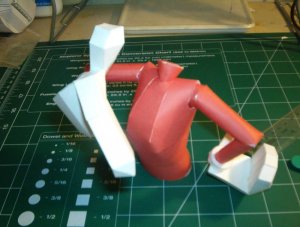
The model, even in what is termed as a beta build, looks impressive and I can't wait until Bazooka releases it to the public.
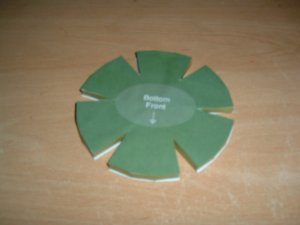
B-Manic said:When I installed the skirt/kilt the angle was a little to acute. This will affect the posture of Marvin in this build but IMO not effect the overall appearance of the completed model.
paulhbell said:I am fairly new to card modeling, so I find leaving the tabs on is easier for me. Ihave now finished the boots and the legs. Will post some photos in a while. Sorry about the early photos being out of focus, I did not check the lens on the camera, my sisters kids have been playing with it.

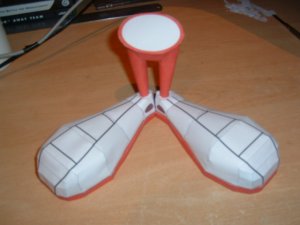
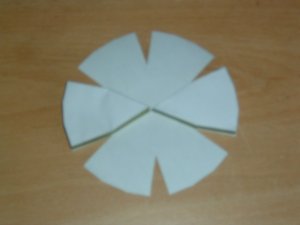
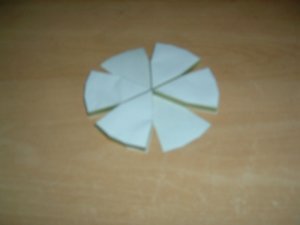
BazookaJo said:Not sure of the angle you've got there, but it should look something like this (apologies for the poor quality):
B-Manic said:Thanks for the side view. The angle is perfect. Whew, I was considering a restart. Not much more progress tonight, its mother-in-laws birthday
I do need a little clarification on something. Parts k2 and k3. should these line up with the score lines, or just match up as smoothly as possible?I do need a little clarification on something. Parts k2 and k3. should
these line up with the score lines, or just match up as smoothly as possible?
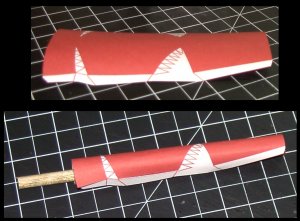
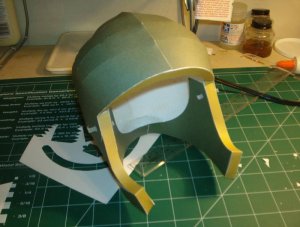
if you're still unsure, get back to me.BazookaJo said:P.S. well done on the helmet - that can be a real pain
So easiest thing to to is cut the strips around the eye sockets and bend them backwards inside the face at a right angle to the face. You should then see where K2 and K3 need to go i.e. flush to the edges of the strips. Then when K2 & K3 have dried into place the eye socket strips are bent over K2 & K3 and glued into place.
sneaker said:Thanks, it was challenging. It does bring to mind a bit of a noob question:-? regarding those flaps, or any flaps in general. Do you want to score those tabs? And also is it a designers intention that the ends mate up perfectly with the lines precedding the flaps, or is there room to play with overlap. does this make any sense? I notice that it would appear, at least to me that you want to get as close to the edge as possible, however sometimes this proves to difficult (not necassarily on your model, just in general) unless you play around with the curvature. I hope this make sense.
David