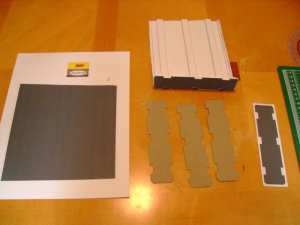
M200 1:1 rifle...under construction.
- Thread starter Closet Astronaut
- Start date
You are using an out of date browser. It may not display this or other websites correctly.
You should upgrade or use an alternative browser.
You should upgrade or use an alternative browser.
I downloaded that kit, but I'm a bit apprehensive to start it, looks pretty... intense. I'm currently building the Dragunov Sniper rifle (SVD) also available on paper-replika.com. Its been interesting for sure. Best of luck!
im glad you like my models...try my m-14, it may be better suited and a bit easyer than the m200. ive also uploaded this to paper replika and im working on a desert eagle with removable clip and moving slide.
check me out on Face Book.
papernoobie
AKA-darkAntz MK-II
check me out on Face Book.
papernoobie
AKA-darkAntz MK-II
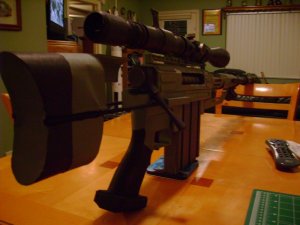
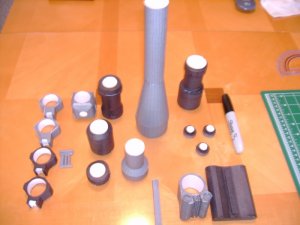
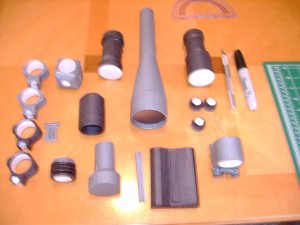
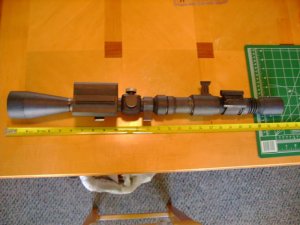
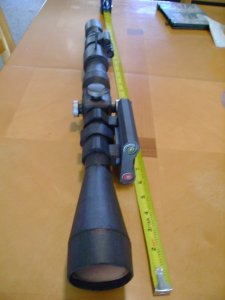
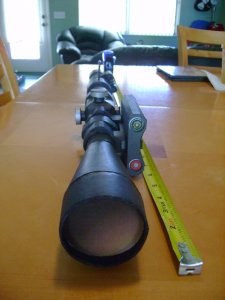
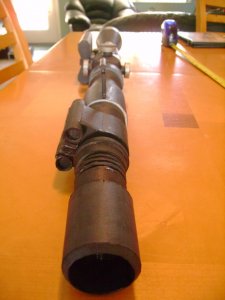
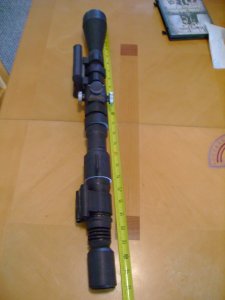
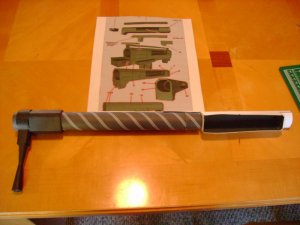
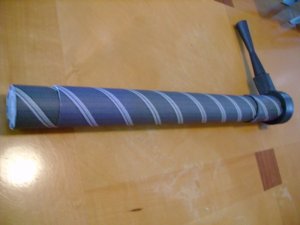
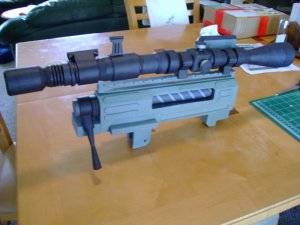
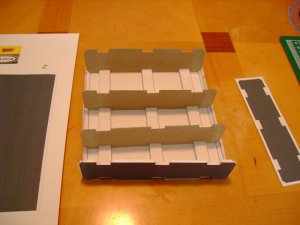
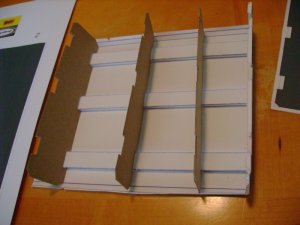
This is a challenging and interesting build, the scope is almost done I'll be posting photos in the next day or two. The scope is massive, I havent mesured it yet but it's looking to be close to two feet long. As soon as I finish I'll be starting on the frame, more to come
scope complete
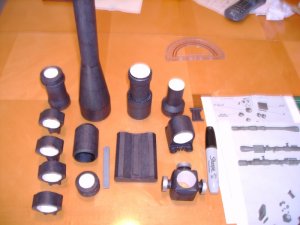
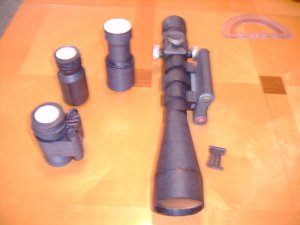
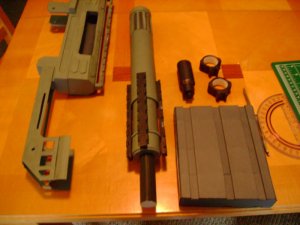
Well it turned out to be pretty big, ovef 26 inches long, pretty smooth build. I ran into some problems with the piece containing parts 48-54 but nothing that couldn't be over come. Moveing on to bolt and frame. Coloring curtisy of Sharpie.
Well it turned out to be pretty big, ovef 26 inches long, pretty smooth build. I ran into some problems with the piece containing parts 48-54 but nothing that couldn't be over come. Moveing on to bolt and frame. Coloring curtisy of Sharpie.
Attachments
Hi Closet Astronaut... you are doing a magnificient job there.. I feel guns are probably one of the very few models which can be Paper Modelled in a 1:1 scale...
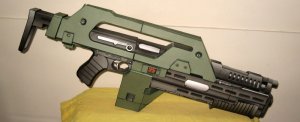
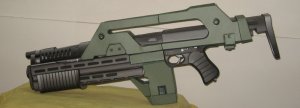
A few years back, I attempted making M41A-Pulse Rifel and most of my friends believed that model to be one of my best")
Attaching a couple of pictures to share...
I am looking forward to view your completed model.. Best of luck!!!
A few years back, I attempted making M41A-Pulse Rifel and most of my friends believed that model to be one of my best
Attaching a couple of pictures to share...
I am looking forward to view your completed model.. Best of luck!!!
Attachments
thats interesting, sidewinder hit a snag on this part aswell but with the bolt head only and not the entire bolt. ive checked the patterns and it all meshes out the same and ive printed it and it built correctly in that section. i cant explain this anomaly. you may have to reopen the bolt and trim as needed while i look into this further
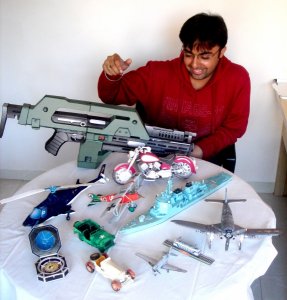
M41A... thats the one Segurney Weaver used in Aliens 2, That weapon looks real my friend, did you find it paper-replika,com? I noticed the helicopter there on the table, looks like the one from Cannon paper craft, I have the same one down loaded, it looks daunting. I've been running into some problems but I think they'er nothing that can't be over come....keep moving forward.
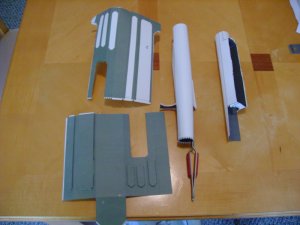
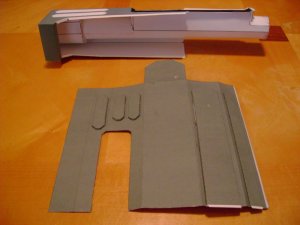
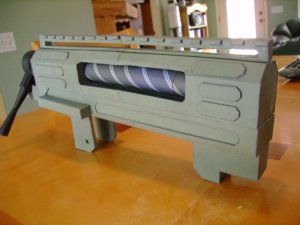
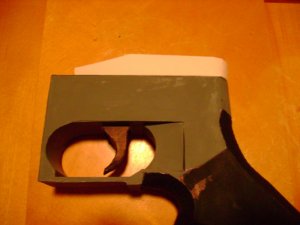
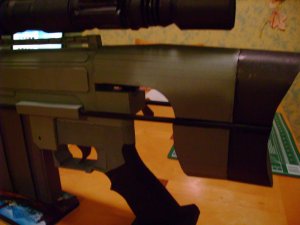
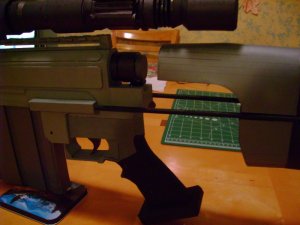
Main body complete, I had to redo the bolt, by printing pg 1-2 at 95%. This made part 7 fit perfectly into the frame however parts 2,5,6 were still too big, Icut down 2,6 to fit into the bolt housing which causes another problem this makes the bolt too small for the bolt carrier, so keeping part 5 at it's 95% size this fits the carrier, then just gluing the main part of the bolt to that.
There's alot of guess work involved, several parts must be glued inverted (color side in) every thing must be cut folded and test fitted before gluing.
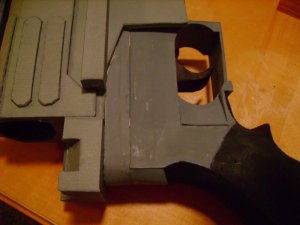
I made some mistakes on the detailing pieces on the frame, uncolored places on the frame should be cut out, parts folded inverted and glued on the inside, I didn't catch this untill building the bottom part of frame, in which case I did it correctly, it makes for alot more exposed paper edges needing coloring, I think gluing them on the outside looks better.
Any way.... starting on the grip now.
There's alot of guess work involved, several parts must be glued inverted (color side in) every thing must be cut folded and test fitted before gluing.
I made some mistakes on the detailing pieces on the frame, uncolored places on the frame should be cut out, parts folded inverted and glued on the inside, I didn't catch this untill building the bottom part of frame, in which case I did it correctly, it makes for alot more exposed paper edges needing coloring, I think gluing them on the outside looks better.
Any way.... starting on the grip now.
Attachments
actually dark it was the entire bolt i just used the bolt head for the reference picture, the length of the bolt was correct the diameter was just off
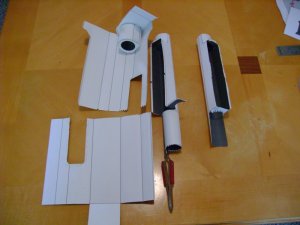
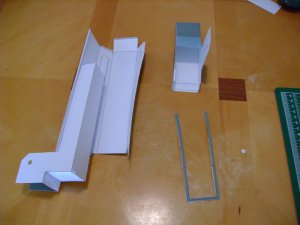
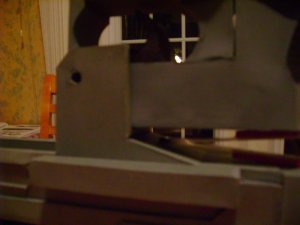
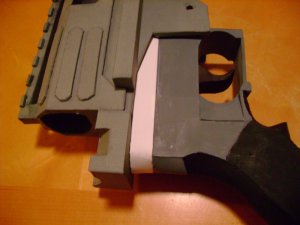
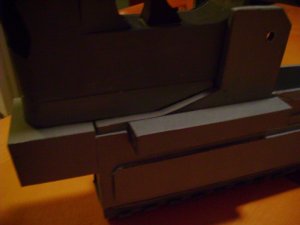
Looks like somethings missing. There's a taper to the part leading to the magazine clip, if the grip is placed flatly on the body it put's it too far back from the mag according to the photos.
Attachments


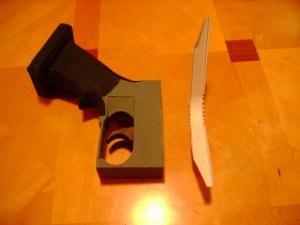
Improvise, adapt, and over come...To DA, the photo you posted didn't upload, not to worry I made a part to fix the problem.
Attachments
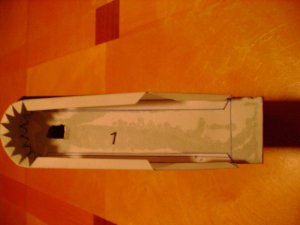
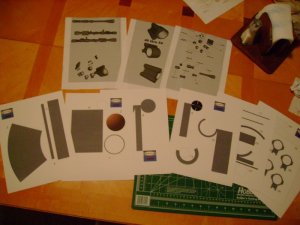
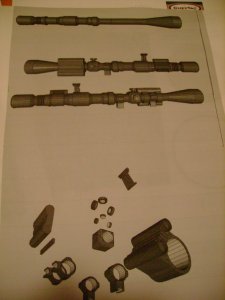
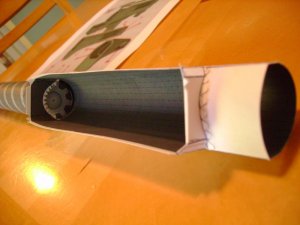
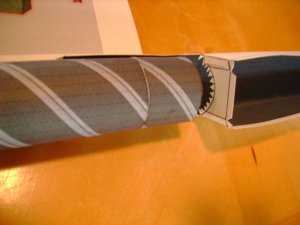
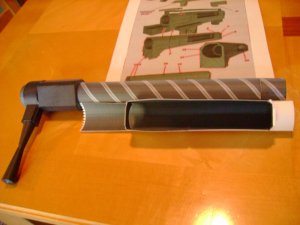
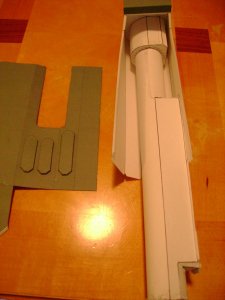
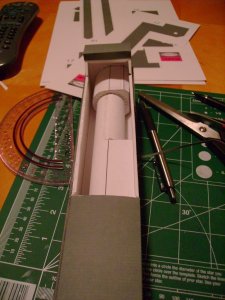
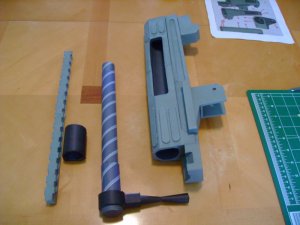
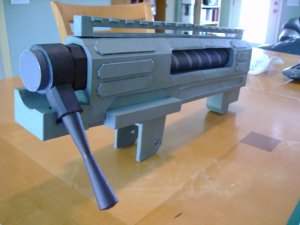
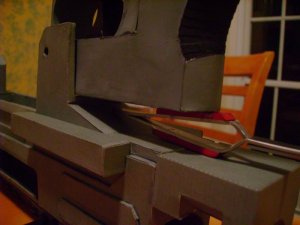
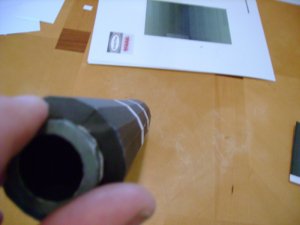
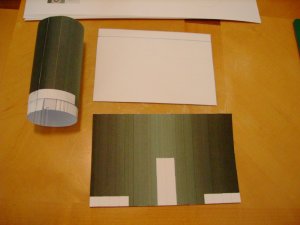
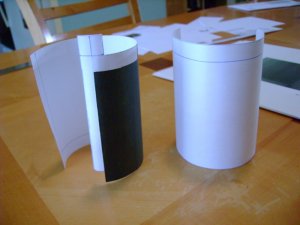
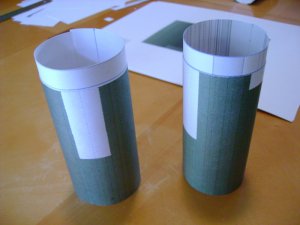
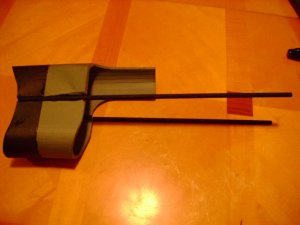
On to the barrel. I originally built it by scoring the lines in the print out but after gluing the pieces together it came out curved. So reverting to my rocket building experiance, I curled the pieces, glued in paper inside and made cylinders that slid together, with much better results.
Attachments
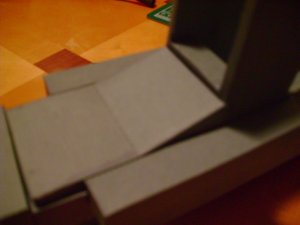
In building the butt stock the plan calls for paper rolled into 1/4 x 11 inch rolls. I wanted the butt to slide so I used 1/4 x 15 inch wood dowls, cut holes in the slide mounts.
Attachments
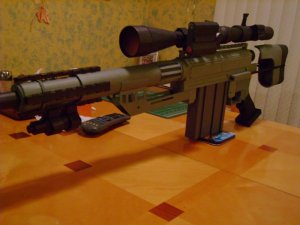
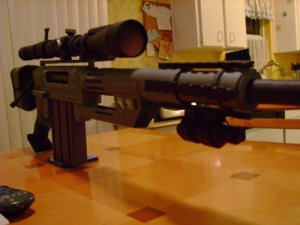
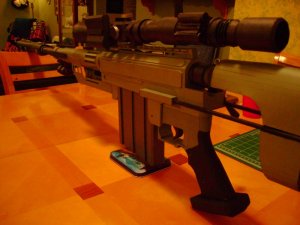
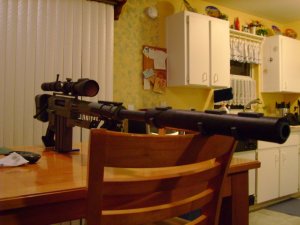
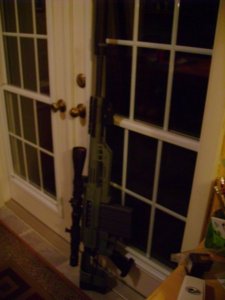
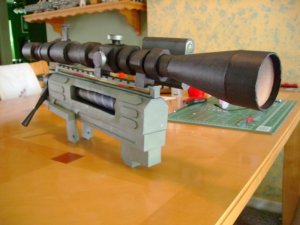
And finally the completed product. This thing is a monster, it's easily five feet long. Alot of ink, alot parts. The large end of the barrel is weighty, even after beefing up the end of the fore grip with card board, and useing an extra roll of card stock around the small part of the barrel it still droops alittle, but over all it turned out pretty good, a leathal looking weapon.
Now back to my first love...rocked building, next project will be Mercism's 1/4 scale mercury capsule.
Now back to my first love...rocked building, next project will be Mercism's 1/4 scale mercury capsule.