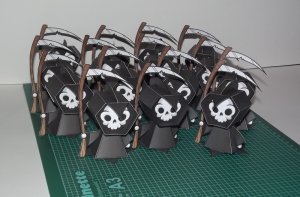
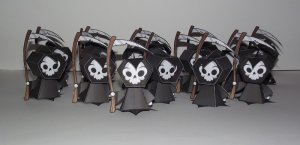
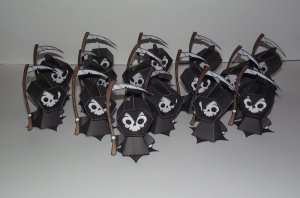
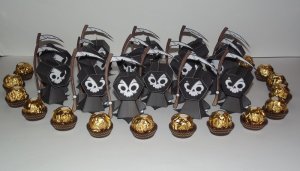
Hello, fans - and hello, @ASC Mclaren ! 
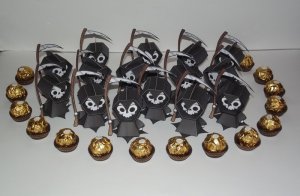
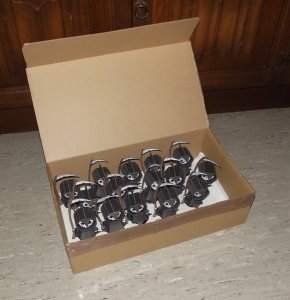
Halloween has come and like last year I wanted to build a little gift for my colleagues at work.
Some time ago I found this really cute 'lil Death paper model here:
http://www.urbanthreads.com/blog/?p=6882
and thought this would be more than appropriate for the job.
The papercraft is based on an embroidery design. It is very simple and suitable for beginners and looks awesome when finished (and it makes a perfect army builder as you will see ). However, during assembly I found a few "slips" in the design (nothing serious and easy to fix). I'll show you how to improve the kit.
Note: I printed two pages on one sheet making the model about 70 % of the original size.
First of all, there are not many parts and the instructions do not contain any pictures. This combination has proven to be seductive because I didn't pay close attention to the text. As a result of this my first two attempts to build this little fellow failed (I closed the head too early, making it impossible to insert the flaps of the body / hood flap). Yep, the Blaster Master was defeated by a cute little Death creature.
OK, on my third attempt I obeyed the instructions carefully - and succeeded! Finally!
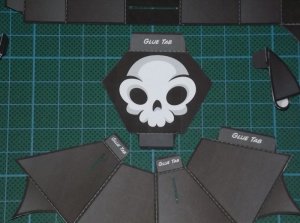
The finished figure looked awesome but I soon found some areas which did not look "right". First of all, the text "Glue Tab" remained visible on the bottom flap of the face part. Then the inside part of the hood and the body were not coloured, showing off the white back side of the paper. Not good.
To improve the over-all appearance I edited the original plans in Gimp. First I deleted the "Glue Tab" text on the bottom flap of the face piece:
Then I developed another sheet which has to be printed on the back side of the kit:

And yes, this is the original file in its original resolution! (I only need the dark grey areas and since there are only two colours and very basic shapes I made a *.gif template and reduced its resolution by 90 %.) I printed the pages with Windows Picture Viewer, something I do not recommend when making scale-model kits. In this case, however, I thought it would be the easiest way to print it since the result was not to be meant absolutely to be in scale.
The big shape in the lower left corner is the back side for the body part, the thin strip at the right makes the visible front part of the hood dark grey and the small rectangles colour the back sides of the flaps of the arms.
Here are the parts of the figure:
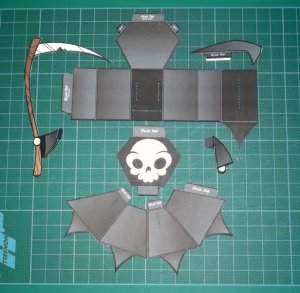
The arms and the hood flap consist of a front and a back side part which have to be glued together.
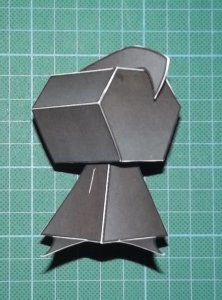
Assemble the body and the hood as shown:
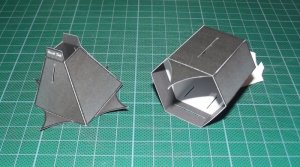
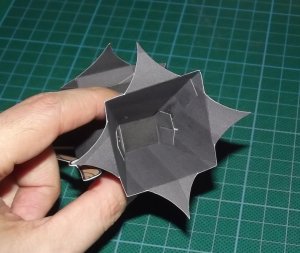
Remember to leave the back part of the hood open:
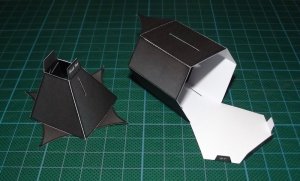
Insert the body flaps through the slits in the hood and glue them to the bottom.
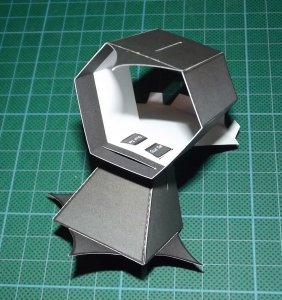
Apply glue directly to the bottom and not to the flaps to avoid a messy result. Then fold down the flaps and press down. This procedure applies to all flaps.
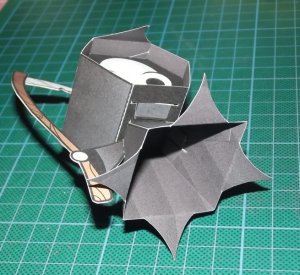
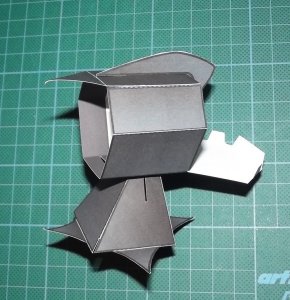
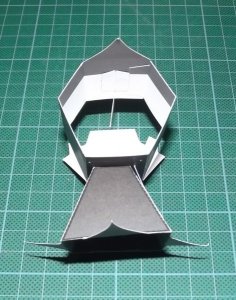
Insert the hood flap:
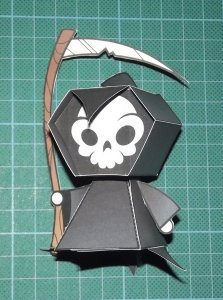
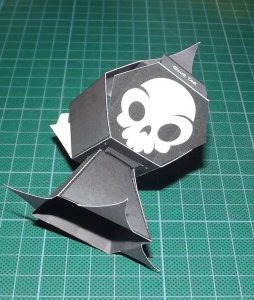
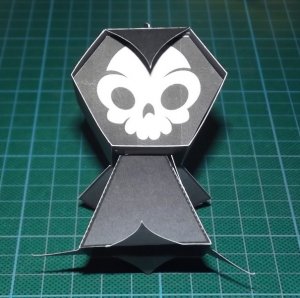
Insert the face:
Halloween has come and like last year I wanted to build a little gift for my colleagues at work.
Some time ago I found this really cute 'lil Death paper model here:
http://www.urbanthreads.com/blog/?p=6882
and thought this would be more than appropriate for the job.
The papercraft is based on an embroidery design. It is very simple and suitable for beginners and looks awesome when finished (and it makes a perfect army builder as you will see
Note: I printed two pages on one sheet making the model about 70 % of the original size.
First of all, there are not many parts and the instructions do not contain any pictures. This combination has proven to be seductive because I didn't pay close attention to the text. As a result of this my first two attempts to build this little fellow failed (I closed the head too early, making it impossible to insert the flaps of the body / hood flap). Yep, the Blaster Master was defeated by a cute little Death creature.
OK, on my third attempt I obeyed the instructions carefully - and succeeded! Finally!
The finished figure looked awesome but I soon found some areas which did not look "right". First of all, the text "Glue Tab" remained visible on the bottom flap of the face part. Then the inside part of the hood and the body were not coloured, showing off the white back side of the paper. Not good.
To improve the over-all appearance I edited the original plans in Gimp. First I deleted the "Glue Tab" text on the bottom flap of the face piece:

Then I developed another sheet which has to be printed on the back side of the kit:

And yes, this is the original file in its original resolution! (I only need the dark grey areas and since there are only two colours and very basic shapes I made a *.gif template and reduced its resolution by 90 %.) I printed the pages with Windows Picture Viewer, something I do not recommend when making scale-model kits. In this case, however, I thought it would be the easiest way to print it since the result was not to be meant absolutely to be in scale.
The big shape in the lower left corner is the back side for the body part, the thin strip at the right makes the visible front part of the hood dark grey and the small rectangles colour the back sides of the flaps of the arms.
Here are the parts of the figure:

The arms and the hood flap consist of a front and a back side part which have to be glued together.
Assemble the body and the hood as shown:

Remember to leave the back part of the hood open:

Insert the body flaps through the slits in the hood and glue them to the bottom.

Apply glue directly to the bottom and not to the flaps to avoid a messy result. Then fold down the flaps and press down. This procedure applies to all flaps.
Insert the hood flap:


Insert the face:


Last edited:


