Jan Rükr Startcraft II Terran Marine Cannon
- Thread starter juntopi
- Start date
You are using an out of date browser. It may not display this or other websites correctly.
You should upgrade or use an alternative browser.
You should upgrade or use an alternative browser.
Handle
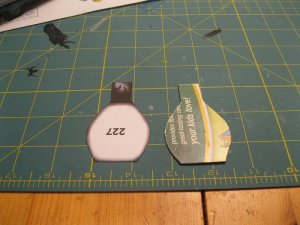
The final part of the holder is the handle. Like the other areas I used cardboard to reinforce things and removed the tabs.
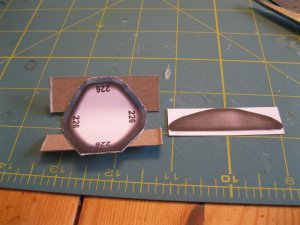
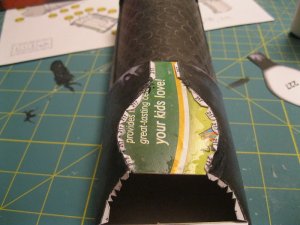
The holder is one wrapper piece with two recessed detail pieces. Here is how it looks from the inside. The previous pieces make up the upper detail.
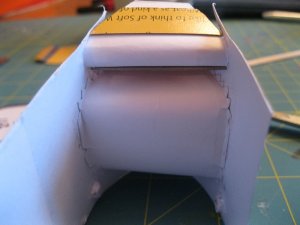
The top and bottom pieces of the handle.
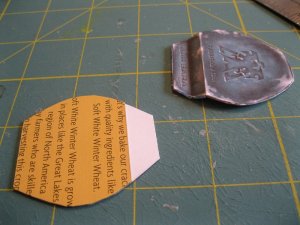
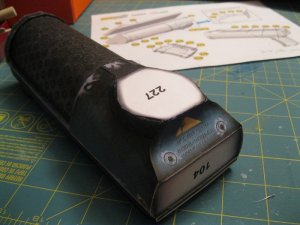
And here is the final subassembly. This is a solid piece and I'm really happy with how it came out. It's the best work I've done on this whole model so far.
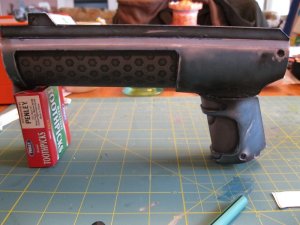
And lastly, here it is attached the gun.
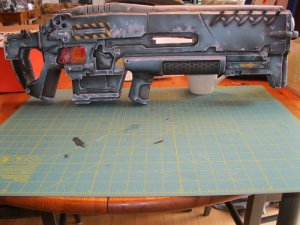
The final part of the holder is the handle. Like the other areas I used cardboard to reinforce things and removed the tabs.

The holder is one wrapper piece with two recessed detail pieces. Here is how it looks from the inside. The previous pieces make up the upper detail.

The top and bottom pieces of the handle.

And here is the final subassembly. This is a solid piece and I'm really happy with how it came out. It's the best work I've done on this whole model so far.

And lastly, here it is attached the gun.

Breech
Here are some progress pics of the breech, the last part of the model. The breech is made up of a lot of small pieces. Of all of them, this guy was the most complex.
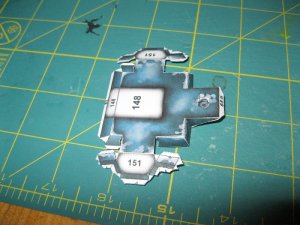
Here are a few pics as the pieces went together. I reinforced some of these with cardboard.
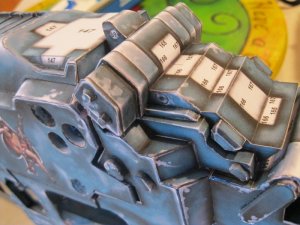
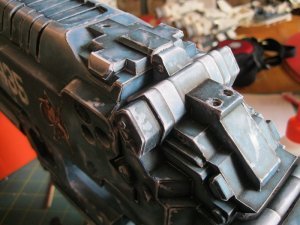
There are some cylinder shaped detail pieces and I used a technique I read about reading through another build in the forums. I got several sizes of wooden dowel. Using one that was closest in diameter to my piece I rolled a few wraps of masking tape until the diameters matched.
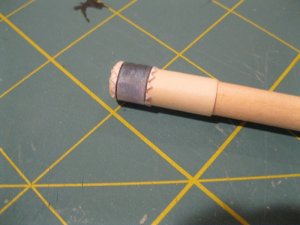
The end result is a nice round cylinder.
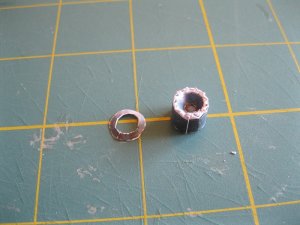
And finally we have the finished breech.
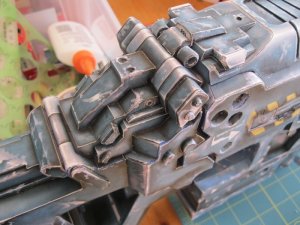
Here are some progress pics of the breech, the last part of the model. The breech is made up of a lot of small pieces. Of all of them, this guy was the most complex.

Here are a few pics as the pieces went together. I reinforced some of these with cardboard.


There are some cylinder shaped detail pieces and I used a technique I read about reading through another build in the forums. I got several sizes of wooden dowel. Using one that was closest in diameter to my piece I rolled a few wraps of masking tape until the diameters matched.

The end result is a nice round cylinder.

And finally we have the finished breech.

And I'm spent.
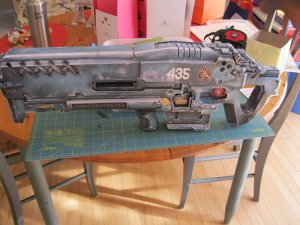
Here is the completed model. This also comes with a stand and I may put that together later on. For now I'm calling it done. There are a lot of gaps in this and there are things I could have done better but I'm still happy with it. I have a long way to go until I can make something that looks like the model Jan has on his site.
Speaking of which thank you Jan for designing this model and then distributing it for free to all of us to build. This is a very, very well engineered model.
I had thought of scratch building a piece to cover up the big gap in the gun body, however my son has taken a shine to this and I don't think it's going to last very long. I will probably loop back and build this again someday and apply what I've learned in the meantime.
I built this using 110lb cardstock I bought at Staples. I didn't have access to A4 paper so this was printed on 8.5 x 11. As a result it's 90% of full size.
Thanks for following along with my build. I would rather end this with pictures of nice tight corners and perfect edges but it's not to be. Feel free to share any comments you have, good or bad. If any of you have built this model I'd like to hear any tips or tricks you used.
In closing; have fun, keep building, and I'll see you in the forums.

:thumb: Thank you for posting these. I have yet to build one of his models. I may have to go to his site and check them out.
Very good sir!
Very good sir!
Stand
Hello modelers. Here's a small update to the thread. I finally got around to building the stand that comes as part of this model.
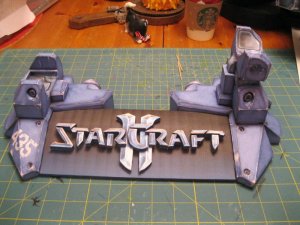
The construction is pretty straight forward. The two pieces that cradle the gun can be mounted on either side of the stand to give you a left or right view of the cannon. I decided to leave them unsecured so I can flip it around as the mood strikes me.
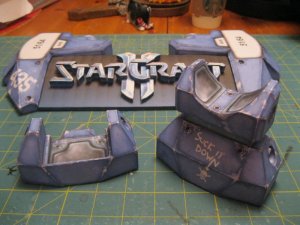
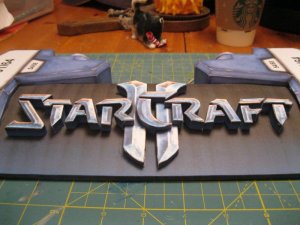
The raised lettering on this is a nice detail, I really like it. I started from the ends and worked my way towards the middle. I built the r-c-r and II as a single sub-assembly to make sure everything fit correctly.
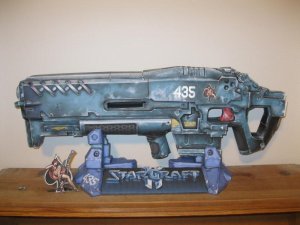
Hello modelers. Here's a small update to the thread. I finally got around to building the stand that comes as part of this model.

The construction is pretty straight forward. The two pieces that cradle the gun can be mounted on either side of the stand to give you a left or right view of the cannon. I decided to leave them unsecured so I can flip it around as the mood strikes me.

The raised lettering on this is a nice detail, I really like it. I started from the ends and worked my way towards the middle. I built the r-c-r and II as a single sub-assembly to make sure everything fit correctly.


Z
Zathros
Whoa, that is really cool! I am happy you made this update. I missed this one. Thanks! Great build!:thumb:


