Hello fans,
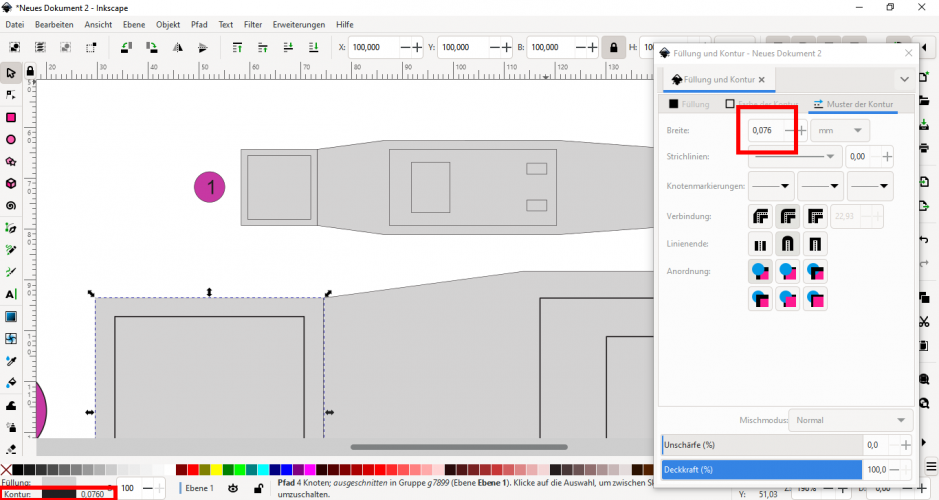
this tut should explain how to resize vector graphics using InkScape. You can do the same with any other vector program (like CorelDRAW), of course, but InkScape is the most versatile free alternative but has some "oddities" which will be mentioned here.
Many paper model plans come as PDF files. Resizing allows you to change the scale of the finished model and gives you the opportunity to free your model from the scale the original creator has given to it.
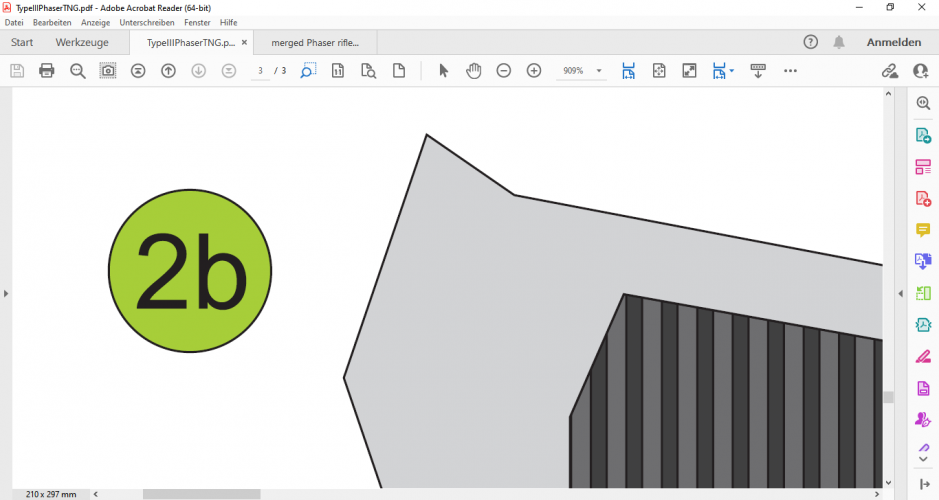
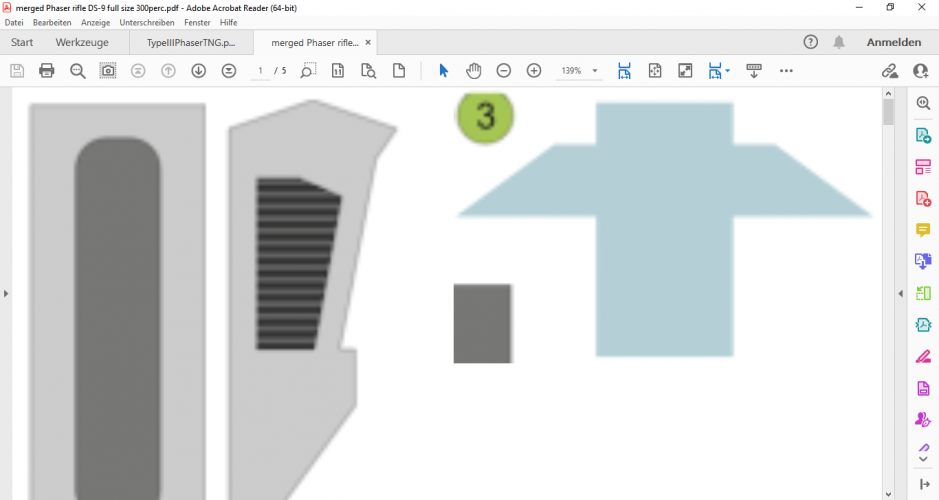
First it is important to see if the file you have chosen is suitable for this operation. To do so open the file and zoom in on the graphics. If they remain clear and sharp it is a vector, if it becomes fuzzy and blurry with steps and if you see compression artifacts the graphic is a bitmap. You can resize a bitmap graphic but this is not the subject of this thread.
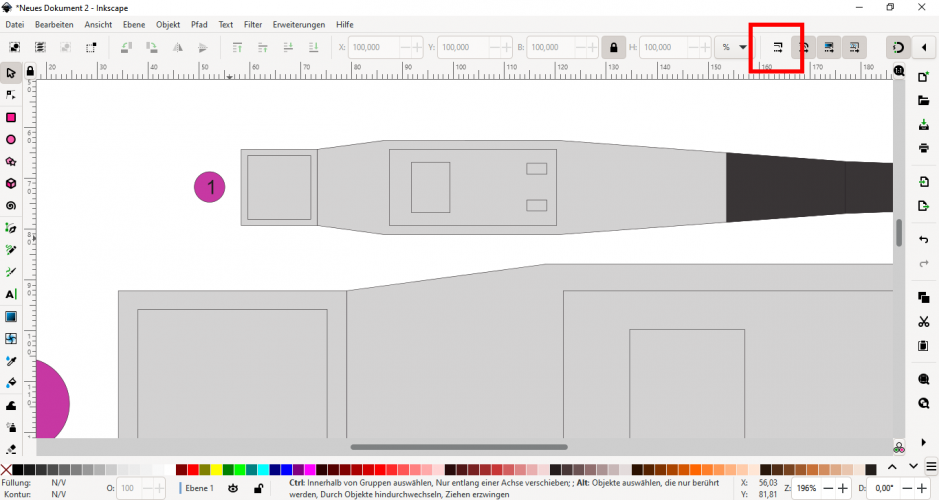
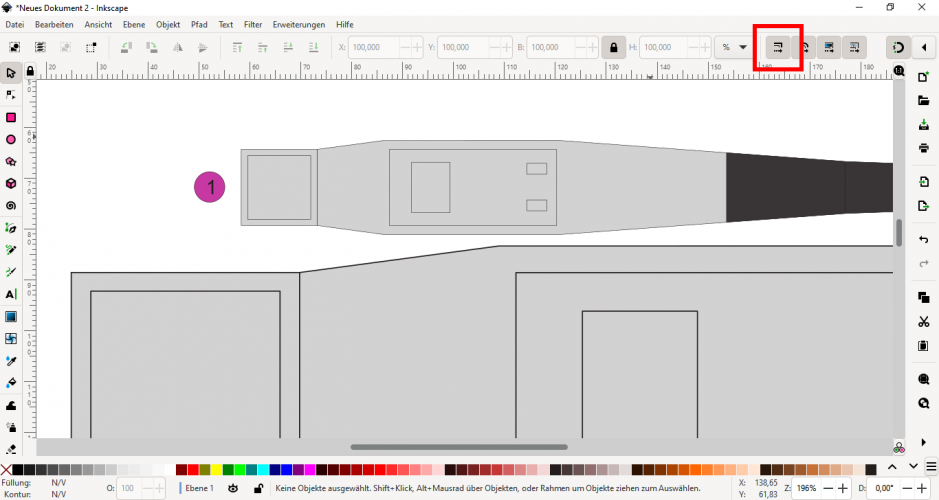
Vector graphic:
Bitmap graphic:
My main weapon of choice is Corel because of its intuitive and straight-forward handling but it has trouble opening PDFs created after 2002 or so. This is why I have to use InkScape despite its weird behaviour. Sometimes InkScape has trouble importing / opening PDFs as well and tends to skip layers which unfortunately changes the look of the parts. If that happens you will have to use other methods (like turning the vector into a bitmap but this should always be your last option because it deteriorates the quality of the graphic).
Launch InkScape:
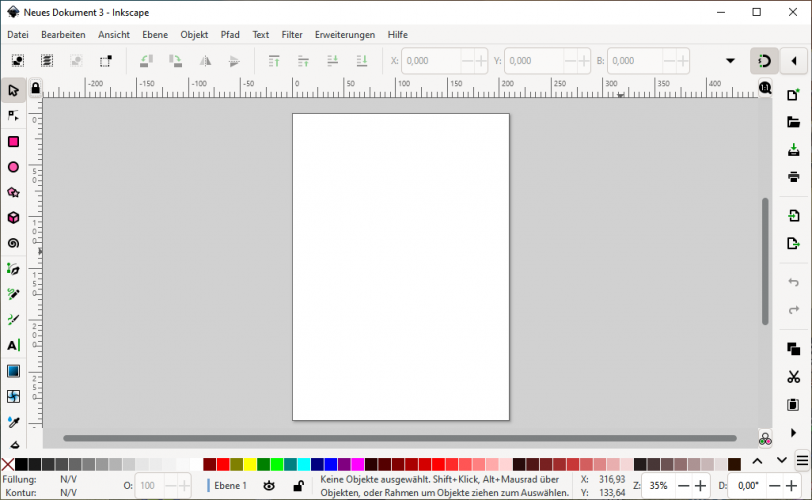
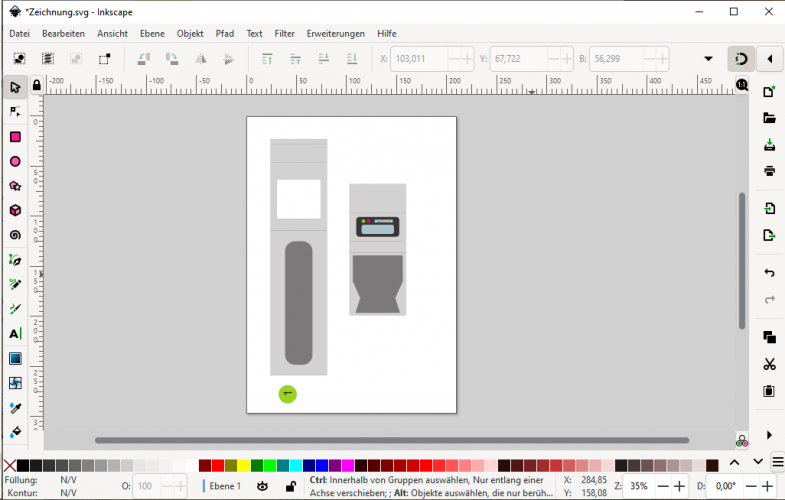
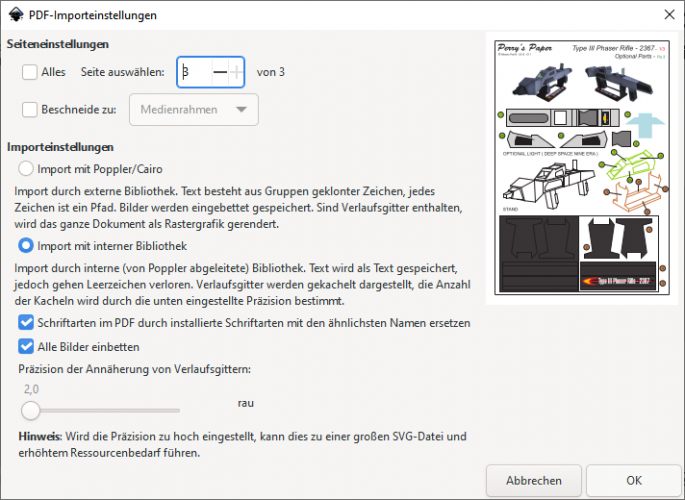
File > Open > choose the desired file and open it by hitting OK. If the PDF has several pages I reommend opening one page at a time and editing each page separately. That will make the process a bit easier.
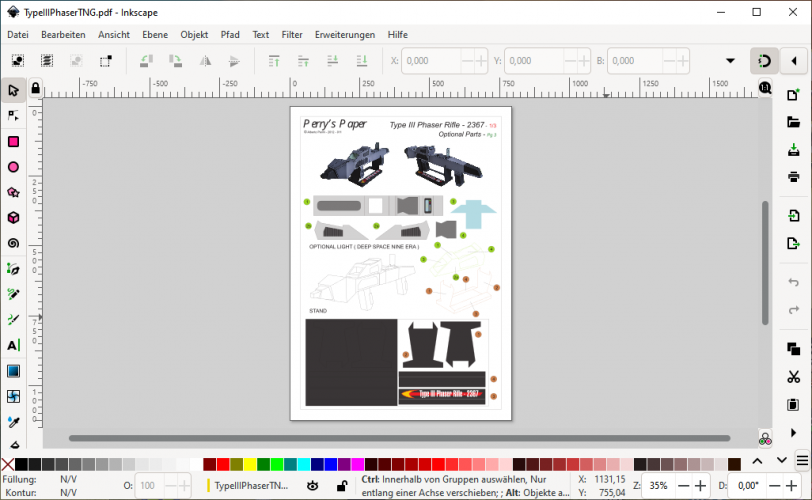
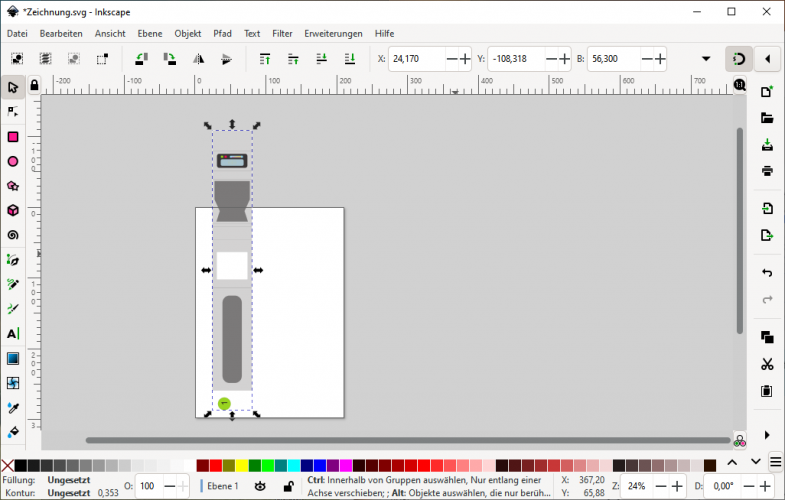
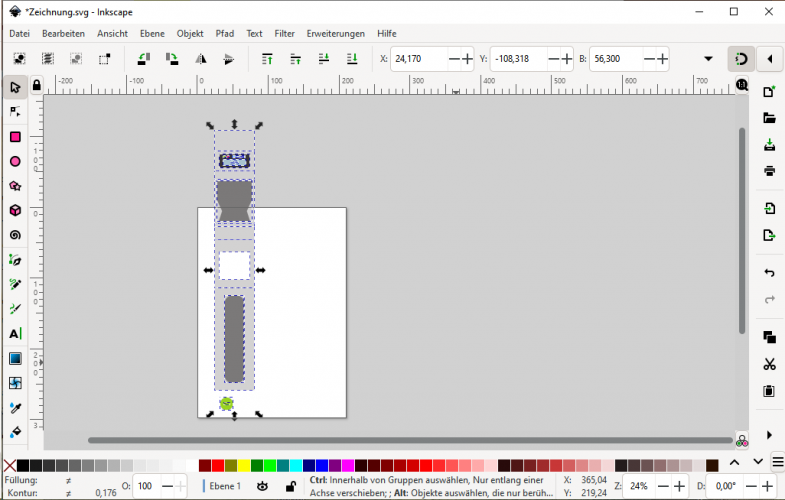
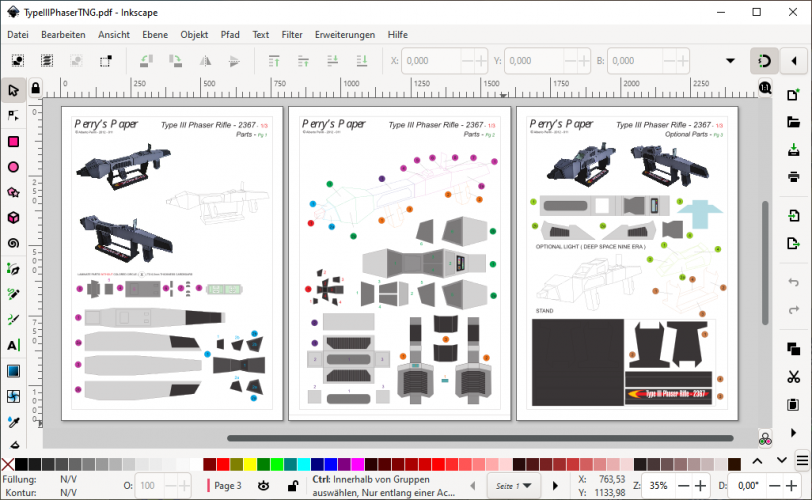
If you open everal pages at once a series of pages will pop up in a row. You can clearly see that this reduces the space to navigate and makes selecting the components much more difficult:
So let's stay with the single page.
The next step is to reorganise the parts so that they can be moved around without losing information. I have no idea why the elements are organised like this but a careful preparation is important to achieve a successful result.
If you click on an element a frame appears:
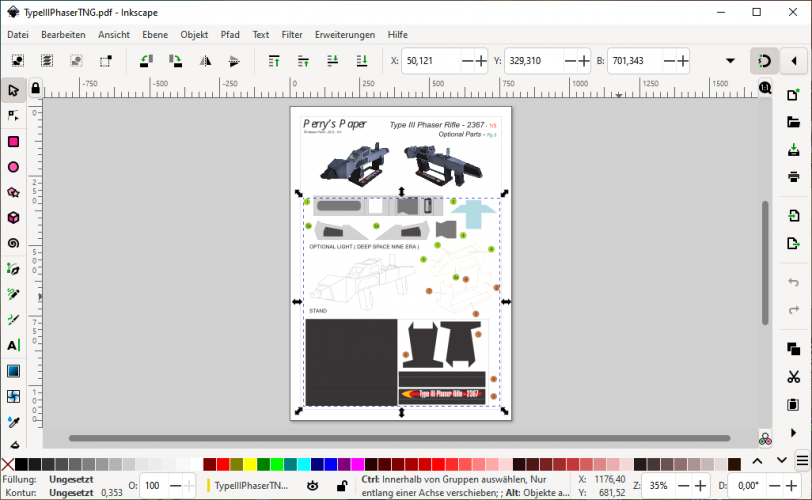
Now you have to click Ctrl+Shift+G as many times until all elements have been ungrouped:
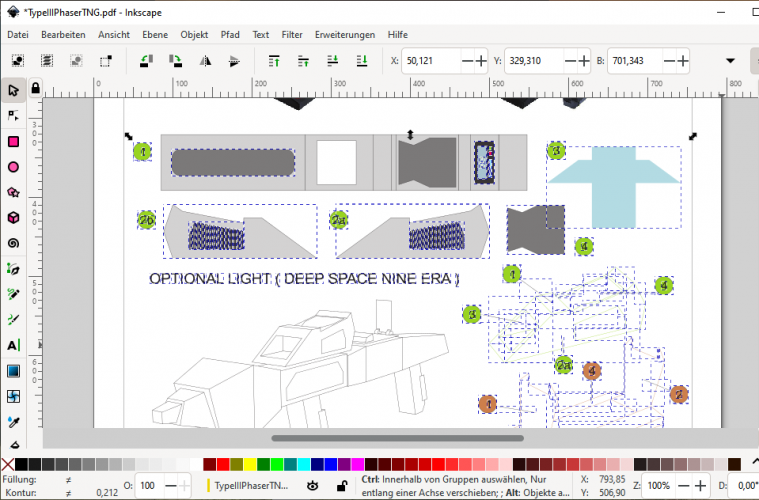
Sometimes a group is not ungrouped. You will notice that sooner or later (see below).
Then use the select tool and draw a rectangle around objects which belong together:
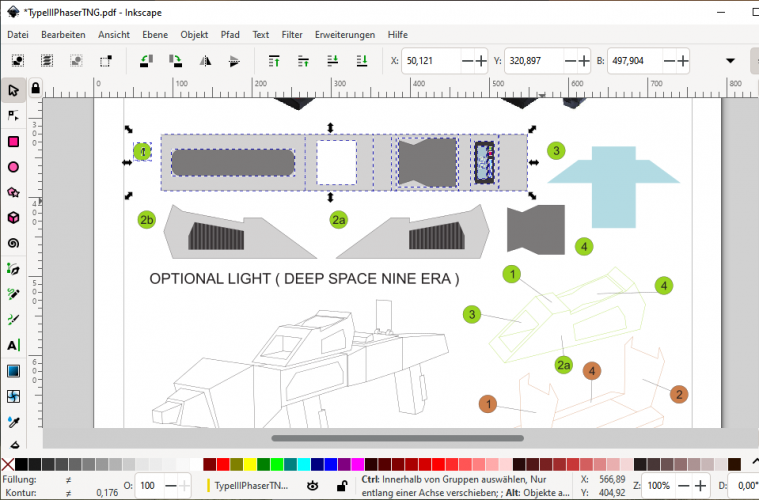
Press Ctrl+G to group them:
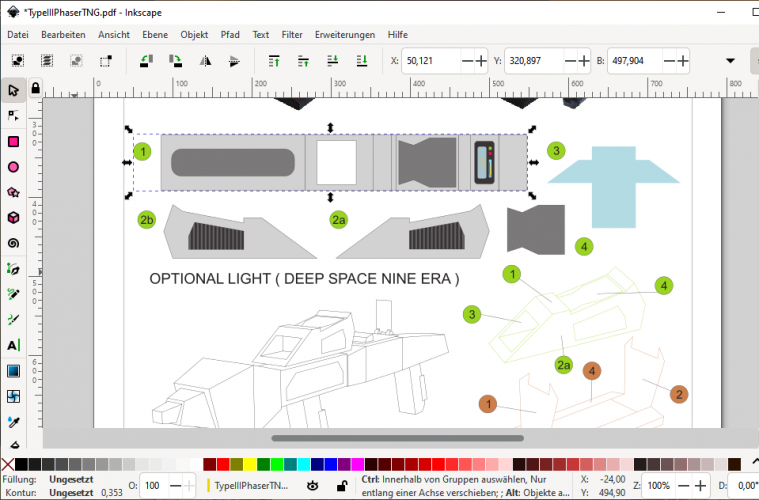
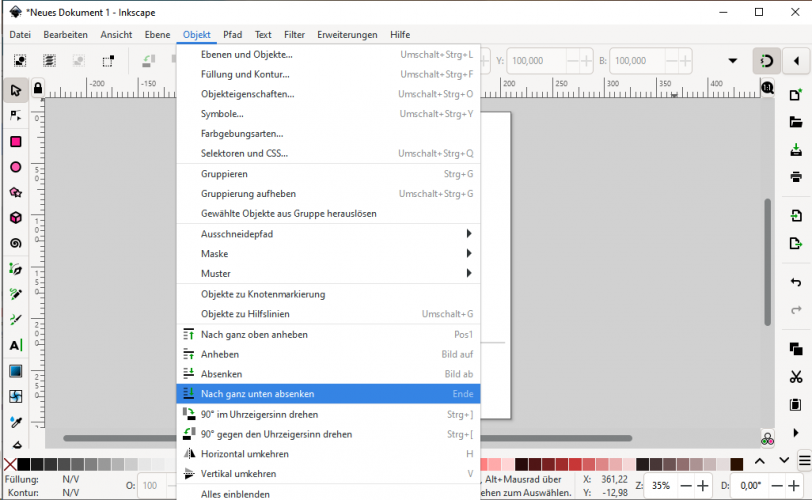
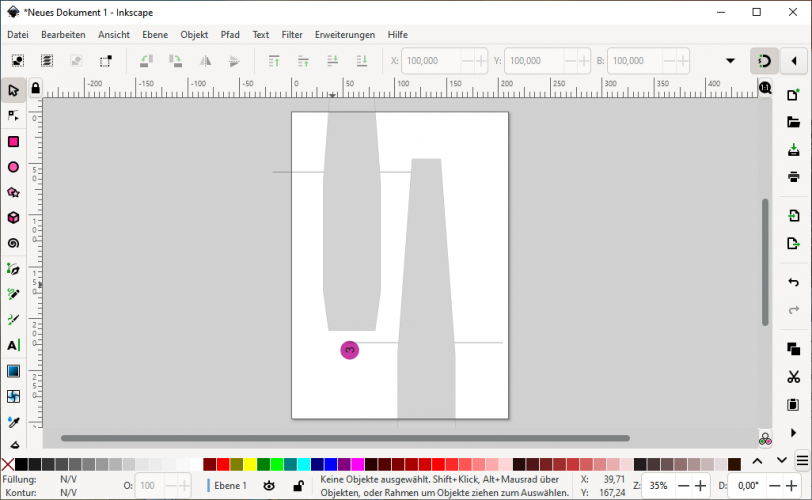
Move the part around a bit to see if you have grouped all necessary objects. If you see that a part of the element is not moved but stays in its place you will have to undo the movement, click on the element that did not move, ungroup it and group it with the other elements of the part to combine everything again. Then try and move it to see if you have got everything. This has to be done till all elements are grouped and combined.
Now go to File > New (or Ctrl+N) to open a new file.
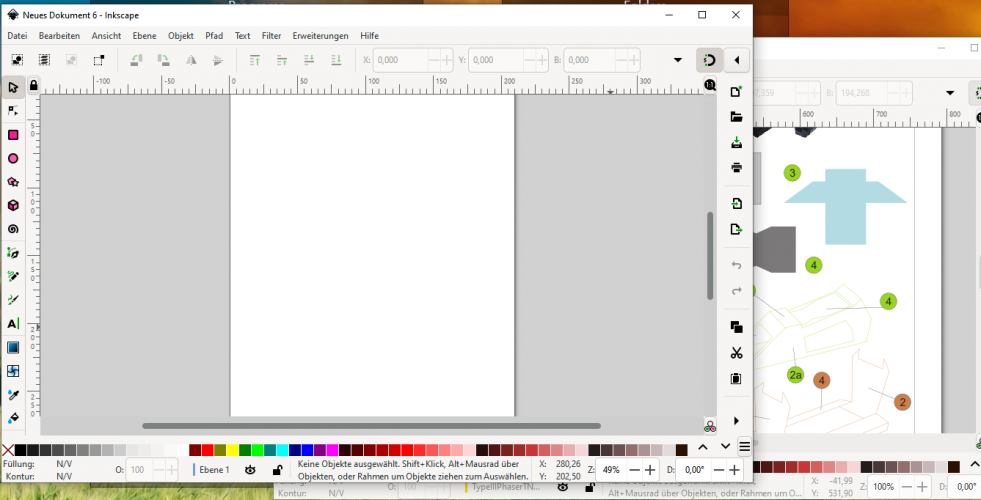
Select all parts necessary (click on them while holding the ctrl key or draw a rectangle around them):
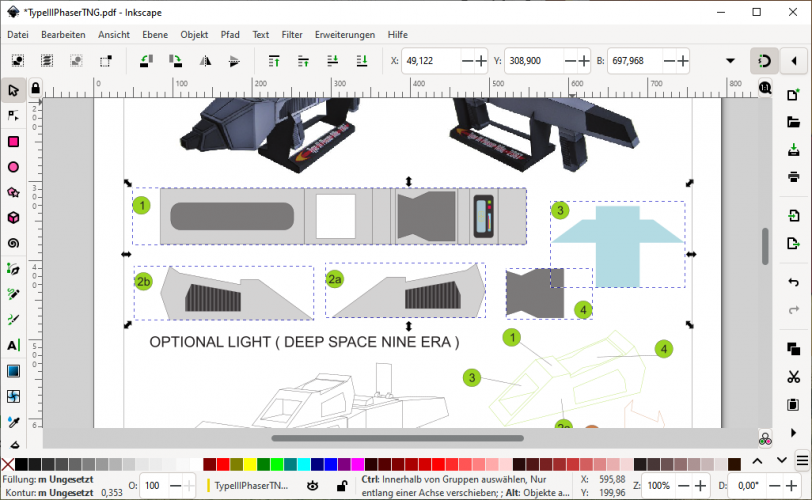
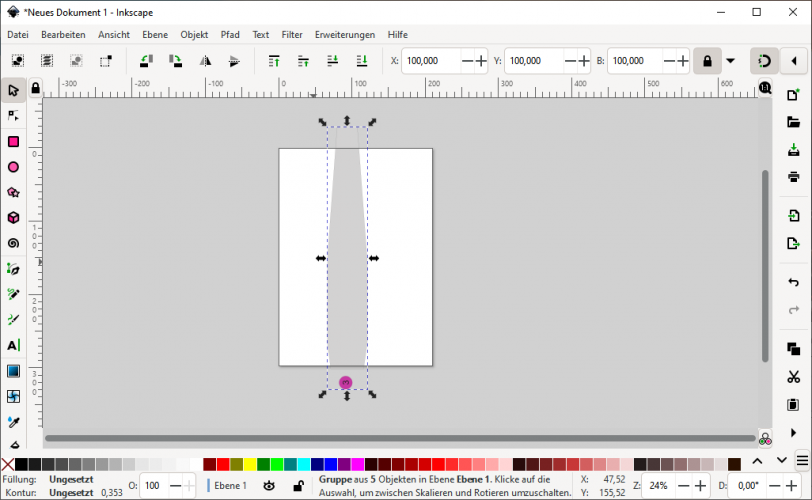
Ctrl+X > activate the new file window > Ctrl+V:
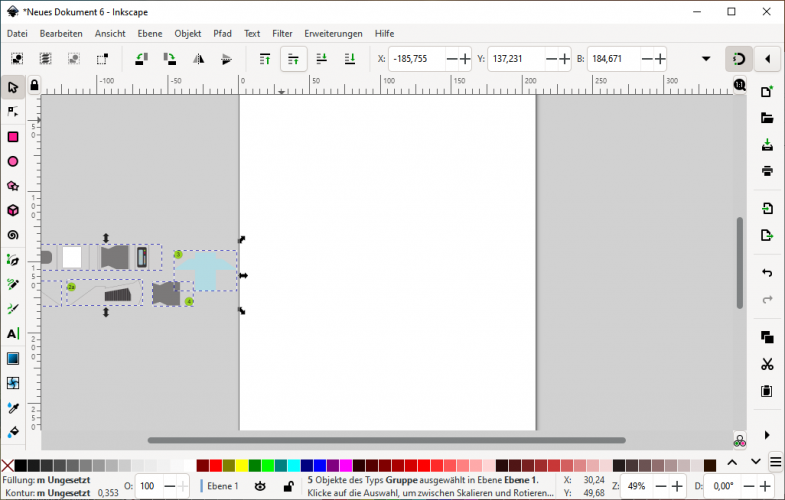
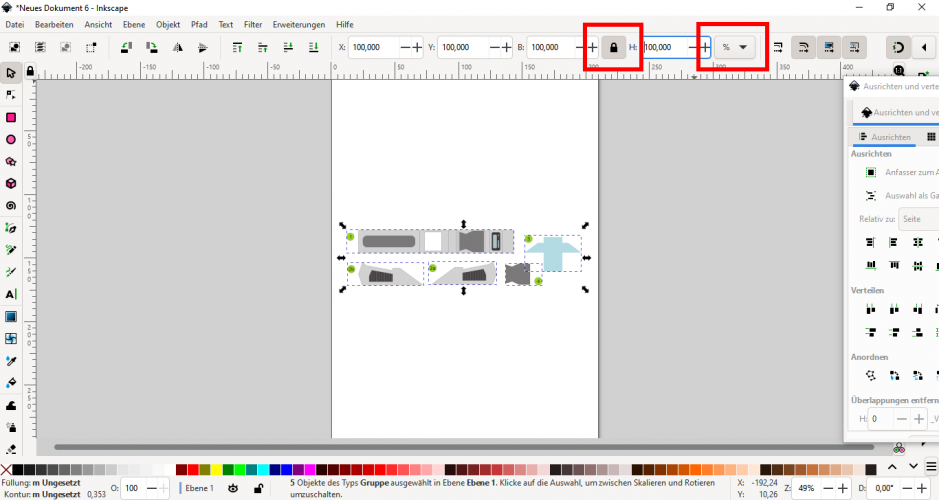
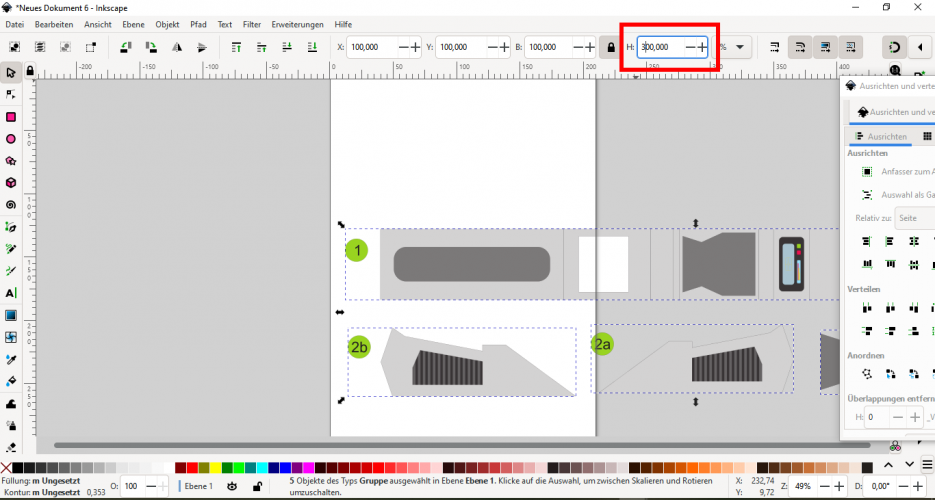
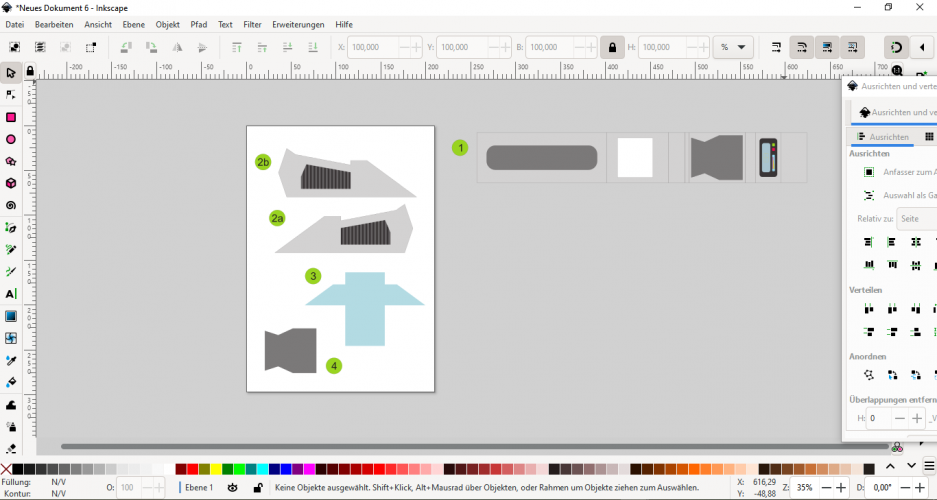
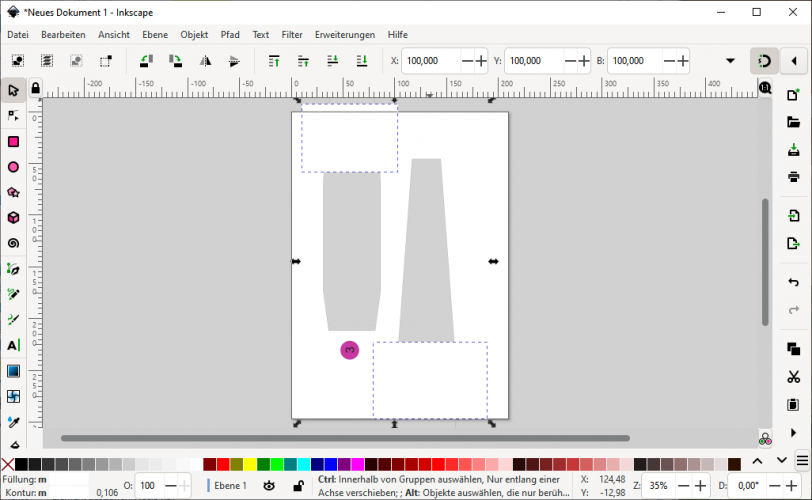
Move the parts onto the page:
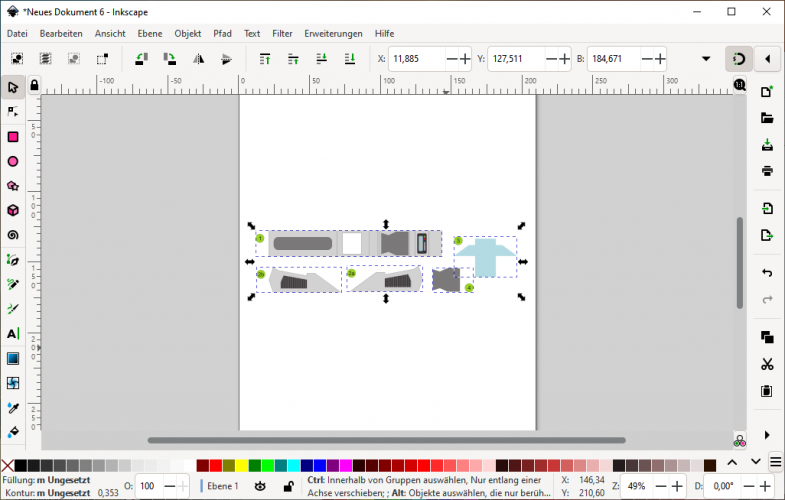
this tut should explain how to resize vector graphics using InkScape. You can do the same with any other vector program (like CorelDRAW), of course, but InkScape is the most versatile free alternative but has some "oddities" which will be mentioned here.
Many paper model plans come as PDF files. Resizing allows you to change the scale of the finished model and gives you the opportunity to free your model from the scale the original creator has given to it.
First it is important to see if the file you have chosen is suitable for this operation. To do so open the file and zoom in on the graphics. If they remain clear and sharp it is a vector, if it becomes fuzzy and blurry with steps and if you see compression artifacts the graphic is a bitmap. You can resize a bitmap graphic but this is not the subject of this thread.
Vector graphic:

Bitmap graphic:

My main weapon of choice is Corel because of its intuitive and straight-forward handling but it has trouble opening PDFs created after 2002 or so. This is why I have to use InkScape despite its weird behaviour. Sometimes InkScape has trouble importing / opening PDFs as well and tends to skip layers which unfortunately changes the look of the parts. If that happens you will have to use other methods (like turning the vector into a bitmap but this should always be your last option because it deteriorates the quality of the graphic).
Launch InkScape:

File > Open > choose the desired file and open it by hitting OK. If the PDF has several pages I reommend opening one page at a time and editing each page separately. That will make the process a bit easier.


If you open everal pages at once a series of pages will pop up in a row. You can clearly see that this reduces the space to navigate and makes selecting the components much more difficult:

So let's stay with the single page.
The next step is to reorganise the parts so that they can be moved around without losing information. I have no idea why the elements are organised like this but a careful preparation is important to achieve a successful result.
If you click on an element a frame appears:

Now you have to click Ctrl+Shift+G as many times until all elements have been ungrouped:

Sometimes a group is not ungrouped. You will notice that sooner or later (see below).
Then use the select tool and draw a rectangle around objects which belong together:

Press Ctrl+G to group them:

Move the part around a bit to see if you have grouped all necessary objects. If you see that a part of the element is not moved but stays in its place you will have to undo the movement, click on the element that did not move, ungroup it and group it with the other elements of the part to combine everything again. Then try and move it to see if you have got everything. This has to be done till all elements are grouped and combined.
Now go to File > New (or Ctrl+N) to open a new file.

Select all parts necessary (click on them while holding the ctrl key or draw a rectangle around them):

Ctrl+X > activate the new file window > Ctrl+V:

Move the parts onto the page:

Last edited:
