HOn30 climax...

shaygetz

Active Member
May 2, 2003
3,612
0
36
64
www.freewebs.com
Thanks Tyson, I appreciated your warning me about Model Power way back when. The guy who runs my LHS sent me a nice brass swing bell and it came in the mail today so you'll be seeing it in paint in the next week. Thanks again for your encouragement.

P.S. You'll like my next project that I'm gathering parts for right now. I'm planning on using 2 N scale Atlas 0-6-0 saddle tankers and bashing them into an HOn30 Booth Kelly type 2-6-6-0 saddle tank mallet. Just bought the first lokey today, gonna take a little bit of time to get the second. Meantime, no doubt I'll be slammin' my head in a door figgerin' out how to couple the two together:p
 

shaygetz

Active Member
May 2, 2003
3,612
0
36
64
www.freewebs.com
Originally posted by Ray Marinaccio
I also like the idea of your next project.

Actually Ray, it's kinda your fault. I had only been playing with the idea---then I saw a picture of the mallet you had bashed :p . Great looking malley BTW.
 

shaygetz

Active Member
May 2, 2003
3,612
0
36
64
www.freewebs.com
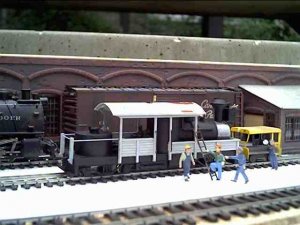
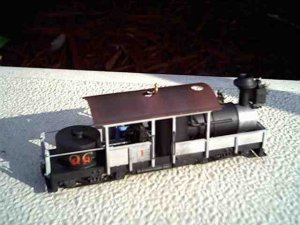
Step one of the paint job is complete and Bringham Tightwad seems happy. The B&MC shops don't have an airbrush so Floquil paints dominate the stock. The pigments are ground really fine for a flat laying paint job, even with a brush. One of the things I do to make up for it is to do a final overspray in Testor's Dullcote to even out the sheen. The bell is a old Cal-Scale casting, the water hatch is cobbled out of bits and pieces from the scrap box {just coundn't find one small enough).
 

Attachments

  • paint.jpg
    paint.jpg
    18.6 KB · Views: 93
  • paint.jpg
    paint.jpg
    18.6 KB · Views: 95

shaygetz

Active Member
May 2, 2003
3,612
0
36
64
www.freewebs.com
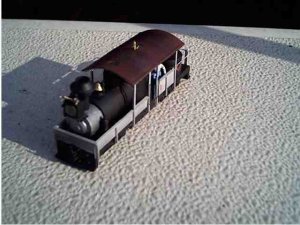
From another angle. The next step will be to paint the woodwork---yes, paint it :eek:--- unpainted wood is a maintenance headache and so was rarely seen in the real world.
 

Attachments

  • paint2.jpg
    paint2.jpg
    17.9 KB · Views: 95
  • paint2.jpg
    paint2.jpg
    17.9 KB · Views: 95

shamus

Registered Member
Dec 17, 2000
3,489
0
36
87
UK
Hi again,
It's looking very good indeed, but I wouldn't use paint on the woodwork, I would stain it with "Antique Pine" and wipe off the stain with a cloth. This brings out the grain in the wood. Then use an ink wash "Black ink" diluted with water to highlight it all.
Just my thoughts.
Shamus


shaygetz

Active Member
May 2, 2003
3,612
0
36
64
www.freewebs.com
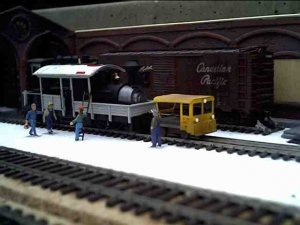
As the painting progresses, we find Shamus and Tyson ripping into the poor shoprat on the ladder, something about antigue pine and "Weather that @#$%&* up, son!" Meanwhile, the super just got off the B&MC #7 speeder to tell the poor kid that there is no Floquil Brick Red for the roof in the shop, the remaining stock having congealed into a gelatin like mass from lack of use.

Sorry Shamus, the paint was on her right after I finished my last post. I wanted a well maintained tourist lokey with a minimum of weathering. I will keep that recipe on file for the next one though.

I was going to paint it a Brunswick or Hunter Green but it started to look more like a Grateful Dead tour bus than a steam locomotive. The woodwork is Floquil SP Lettering Grey, the graphite on the smokebox is a homebrew of 1 part Testor's Flat Black to 2 parts Testor's Silver. The speeder is 92% scratch from my faithfull styrene signage stock and some Evergreen styrene rod. The only commercial parts would be the N scale wheels and their nut/bolt/washer casting hubs. Although the lights look great in this shot, they're only painted to look like they are on.
 

Attachments

  • p2.jpg
    p2.jpg
    18.7 KB · Views: 127

shaygetz

Active Member
May 2, 2003
3,612
0
36
64
www.freewebs.com
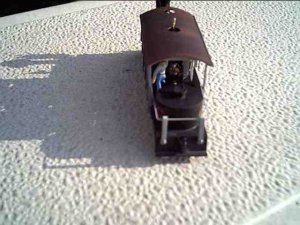
This next shot shows the scratchbuilt water hatch. The picture also shows how the open motor brushes give an effect of throttle and brake levers.
 

Attachments

  • p3.jpg
    p3.jpg
    23.4 KB · Views: 132

Ray Marinaccio

Active Member
Aug 4, 2003
1,940
0
36
66
Dewey Az.
Visit site
I like it, I like it a lot.
I found one of those drives at the bottom of a junk-box I got yesterday. Looks to be an abandoned project being refitted with a Sagami motor. the motor was drilled for a mounting screw and the screw pushed the magnet into the armature. I plan to fix that and try to finish the project. I'll let you know how it turns out. Successful or not.
 

shaygetz

Active Member
May 2, 2003
3,612
0
36
64
www.freewebs.com
Thank you, Ray. Driven by inspiration from Shamus, Tyson, your work, Val, Robin, Blake... I'm being kept very busy. Since I've signed onto The Gauge I have done more modeling in the past three months than I have in the past 2-3 years, no kidding. I'm looking forward to seeing what you make with that drive mechanism.
 

shaygetz

Active Member
May 2, 2003
3,612
0
36
64
www.freewebs.com
Originally posted by Tyson Rayles
Now you know how Shamus and I earn our paycheck around here! :p :rolleyes: :D ;)

The shoprat wants to know where you two hide the bodies;)

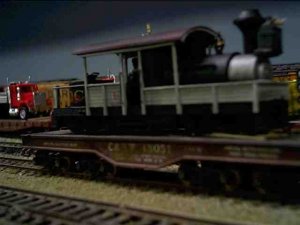
Today finds the locomotive being readied for delivery. The Ocean City R.R. is separate from the B&MC R.R. and there is no dual gauge trackage between the two so delivery will come by way of heavy duty flatcar and a GE 44 tonner. The roof is Floquil Tuscan weathered with chalks. The whole loco is weathered lightly with white, black and gray pastels and the whole thing oversprayed with Testor's Dullcote. The logo was done with red dry transfer lettering applied over gold lettering. For those trying to apply dry transfers to wood, I lightly rub them enough to remove them from the backing sheet. Then I push them into the wood with a brush dipped in bottled Dullcote. I then seal them with another coat of flat.
 

Attachments

  • p1.jpg
    p1.jpg
    21.4 KB · Views: 113

shaygetz

Active Member
May 2, 2003
3,612
0
36
64
www.freewebs.com
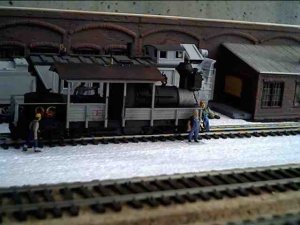
Fireman's side...the air pump and drip edge on the roof were inspired by the picture of a Climax on Shamus' layout. The air pump was CAREFULLY shaped with jeweler's files from brass rod turned in a drill.
 

Attachments

  • side2.jpg
    side2.jpg
    26 KB · Views: 107

shamus

Registered Member
Dec 17, 2000
3,489
0
36
87
UK
Originally posted by shaygetz
the air pump and drip edge on the roof were inspired by the picture of a Climax on Shamus' layout.

So thats where it went, wondered about that.

Looks really good that my friend,

Shamus
 

shaygetz

Active Member
May 2, 2003
3,612
0
36
64
www.freewebs.com
Originally posted by shamus


So thats where it went, wondered about that.

Looks really good that my friend,

Shamus

Stole the graphite smokebox idea from ya too...;)

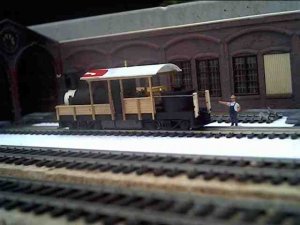
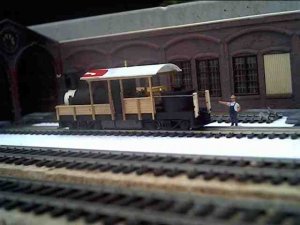
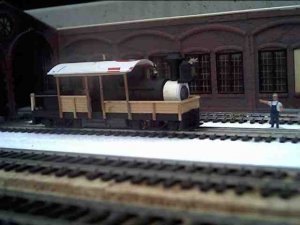
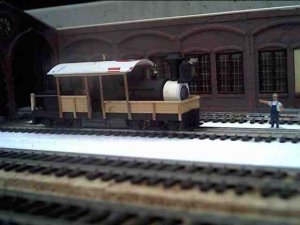
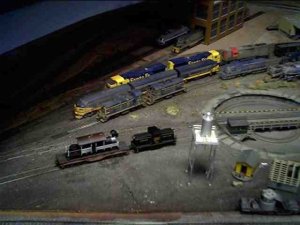
I was hoping to close the series with a few shots of it traversing the club layout to its new home but my camera just isn't up to the task. I'll just post the couple that came out (sort of) and bow out, stage left. Thanks Tyson, Shamus and Robin, if you look close enough, you'll see a little of your work in it. Leaving the roundhouse...
 

Attachments

  • yard.jpg
    yard.jpg
    18.8 KB · Views: 80