Haruhi final assembly/comments
Well, I googled Haruhi, and it turns out she is the lead character in a hugely successful series of light novels, manga, and anime cartoons. I had no clue. I just gotta get out more. The series has a monster worldwide fanbase, particularly in Japan where anime rules, and the craze is known to devotees as Haruhiism. If you want to know more about Haruhi, google her and check out wikipedia. There are even some Haruhi videos on youtube.
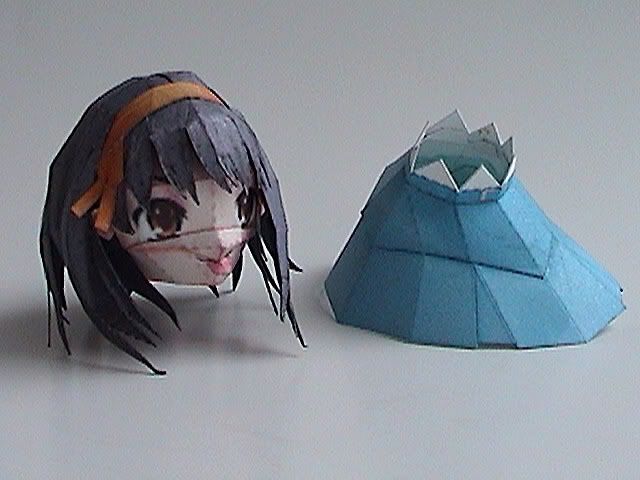
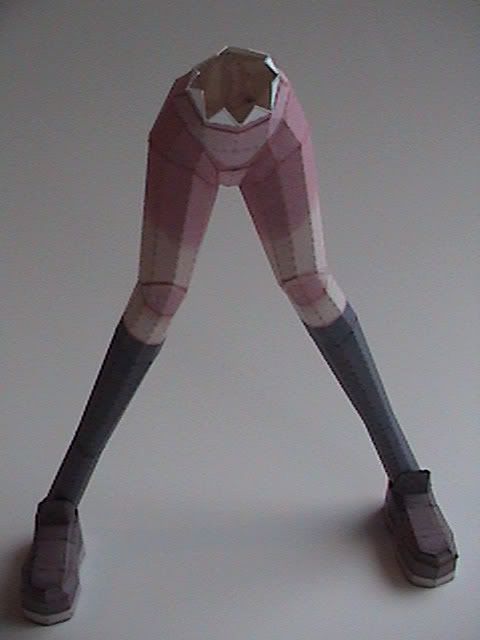
This was a fun build for me, and the subject was, for an anime figure, relatively easy. The fit was excellent throughout, and using the photos of the finished figure as an instructional guide, assembly wasn't too hard to figure out. My only gripe is the score lines, and it turns out there are no-line PDO and jpeg versions available too, but I overlooked them. My bad.
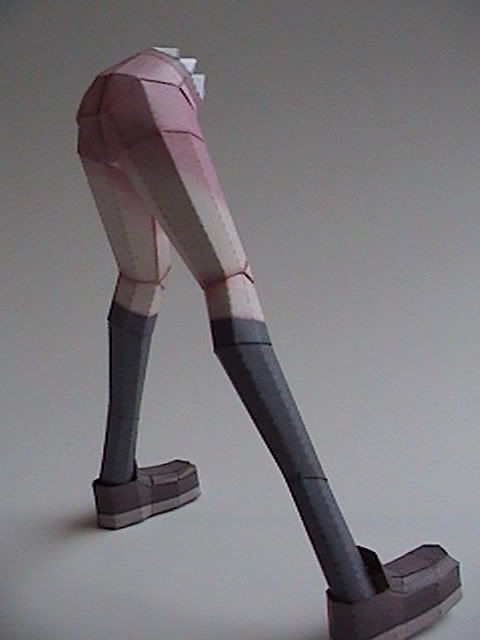
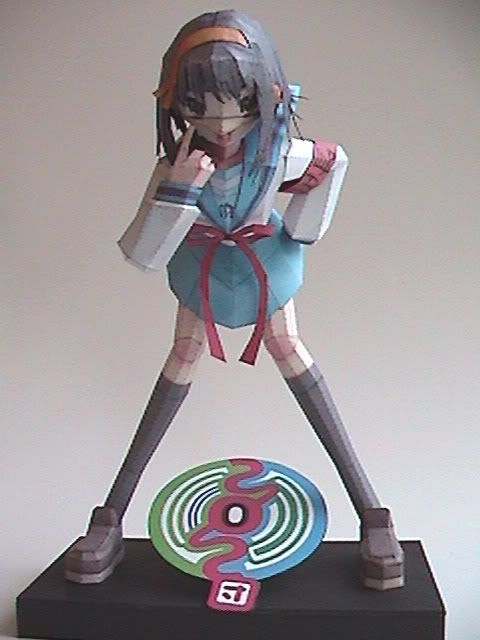
Anyway, after joining the subassemblies, (no difficulties to note - she went together very easily) I wanted to put her on a suitable base as is my usual custom. I decided to use Haruhi's "SOS Brigade" Logo for the base - it's very colorful, and will definitely have meaning to Haruhiists. I sized the logo, printed it out on card, and laminated it to mat board. Then I made a wedge of doubled mat board, and glued it on the back of the logo to give it some height. I made an @ 2.5" x 5.25" black mat board base for the model and glued Haruhi and the logo to it. I'm pretty happy with overall presentation, she looks pretty sharp I think.
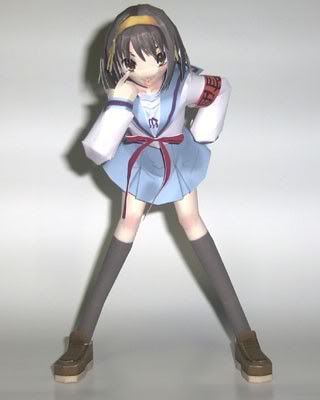
Front view
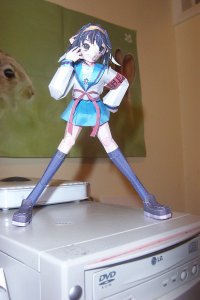
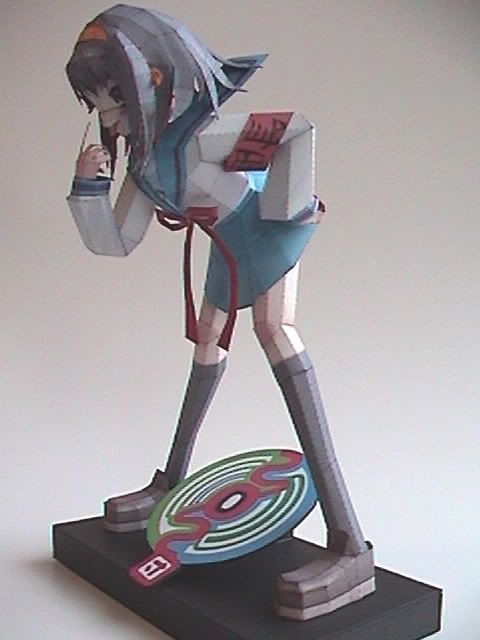
¾ view
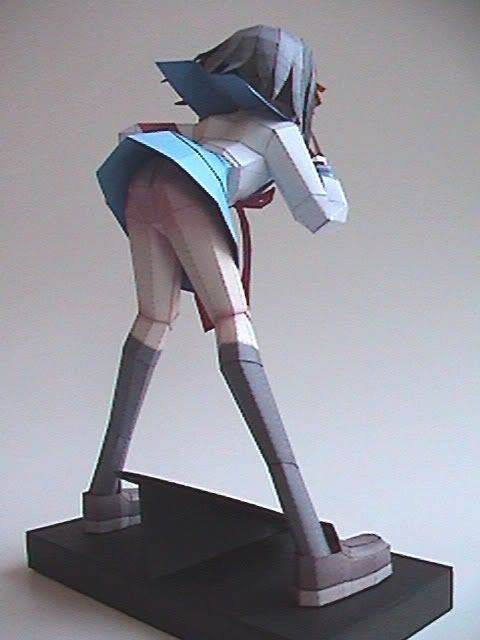
She's a cheeky lass!
I have other anime kits, but as much fun as I had with this one, I think I'm going to do something from a totally different genre for my next model. Got something already printed out, and I'm excited to start on it. I should be able to begin a new thread on Friday.
Regards,
Don