GeeBee R1 Racer, 1:33, Rafal Ciesielski

Status
Not open for further replies.
I was wrong again! Sorry Chris.
Boy I need to get some sleep one of these days.:cry:

Fiddler's Green's freebie is the red and white one but if you purchase it or the airplane CD you get the black and yellow one also, in the versions folder.

I could have sworn I saw a black and yellow one for free though but a search of my hard drive came up empty.
If there was a free one out there, it would be on my hard drive!:twisted:

Russell
 

rlwhitt

Active Member
Aug 25, 2006
196
0
36
63
Clemmons, NC, USA
Last Wing Bit

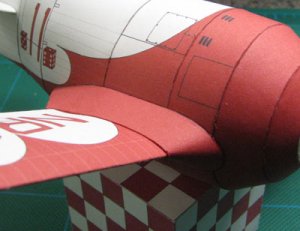
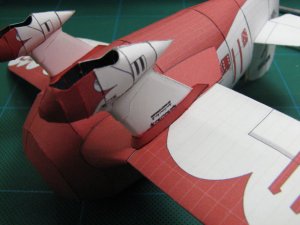
Ok, back to it then. The last bit of wing work is to put on the fairings. I have to say this is one of my least favorite things to do. I imagine this is also a designers nightmare, getting these parts anywhere near right. This one is pretty good, but unless you're superbuilder, they never seem to come out as good as some of the other bits!

And yes, I took the picture of the best side! :grin:
 

Attachments

  • Wing07-Sm.jpg
    Wing07-Sm.jpg
    50.3 KB · Views: 229

rlwhitt

Active Member
Aug 25, 2006
196
0
36
63
Clemmons, NC, USA
Landing Gear

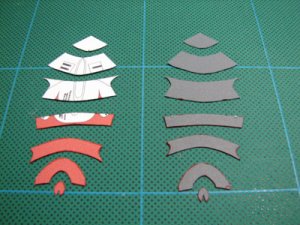
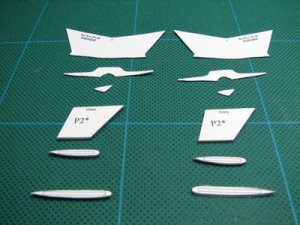
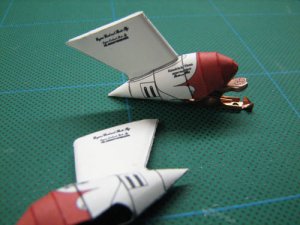
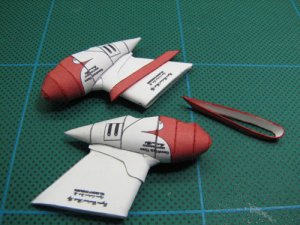
On to the legs! I decided to tackle the part of this plane I've been dreading the most next, those wheel covering up thingies. What's the real name - Pants? Spats? Anyway here are the parts.

For these parts and the cowl parts I thought since the inside was partially visible, I needed color inside. So I created a PDF page that had a dark gray on the back, as you can see here.
 

Attachments

  • Wheels01-Sm.jpg
    Wheels01-Sm.jpg
    70.1 KB · Views: 227

rlwhitt

Active Member
Aug 25, 2006
196
0
36
63
Clemmons, NC, USA
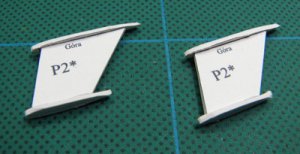
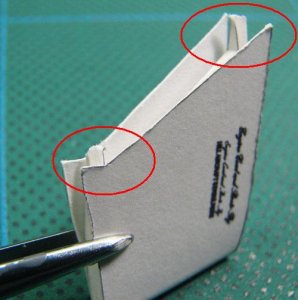
Getting ready to put the skin around the legs, I see that the "ribs" are too long. Had to trim them down a bit.
 

Attachments

  • Wheels06-Sm.jpg
    Wheels06-Sm.jpg
    49.4 KB · Views: 236

rlwhitt

Active Member
Aug 25, 2006
196
0
36
63
Clemmons, NC, USA
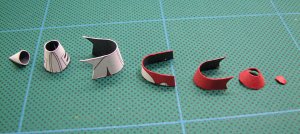
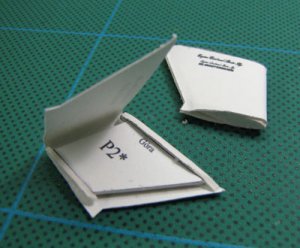
Lower fairing parts glued on, and upper ones prepared. I imagine there are several ways to approach this, I decided to tack the back ends of the upper fairings together first and slip them on. I then put some glue on the upper part of the strut and slid the fairings up to the right position.
 

Attachments

  • Wheels09-Sm.jpg
    Wheels09-Sm.jpg
    80.3 KB · Views: 292

rlwhitt

Active Member
Aug 25, 2006
196
0
36
63
Clemmons, NC, USA
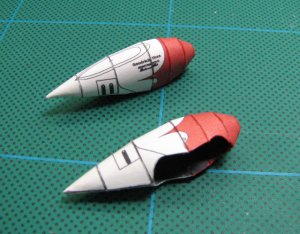
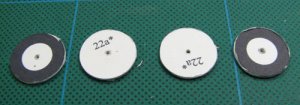
I think the next step here would be to put the rigging lines on the wing/landing gear/fuselage, but I need to wait to let those legs dry completely. So off to the wheels. Here the parts are rough cut. I did not like how tight these wheels were going to fit width wise, so I'm only going to use (2) 22a parts instead of 3. I also noted that they are too big in diameter to fit into the wheel pants, so a lot of sanding is coming up.

These will be laminated and pressed, ready for sanding. So these too need a good drying. Good place to call it a night.
 

Attachments

  • Wheels11-Sm.jpg
    Wheels11-Sm.jpg
    47.3 KB · Views: 291

Alcides

Member
Jul 8, 2005
189
2
16
55
Buenos Aires - Argentina
rlwhitt said:
Thanks! It helps to have a camera with a good macro mode and some good light to go with it!

Yes, this helps but you have to know how to use that. I know I'm an photo entusiast :wink:

The same with the model. A lot of persons can download the model but only some persons can do a very good job as you is doing.

Keep the pictures coming !!!

Regards
Alcides
 
I am probably wrong, as I usually am, but I'll throw it out here anyway. I think those things that cover the wheels are called "boots".
Someone please jump in and slap me down if I'm wrong.:eek:ops:

That was a real nice touch coloring the back of the parts, it sure does help with the overall visual appeal. This has always been one of my favorite specimens and you are certainly doing her justice with your superior building skills.

She is looking mighty sweet in your capable hands! Very nice workmanship!:wink:

Russell
 

GT5500

Member
Apr 23, 2006
73
0
16
39
Kent, England
Amazyah said:
I am probably wrong, as I usually am, but I'll throw it out here anyway. I think those things that cover the wheels are called "boots".
Someone please jump in and slap me down if I'm wrong.:eek:ops:

That was a real nice touch coloring the back of the parts, it sure does help with the overall visual appeal. This has always been one of my favorite specimens and you are certainly doing her justice with your superior building skills.

She is looking mighty sweet in your capable hands! Very nice workmanship!:wink:

Russell
I have always known them as spats
 
Status
Not open for further replies.