Free Model #3 - HMS Dreadnought by Mark_1984

M

Mark_1984

I see that this is the second HMS Dreadnought entry into the competition.
The model can be downloaded from Digital Navy
http://www.digitalnavy.com/dreadnought/

I shall be building it pretty much as designed. I.e. A waterline model in it's original scale. The only mod's I shall be making are maybe a bit of layering to give more relief to the flat parts, and replacing guns & masts with wire.

I've never had much success with model ships before, so this should be interesting.

I'm also building it at work, during lunch time, much to the amusement of everybody else in the office sign1, so I don't have my usual set of tools. Just a craft knife, plastic rule, pencil, and some scrap paper as a cutting mat. Wish me luck !!
 
M

Mark_1984

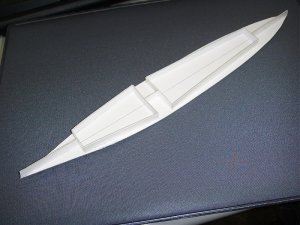
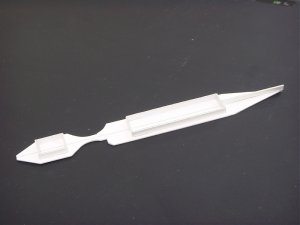
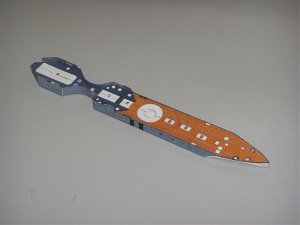
At last I've got a little progress to post. The frame has gone together sort of OK. It's taken on a bit of a curve, with the bow & stern both raised a few millimeters. I hope this will sort itself out when I add the deck and hull sides. If not it's back to square one.

The instructions have got parts 4 & 5, the bow & stern uprights the wrong way round. It took me a couple of minutes double checking to make sure I wasn't making a boo boo.

SSL12554.jpg

I'm not used to having to cut and glue everything square. As some people will know I usuall prefer figures, which are supposed to be all curves and bends. It doesn't matter if a bend is slightly wrong as nobody will ever notice. But if a straight line is slightly out it sticks out like a sore thumb :thumb:
 
M

Mark_1984

Checking the frame, I found that it had a decided kink in the middle, between the two rectangular supports. I fixed this by gluing a cocktail stick along the base to hold it flat. It seems to have worked and the hull sits on the table pretty flat. Not perfect, but close enough.

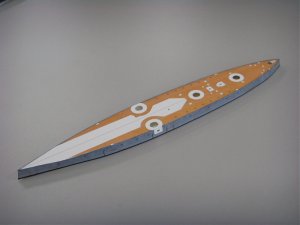
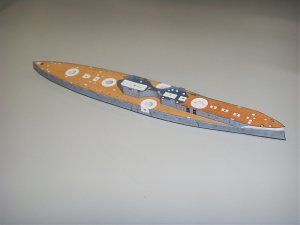
I've got somethat actually resembles a hull now. The Deck and sides went on without much problem. The deck went on first, followed by the sides. I glued the top of the sides to the deck, leaving the bottom edge free. Once the tops were glued, which straightened out the slight curve in the deck a treat, I just ran a fillet of white glue along the base to finish fixing the side plates.


The white edges were coloured with a battle ship grey felt tip that I had ;)

SSL12564.jpg
 
M

Mark_1984

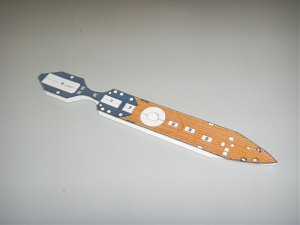
A bit more progress. The Forecastle deck, which is the same style construction as the main frames.

SSL12567.jpg
 
M

Mark_1984

Here is the forecastle deck in place. The small holes for the anchor hawse pipes and hole for mast were cut out with my trusty Japanese hole punch.

SSL12569.jpg
 

Lex

Dollmaker
Dec 1, 2006
645
1
36
Oxford, UK
Clean build on the Dreadnought Mark!! This model has a great fit and I'm looking foward to this build!
 
M

Mark_1984

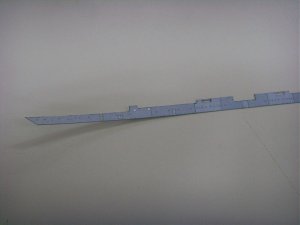
I've made a start detailing the superstructure.
First off, here is the port side, as cut. I've coloured the edges with my battleship grey felt tip.
SSL12574.jpg

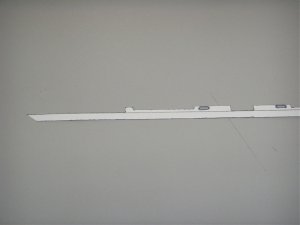
I've drawn a line showing the level of the deck on the inside, to make it easier to get this part glued on accurately. I'm not certain whether the inside needs to be coloured grey yet or not. I can't work out whether it will be visible on the finished model
SSL12578.jpg

Now to make the ladders. These are definitely a little on the fiddly side. Here's the steps.
1. Photocopy the sheet with the superstructure on it, and put a little sellotape over the ladders. I'll use this as a template and I don't want the ladders sticking to it.
2. Take some black cotton and rub some white glue into it to straighten & stiffen it, and also stick down the fluff.
3. Cut 7 generous lengths of stiff cotton and glue over the rungs of the ladder. The cotton sticks to the paper easily, but obviously doesn't stick to the sellotape.
4. Cut another 6 generous lengths of stiff cotton. These are the uprights. I coated them in glue again and pressed them over the rungs. This makes up the three ladders needed.
You've now got a sort of noughts & crosses board (with too many squares) with the ends glued to the paper. I couldn't get a photo of this as the photocopy was quite dark and the cotton wouldn't show up.
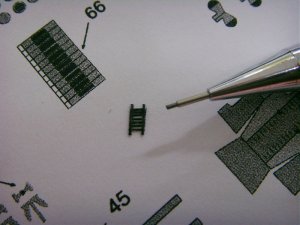
5. Give the ladders a little while to dry, and then cut them free with a very sharp knife. This is what the finished ladder looked like, with a 0.5mm pencil tip there for scale. (Nobody sneeze !!)

SSL12582.jpg

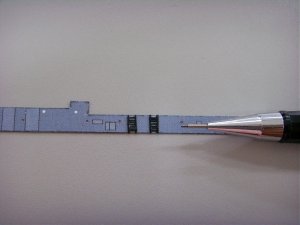
Here's the ladder glued to the bulkhead. I figured it will be easier to add the detail before gluing the bulkhead in place. I really hope I don't screw this part up now !!

SSL12586.jpg

I'll be adding doors and equipment boxes next, by simple layering. My only concern is whether the felt tip will make the tiny card doors delaminate when I colour the edges.
 

Lex

Dollmaker
Dec 1, 2006
645
1
36
Oxford, UK
Nice!!!!!!!!!!! I love that ladder!! Just to let you know the reverse side of the superstructure skin will be somewhat visible from the other side, so you can colour the entire reverse side with the gray colour, if that helps. (also, some of the roof (?) of the superstructure will be the worst offenders, make sure those are coloured on the inside)
 
M

Mark_1984

I tried layering on the doors, etc. but I just didn't like the effect. The pen I'm using for the edge colouring bled through the part too much and it ended up just looking messy. The printed details look much cleaner and sharper, so I'm leaving it as is.

Here is the bulkhead glued in place.
SSL12592.jpg

I've coloured the inside of the bulkheads where they protrude above the deck (Thanks Lex :)).

There were also a couple of tabs to help join the forward section of bulkhead. I cut these off and replaced them with tabs backed onto the part. This will give a much smoother join.

I printed the model using a laser printer and I know from experience that the ink cracks off. To reduce this I've scored by a light cut with a craft knife, rather than my usual empty biro. This leaves a clean white line to touch in, rather than a rough line of cracked ink.

The next job is to glue this part to the hull. The instructions are a bit patchy, but that's half the fun of freebie kits - figuring out how they are supposed to go together sign1
 
M

Mark_1984

A little more progress. The forecastle has been glued to the main hull now. The fit was perfect. It looks as if there is a small gap on the photo, but I think this must be a reflection from the flash. At first I though it was a trick of the camera, but there is actually a tiny gap there which is almost unnoticable. I think I may be able to push the forecastle down and make it disappear.

I coloured the white score lines by rubbing some ground pencil lead into the cut with a cotton bud.

SSL12593.jpg
 
M

Mark_1984

I'll take that as a success then Lex ;)

I've got the last two parts of the hull fitted now. These went in without any problems. They were a little too long, so I just trimmed about 1mm off the bow. I guess 1mm too long is much better than 1mm too short ;)

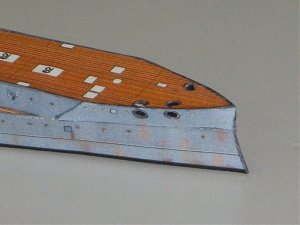
I coloured the insides of the hull by the hawse pipes black, just so that you can't see white inside the holes.

SSL12609.jpg
 
M

Mark_1984

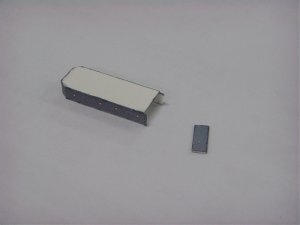
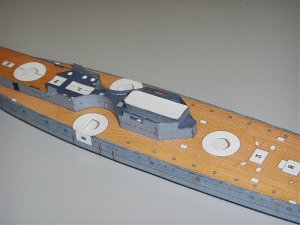
I got the aft deck house fitted today. This seemed particularly fiddly for some reason. Too small to hold easily, and I kept dropping the darn things.

The bulkheads were a bit too long, so I cut the rear section off and fitted the rest to the deck head, leaving the overhang.

SSL12614.jpg

Then the overhanging ends were trimmed off and the rear bulkhead fitted.

SSL12616.jpg

Finally the assembled part was glued to the hull.

SSL12619.jpg

The photos seem to show up tiny defects that aren't apparent to the unaided eye. Well, I should say that they weren't apparent till I looked at the photo. Now they seem to stick out like a sore thumb :thumb:

Looking ahead, I've got another 2 deck houses to fit, the forward bulkhead, and then the superstructure deckhead (or roof in non-nautical terms). Mustn't forget the tiny guns that go inside this structure. I think I'm going to have to bring some wire and grey paint to work for the gun barrels, and certainly a pair of tweezers to fit them in place ;)