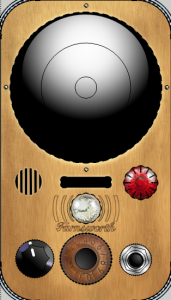
Farnsworth communication device from Warehouse 13
- Thread starter Revell-Fan
- Start date
You are using an out of date browser. It may not display this or other websites correctly.
You should upgrade or use an alternative browser.
You should upgrade or use an alternative browser.
I can see Claudia jumping for JOY.Maybe we could add a Flower Power Farnsworth to the collection, too...:mrgreen:
Myka & Leena is going "Glassy eyed" for the pastels.Or some nice pastels for the "Miami Vice" '80s Farnsworth:thumb:
And Pete say "OOOHHHHH CAMO!!!!!"how about a camo pattern? wait, then you won't be able to find it. never mind, carry on.
Then there is poor Artie sitting at his desk shaking his head :cry:, saying "Why can we not keep it simple, people?".
Last but not least, Mrs, Fredricks telling Artie, just let it go and take care of the next case.:whip:
BLACK. With a red running light on top. And when you open it, it says, "Hello, Michael!" :mrgreen: 

I started watching the series Warehouse 13 out of curiosity due to this post.
After a few episodes, I'm already hooked on to it.
After a few episodes, I'm already hooked on to it.
It was a joy to see Saul Rubinek again when the show started. I remembered him from ST: TNG where he played Kivas Fajo. And I liked the crossovers with Eureka.
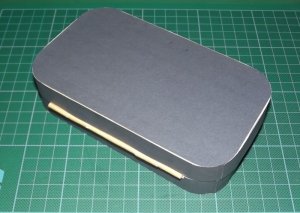
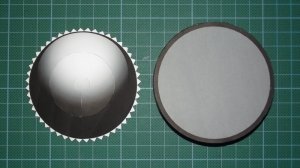
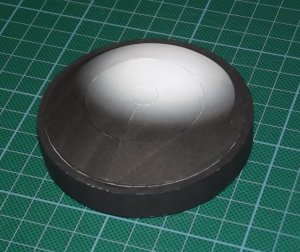
I've updated my alpha build by printing the blue texture on regular thin paper and glueing it to the casing. It looks much cleaner now. The edges still have to be painted. I feared that the blue was a bit too dark but when I looked at it again this morning I was really pleased with the result.
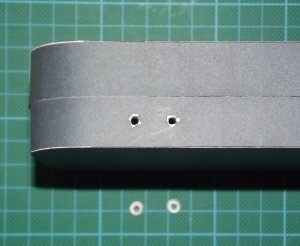
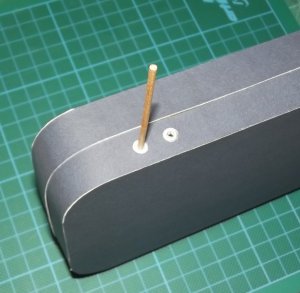
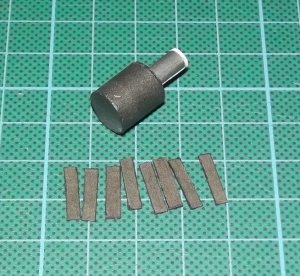
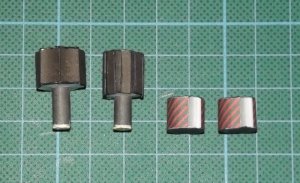
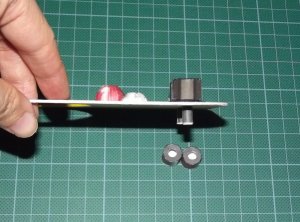
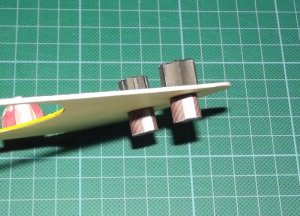
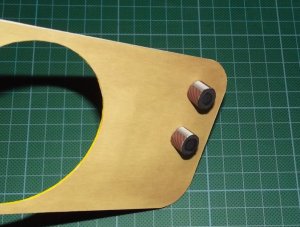
I also added the rivets to the holes. They were laminated to 1 mm cardboard. I used a rod to align them.
I also added the rivets to the holes. They were laminated to 1 mm cardboard. I used a rod to align them.
Attachments

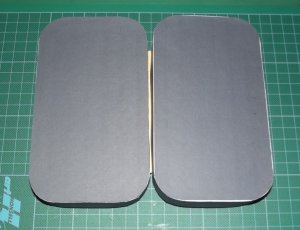
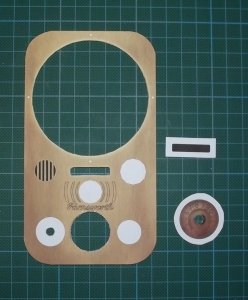
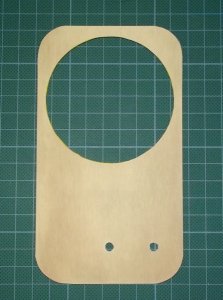
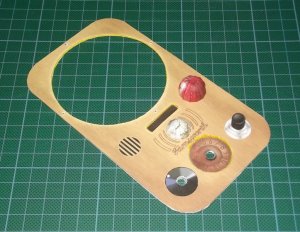
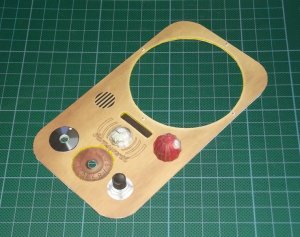
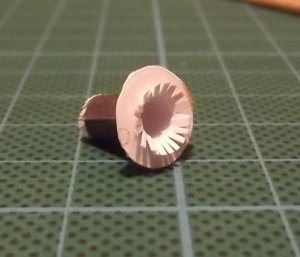
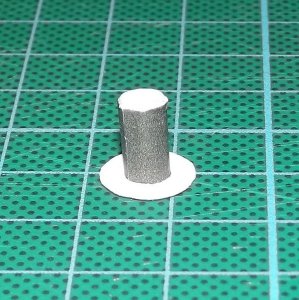
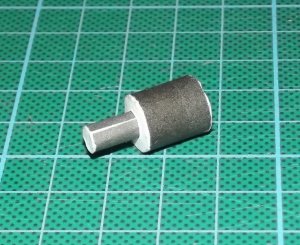
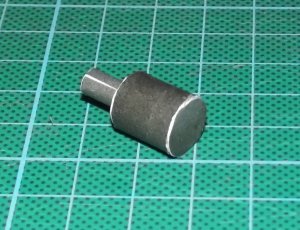
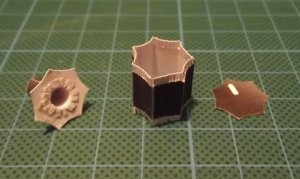
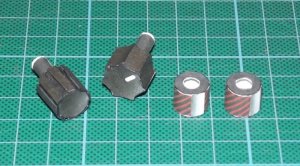
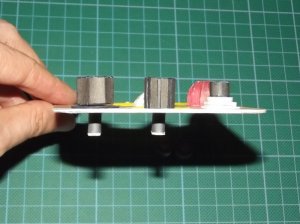
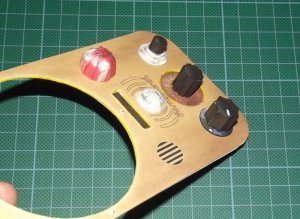
Now on to the knobs. The front plate is laminated to 1 mm card. Four holes are cut out. Two textured plates are glued to the back to close two of the holes. Then the back plate is attached.
Attachments
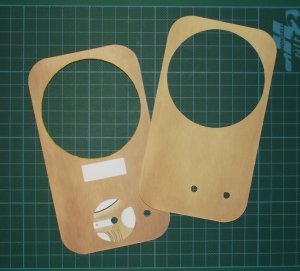
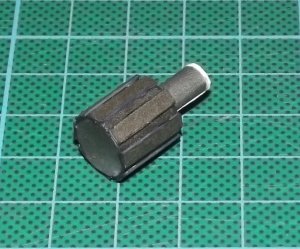
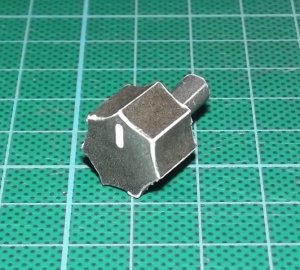
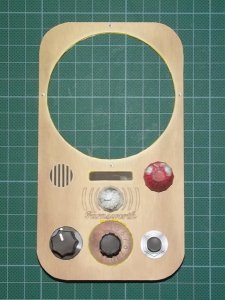
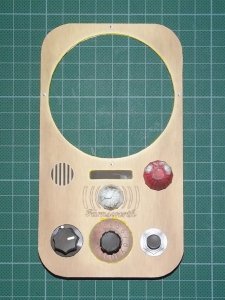
The edges are painted and a back part is assembled. I copied the same strategy I used for Crichton's joints.
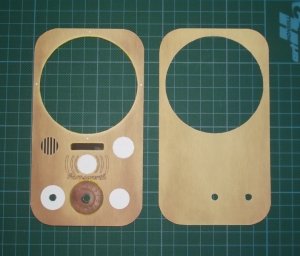
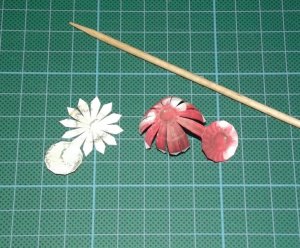
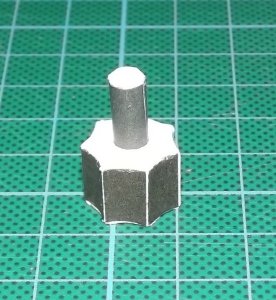
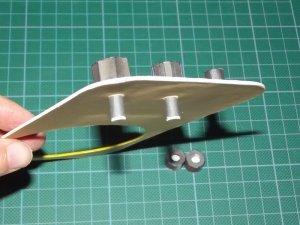
The knobs are put through the holes in the front plate and glued to the back parts. The knobs are held in place and rotate nicely.
The knobs are put through the holes in the front plate and glued to the back parts. The knobs are held in place and rotate nicely.
Attachments
-
 DSCF3829.jpg166 KB · Views: 8
 -
 DSCF3830.jpg148.6 KB · Views: 8
 -
 DSCF3832.jpg139 KB · Views: 5
 -
 DSCF3834.jpg158.3 KB · Views: 9
 -
 DSCF3835.jpg127.2 KB · Views: 10
 -
 DSCF3836.jpg147.8 KB · Views: 12
 -
 DSCF3837.jpg169 KB · Views: 8
 -
 DSCF3838.jpg140.6 KB · Views: 12
 -
 DSCF3839.jpg106.4 KB · Views: 13
 -
 DSCF3840.jpg108.5 KB · Views: 11
I'm thinking of releasing a white pattern which can be used for printing on metallic (brass) paper (front and back plates and hinges) and textured / leather paper (casing skin). So you may build your individual FW (feat. pastel colours, camo pattern and Flower Power action!) ;-)
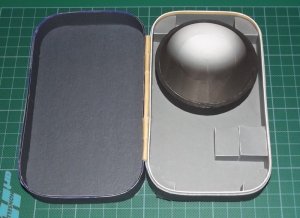
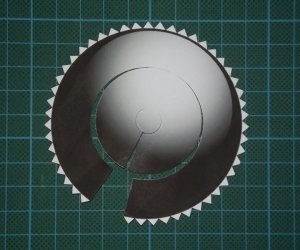
Now that the front plate is complete I continue with the lens and the internal structure.
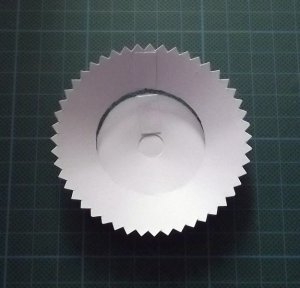
It is best to cut off the flaps of the lens and glue it together from the backside with paper strips. Then it is attached to a flat cylinder.
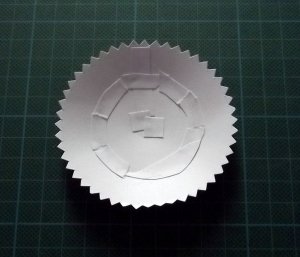
Having joined the two parts I noticed that it would be wise to add some formers. I updated the parts pages accordingly.
It is best to cut off the flaps of the lens and glue it together from the backside with paper strips. Then it is attached to a flat cylinder.
Having joined the two parts I noticed that it would be wise to add some formers. I updated the parts pages accordingly.
Attachments
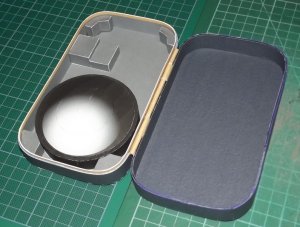
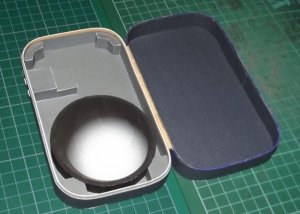
Some of you may argue that the lens should be removable. However, I fear that this would cause some trouble since the front plate is detachable. The lens would not stay in place. If you find a way to make it detachable and stable at the same time, feel free to post your idea here. ;-)
EDIT: I've just come up with a possible solution which has to be tested. I'll keep you posted on this! :thumb:
EDIT: I've just come up with a possible solution which has to be tested. I'll keep you posted on this! :thumb:
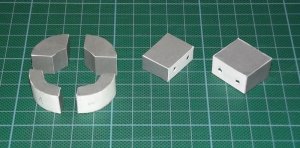
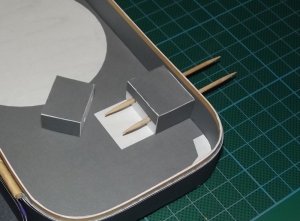
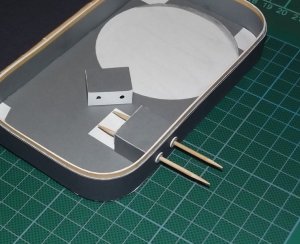
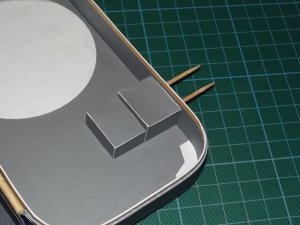
And here are the last parts for today. They are attached one step at a time. Attaching them was a bit tricky because it was somewhat difficult to work with them as soon as the glue was applied. I was unable to hold them without covering my fingers with glue. I thought about that and changed my strategy. Instead of applying glue to two faces of the part I put it on only one face of the part and on the base. This worked much better.
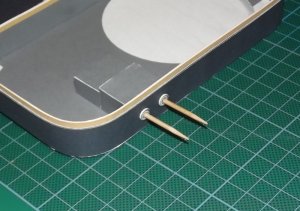
A pair of toothpicks assisted in aligning the holes for the antenna.
A pair of toothpicks assisted in aligning the holes for the antenna.