Project: En Garde!
Designed by: Chan See Lik Paul - EPSON
Pages: 4
Why: My son is taking lessons
Changes: Changed the uniform to be all white, the shoes to all black, the lettering on the back and also double-sided the hands. (Using Photoshop Elements 11)
Materials:
Elmer's Craft-Bond Paper Craft Glue Gel
Kodak Photo Paper (kinda glossy - the cheap thin one - good for buttons)
Scissors and an X-acto if needed
Foam board, hot wire foam cutter
I started this one by altering the PDF so the entire suit was white and changed the lettering on the back to replicate my son’s real uniform. Also printed an un-altered version for comparison and sure enough the altered version is distorted when comparing the sizes of the parts – they are a little shorter. I plan to build both to see the difference.
We’ll start with the altered version.
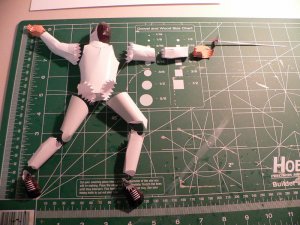
Here the individual parts are completed.
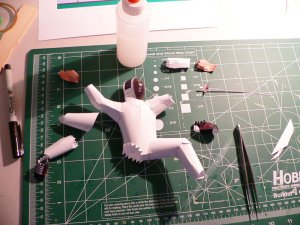
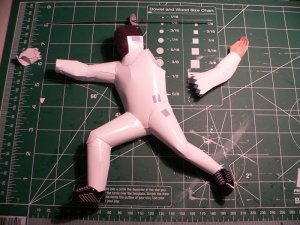
Assembly in progress - some parts would not fit due either to the size distortion or incorrect positioning or assembly order on my part. Some parts I had to wrap around them selves “tighter” to make them fit.
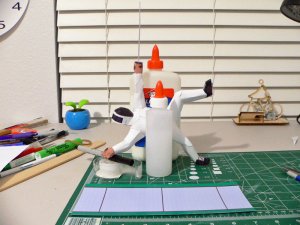
Here the sword is drying and the angle of the figure is so it will dry straight with the arm.
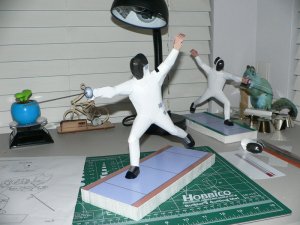
Completed (1/3/2014)
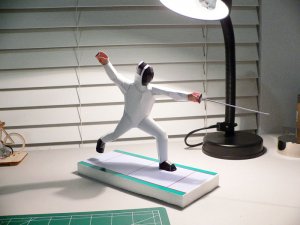
I was going to replace the paper sword with a long needle - may be if I make another one.
Errors:
The sword is straight with the arm but the arm is pointing down so he is aiming low – I did take time while putting the arm together to ensure a level “point” – I guess not enough time… Also the arm is pointing out and not parallel with the forward leg – this is hidden in the final picture by the angle of the picture.
Some parts did not fit well, should have cut inside the lines so the cut lines would not show on a pure white suit.
The hand holding the sword should be white as my son wears a white glove on that hand.
On to the original:
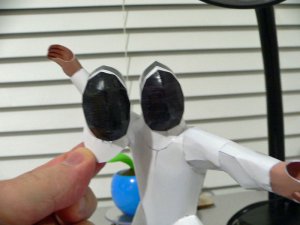
I stopped at the head as I only wanted to compare the size difference.
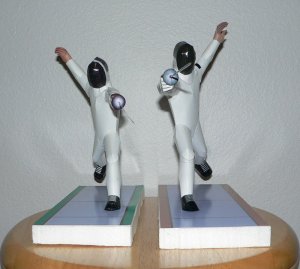
As you can see the original would be taller.
Lesson Learned
Still don’t know how to alter a PDF without distorting the printed result.
Any suggestions on how to do this?
Thanks for following along!
Designed by: Chan See Lik Paul - EPSON
Pages: 4
Why: My son is taking lessons
Changes: Changed the uniform to be all white, the shoes to all black, the lettering on the back and also double-sided the hands. (Using Photoshop Elements 11)
Materials:
Elmer's Craft-Bond Paper Craft Glue Gel
Kodak Photo Paper (kinda glossy - the cheap thin one - good for buttons)
Scissors and an X-acto if needed
Foam board, hot wire foam cutter
I started this one by altering the PDF so the entire suit was white and changed the lettering on the back to replicate my son’s real uniform. Also printed an un-altered version for comparison and sure enough the altered version is distorted when comparing the sizes of the parts – they are a little shorter. I plan to build both to see the difference.
We’ll start with the altered version.
Here the individual parts are completed.

Assembly in progress - some parts would not fit due either to the size distortion or incorrect positioning or assembly order on my part. Some parts I had to wrap around them selves “tighter” to make them fit.

Here the sword is drying and the angle of the figure is so it will dry straight with the arm.

Completed (1/3/2014)

I was going to replace the paper sword with a long needle - may be if I make another one.
Errors:
The sword is straight with the arm but the arm is pointing down so he is aiming low – I did take time while putting the arm together to ensure a level “point” – I guess not enough time… Also the arm is pointing out and not parallel with the forward leg – this is hidden in the final picture by the angle of the picture.
Some parts did not fit well, should have cut inside the lines so the cut lines would not show on a pure white suit.
The hand holding the sword should be white as my son wears a white glove on that hand.
On to the original:
I stopped at the head as I only wanted to compare the size difference.
As you can see the original would be taller.

Lesson Learned
Still don’t know how to alter a PDF without distorting the printed result.
Any suggestions on how to do this?
Thanks for following along!


