Dragos' Miles M.52 in 1/72

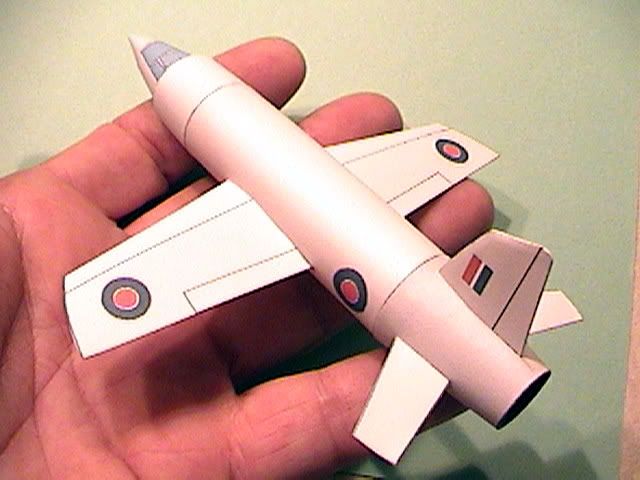
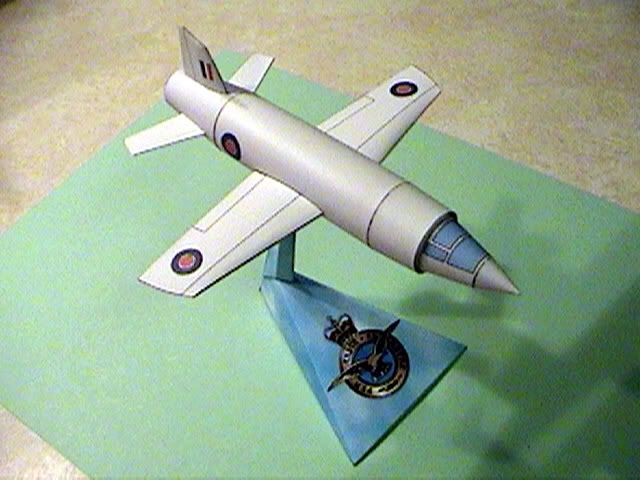
Hi all. Dragos was kind enough to send me the file for his newly designed Miles M.52 after I had expressed interest in the model, so I decided to document my build. I don't know if Dragos (or anyone else) has built the model, so I'm not sure if this is an alpha or a beta build. My favorite scale for aircraft is 1/72, so I adjusted the printer settings accordingly. Wingspan will be 4.5 inches.

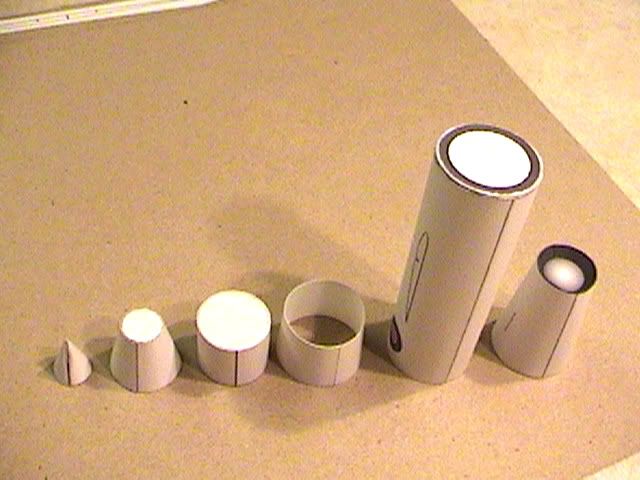
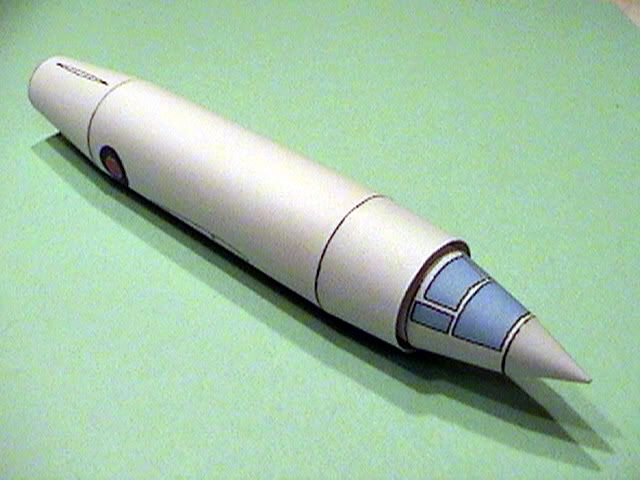
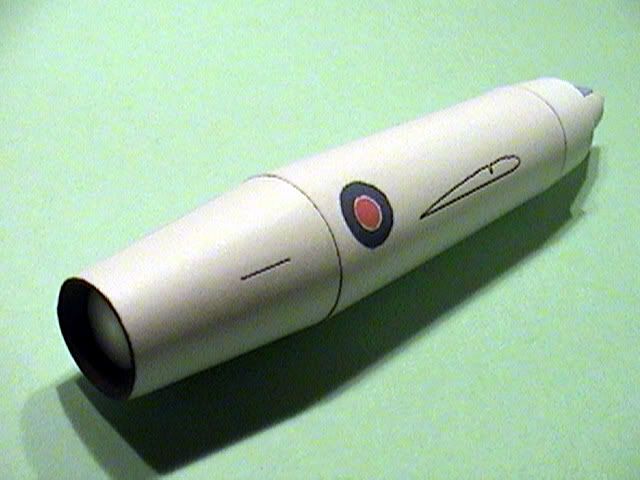
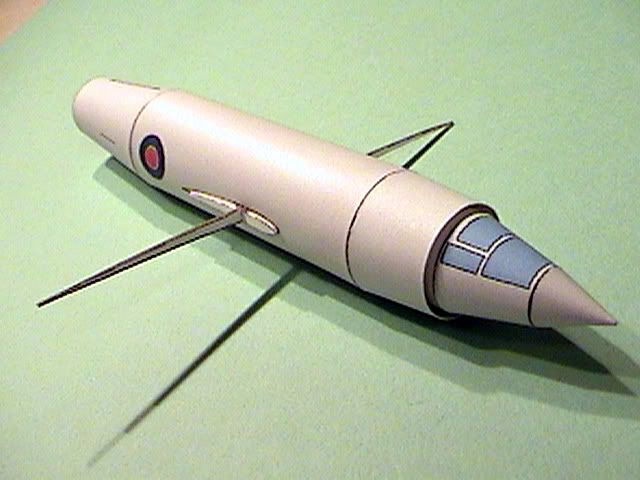
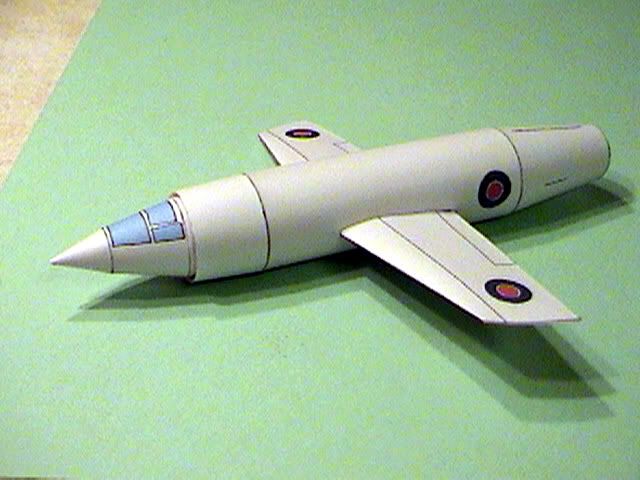
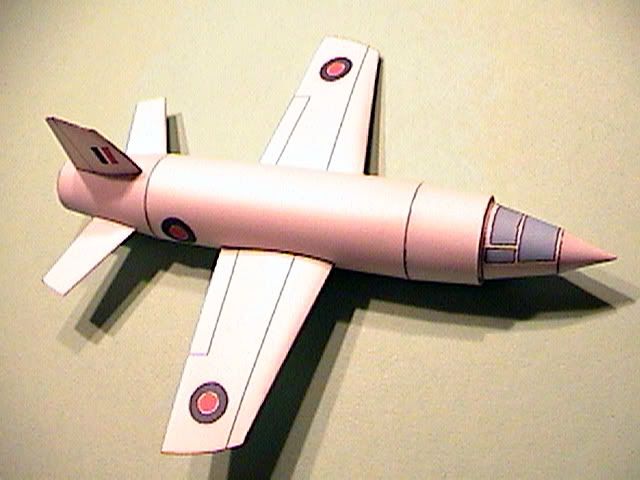
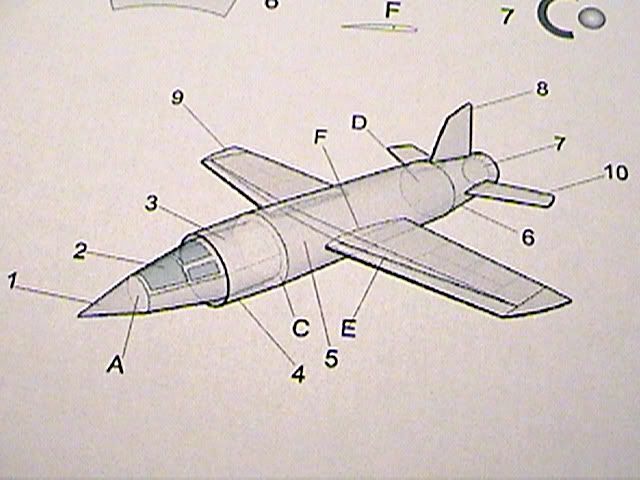
First impressions: The design is simple with an overall grey livery. Bulkhead assembly, single wing spar with 2 wing formers hugging the fuselage. There are no glue tabs, so the builder can either make his own, or use internal glue strips. Dragos has included a clearly labeled diagram of the model which will help with assembly. I noticed a slight misalignment of the cockpit glazing, and former B is not noted in the instructions. Other than those two minor observations, everything looks perfect.

M52cockpit.jpg


M52diagram.jpg


More to come. This should be fun!
 
I've made some progress. To start, I glued all the bulkheads and formers to thin cardboard < .5mm using Elmers. While they were drying, I cut out and rolled the fuselage skins. One of the benefits of working in a small scale is that you can often get away without using tabs or glue strips. The M.52 parts were small enough that I was able to butt glue the edges of the rolled paper to make the tubes - pretty cool. The bulkheads are a hair large, so I cut them all out on the inside of the lines. The fit was pretty much perfect - snug without stretching the skins. Dry fitting indicates that the sections are all going to go together well. Here's a photo of the completed individual fuselage sections, ready for assembly.

M52fusesections.jpg
 
I moved on to the wings. I cut out the wing spar and formers, and glued one former in place. While it was drying, I cut slots in the fuselage sides to accept the spar. I glued the former to the side of the fuselage, and then slid the other one into place and glued it as well.

M52spar.jpg


The right wing mated perfectly to the fuselage, the left one - not so much. When cutting out the right wing, the topside is a straight cut, and the underside has a slight curve towards the leading edge. This curve is what allows the wing to fit flush. On the left wing, the underside is a straight cut, and the topside has the curve. As a result, the left wing doesn't mate up with the fuselage very well. I was able to get a pretty good fit with some trimming, but I think Dragos should be able to fix this at a design level.

M52withwings.jpg
 
When I was getting ready to mount the tailplanes, I discovered a problem. Even though the joint on the underside matched up perfectly, the tail was just not looking right. Viewed from the back, I could see that all the tail plane mounting indicators were off. When I did some measurements I found that the indicators were not centered on the part, and had to be moved about a mm to the right, or clockwise. I had a real problem because the tail was firmly glued to the model. I really didn't want to start building it all over again.

What I finally did was to correct the part using Photoshop, and then print out the new part on regular weight printer paper. After cutting it out, I applied adhesive with a glue stick and wrapped it around the existing tail. So now, the skin is a shade darker, a bit wider, and doesn't quite meet up on the underside, but at least the tail planes are nice and straight. Disaster averted.

M59tailwrap.jpg


Here's a couple of shots of the completed model, with one in my hand to give you an idea of it's size in 1/72 scale.

M52complete.jpg


M52inthehand.jpg


I'll post one more installment: the model mounted on a base "in flight", and some closing comments on the model. Stay tuned.
 
Dragos' Miles M.52 is complete! It was an enjoyable build. I mounted it on a Fiddler's Green flying stand, decked out with sky and clouds, and the Badge of the RAF (I thought it looked more interesting than just a simple roundel).

M52onstand.jpg


Standcloseup.jpg


The model is very simple, and would probably be a good introduction to paper aircraft modeling. Comparing the finished model with the line drawings of the M.52 available on the internet, it does have a few problems - all easily correctable before the model is finalized. First, the wings sit too far back. Even in my 1/72 scale build, they could be moved a good quarter inch forward. Similarly the vertical stabilizer and tail planes also need to move forward about the same amount. The problem with the rearmost fuselage skin has already been highlighted.

Correcting these few issues would result in a real winner - Easy, attractive, and fun to build. Many thanks Dragos, for allowing me to be one of the first to build it.
 

Cybermac

Member
Jan 29, 2006
16
0
16
Manchester
Hello!

Nice and clean build!

The airplane itself was the 'English way' to cross the sound bareer, but in 1946 it was cancelled because of safety doubts and politicians...