Digital Navy V-108 1:200 scale version

DavidESP

New Member
Feb 15, 2007
10
2
8
Southern Spain
I saw there was a thread with a build back in November but it looks like it went on hold so I decided to do a build thread with mine. As I already have a model in the Free Model #3, this one can't be entered so I'm going to attempt an all out build with some extra details.

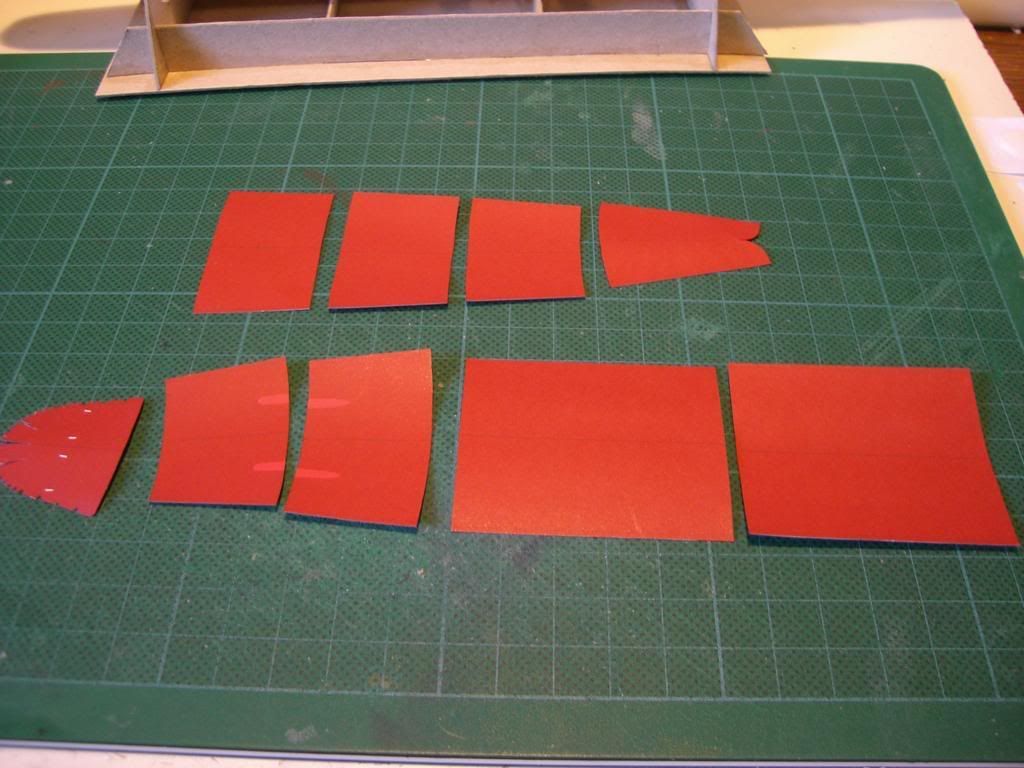
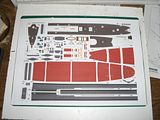
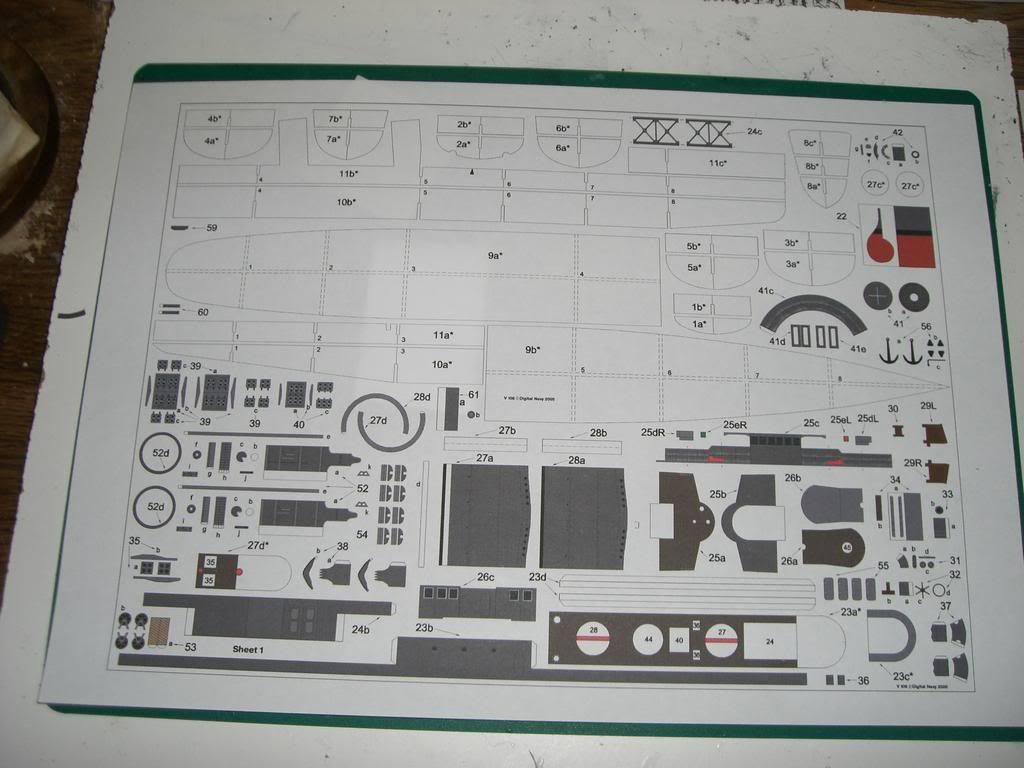
To start with, the diagrams recommend 60 to 110 lb paper, in Spain, it's measured differently, (grams per square meter), I used 160g/m2 which works out to about 80lb paper. Diagrams also recommend printing on 24lb standard paper for the rolling of small parts, I am also using those for backing pieces on some of the interiors as well.


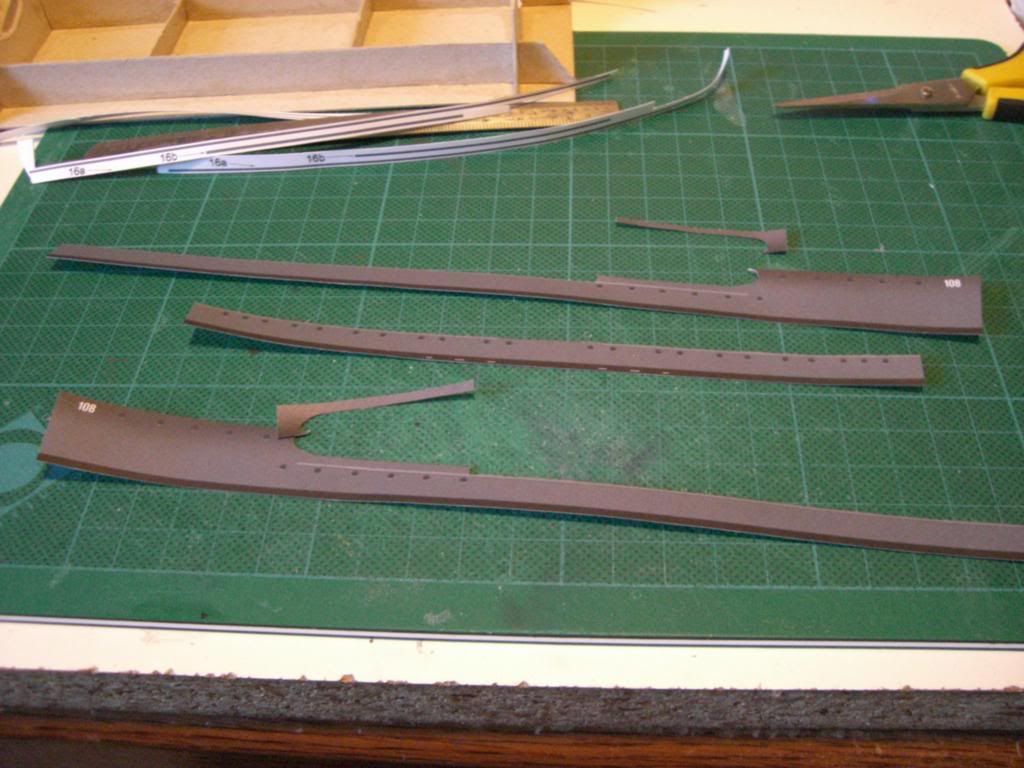
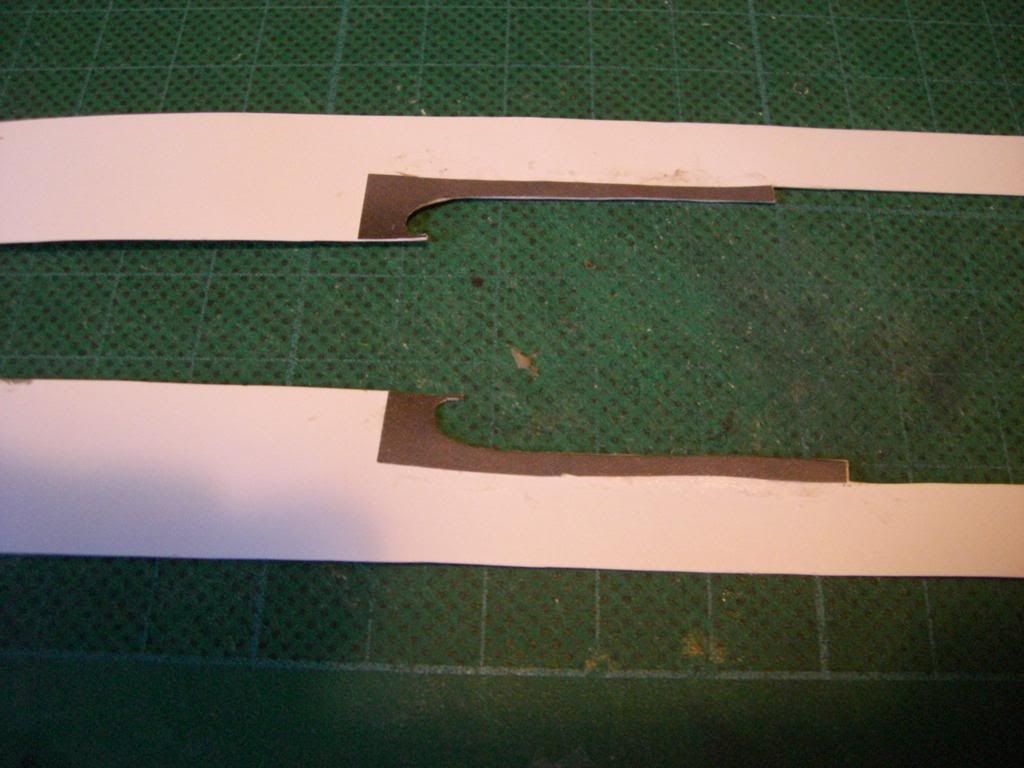
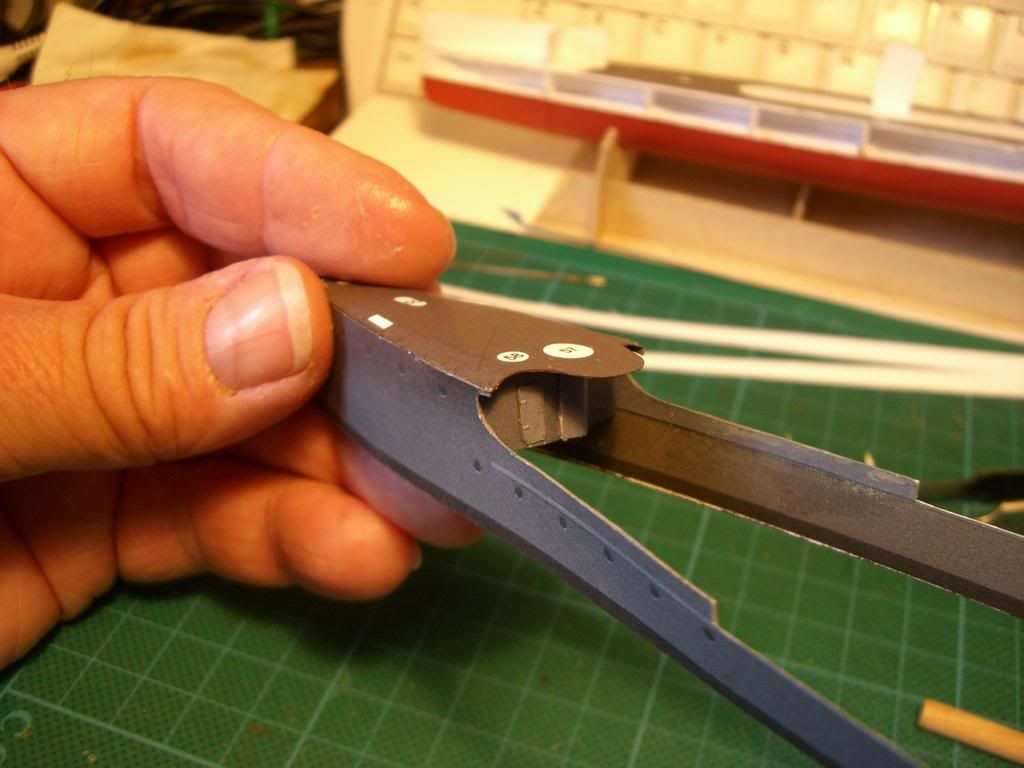
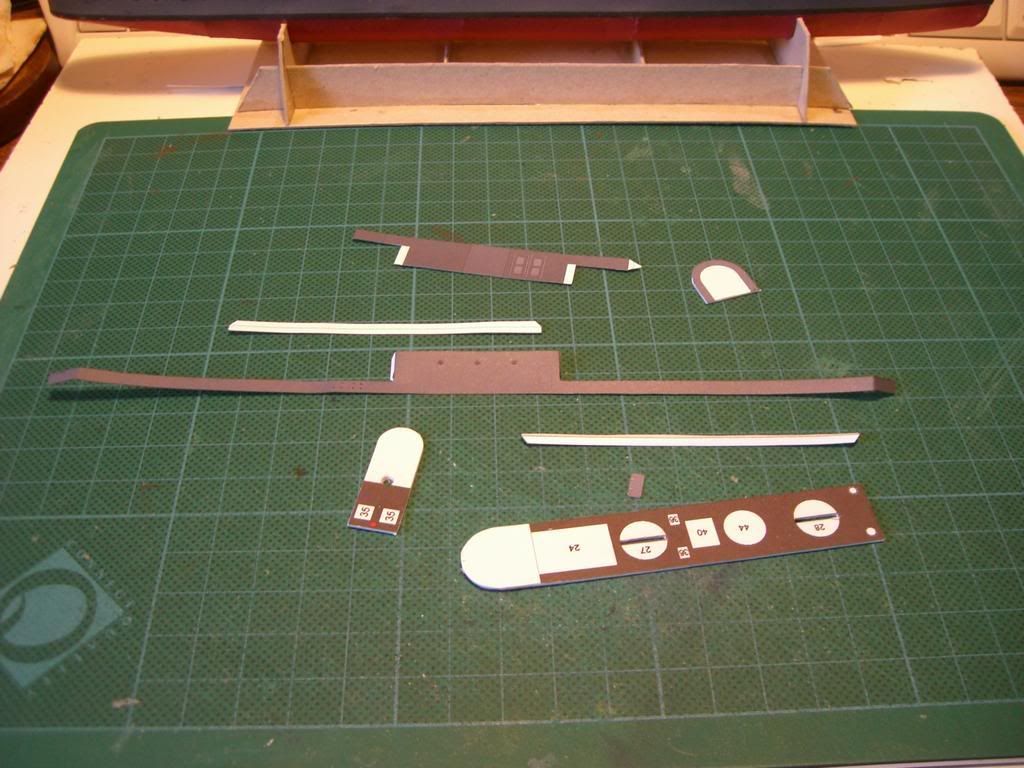
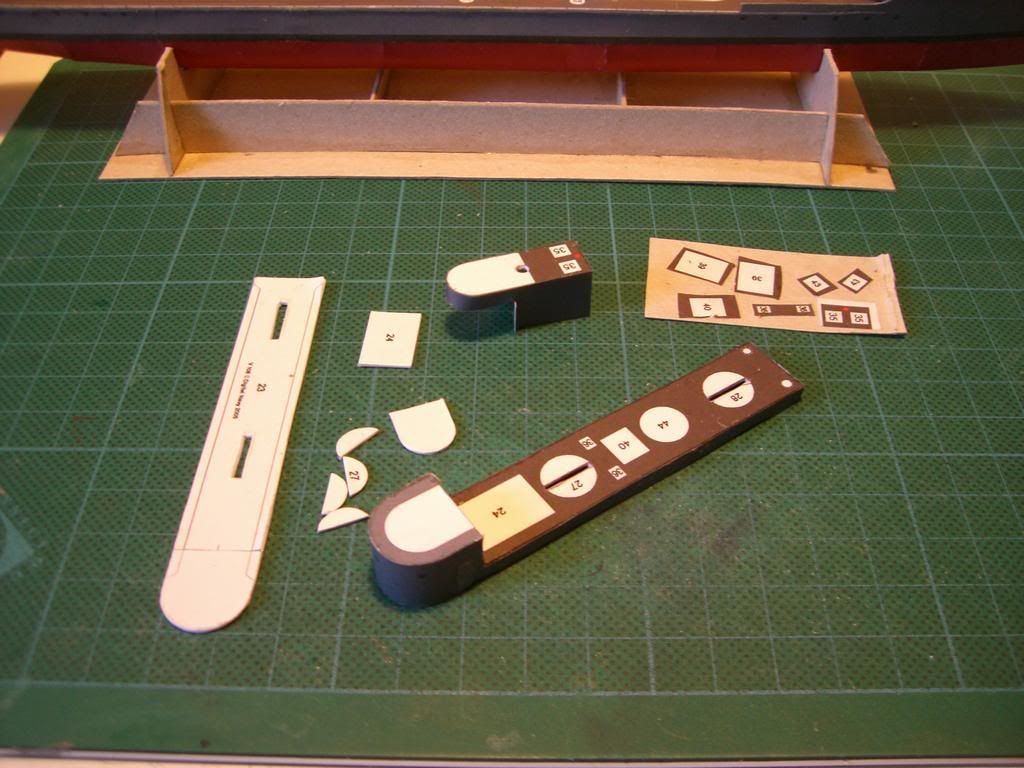
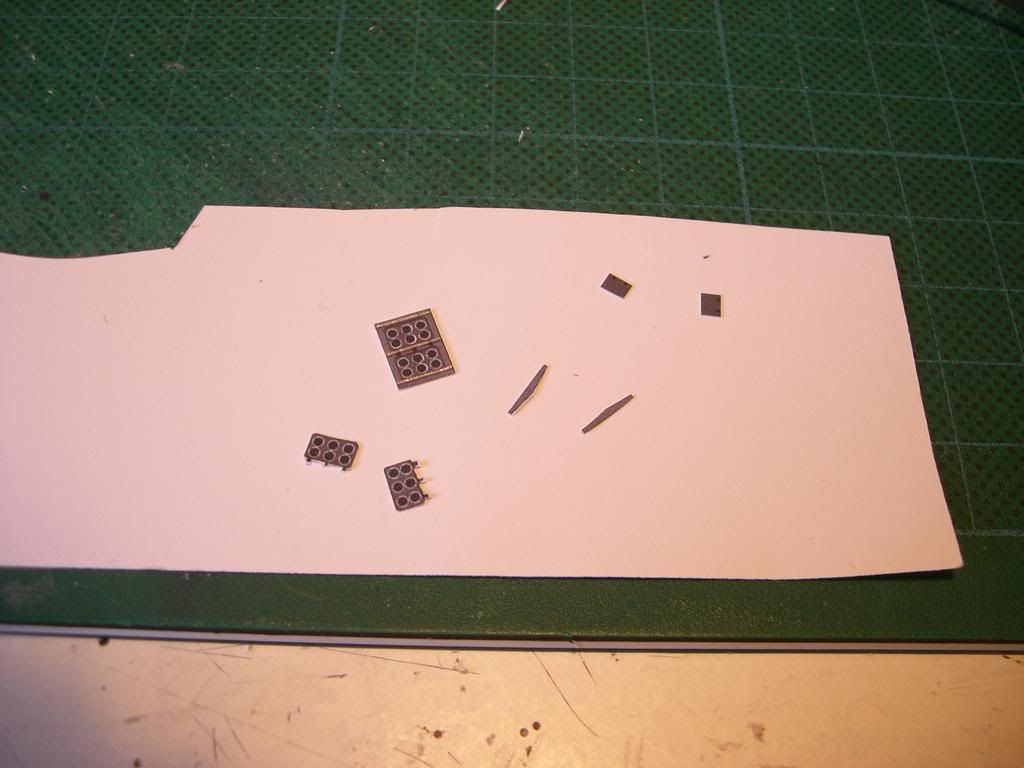
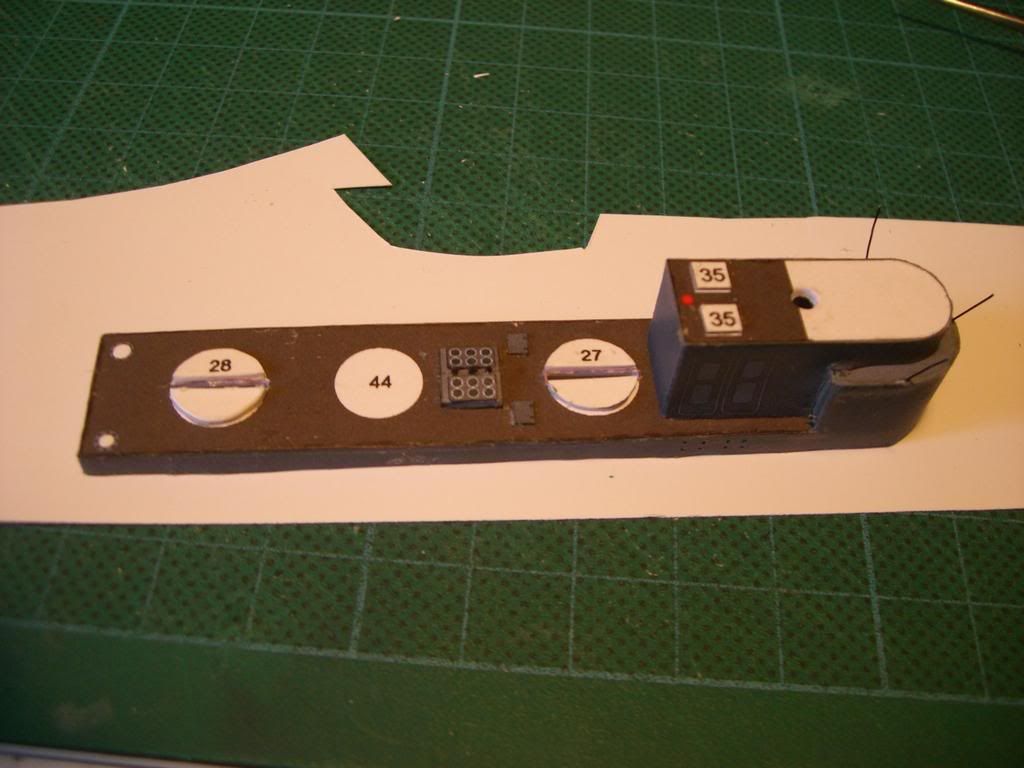
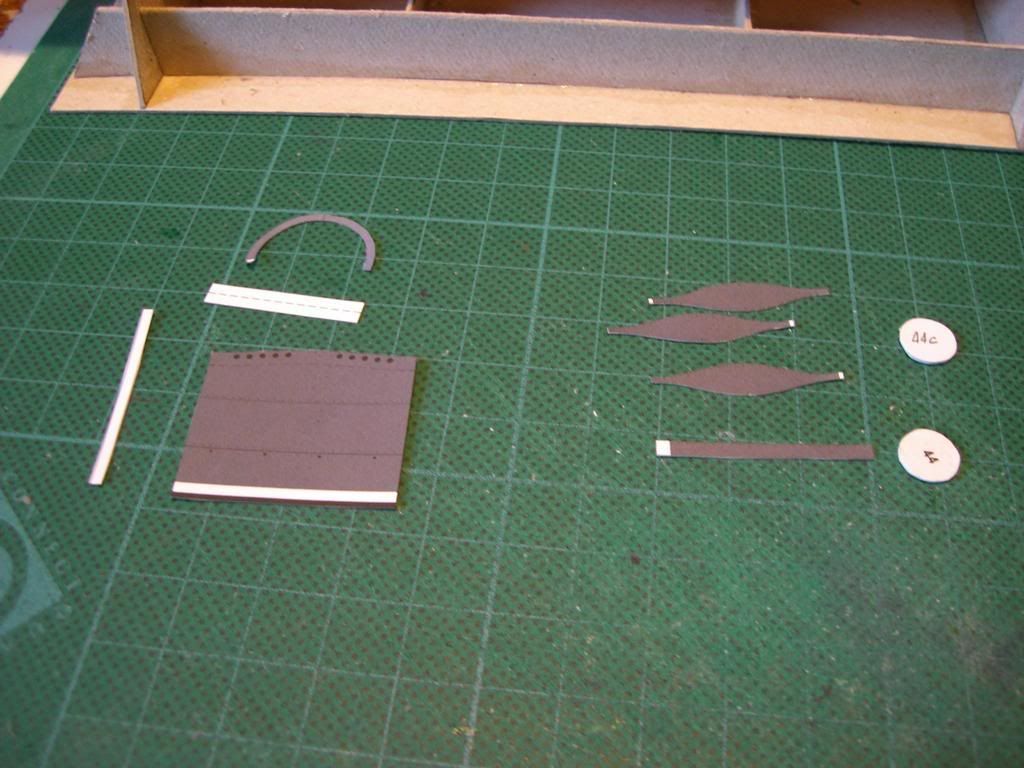
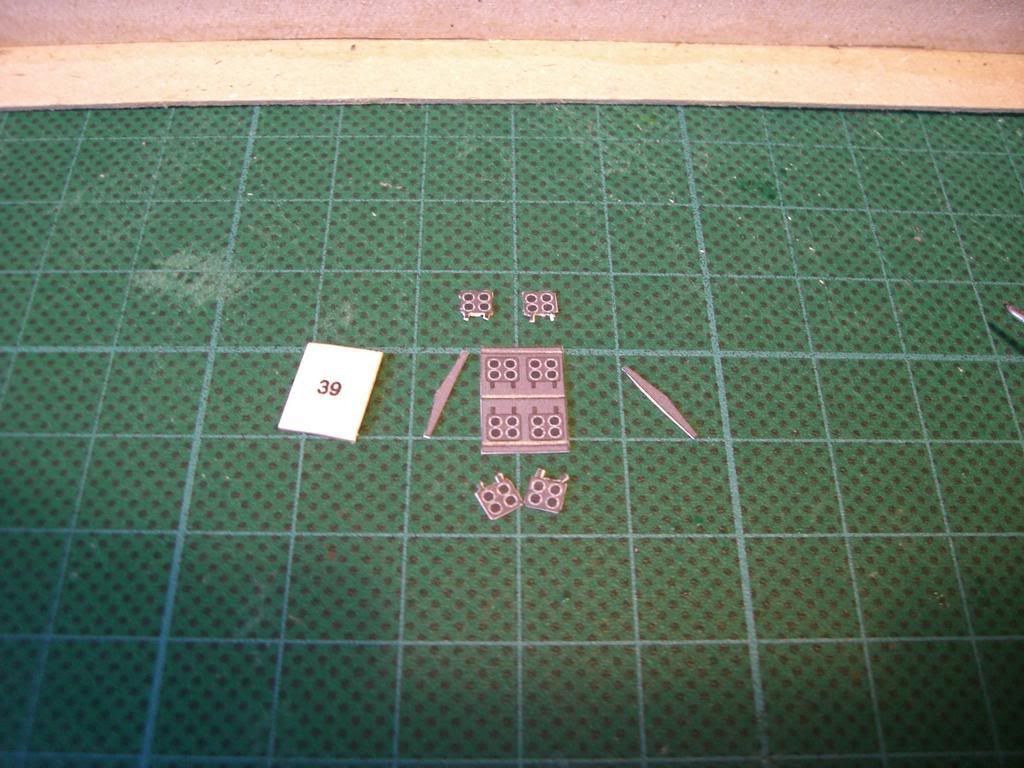
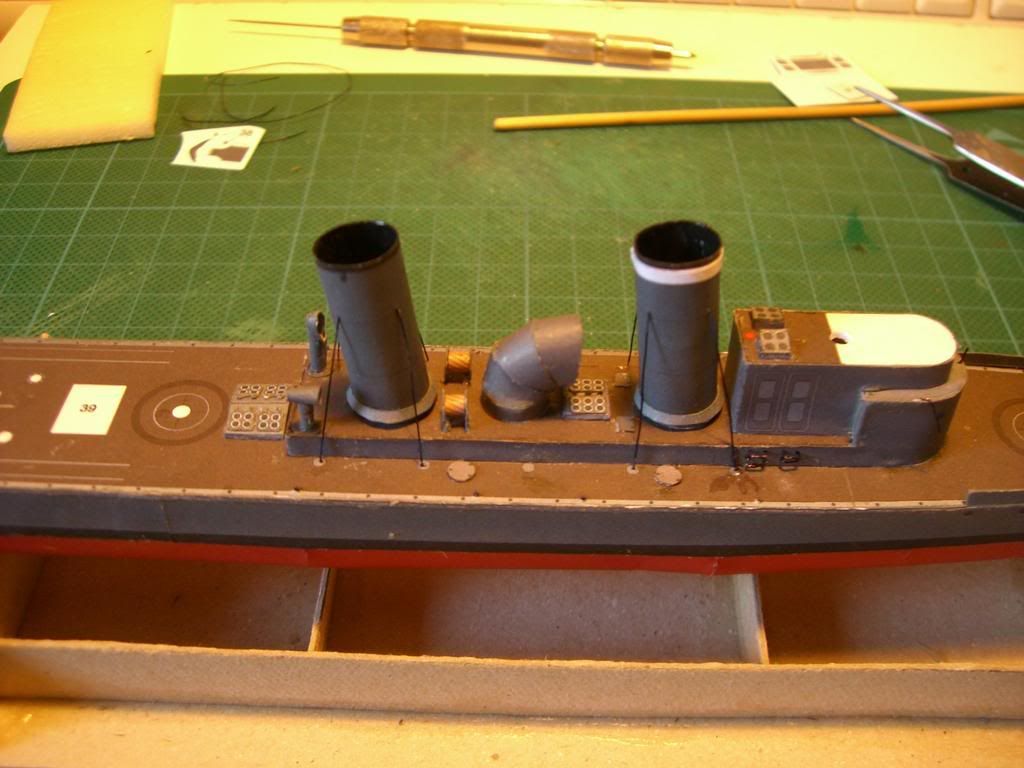
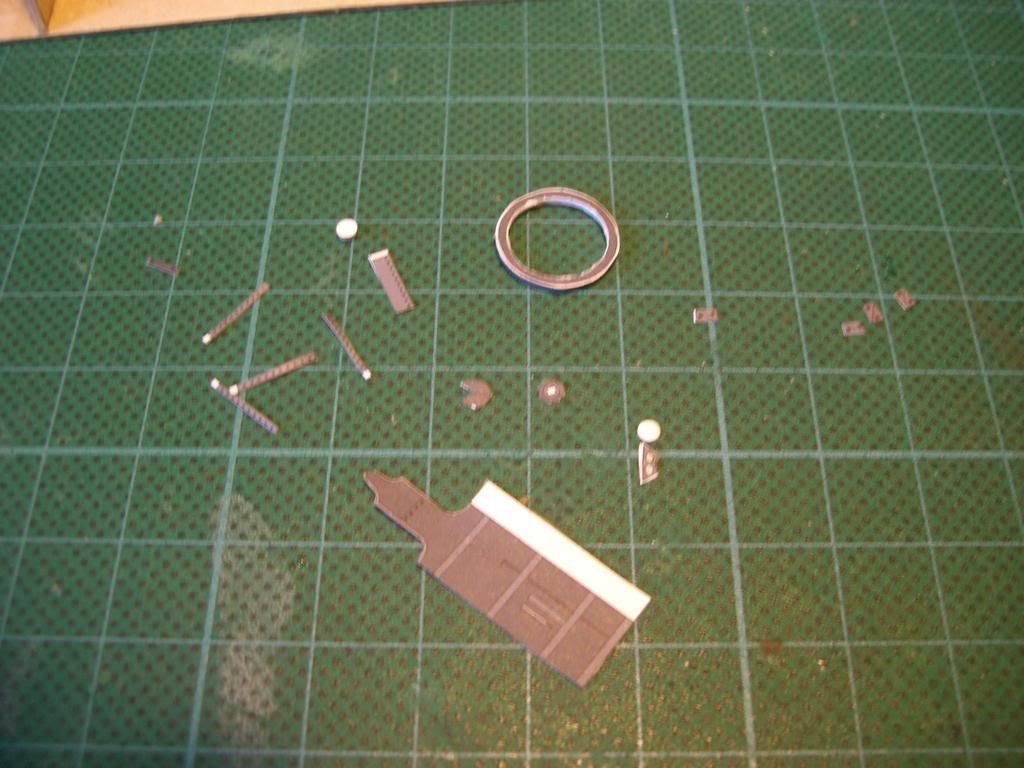
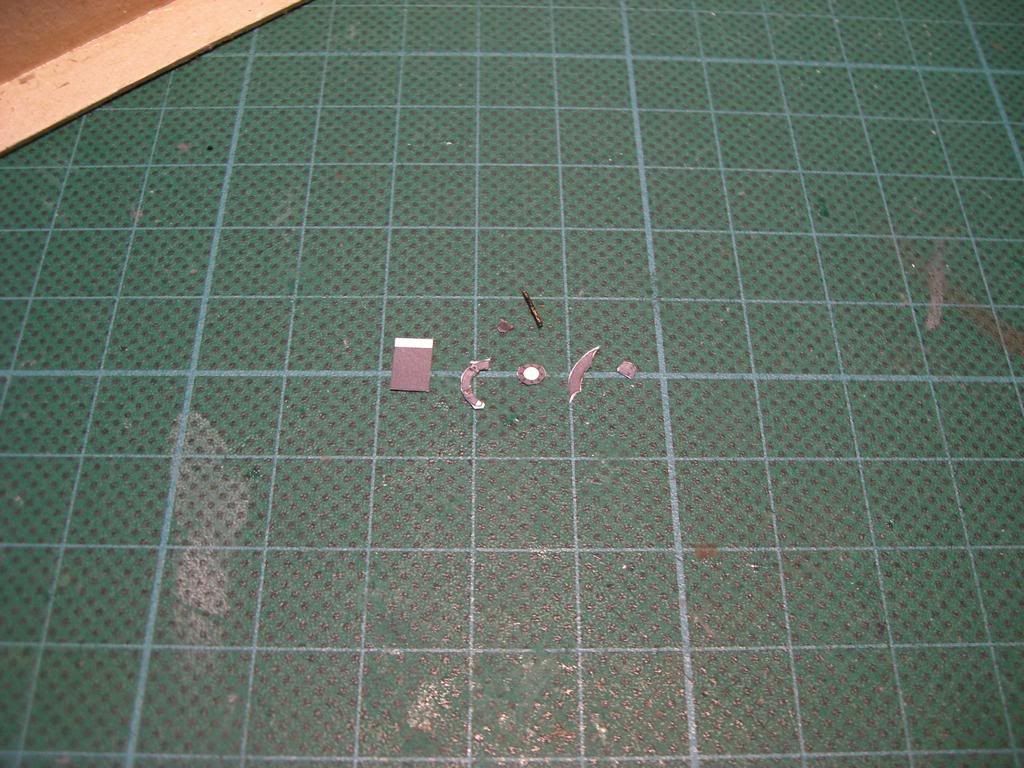
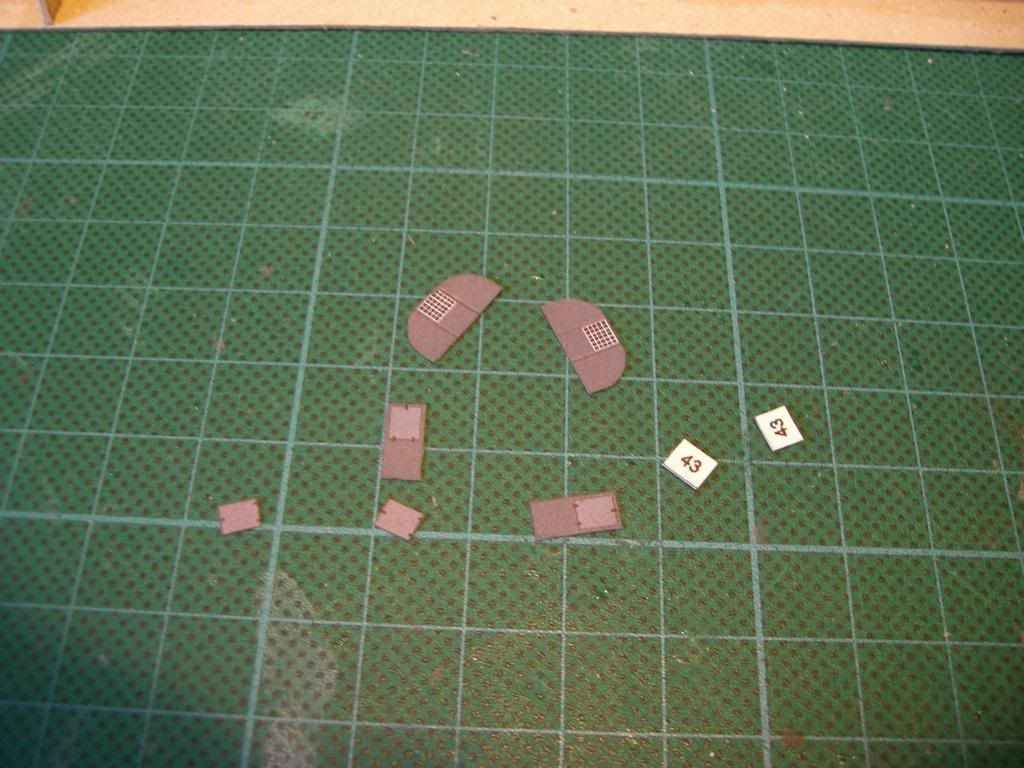
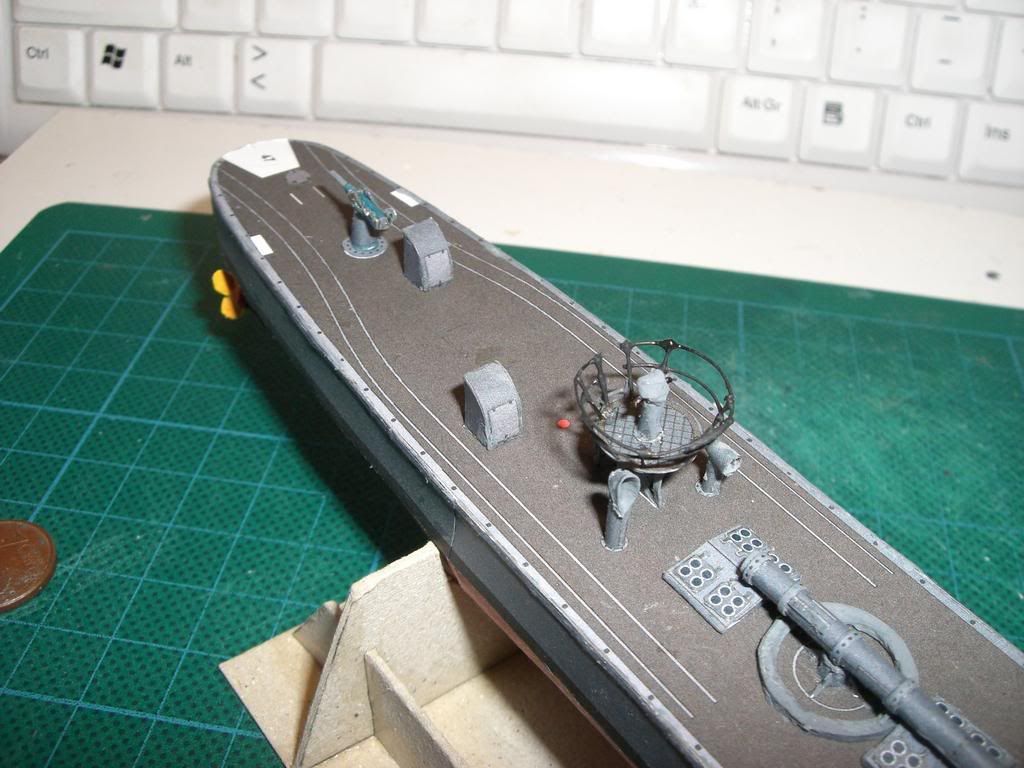
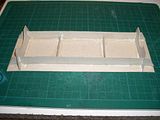
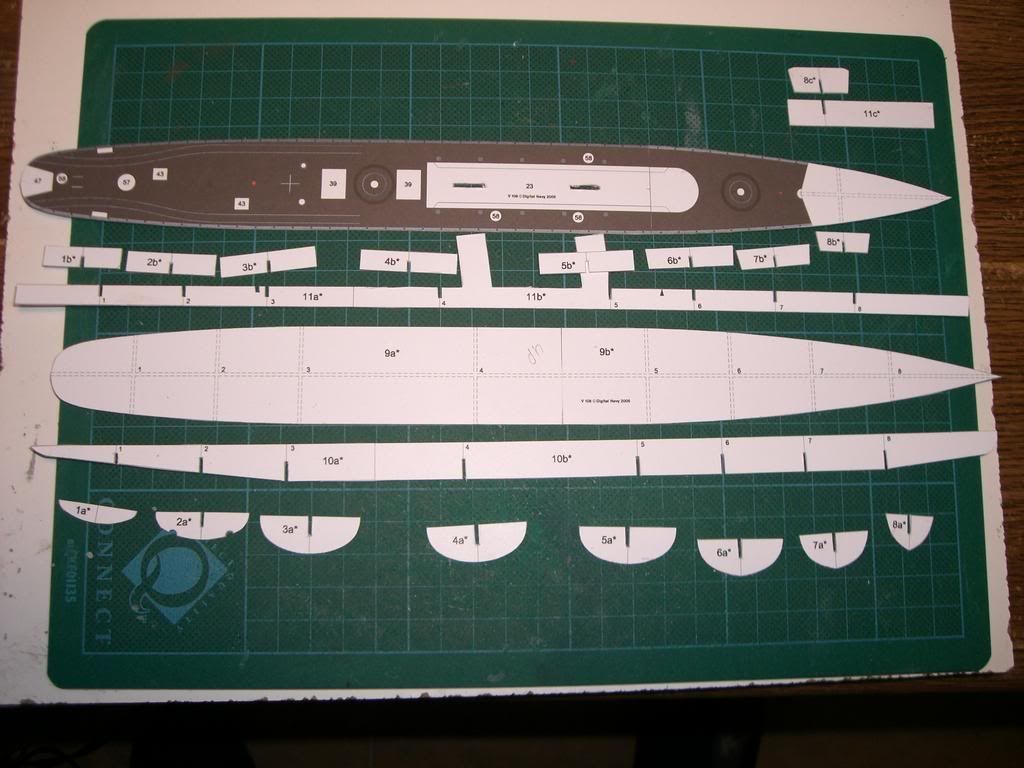
Here's the first strokes with the cutter. These parts are the card stock which is about 0.2mm thick glued to 0.8mm thick carton to get me the 1mm needed. Piece 9a/b also has the paper copy of 9a/b glued to the opposite side so I have a guide for gluing on both sides:


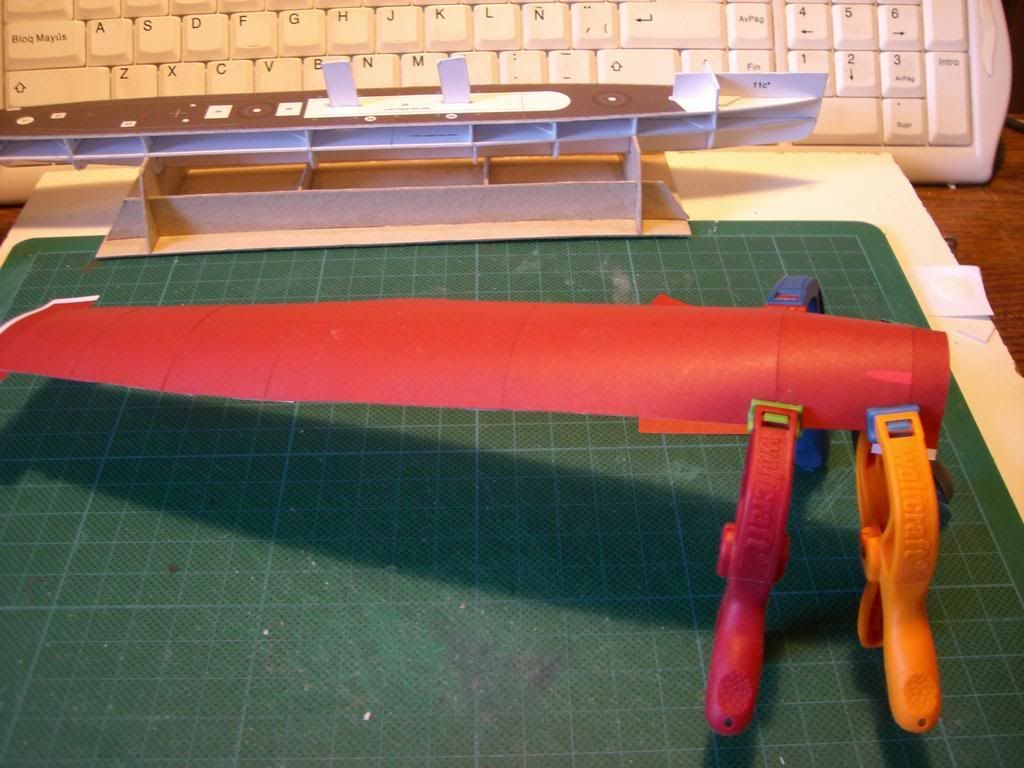
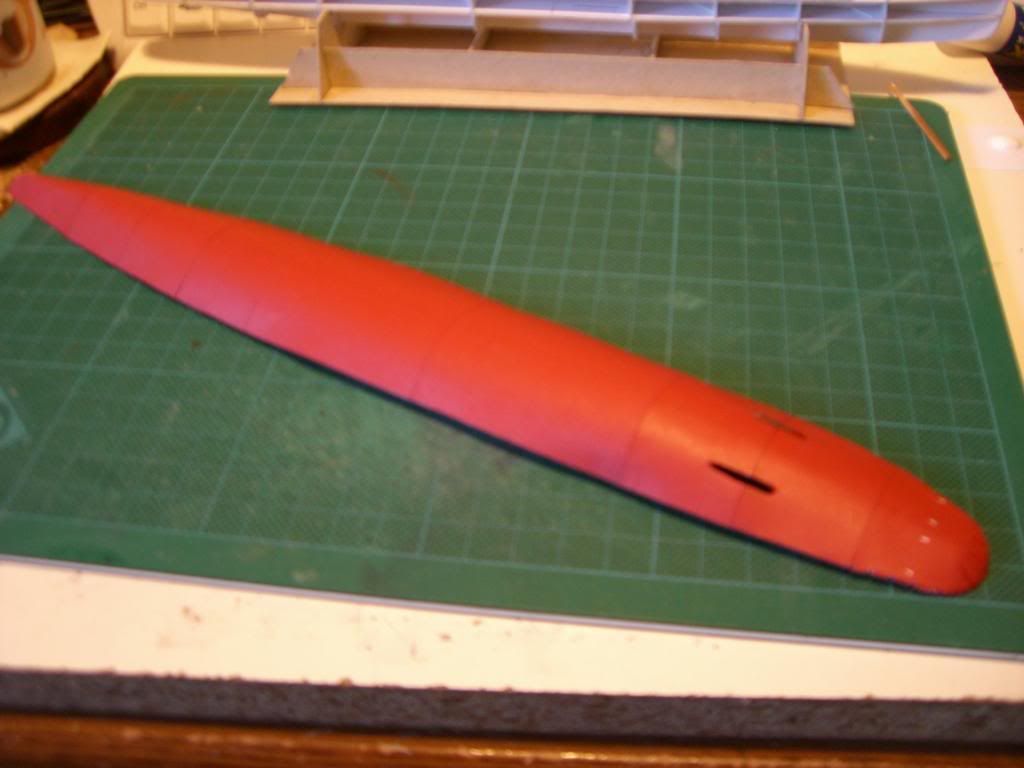
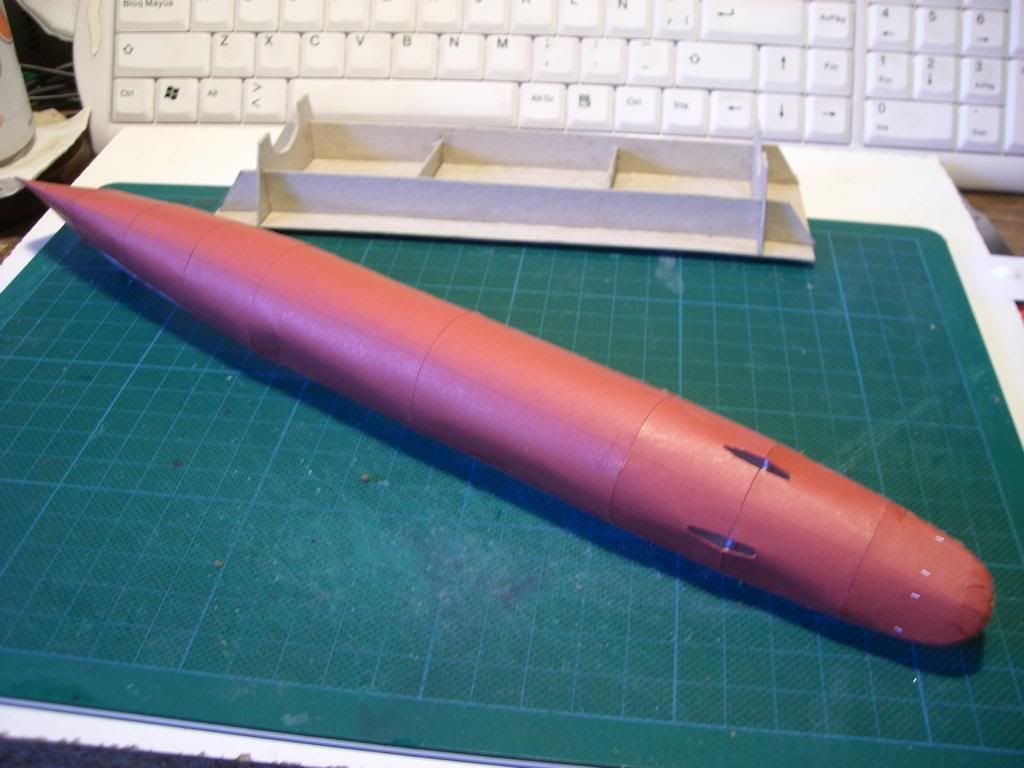
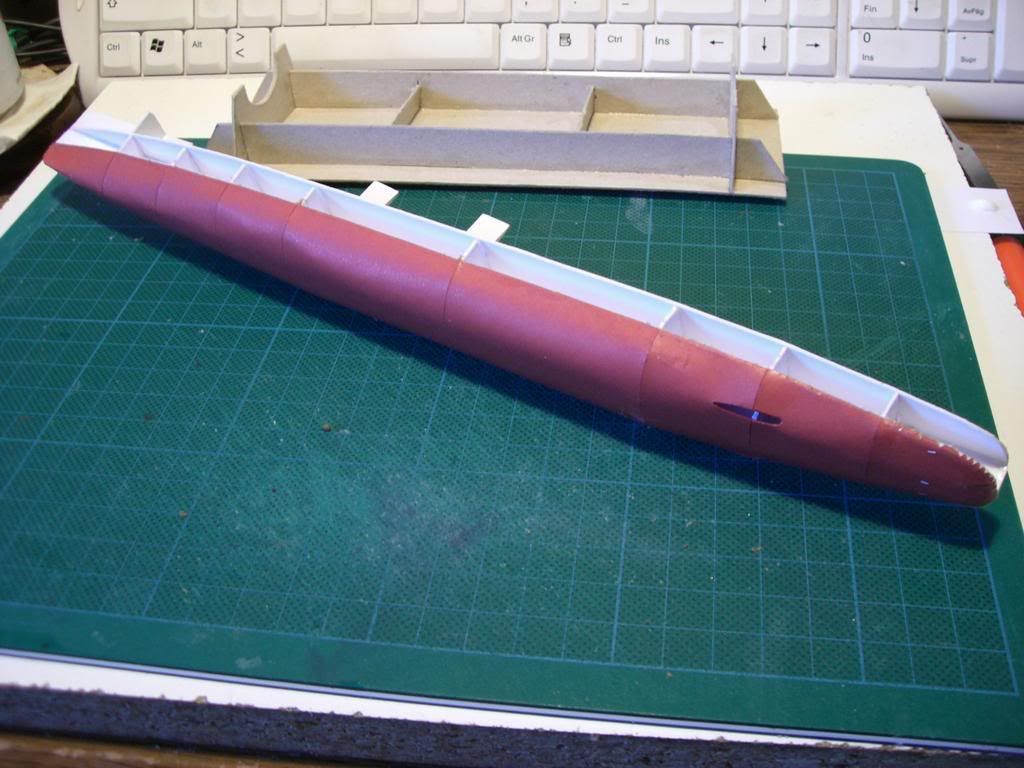
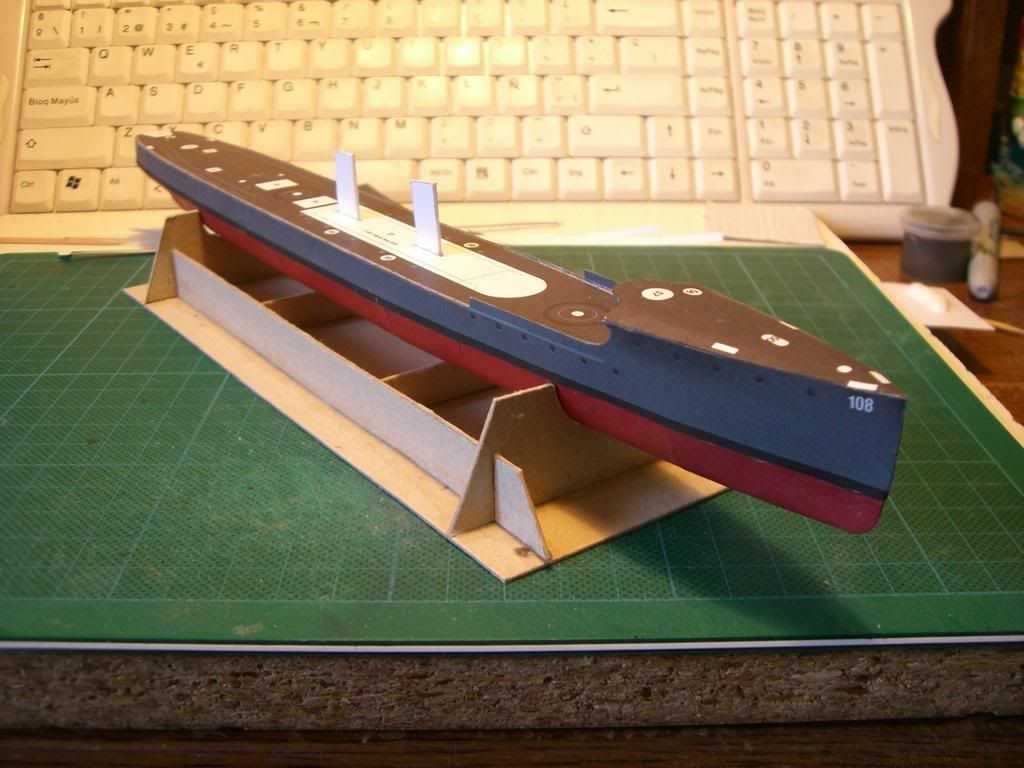
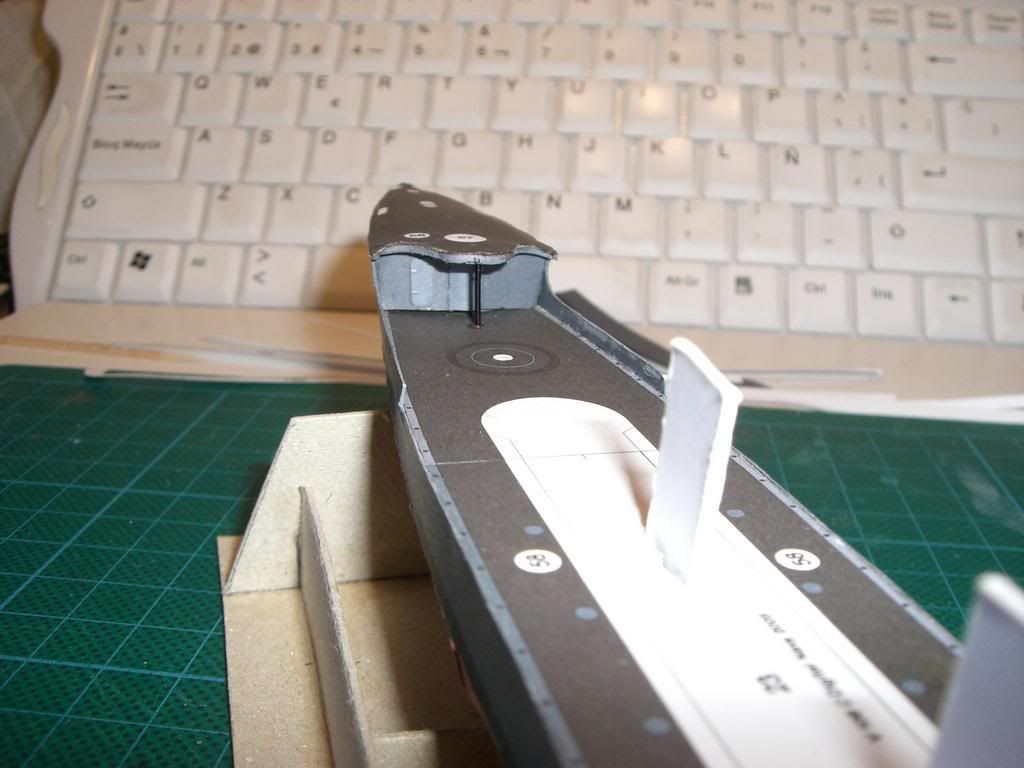
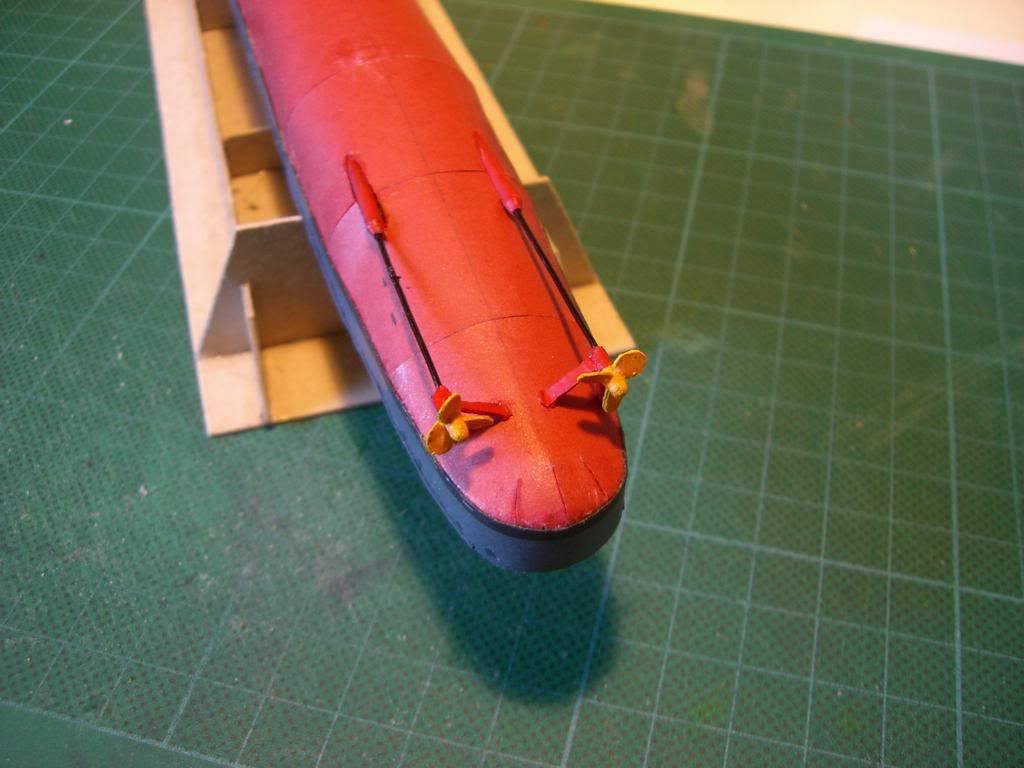
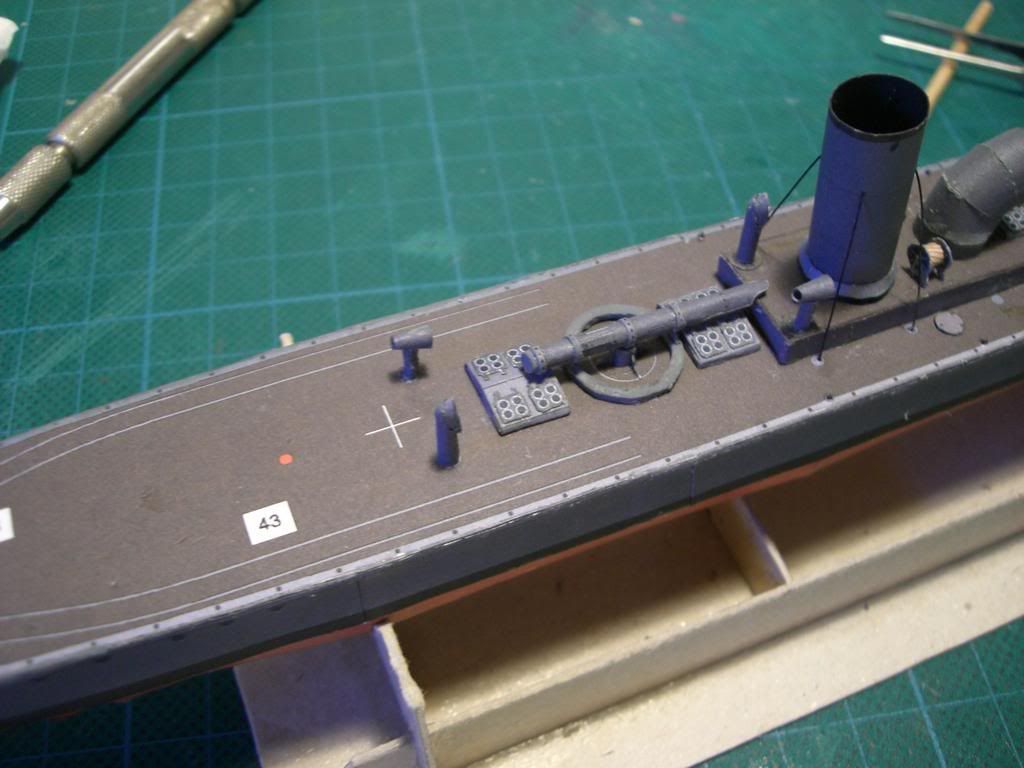
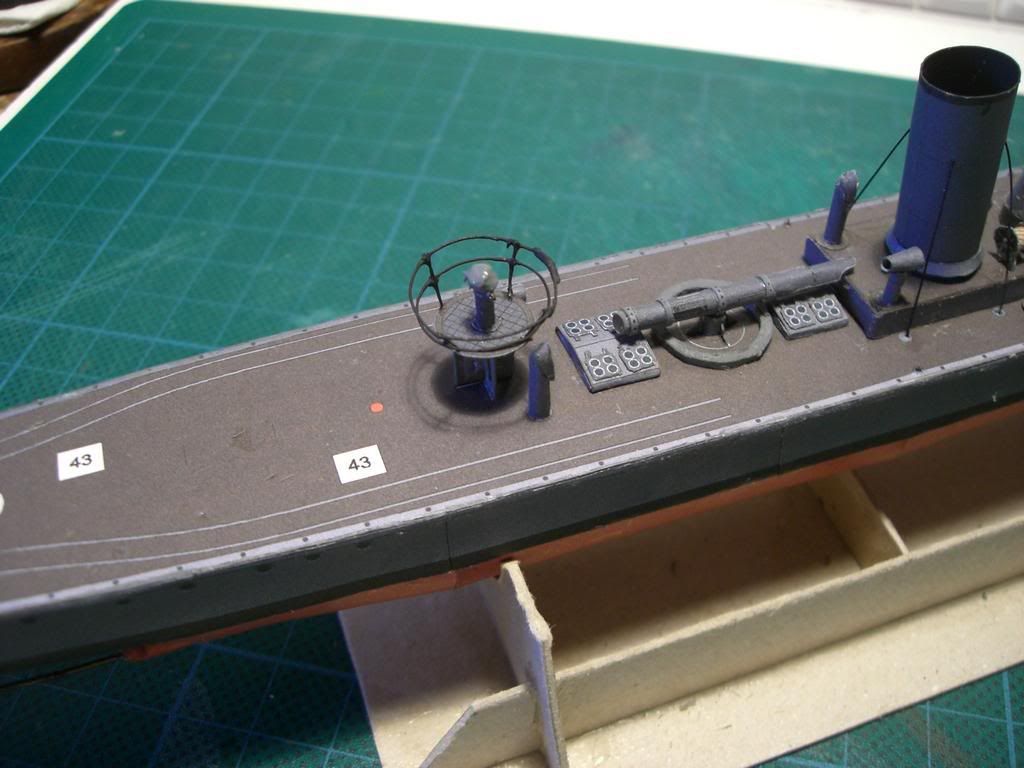
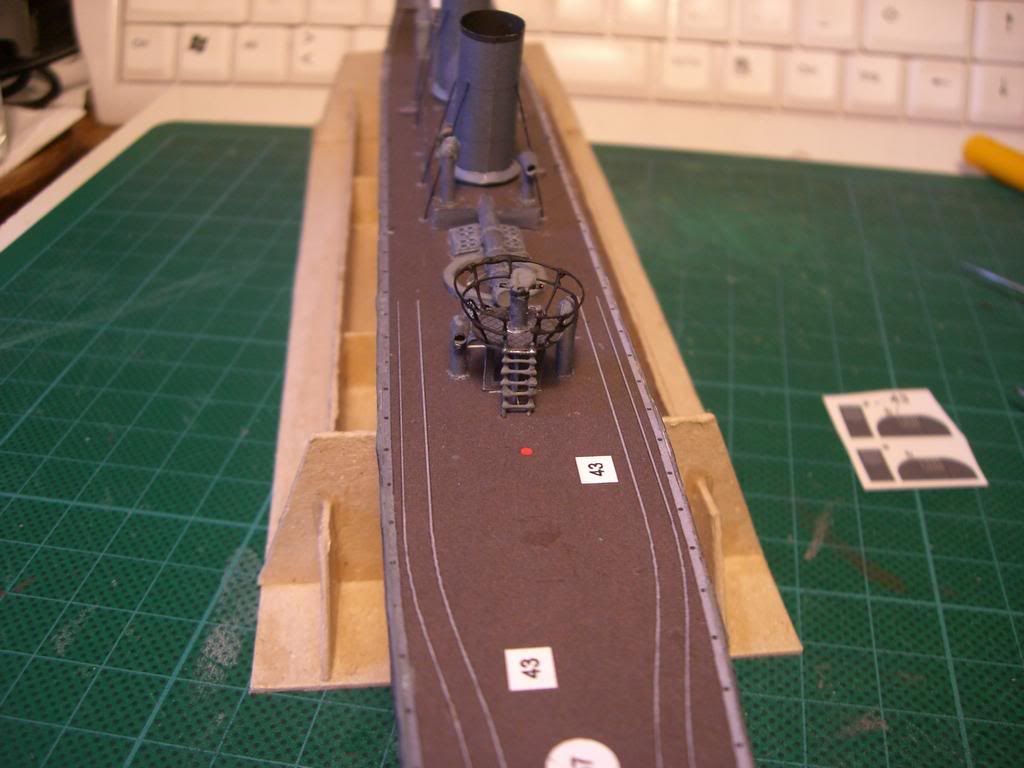
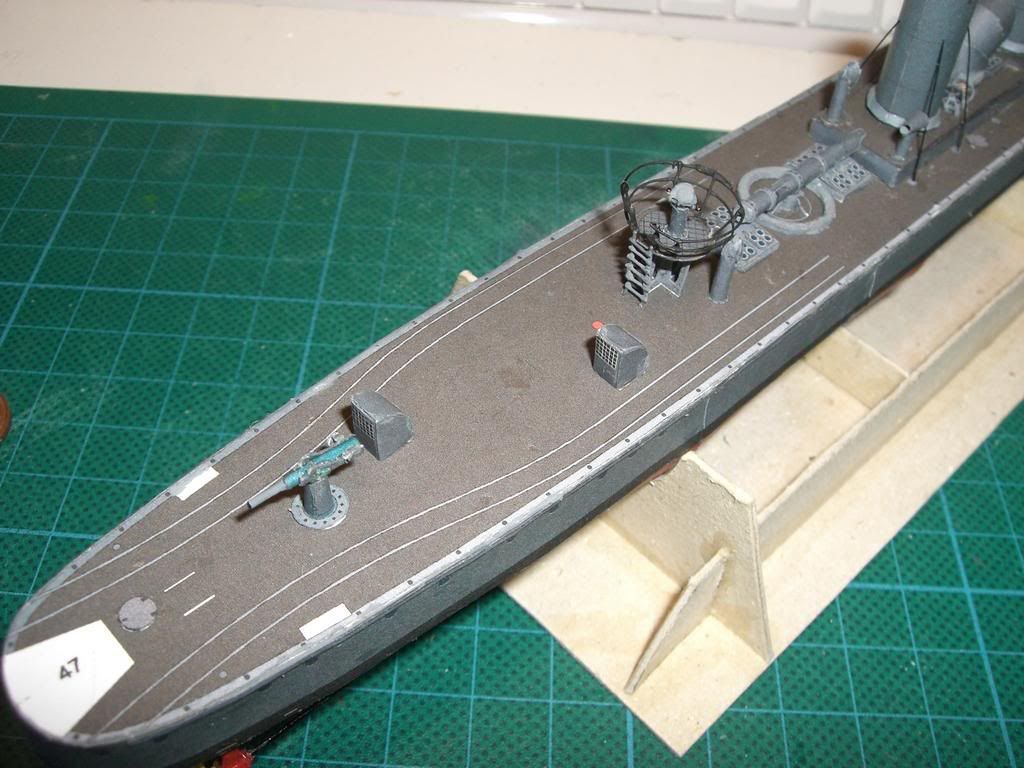
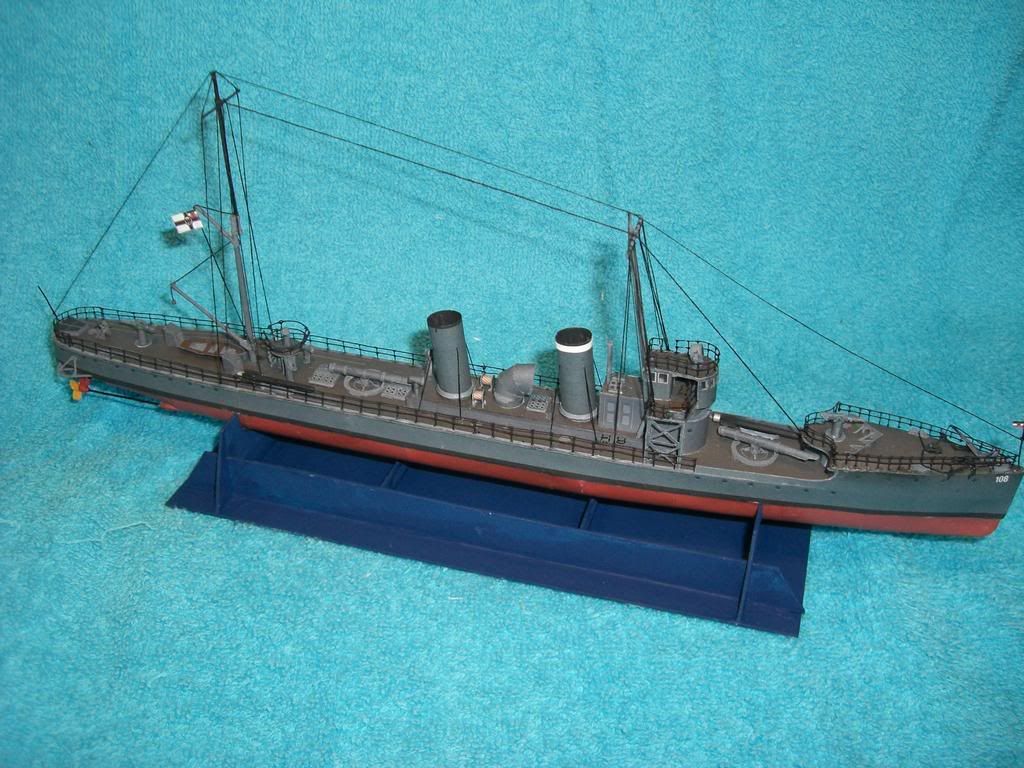
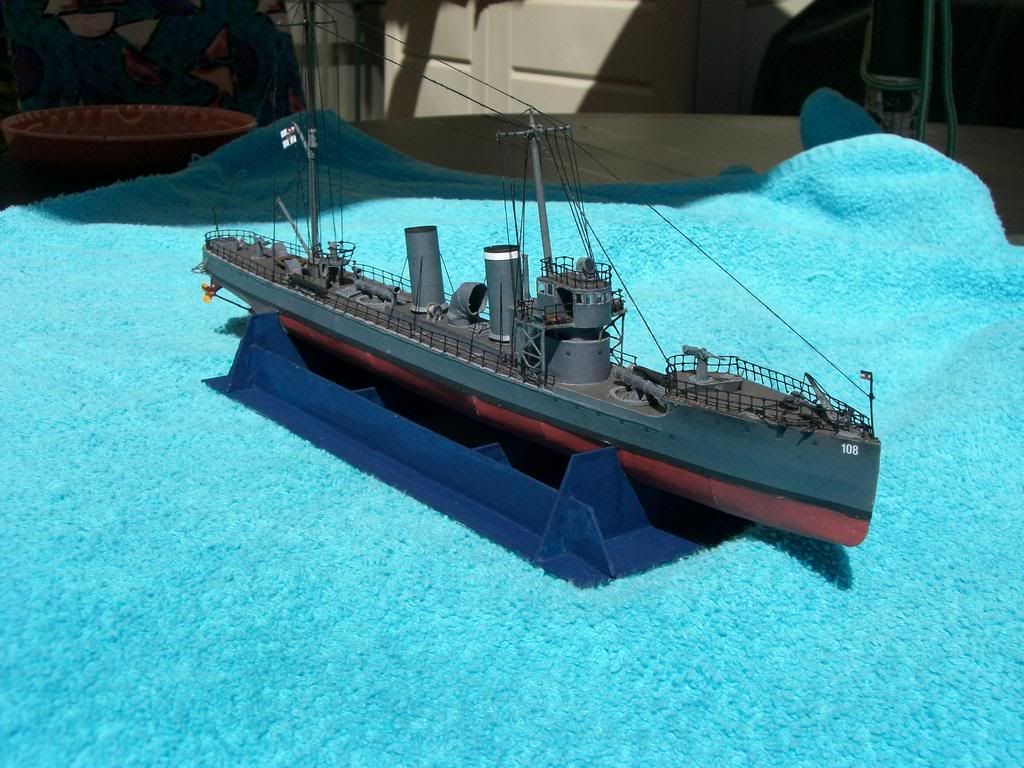
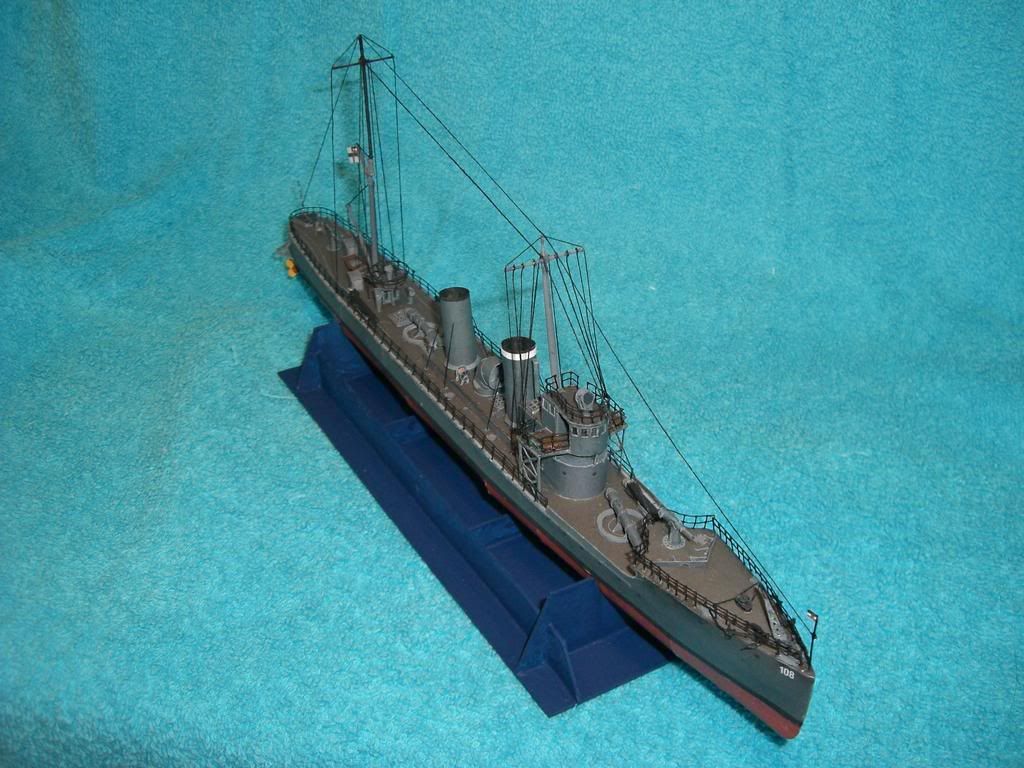
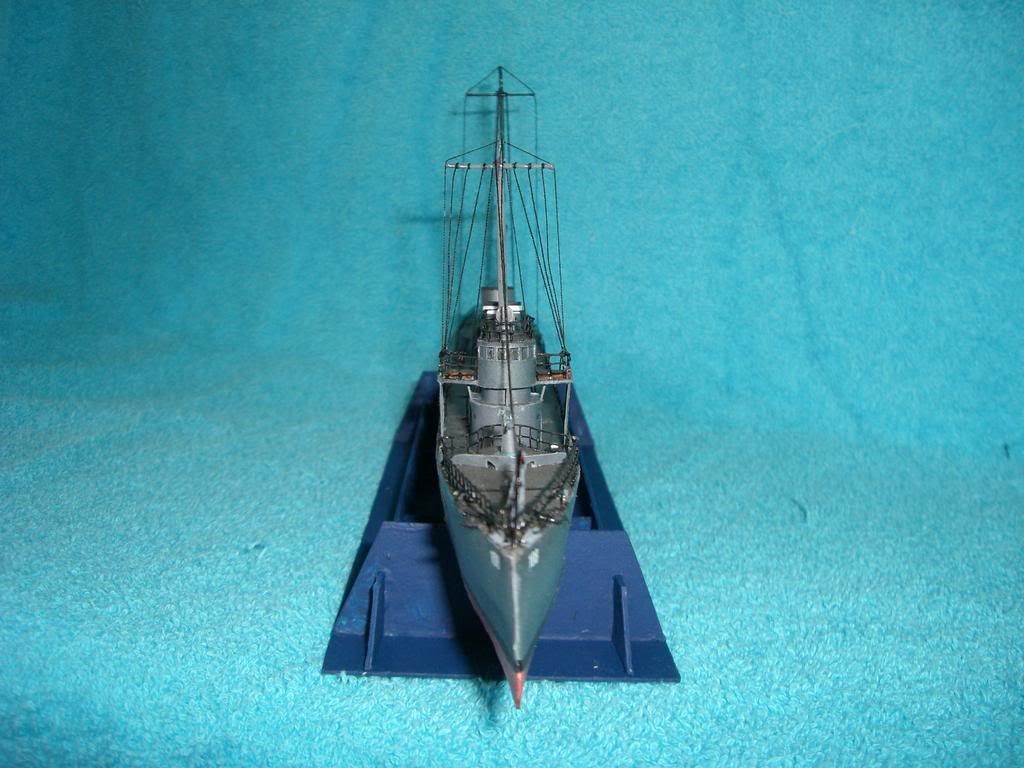
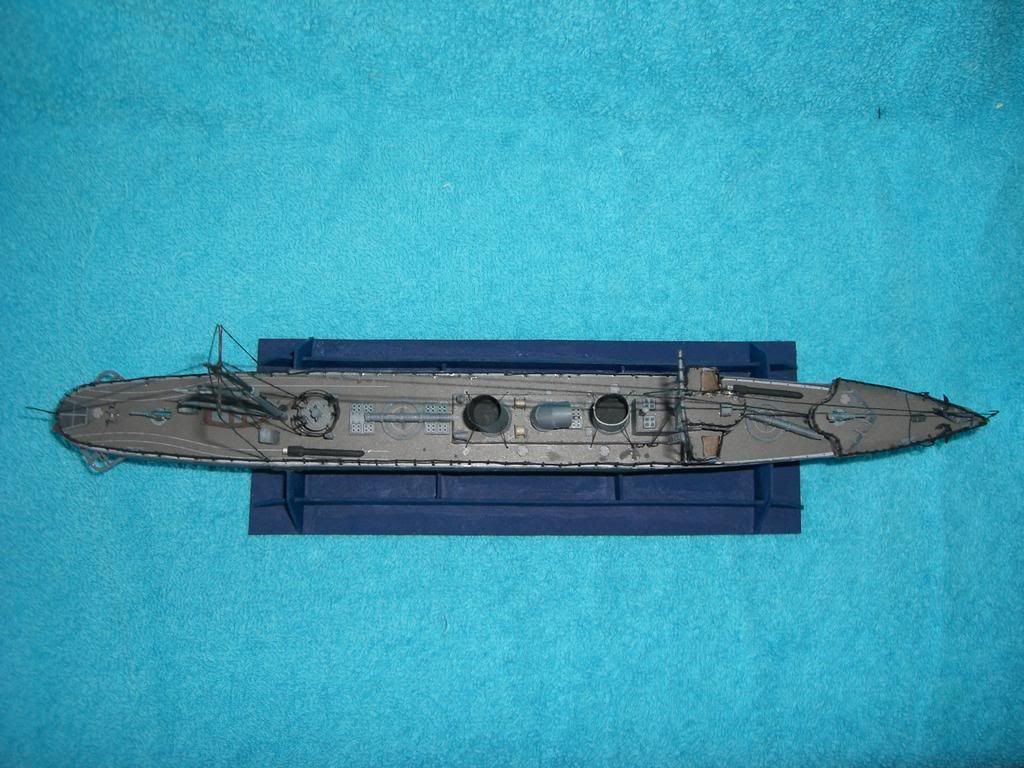
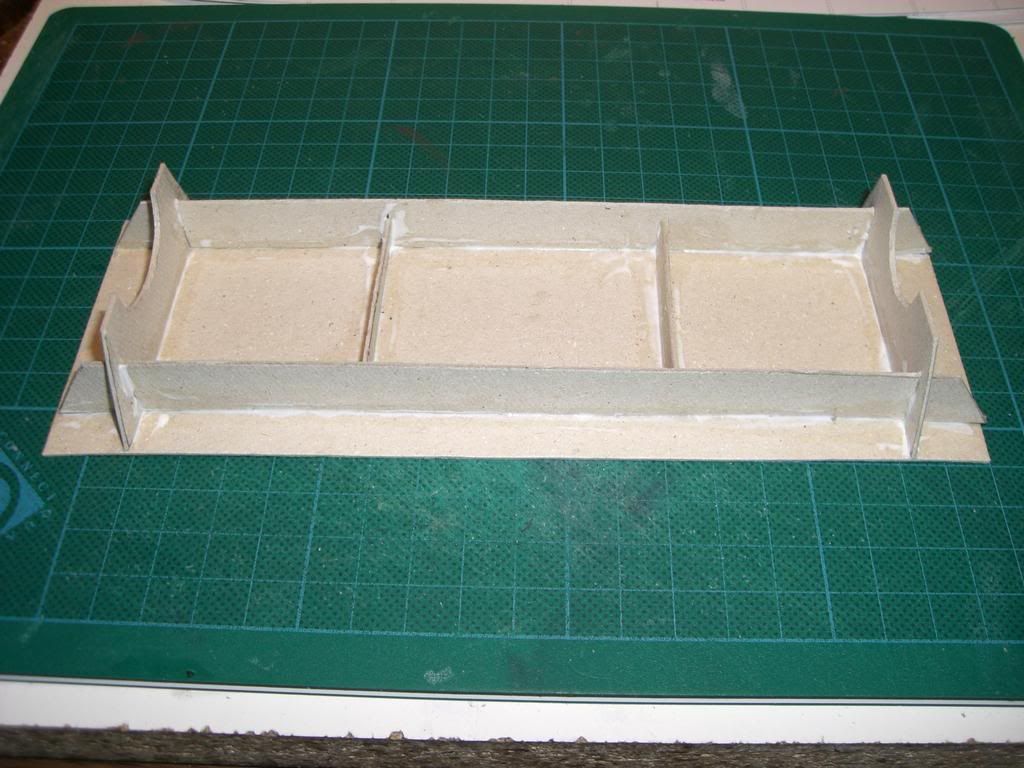
This model doesn't come with a stand, so I put one together out of the backing card from a notepad:


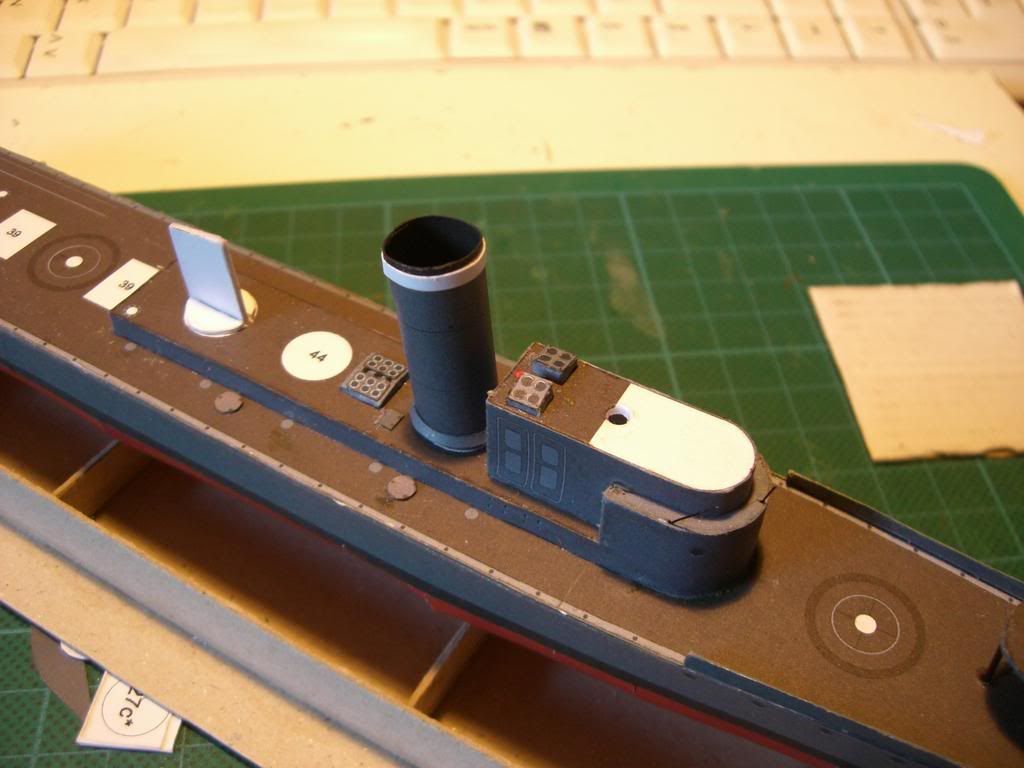
That's all for today, tomorrow I start assembling the structure.

Have a good one.
 

cdcoyle

Member
Nov 21, 2005
170
0
16
Hey, David. Believe it or not, I had my choices for Free Model #3 narrowed down to the WZ-X...and this model! So naturally, I will be interested to see what you do with this one. DN's USS Admirable was one of my first card efforts.

Cheers!
 

DavidESP

New Member
Feb 15, 2007
10
2
8
Southern Spain
Thanks Chris, I'm glad your watching.

Here's an update for today.

Things moved quickly today putting the hull structure and main deck together as I had all of the parts cut out yesterday. I had to fix one minor error in the design, piece 1a (it's the one in the lower left corner of the parts photo above) was missing the slot, fixed in a jiffy. Here are four shots of the assembly:


With some time on my hands, I started on the hull plating, here's the parts cut out:


This is my 3rd full hull ship model, the first one was Digital Navy's Lilla Weneda. I didn't like how the hull came out on that one, the ribs were very noticeable so on my second one, PT-109 from Answer, I tried something new (to me at least), I glued all of the hull parts together then fitted the assembled piece to the frames. I'm using the same technique here. It is not finished yet, I still have to attach the stern and bow pieces. I start in the middle and work out in each direction test fitting as I add each piece. Here's how it looks so far:


That's it for today.

Have a good one.
 

Beachead

New Member
Apr 13, 2007
53
0
6
N. Va, US
Your hull looks real good. I did this one in the 1x250 version (waterline ver.) I was o.k and my first build. So it might have been me but I thought some of the pieces didn't quit make it. I want to do it over now that I have Some experience. Again, your's looks great.

P.S. your sig block "sounds" like you're prior U.S. service. Spain has some of the best port calls. Later,
 

DavidESP

New Member
Feb 15, 2007
10
2
8
Southern Spain
Thanks Beachead, with a nick like that, I'd say gater navy, I was in for 27 years, retired as a CWO4 Carpenter. Did a couple of tours on gater freighters.

Haven't updated in a few days, so here's whats been happening with the model.

I finished putting the hull sections together and mounted it on the structure:


Next shots are the parts for the hull sides, in the second shot you can see were I have used parts from the paper copies to cover white paper in the model:


Here is the bow section ready for mounting and a couple of photos with everything mounted:


Here are some of the parts for the superstructure cutout and partially mounted. The extra pieces in the second shot are all of the mounting points. Digital Navy models tend to have little or no mounting tabs so I use the paper copy parts to cutout and then paste them on to .5mm and .85 mm carton. These are then glued on the model in the appropriate places and provide more support and better alignment.


That brings things up to date, I'll get a bit more done this afternoon and update if I can.

Have a good one.
 

Gregory Shoda

Member
Apr 17, 2004
194
0
16
Honolulu, HI
You have an original construction technique for the hull, I must say. Somehow, the hull looks good. A little thinking out of the box, huh? The interesting thing about card modelling is that there is more than one way to accomplish a task and the conventional way of doing it might not be the best way. It is interesting to see other strategies.
 

DavidESP

New Member
Feb 15, 2007
10
2
8
Southern Spain
Hello all. After having some computer problems, I am back online. I finished some topside parts and then shifted to the props and shafts, so I won't have to work on the model upside down with all of the superstructure installed.

The first shot is the extra base piece for the superstructure in place and some small hatch covers:


Here are the pieces for an airway and hatch covers, and mounted:


At this point I decided to get the props and shafts out of the way. Here are some of the pieces cut out, and one of the shafts ready to install:


Both shafts installed:


These are the pieces for the forward stack and the main ventilation duct:


Here is the base of the superstructure mounted with 2 skylights, and the forward stack in place:


Until the next update, have a good one.
 

Beachead

New Member
Apr 13, 2007
53
0
6
N. Va, US
Real good job. Working with a larger scale on a smaller boat helps with the details. Did you cut your own ribs and keel, using the model pieces as templates? Looks like you pre-drilled for the handrails. Thanks for the step by step, helps me with my shipbuilding.

P.S. not Gator Navy but a black shoe at least.
 

DavidESP

New Member
Feb 15, 2007
10
2
8
Southern Spain
Hello all, it's been a few days, so time for an update. I've got quite a bit done on the center and after section of the model.

The first couple of shots are the parts for two cable reels and some vent ducts:


Some ladder rungs made of copper wire then painted:


The parts for one of the after skylights:


The center section mounted up:


Here are the parts for the aft torpedo launcher, and then mounted with 2 more vent ducts:


The next 3 shots are of the gun director tower, parts for the director and all mounted:


Here's a ladder for the GD tower made of copper wire and installed:


These are the parts of 2 vent ducts and the after canon, and the canon assembled:


Two shots of the after section of the ship:


Overall this has been a fun model to build so far. There are some really small pieces that take a lot of patience and time, but look pretty good installed.

Until the next update, have a good one.
 

DavidESP

New Member
Feb 15, 2007
10
2
8
Southern Spain
Sorry about leaving this thread in a lurch guys, but I have finished the model and felt I need to close the build.

Here are some finished pictures of the model:
V108_090_med.jpg


Sorry about the way I have ended this thread, my time, even though retired doesn't permit me to much time in multiple forums. The complete build is here in Modelismo en Papel .

Thanks for the few comments received.
 

cdcoyle

Member
Nov 21, 2005
170
0
16
Well done, David. I know what you mean about posting in multiple forums. The difficulty is compounded when a different language is involved. I post at kartonbau.de, but they get the condensed version. Too bad, in one respect, because there are of course some fantastic builders posting on these foreign-language sites.

Cheers!