Building the Walthers N scale Blast Furnace

TruckLover

Mack CH613 & 53' Trailer
Apr 14, 2006
4,073
0
36
34
Rancho Santa Margarita, Cali.
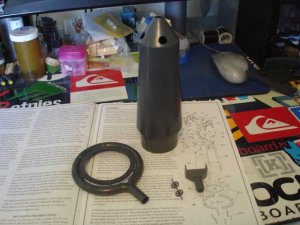
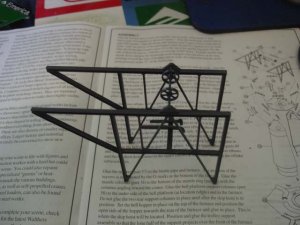
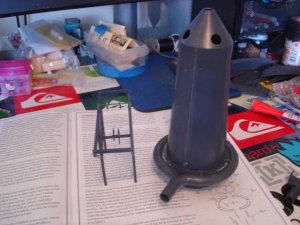
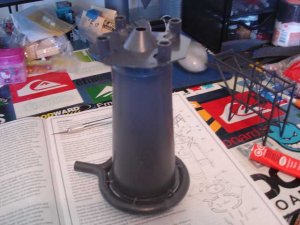
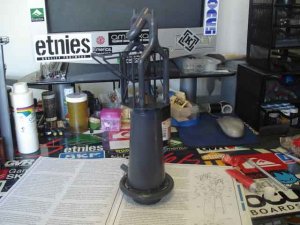
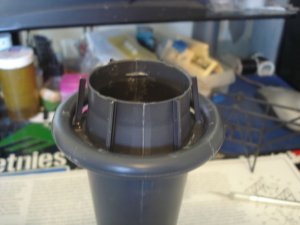
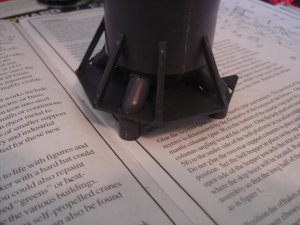
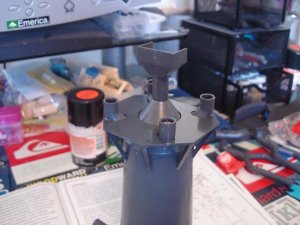
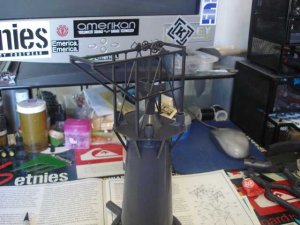
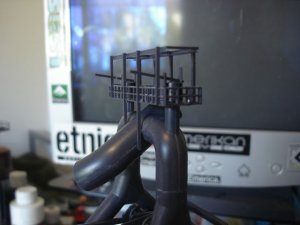
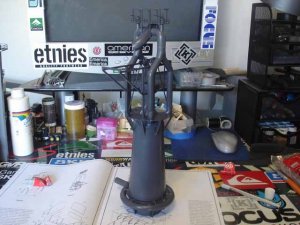
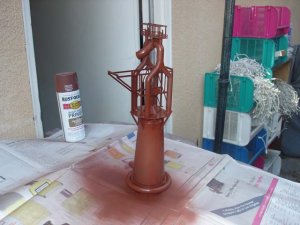
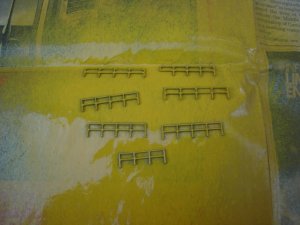
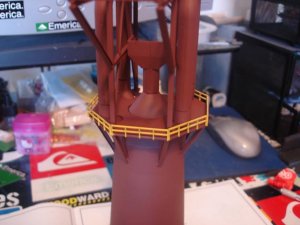
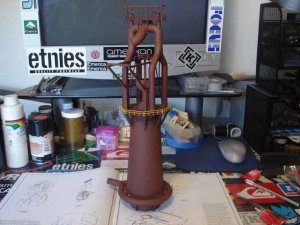
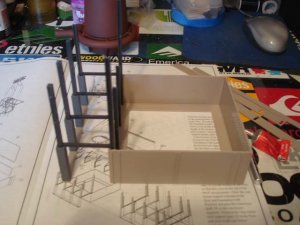
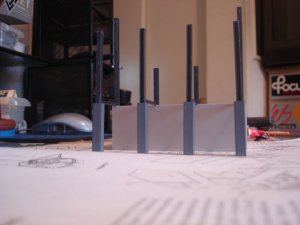
This thread will take you through pretty much step-by-step on how I assembled the Walthers Cornerstone N Scale Blast Furnace. Thought that this might be a cool way to show progress on building the Furnace :) Updates will come throughout the day and more tomarro depending on how long it takes me to finish this HUGE model.sign1
 

TruckLover

Mack CH613 & 53' Trailer
Apr 14, 2006
4,073
0
36
34
Rancho Santa Margarita, Cali.
Step 1

Here I have assembled the Furnace halfs, the Bust Pipe, the Mantle ring to the Bust Pipe, the Bell Hopper, and the Sheaves to the Sheave Rod.
 

Attachments

  • DSC03315.JPG
    DSC03315.JPG
    60.3 KB · Views: 902

TruckLover

Mack CH613 & 53' Trailer
Apr 14, 2006
4,073
0
36
34
Rancho Santa Margarita, Cali.
Step 2

Here I have assembled the Bell Beams and the Trolley Support. I then put the Bell Beam in place on the Trolley Supports and also glued the Sheaves and Sheave Rod in place on the top of the Trolley Supports.
 

Attachments

  • DSC03316.JPG
    DSC03316.JPG
    62.9 KB · Views: 876

TruckLover

Mack CH613 & 53' Trailer
Apr 14, 2006
4,073
0
36
34
Rancho Santa Margarita, Cali.
Step 5

I put the pipes together but only glued in a couple spots (it says to leave the others unglued for now for later assemble. this was just a pre-assemble on how it goes together) and placed the Trolley Supports in postion, again, not glued in place yet.
 

Attachments

  • DSC03319.JPG
    DSC03319.JPG
    55.5 KB · Views: 839

TruckLover

Mack CH613 & 53' Trailer
Apr 14, 2006
4,073
0
36
34
Rancho Santa Margarita, Cali.
Step 9

I glued the Trolley Supports to the Bell Platform. I noticed that the Beam Bells were in the wrong spot because the Trolley Supports would not fit because of the location of the Bell Hopper. I moved the Beam Bells to the right loccation which is right next to the Sheaves and Sheave rod.
 

Attachments

  • DSC03324.JPG
    DSC03324.JPG
    65 KB · Views: 805

TruckLover

Mack CH613 & 53' Trailer
Apr 14, 2006
4,073
0
36
34
Rancho Santa Margarita, Cali.
Step 10

I then put the top of the furnace together. I glued the Bleeder Platform to the tops of the Offtakes. Then the Bleeder Valves and Bleeder Handles were added on top of the Bleeder Platform. Next, the handrails were added around the Platform and was finished off by glueing the Platform Bracing to the top.
 

Attachments

  • DSC03327.JPG
    DSC03327.JPG
    61 KB · Views: 795

TruckLover

Mack CH613 & 53' Trailer
Apr 14, 2006
4,073
0
36
34
Rancho Santa Margarita, Cali.
Step 11

Next was to glue the Offtakes to the Lower Offtakes on the Furnace. Now the Furnace is almost complete. All that needs to be done is adding the handrails around the Bell Platform and painting. The handrails will be added after they have been painted yellow. The furnace also gets a nice coat of rust brown primer. That's the next step.
 

Attachments

  • DSC03328.JPG
    DSC03328.JPG
    64.1 KB · Views: 318

TruckLover

Mack CH613 & 53' Trailer
Apr 14, 2006
4,073
0
36
34
Rancho Santa Margarita, Cali.
Step 12

I sprayed the Furnace with rust brown primer and the handrails have been sprayed yellow. The paint is still wet and the flash on the camera was used for the furnace so that is why they look so shinny.
 

Attachments

  • DSC03329.JPG
    DSC03329.JPG
    63.9 KB · Views: 315
  • DSC03330.JPG
    DSC03330.JPG
    56.7 KB · Views: 316

TruckLover

Mack CH613 & 53' Trailer
Apr 14, 2006
4,073
0
36
34
Rancho Santa Margarita, Cali.
Step 13

Here is the finished Furnace with yellow handrails. You can see that the color is more of a rust brown and that the railings are a real eye catcher, just what I was going for.
 

Attachments

  • DSC03333.JPG
    DSC03333.JPG
    63.6 KB · Views: 308
  • DSC03335.JPG
    DSC03335.JPG
    60.8 KB · Views: 306

TruckLover

Mack CH613 & 53' Trailer
Apr 14, 2006
4,073
0
36
34
Rancho Santa Margarita, Cali.
Step 14

I started to assemble the Hoist House and Main Furnace Building. I sprayed the brick encasements on the columns grey, they were origionally a yellow brick and looked really bad.sign1
 

Attachments

  • DSC03337.JPG
    DSC03337.JPG
    60.1 KB · Views: 313
  • DSC03336.JPG
    DSC03336.JPG
    59 KB · Views: 304