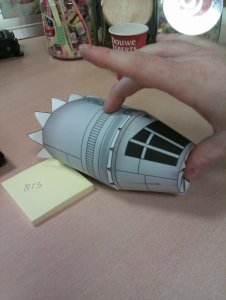
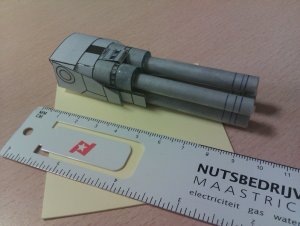
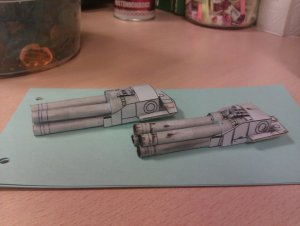
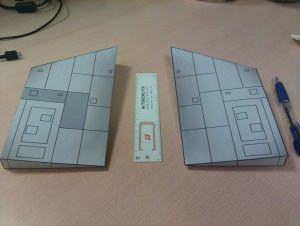
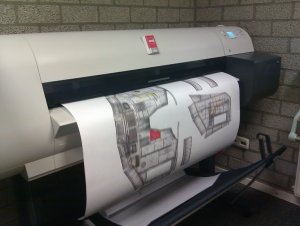
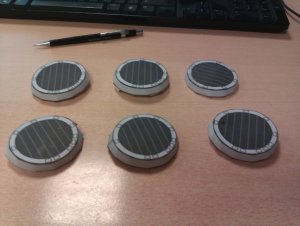
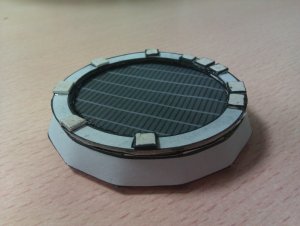
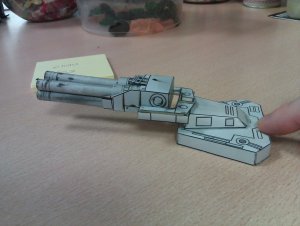
Hi..
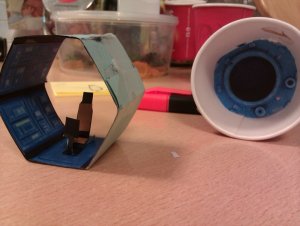
this is my construction of the millenium falcon
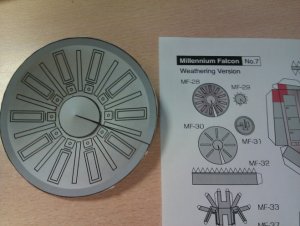
i use the building sheets from this site.
http://www7a.biglobe.ne.jp/~sf-papercraft/sifi.html
they are really great looking.
i hope my falcon will look like that.")
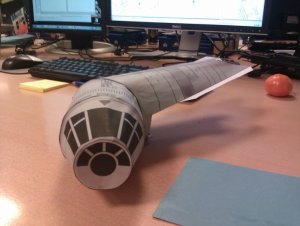
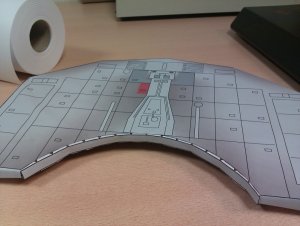
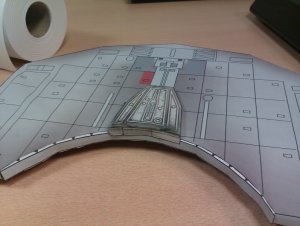
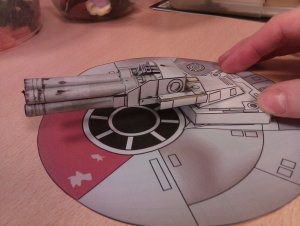
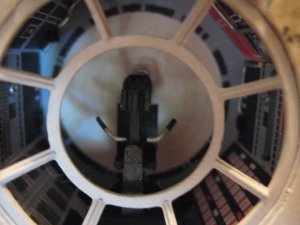
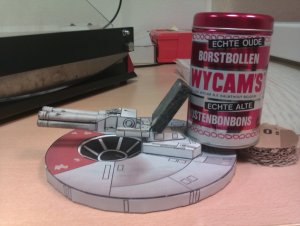
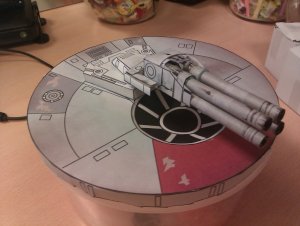
this is my construction of the millenium falcon
i use the building sheets from this site.
http://www7a.biglobe.ne.jp/~sf-papercraft/sifi.html
they are really great looking.
i hope my falcon will look like that.