YEP!  This motif came as a card in an awesome trading card set from the late 1990s. The cards look awesome because they have a metallic finish (which is nearly impossible to photograph; thank the Lords I was able to get one set back then
  ).
).
Buck Rogers Thunderfighter mods
- Thread starter Revell-Fan
- Start date
You are using an out of date browser. It may not display this or other websites correctly.
You should upgrade or use an alternative browser.
You should upgrade or use an alternative browser.
Did not realize you were working on one (drool) Revell-Fan. I am quite sure "someone" else did one and either could not, or decided not to release it. It even had the Galactica seal and Starbuck call sign on it and it was quite finished. No matter, it was very cool to see it... But not as cool as seeing that you are working on one :wideyed:
Thank you very much, oriod01! 
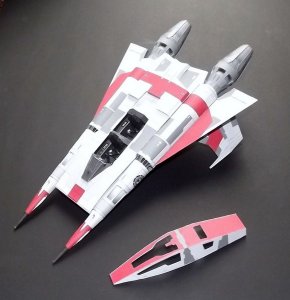
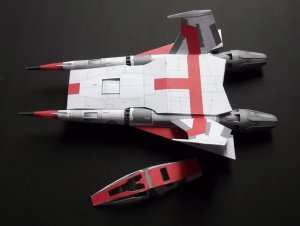
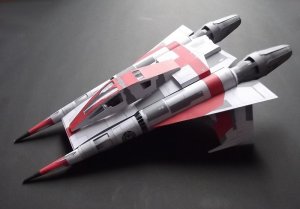
Yes, I am working on TWO TFs (the 2-seater and the quad) to test the new CIs. I'm busy making the fiddly parts for the four thrusters now :wacky: ! Since Chris is making his super-detailed 2-seater I am alpha-testing the new quad CI (and beta-testing the 2-seater CI).
As for the different colour schemes you noticed:
RB and I made the recolours to have some variety in our builds and to keep this thread interesting (otherwise you would only see one and the same colour scheme all the time => boring => meh ). These indeed haven't been made available to the public - yet (for a reason / see below).
RB started with a TF in TOS BSG colours featuring that BSG logo you have seen to honour his mom. I used his build pics to recolour my kit accordingly (which you see in the recent pic; this is used to beta-test the new 2-seater CI 2.0). Over the time we found some awesome collections of TFs in fan-made custom colours which inspired us to make more. One of the cooler things is the TF in Stealth colours RB has already built. I recoloured my kit in these colours, too, and printed it out almost two years ago but had no time to actually build it.
Last month we found the orthos of another great and highly interesting fan-design called the "Krait". This is a very mean TF variant which features four missiles and an AWACS-style dish on its back. This is what I am building now, albeit I'm using the parts for the Stealth version I have already had standing by. The additional parts are created on-the-fly. (So, the one on the left is NOT the RMQ version / sorry about that .)
.)
Since the Krait is based on the quad I'm testing the new quad interior on this one, so we'll have two world premieres in one model (new quad CI 2.0 AND new quad variant) !
As for recoloured TFs in general: Martin has no objections against recolouring the kit for your personal enjoyment but he doesn't want the kit or recolours of it to be made available on sites other than his own (paperaviation.de) or to be shared between people. So if you like to build a TF in a different colour scheme you'll have to recolour it yourself (and you MUST NOT share the altered parts pages with ANYONE!).
I use The Gimp for it, RB uses Paint.
However: When I'm submitting the next add-on package I'll talk to Martin and ask him to put the recolours on his site as well, however, he has the last word on that matter (I can't promise anything).
Yes, I am working on TWO TFs (the 2-seater and the quad) to test the new CIs. I'm busy making the fiddly parts for the four thrusters now :wacky:
As for the different colour schemes you noticed:
RB and I made the recolours to have some variety in our builds and to keep this thread interesting (otherwise you would only see one and the same colour scheme all the time => boring => meh
RB started with a TF in TOS BSG colours featuring that BSG logo you have seen to honour his mom. I used his build pics to recolour my kit accordingly (which you see in the recent pic; this is used to beta-test the new 2-seater CI 2.0). Over the time we found some awesome collections of TFs in fan-made custom colours which inspired us to make more. One of the cooler things is the TF in Stealth colours RB has already built. I recoloured my kit in these colours, too, and printed it out almost two years ago but had no time to actually build it.
Last month we found the orthos of another great and highly interesting fan-design called the "Krait". This is a very mean TF variant which features four missiles and an AWACS-style dish on its back. This is what I am building now, albeit I'm using the parts for the Stealth version I have already had standing by. The additional parts are created on-the-fly. (So, the one on the left is NOT the RMQ version / sorry about that
Since the Krait is based on the quad I'm testing the new quad interior on this one, so we'll have two world premieres in one model (new quad CI 2.0 AND new quad variant) !
As for recoloured TFs in general: Martin has no objections against recolouring the kit for your personal enjoyment but he doesn't want the kit or recolours of it to be made available on sites other than his own (paperaviation.de) or to be shared between people. So if you like to build a TF in a different colour scheme you'll have to recolour it yourself (and you MUST NOT share the altered parts pages with ANYONE!).
I use The Gimp for it, RB uses Paint.
However: When I'm submitting the next add-on package I'll talk to Martin and ask him to put the recolours on his site as well, however, he has the last word on that matter (I can't promise anything).
Last edited:
A quick tutorial on recoloring would be nifty. Do you start from the pdf files, or do you have source files that you work from?
I use the original png files. First I copy the ones I need to a new folder (to avoid the originals from being overwritten by accident). They are loaded in Gimp, edited using the paint bucket fill tool and the pencil tool and saved (no change of the other values such as the reolution; that is very important to ensure that the final parts fit together and become modular and interchangeable). The skeleton parts remain the same most of the time so that these don't need to be copied. I have started to make a tutorial on this but it is still a WIP. Maybe I can cobble some things together for the tips and tut section.
Are the original png files available for download somewhere, or are they things that Martin Saenger has specifically put into your trusty hands?
Time for an up!
OK. This is what I have been cooking for a few weeks!
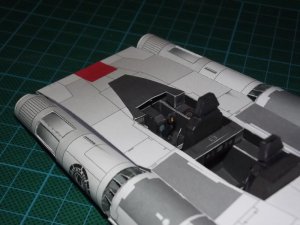
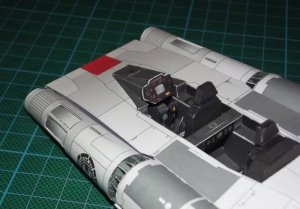
First a few views at my 2-seater. I am using the parts I printed about two years ago.
The skeleton parts and formers:
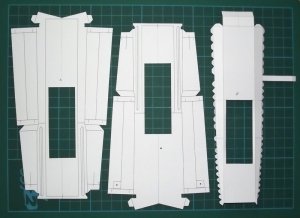
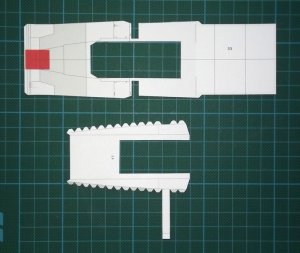
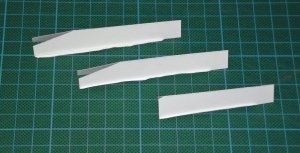
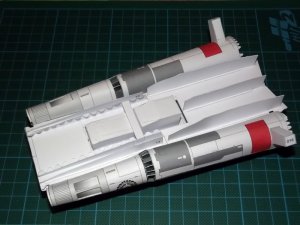
I had been struggling with the best way to connect the two bottom parts. To make things easier I decided to cut off the lips of the back part and to glue the two pieces together. This worked for me but RB found another more elegant solution using three flaps which will be the one used in the final kit.
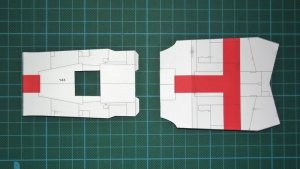
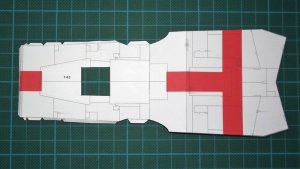
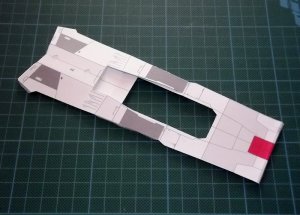
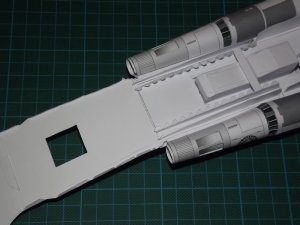
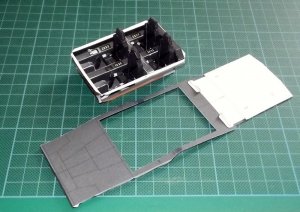
As you can see, it was necessary to cut out a hole in the front piece for the cockpit tub because it sits a bit lower now.
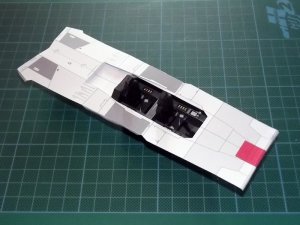
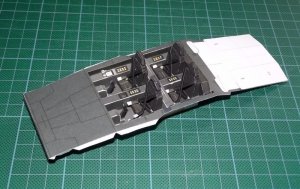
Top and bottom halves:
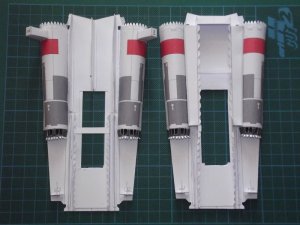
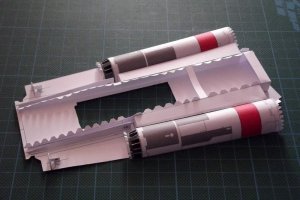
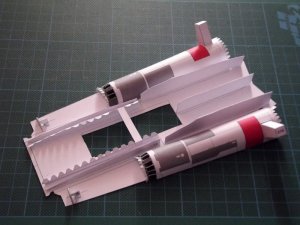
OK. This is what I have been cooking for a few weeks!
First a few views at my 2-seater. I am using the parts I printed about two years ago.
The skeleton parts and formers:


I had been struggling with the best way to connect the two bottom parts. To make things easier I decided to cut off the lips of the back part and to glue the two pieces together. This worked for me but RB found another more elegant solution using three flaps which will be the one used in the final kit.


As you can see, it was necessary to cut out a hole in the front piece for the cockpit tub because it sits a bit lower now.
Top and bottom halves:


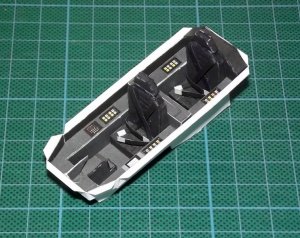
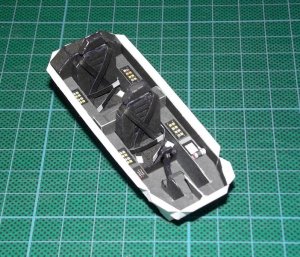
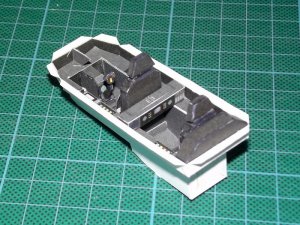
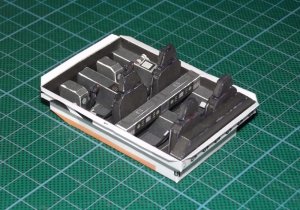
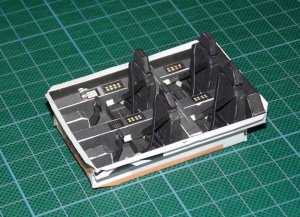
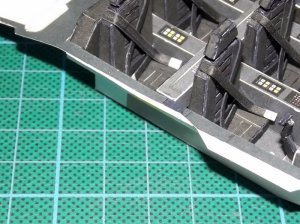
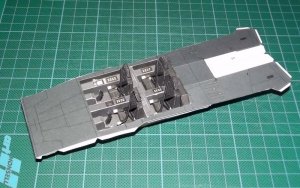
Now come the cockpit tub and its components. The shape of the tub differs on my version because I am using the first version. The design of the second / final version RB is using is much simpler and easier to build.
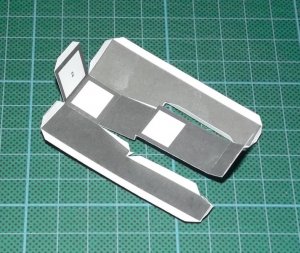
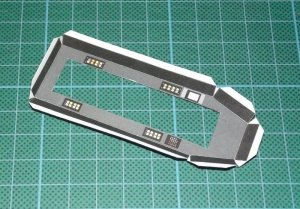
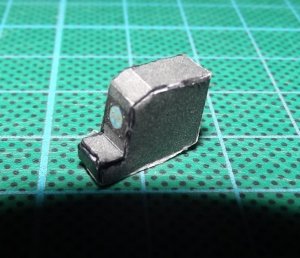
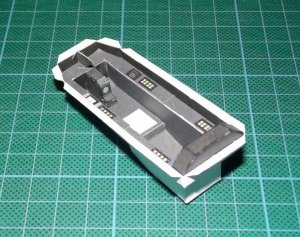
The front received a small former which prevents the fuselage from collapsing in that area.
The back side of the harnesses was painted black.
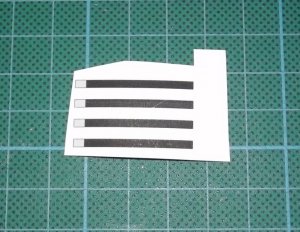
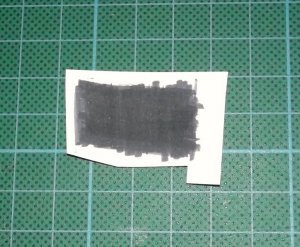
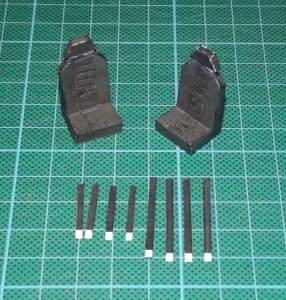
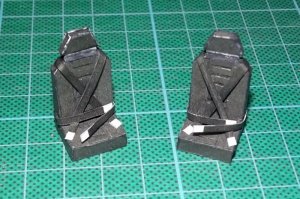
Seats completed.


The front received a small former which prevents the fuselage from collapsing in that area.
The back side of the harnesses was painted black.


Seats completed.
Alright folks, now to something ... different! 
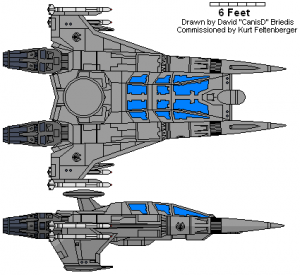
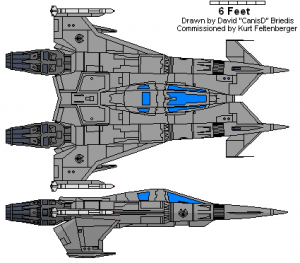
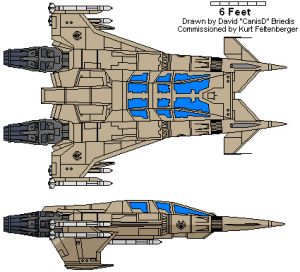
As I was about to test-build the revised parts for the quad I immediately thought if I presented you "just another quad" you might get bored by that. So instead, I'll be giving you something new. A new variant called the "Krait". It is a very aggressive looking fighter designed by CanisD and Kurt Feltenberger. RB and I found some orthos of it in the web, merely by accident. This version has never been built as a model before and exists only as a 2-D drawing.
Building begins with the usual components. I'm using a print of the Stealth TF which I also printed out two years ago. A few parts had to be adapted because of the new additional parts which will be attached to the plane and the fact that I had printed the 2-seater version. I recoloured the parts for the quad and proceeded with them.
Unfortunately I'll have to go back to work now, so I'll be showing you the build pics later this eve. So far, enjoy the orthos which give you an idea of what to expect.
![krait_mk_1_2_by_wolfman_053-d60fi3a[1].png krait_mk_1_2_by_wolfman_053-d60fi3a[1].png](https://www.zealot.com/data/attachments/114/114090-ffcb9bbe32e08139c306d5bc977c241e.jpg)
![krait_mk_2_1_by_wolfman_053-d60ik0c[1].png krait_mk_2_1_by_wolfman_053-d60ik0c[1].png](https://www.zealot.com/data/attachments/114/114092-322a81af70bb44f46e125d11de1be498.jpg)
As I was about to test-build the revised parts for the quad I immediately thought if I presented you "just another quad" you might get bored by that. So instead, I'll be giving you something new. A new variant called the "Krait". It is a very aggressive looking fighter designed by CanisD and Kurt Feltenberger. RB and I found some orthos of it in the web, merely by accident. This version has never been built as a model before and exists only as a 2-D drawing.
Building begins with the usual components. I'm using a print of the Stealth TF which I also printed out two years ago. A few parts had to be adapted because of the new additional parts which will be attached to the plane and the fact that I had printed the 2-seater version. I recoloured the parts for the quad and proceeded with them.
Unfortunately I'll have to go back to work now, so I'll be showing you the build pics later this eve. So far, enjoy the orthos which give you an idea of what to expect.


![krait_mk_1_2_by_wolfman_053-d60fi3a[1].png krait_mk_1_2_by_wolfman_053-d60fi3a[1].png](https://www.zealot.com/data/attachments/114/114090-ffcb9bbe32e08139c306d5bc977c241e.jpg)

![krait_mk_2_1_by_wolfman_053-d60ik0c[1].png krait_mk_2_1_by_wolfman_053-d60ik0c[1].png](https://www.zealot.com/data/attachments/114/114092-322a81af70bb44f46e125d11de1be498.jpg)

Last edited:
Thank you! 
OK, I'm back from work. Here is the update on the Krait, as promised :
:
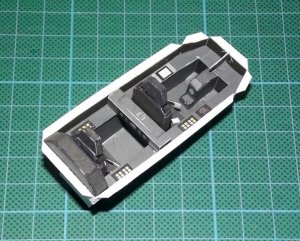
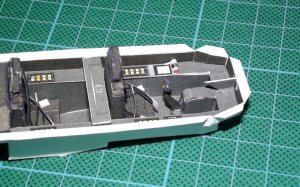
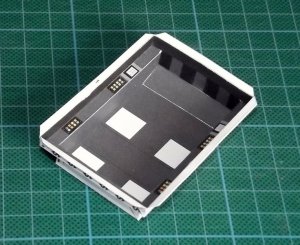
The build starts with the new cockpit tub.
As you can see the shape of the tub was heavily revised. The new front makes the use of additional formers obsolete. You save parts, paper and time.
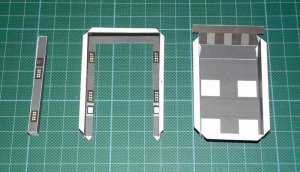
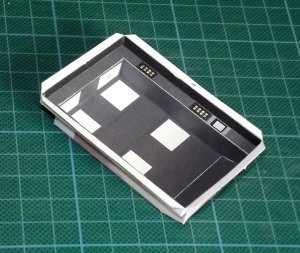
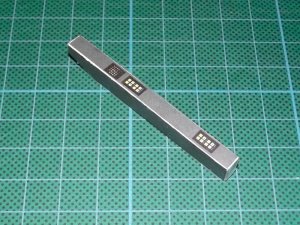
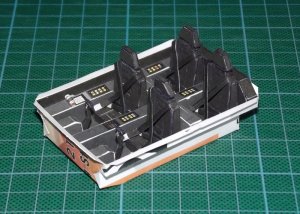
The middle console is much easier to build now, too.
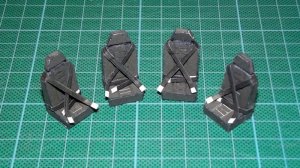
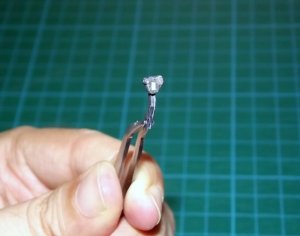
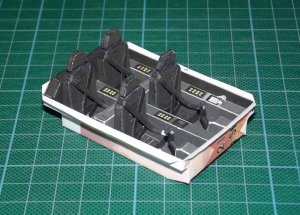
I used the season 2 joysticks because I thought the Krait to be a more advanced model.
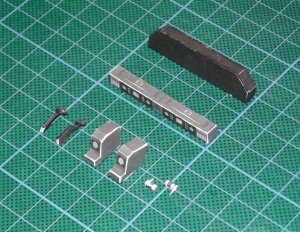
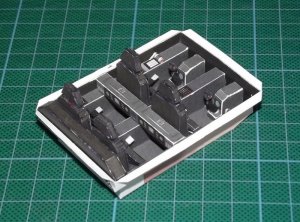
The passenger consoles are now a beam-shaped block. The difficult previous structure is gone. Again, you save on parts, time and paper. And no, you can't tell the difference once the canopy is in place.
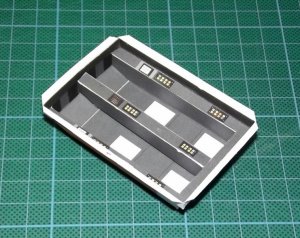
OK, I'm back from work. Here is the update on the Krait, as promised
The build starts with the new cockpit tub.
As you can see the shape of the tub was heavily revised. The new front makes the use of additional formers obsolete. You save parts, paper and time.


The middle console is much easier to build now, too.


I used the season 2 joysticks because I thought the Krait to be a more advanced model.
The passenger consoles are now a beam-shaped block. The difficult previous structure is gone. Again, you save on parts, time and paper. And no, you can't tell the difference once the canopy is in place.


Last edited:
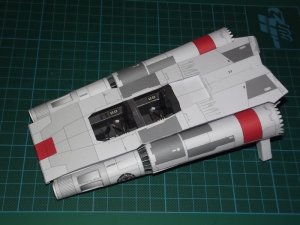
The canopy was assembled using clear sheet. I used some left-over sheet from my Colonial Blaster project.
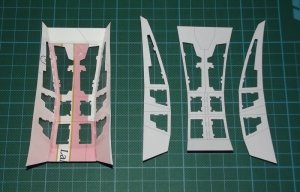
These are the frame parts. The outer frame is on the left.
Please don't be confused by some "weird texture" on the back side of some parts ; I re-used misprints of earlier projects and design studies for this build to save paper.
The parts on the right are the inside covers which are attached to give the whole structure some depth and additional strength. RB added some lines to the parts which makes them look much better. In addition, these lines may serve as cutting lines to make a working canopy with movable parts.
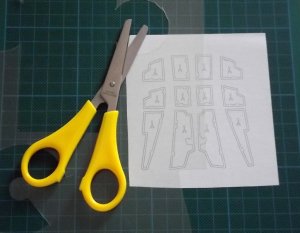
The clear sheet was flexible enough that I decided not to cut out the single windows (which would have taken ages) but to gently cut out an outline covering all windows.
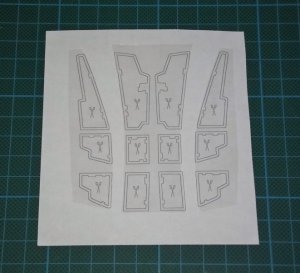
The clear parts are glued to the inside of the outer frame using regular UHU glue.
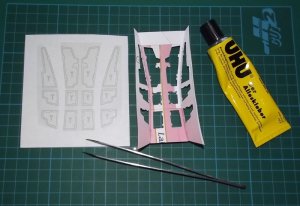
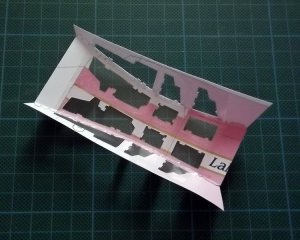
The inner frame parts, front and back piece are attached.
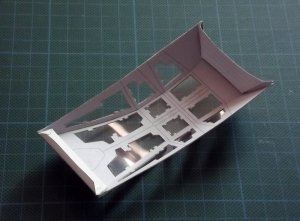
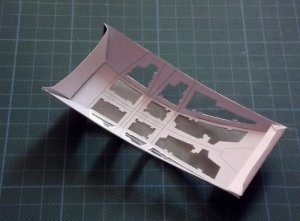
Top view:
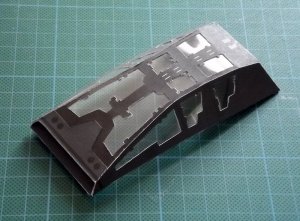
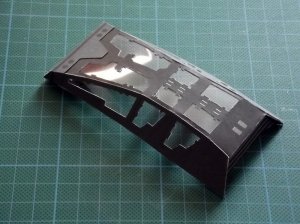

These are the frame parts. The outer frame is on the left.
Please don't be confused by some "weird texture" on the back side of some parts
The parts on the right are the inside covers which are attached to give the whole structure some depth and additional strength. RB added some lines to the parts which makes them look much better. In addition, these lines may serve as cutting lines to make a working canopy with movable parts.

The clear sheet was flexible enough that I decided not to cut out the single windows (which would have taken ages) but to gently cut out an outline covering all windows.

The clear parts are glued to the inside of the outer frame using regular UHU glue.


The inner frame parts, front and back piece are attached.


Top view:


Last edited:
The top and bottom halves of the inner skeleton look much like the ones from the 2-seater. The hole for the tub is much larger, though  . I have taken the picture before the new formers were attached to the bottom piece so you can't see them here (they are there NOW, I assure you
  ).
).
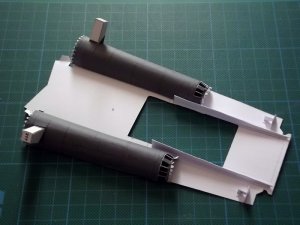
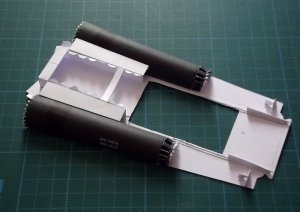
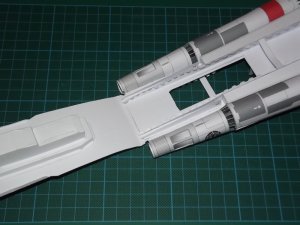
Here come the first all-new parts: The wings!
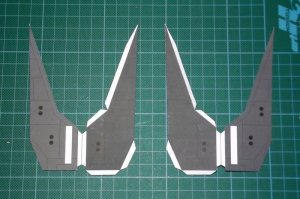
They are constructed exactly like the wings of RB's Mk. III.
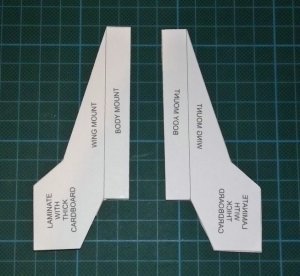
The mounting pieces are laminated to 1 mm cardboard and inserted into the wing shell.
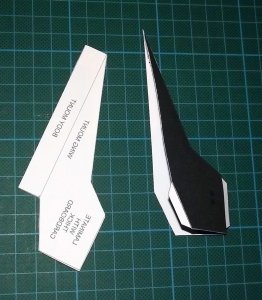
Since the shell has a very special shape the mount can't be simply pushed into the shell; instead, the shell has to be tightly wrapped around the mount. That shouldn't be much of a problem though.
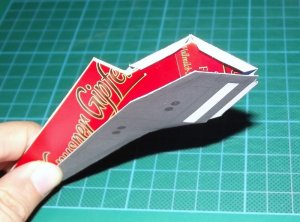
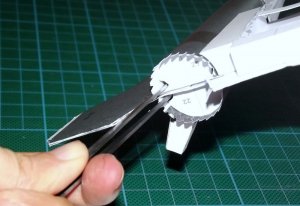
The wing mounts are inserted between the top and bottom inner skeleton parts when these are glued together. I used a pair of tweezers and made good use of the notches in the formers to press the parts together.
The wings are attached.
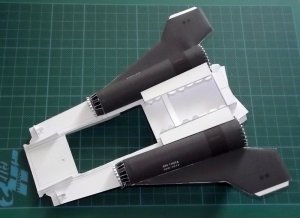
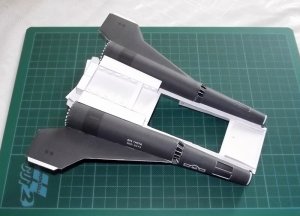
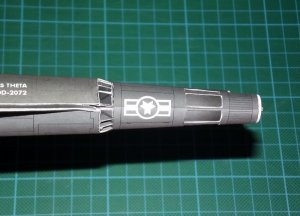


Here come the first all-new parts: The wings!

They are constructed exactly like the wings of RB's Mk. III.

The mounting pieces are laminated to 1 mm cardboard and inserted into the wing shell.

Since the shell has a very special shape the mount can't be simply pushed into the shell; instead, the shell has to be tightly wrapped around the mount. That shouldn't be much of a problem though.

The wing mounts are inserted between the top and bottom inner skeleton parts when these are glued together. I used a pair of tweezers and made good use of the notches in the formers to press the parts together.

The wings are attached.


Last edited:
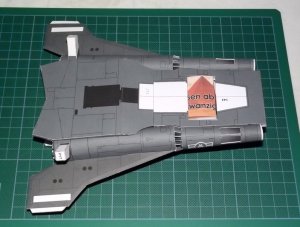
Time to insert the cockpit tub! 
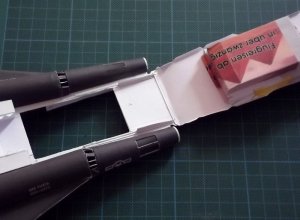
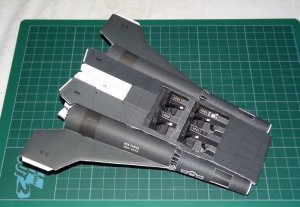
Bottom view (look, there are the formers!

 ):
):
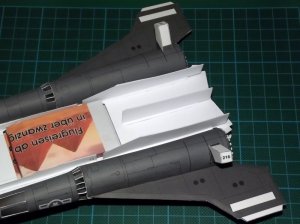
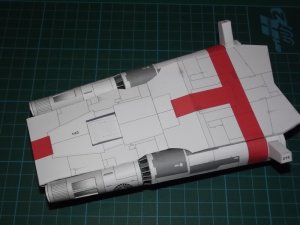
Again, I chose to glue the bottom cover parts together without using the lip (this is not the final design but it worked on the test plane):
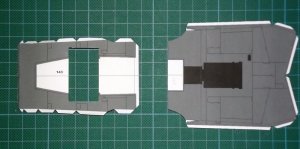
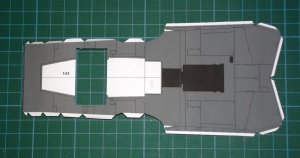
Glued into place:
OK, that's all for today. Enjoy and stay tuned for updates!


Bottom view (look, there are the formers!

Again, I chose to glue the bottom cover parts together without using the lip (this is not the final design but it worked on the test plane):


Glued into place:

OK, that's all for today. Enjoy and stay tuned for updates!
Last edited:


