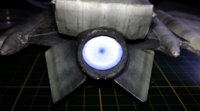
The original one is on my todo list and will come as soon as some of my other projects have been finished.Great work, I actually watched BSG-TOS originally broadcast and loved the EA Destroyer. Looking forwards to seeing it come together.
Steve
"Battlestar Galactica Eastern Alliance Destroyer (Kerin Class)"
- Thread starter Rhaven Blaack
- Start date
You are using an out of date browser. It may not display this or other websites correctly.
You should upgrade or use an alternative browser.
You should upgrade or use an alternative browser.
Hello Ladies and Gentlemen,
It is time for another update on this project. I am sorry that has been so long since my last update, but I was working on the figurines for awhile (which are now on hold, while I catch up on this project, as well as a few others).
On with the photos.
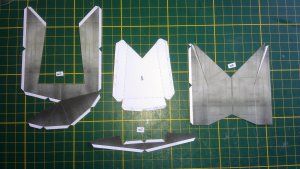
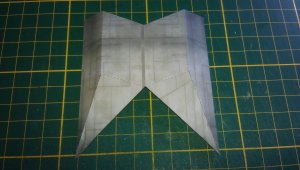
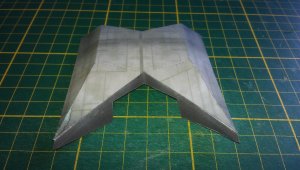
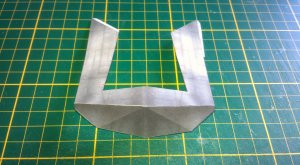
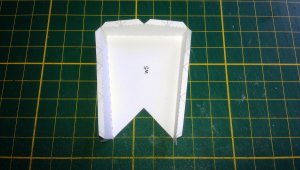
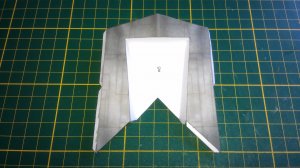
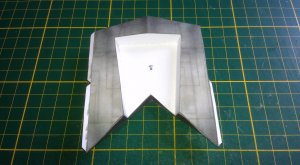
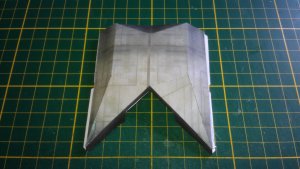
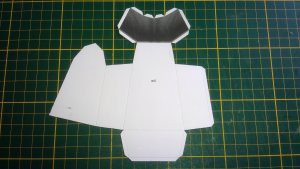
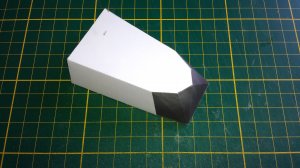
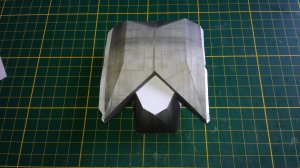
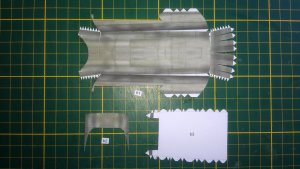
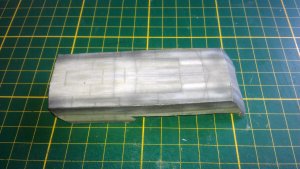
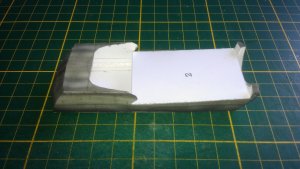
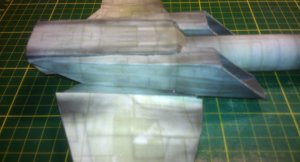
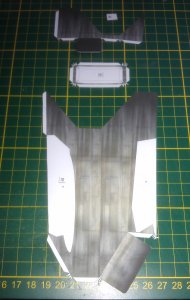
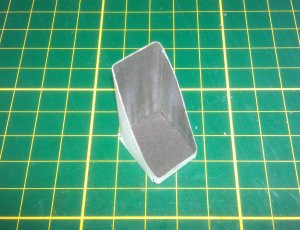
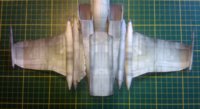
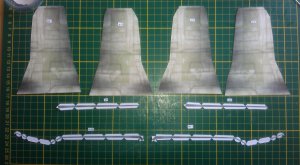
Here are the "wings". The longer edge pieces are a bit fiddly. So you will have to be careful as you are assembling them.
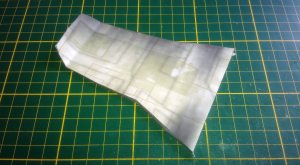
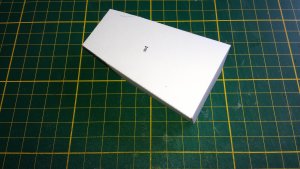
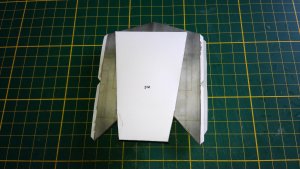
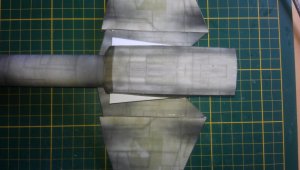
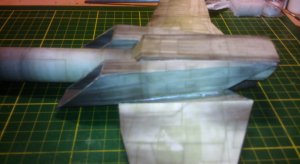
The first wing is attached to the wing mount. There are no internal formers, so mounting the wings are a bit tricky.
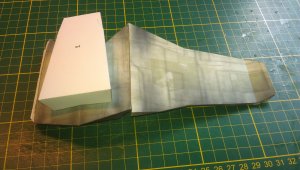
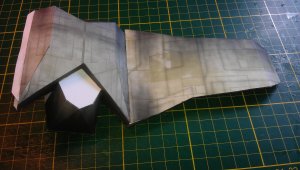
Second wing finished.
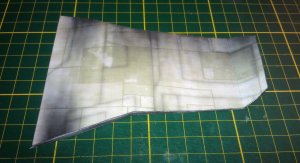
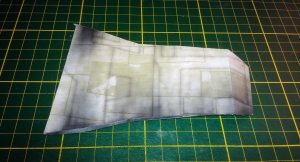
Second mounted. Unfortunately, the wings "gulled" (as you can plainly see :banghead . So I weighted them down to flatten them out.
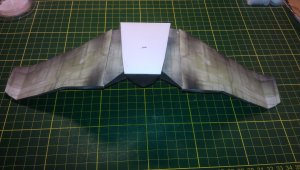
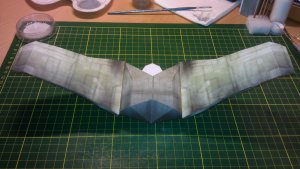
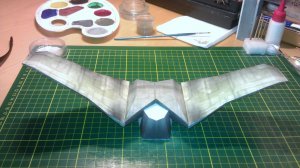
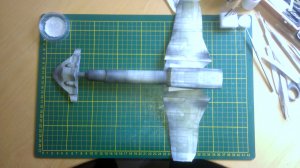
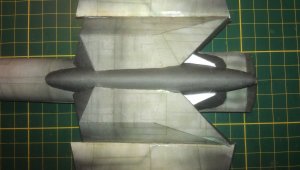
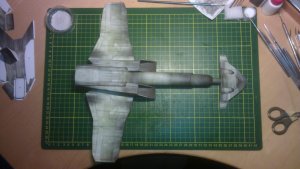
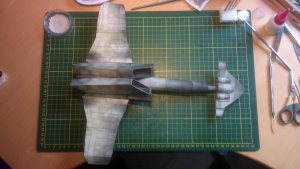
The wing mount assembly is attached to the rest of the model.
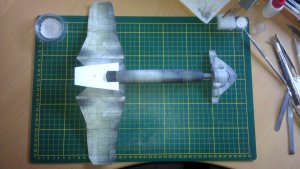
It is time for another update on this project. I am sorry that has been so long since my last update, but I was working on the figurines for awhile (which are now on hold, while I catch up on this project, as well as a few others).
On with the photos.
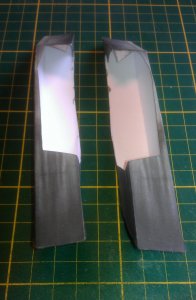
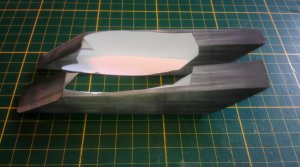
Here are the "wings". The longer edge pieces are a bit fiddly. So you will have to be careful as you are assembling them.


The first wing is attached to the wing mount. There are no internal formers, so mounting the wings are a bit tricky.


Second wing finished.


Second mounted. Unfortunately, the wings "gulled" (as you can plainly see :banghead


The wing mount assembly is attached to the rest of the model.

That's how far I've gone. In my case, the inner parts of the wings curved inside, touching each other. In order to prevent that, as well as the wings from sagging down, I placed a folded paper stripe from one wingtip to the other. I don't know if you've had that problem (it seems you haven't), but I give you my humble suggestion.
Excellent job, keep up the good work!
Excellent job, keep up the good work!
Thanks for the update, looks great to me. I will be keeping thr CBC tuned in. May the lords of the light ships shine down on you in your hour of darkness.
Regards,
Rick
Regards,
Rick
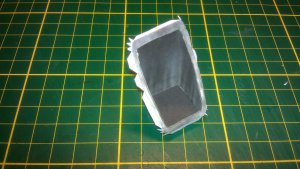
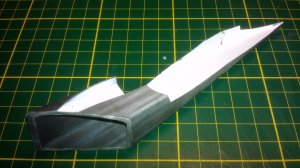
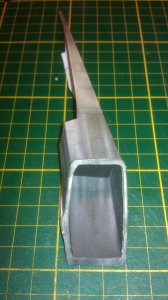
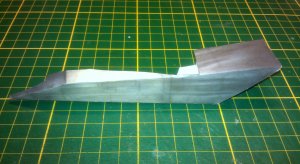
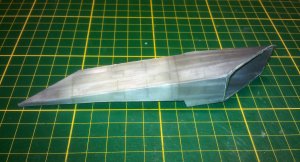
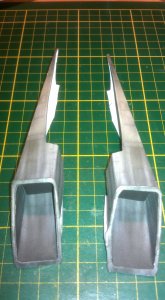
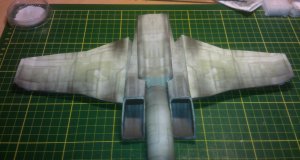
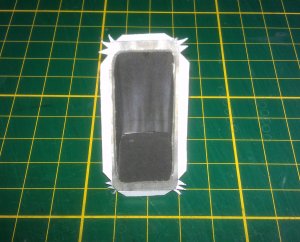
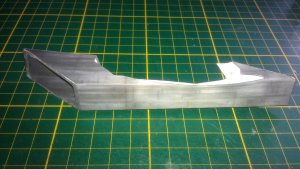
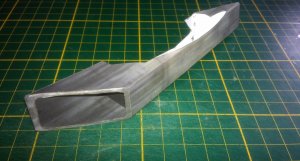
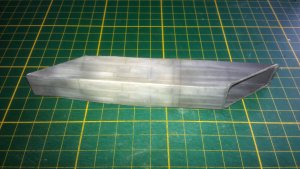
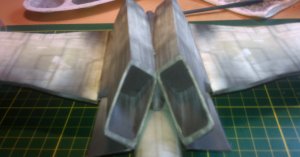
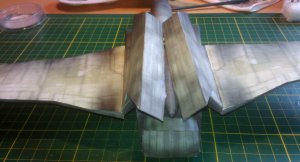
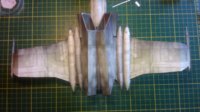
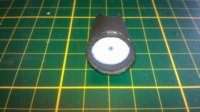
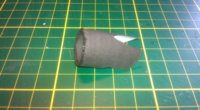
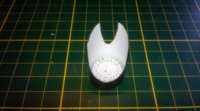
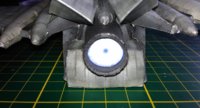
Time for another update. This time I have attached the tanks (or tubes) on the body and wings.
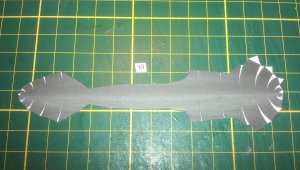
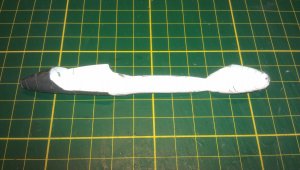
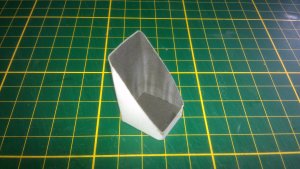
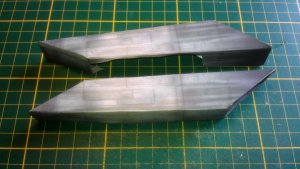
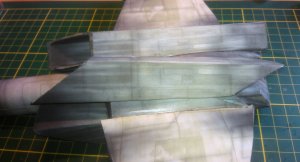
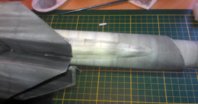
Here are the tubes for the body.
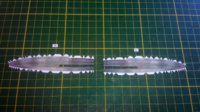
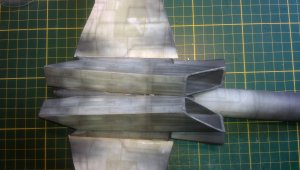
The tubes slide into the lower part of the upper intakes and then attach to the body.

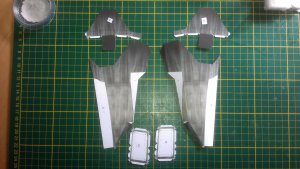
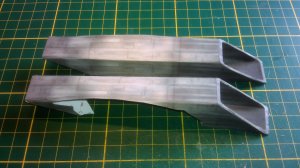
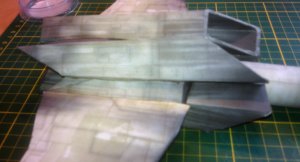
Here are the tubes (tanks) for the wings.
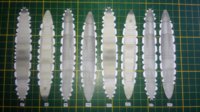
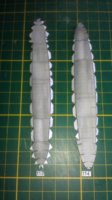
In making these, I realized that the inner tubes had to be put on this way, otherwise, you can not get them into place properly.
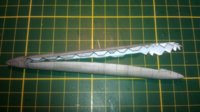
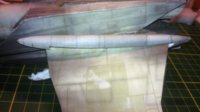

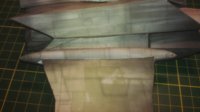
Inner tubes attached (yes, I know I messed one up slightly. I did not catch it in time to fix it).
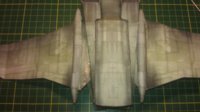
Here are the tubes for the body.

The tubes slide into the lower part of the upper intakes and then attach to the body.


Here are the tubes (tanks) for the wings.


In making these, I realized that the inner tubes had to be put on this way, otherwise, you can not get them into place properly.


Inner tubes attached (yes, I know I messed one up slightly. I did not catch it in time to fix it).

Here at re the outer tubes.
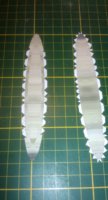
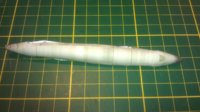
Fortunately, these do slide on nicely. There are a few gaps that I have reported to Revell-Fan. He will be taking care of those before the kit is released.
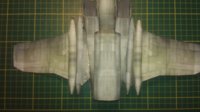
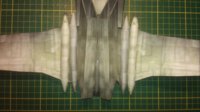
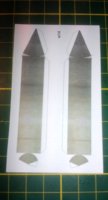
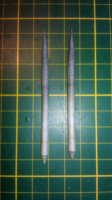
Now on to the wing tip tubes and the exhausts.
Please stay tuned to your local Colonial Broadcast Channel for further updates as they come in.


Fortunately, these do slide on nicely. There are a few gaps that I have reported to Revell-Fan. He will be taking care of those before the kit is released.


Now on to the wing tip tubes and the exhausts.
Please stay tuned to your local Colonial Broadcast Channel for further updates as they come in.


